
Threaded AC Exhaust Pass-Through 150mm (6") 0-60mm
Print Profile(5)
Bill of Materials
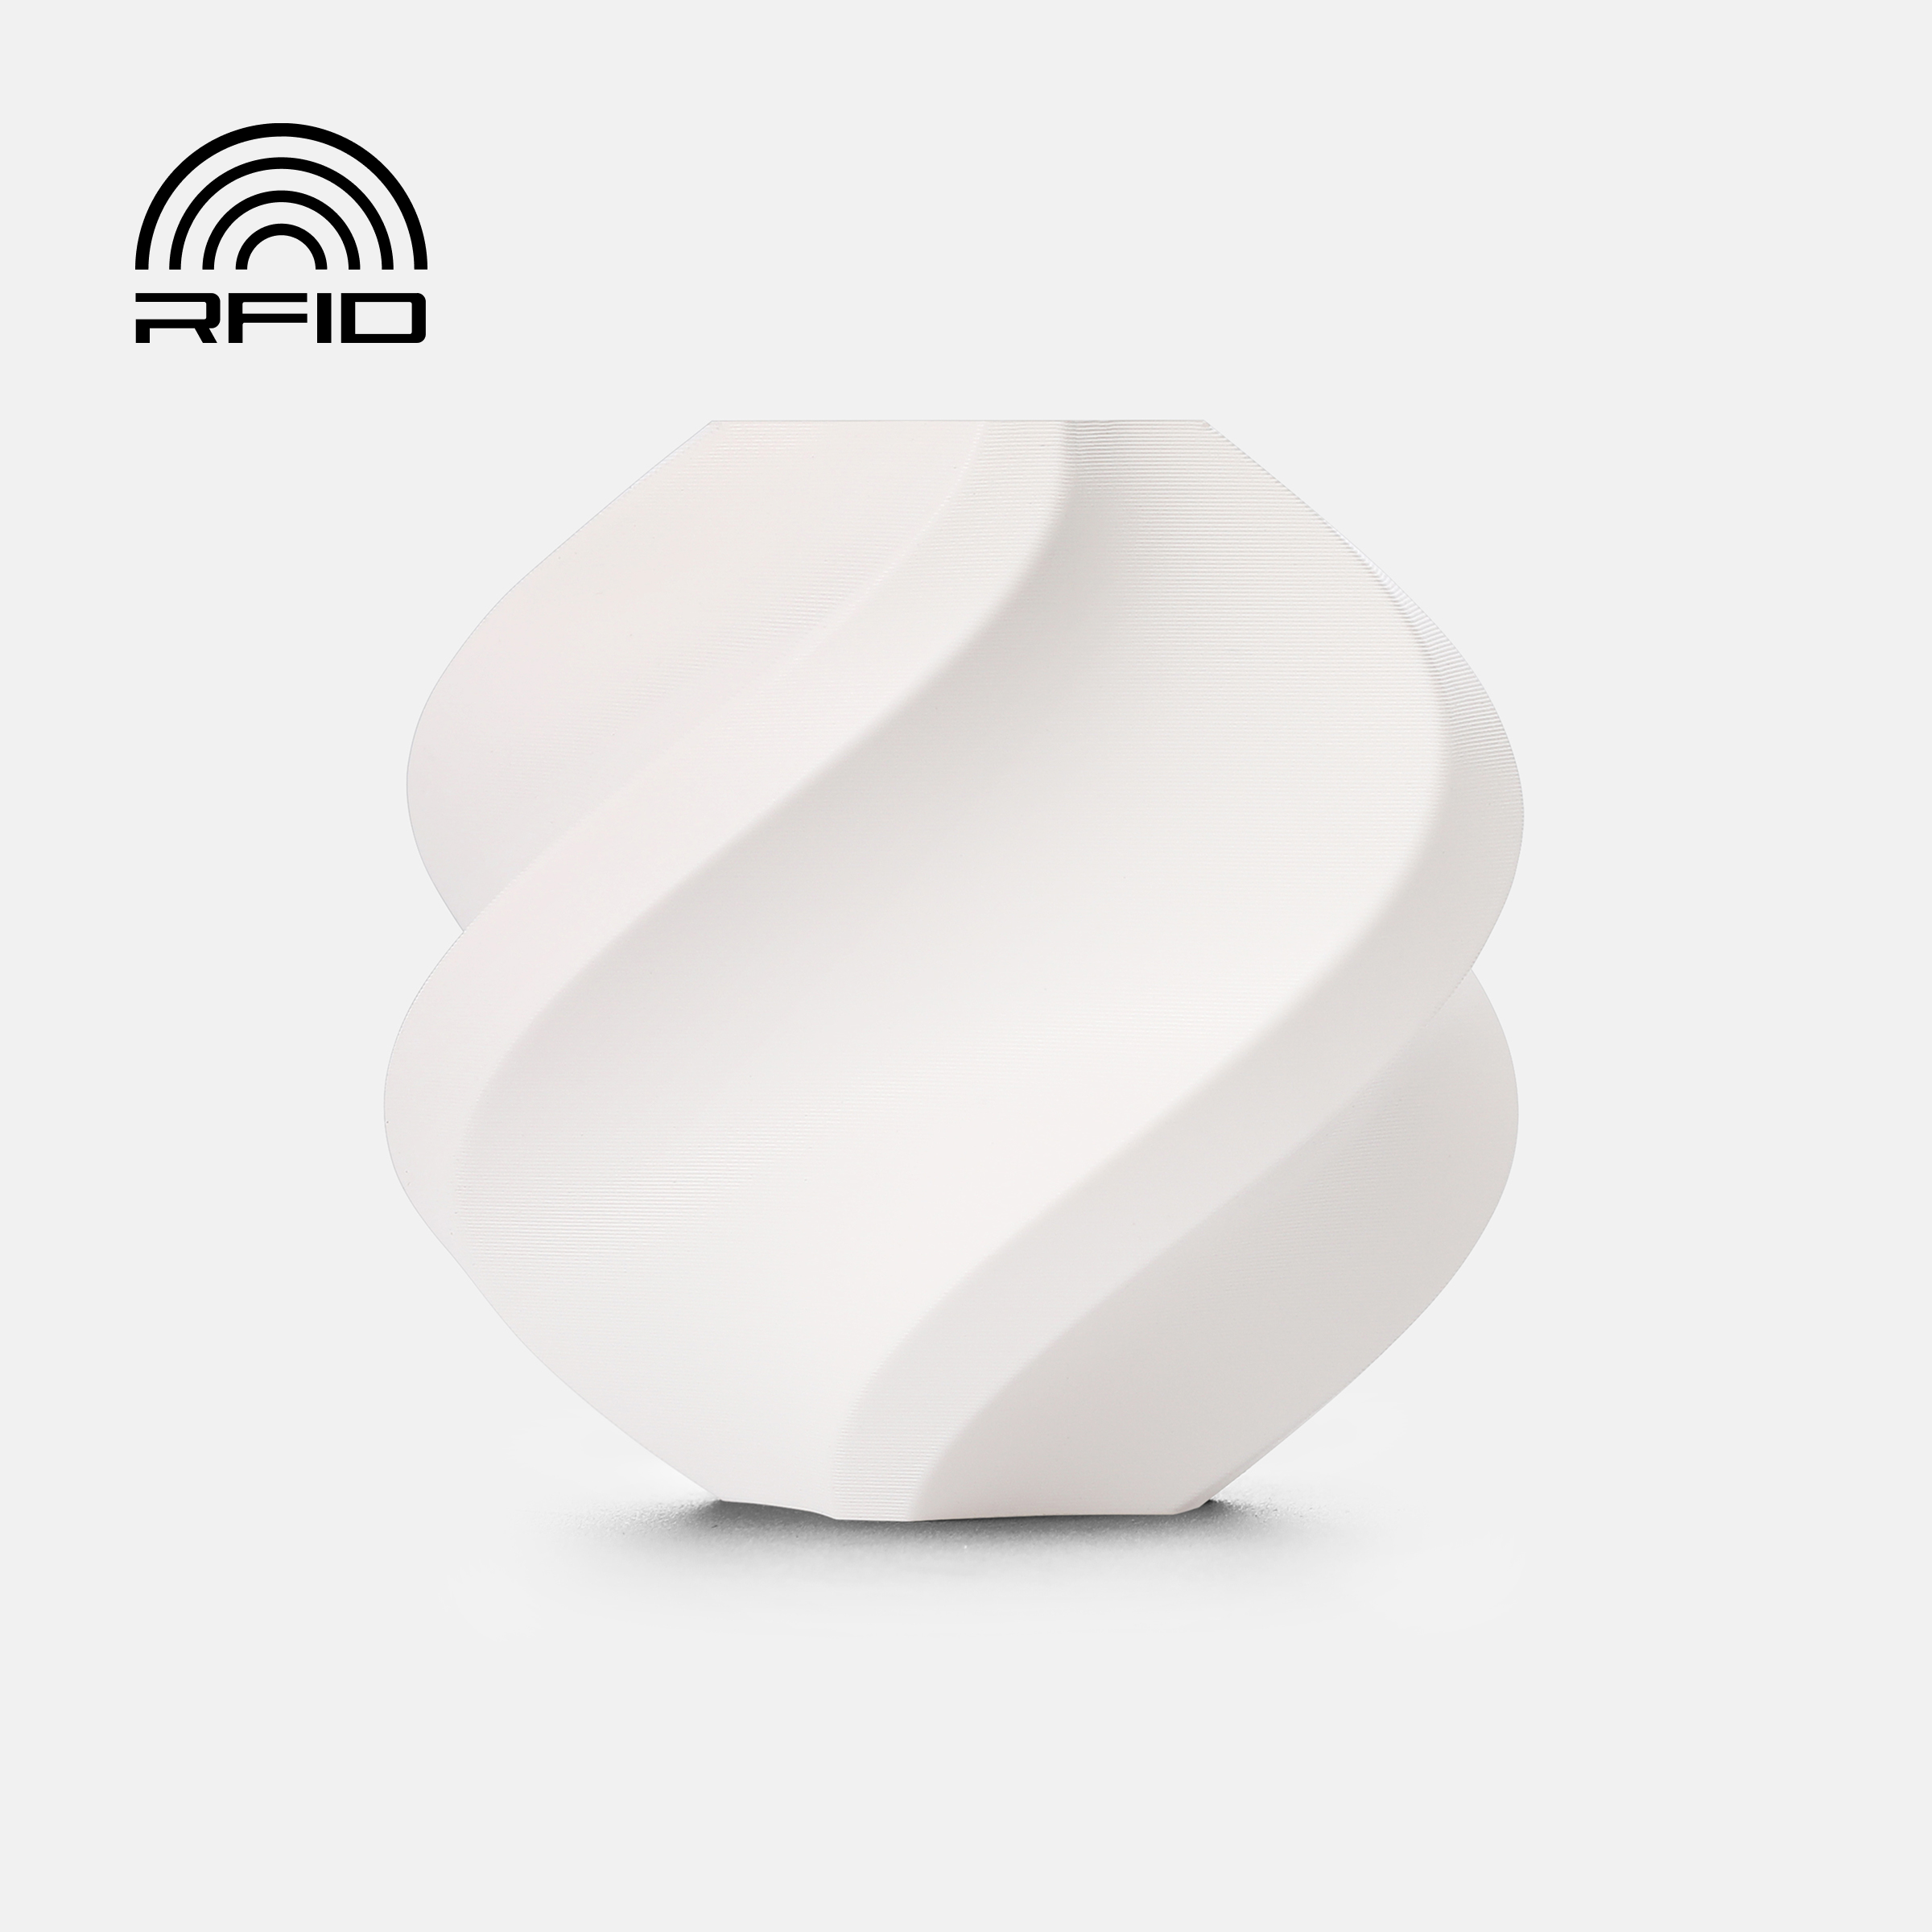

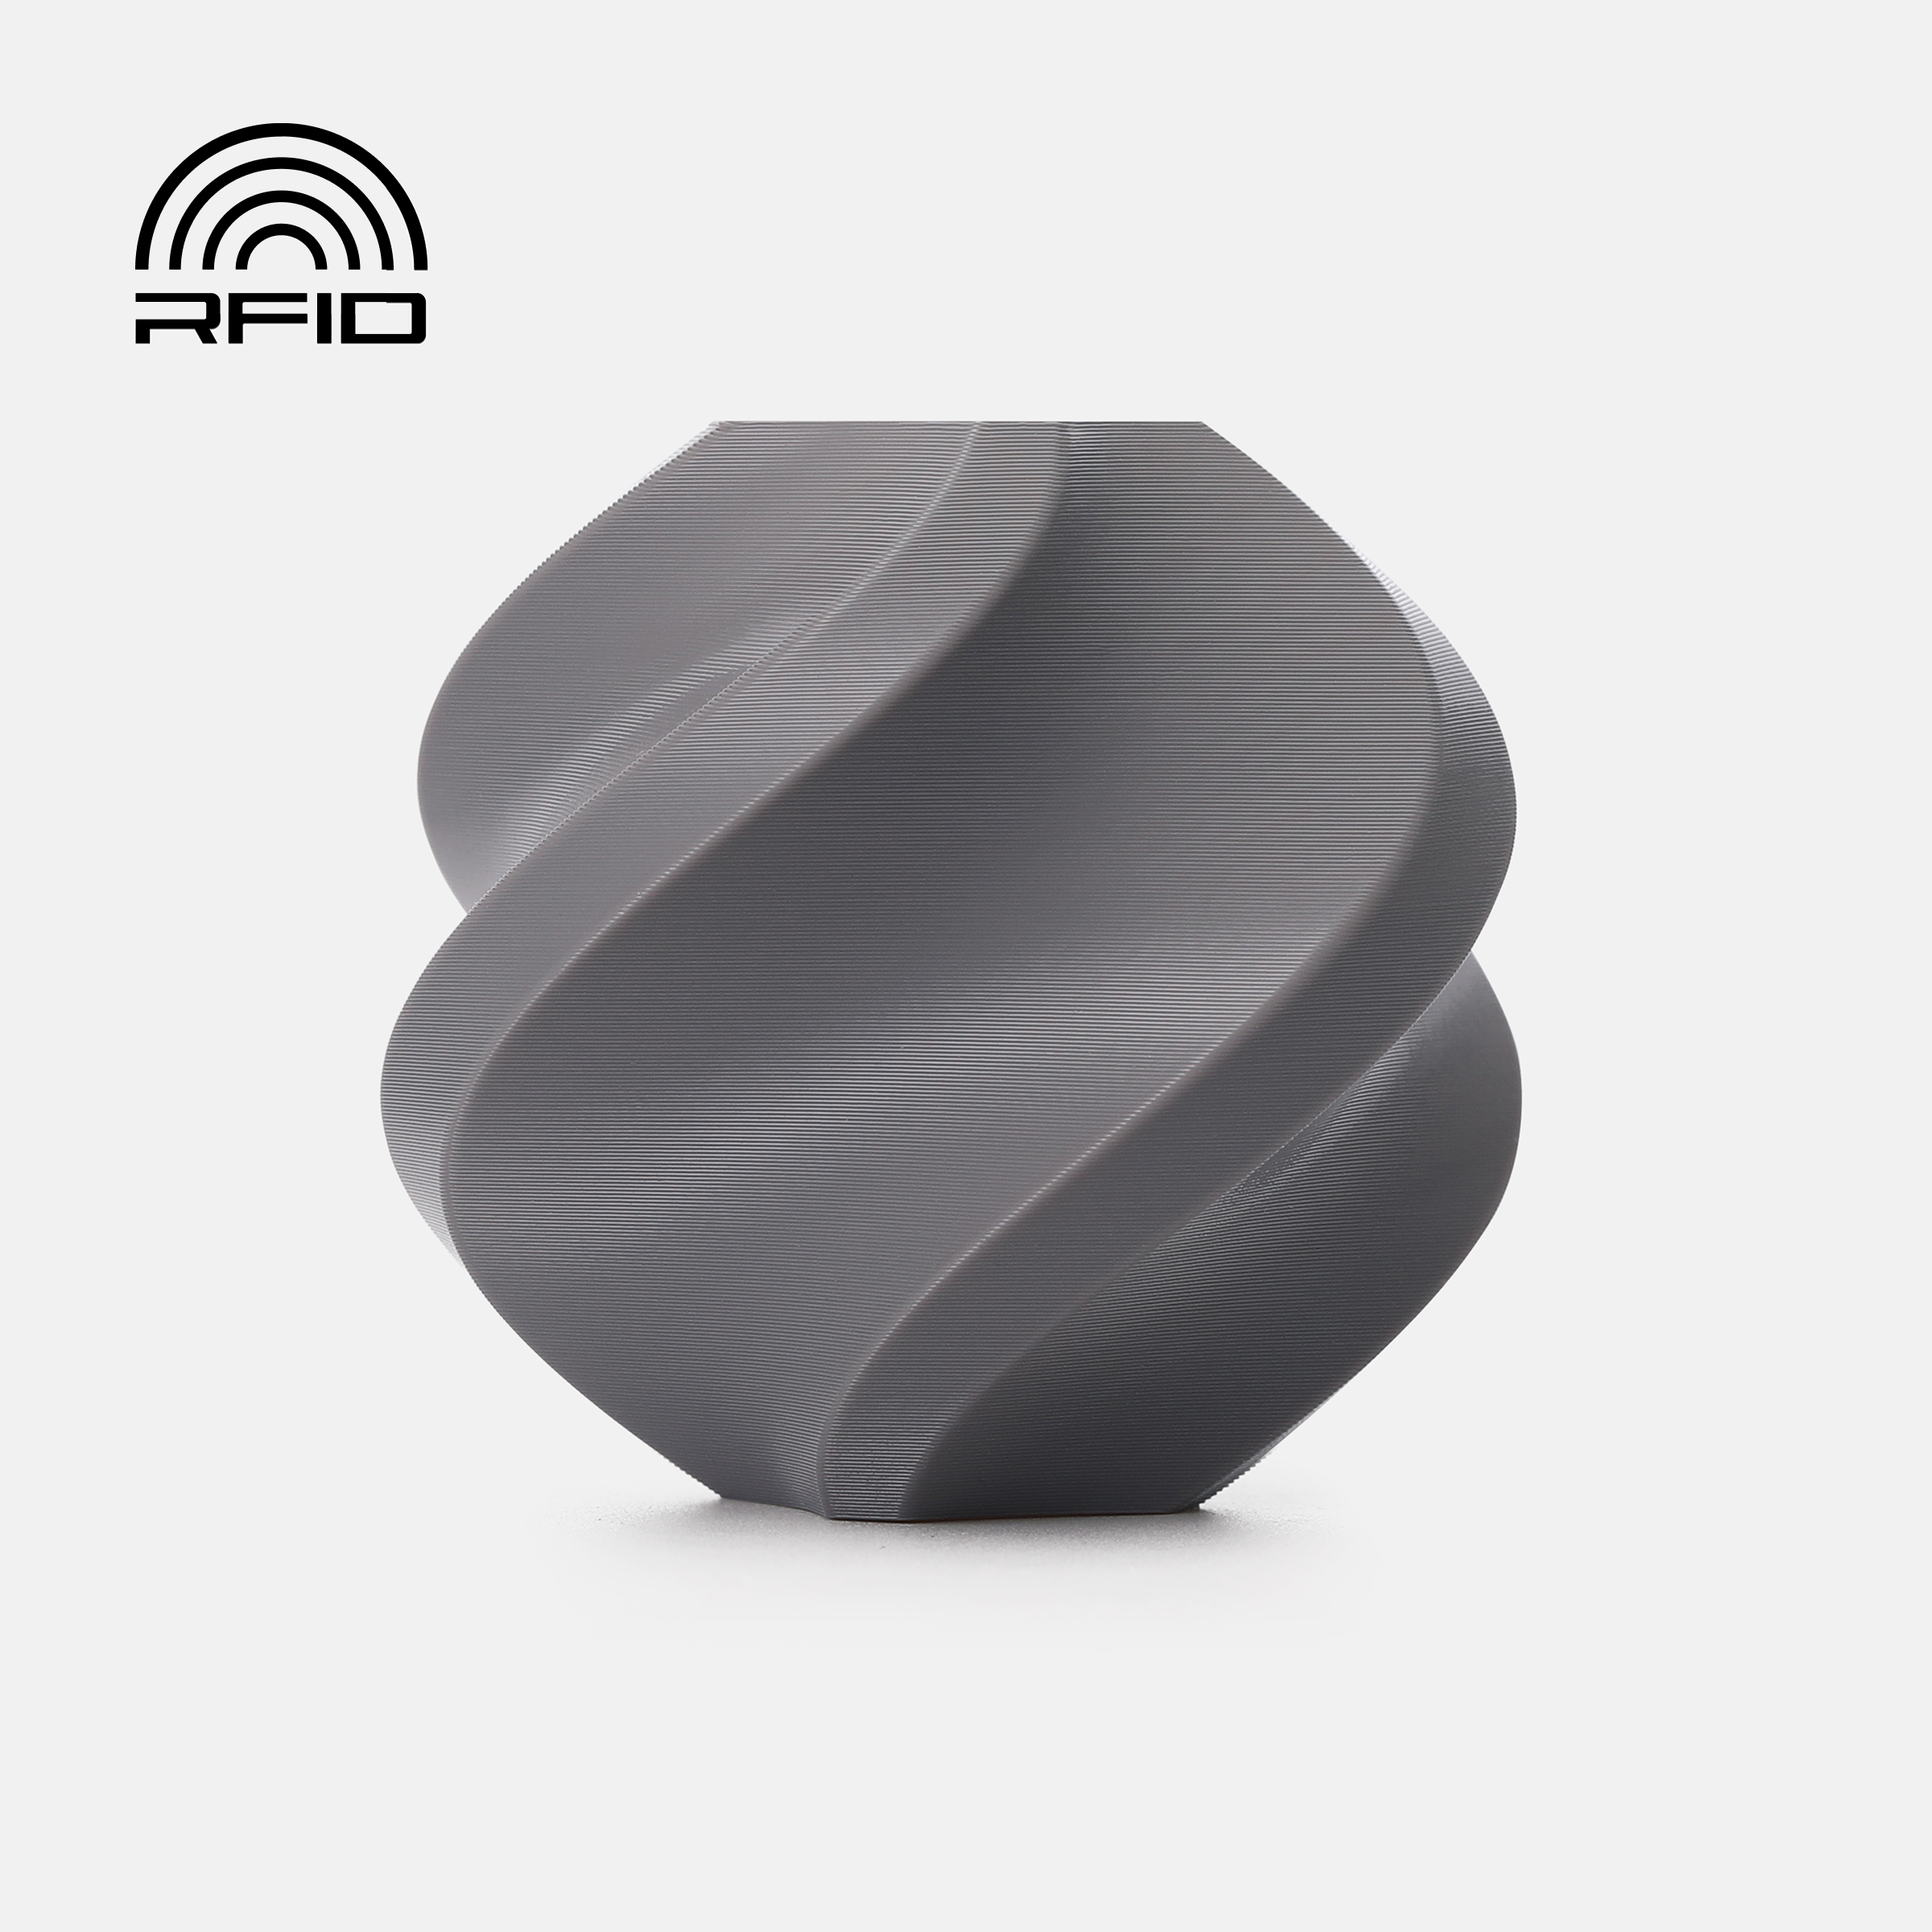

- 150mm Hose x 1:
- Hose Clamp x 1:
Description
Boost Me (for free)
🚀 If you like this model, please consider giving me a Boost! I would highly appreciate your support. 🚀
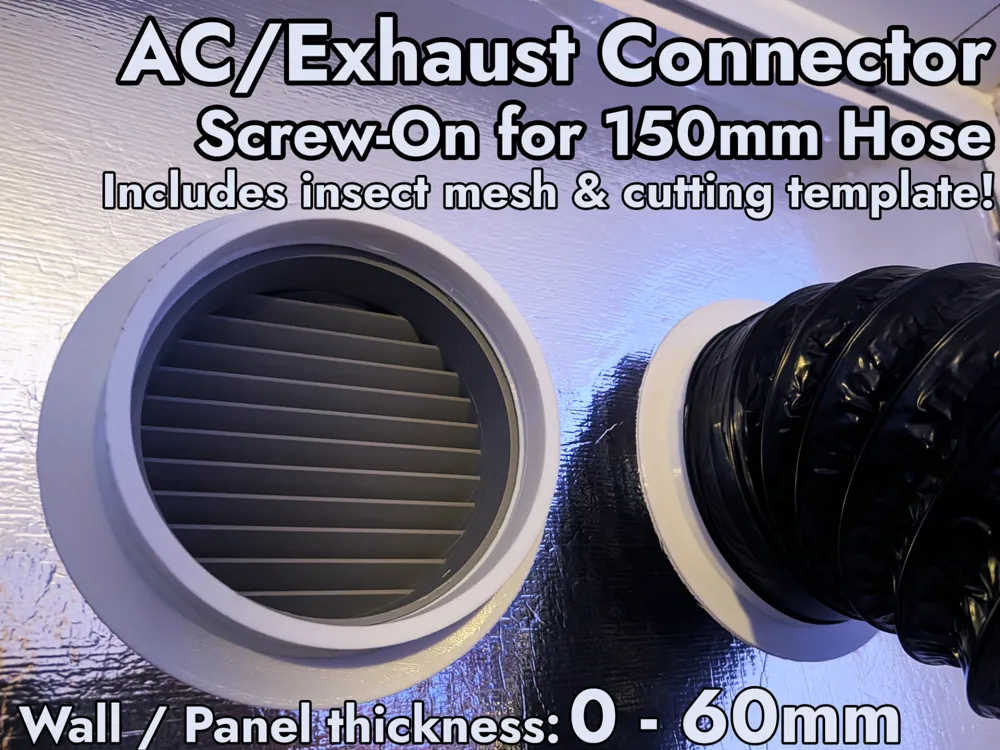
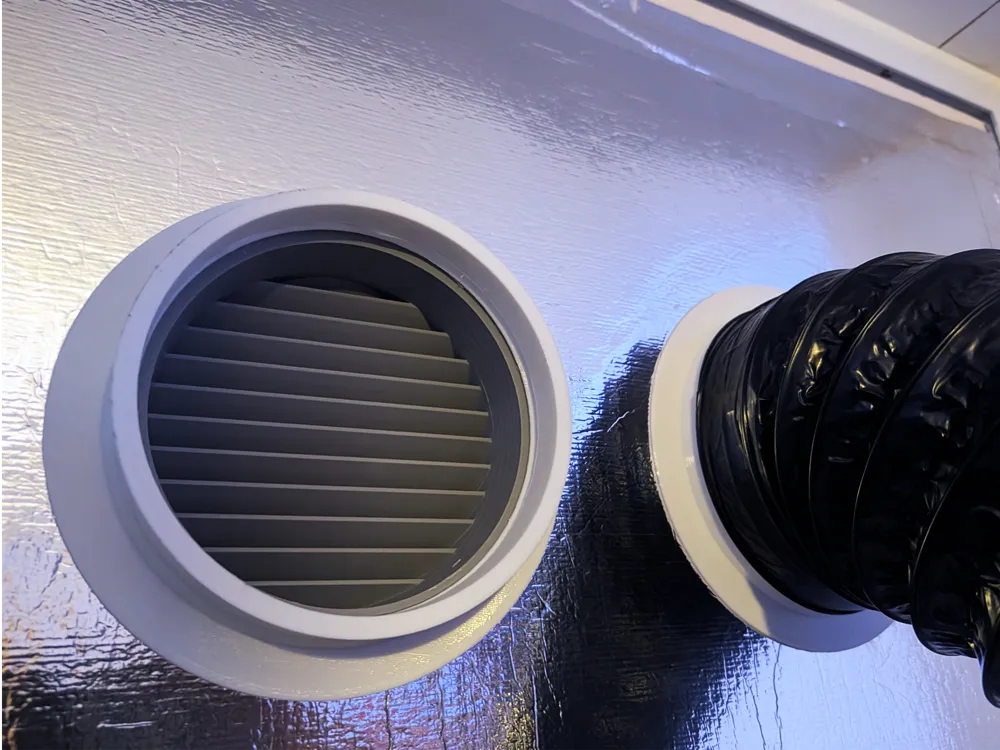
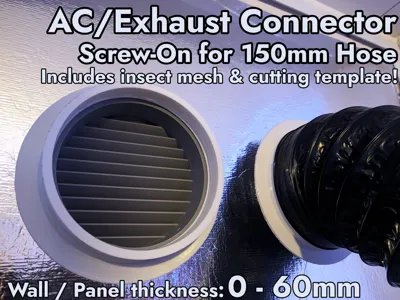
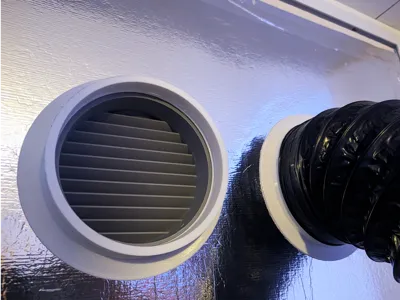
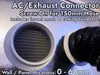
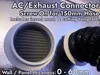
I designed this threaded pass-through originally for a dual-hose portable AC modification(link), but it works perfectly for any application utilizing a standard 150mm (6") exhaust hose.
I also took a lot of attention to keep this design A1 mini compatible, to be printable by everyone.
If you are tired of leaky, annoying fabric zipper window seals, this project offers a much cleaner, more efficient alternative. It is easy to put on and remove. The thread has enough play to easily screw together, but once you tighten it by hand, it will be airtight.
Choose Your Variant & Options
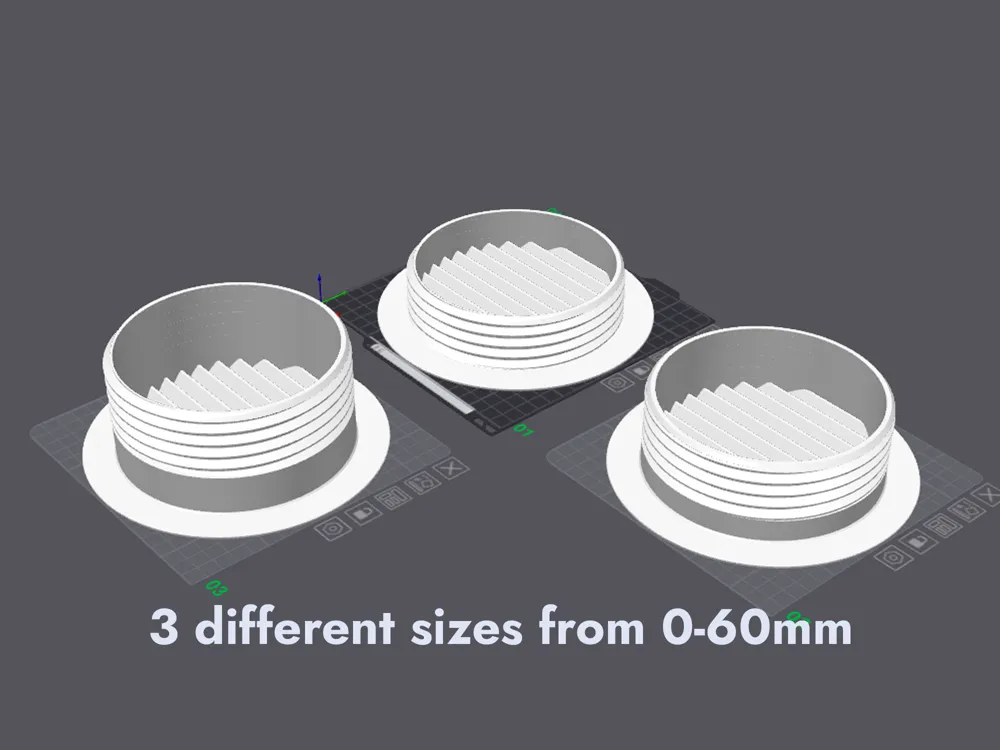
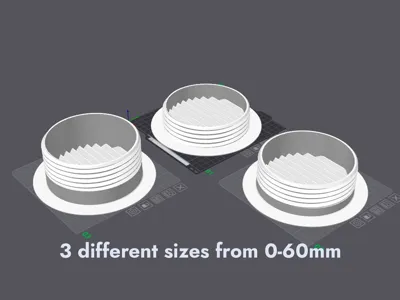
Select the correct file profile based on the thickness of your window panel (to save filament and time):
- Profile 1: Fits thicknesses from 0 to 25 mm
- Profile 2: Fits thicknesses from 15 to 42 mm
- Profile 3: Fits thicknesses from 30 to 60 mm
Optional Add-ons:
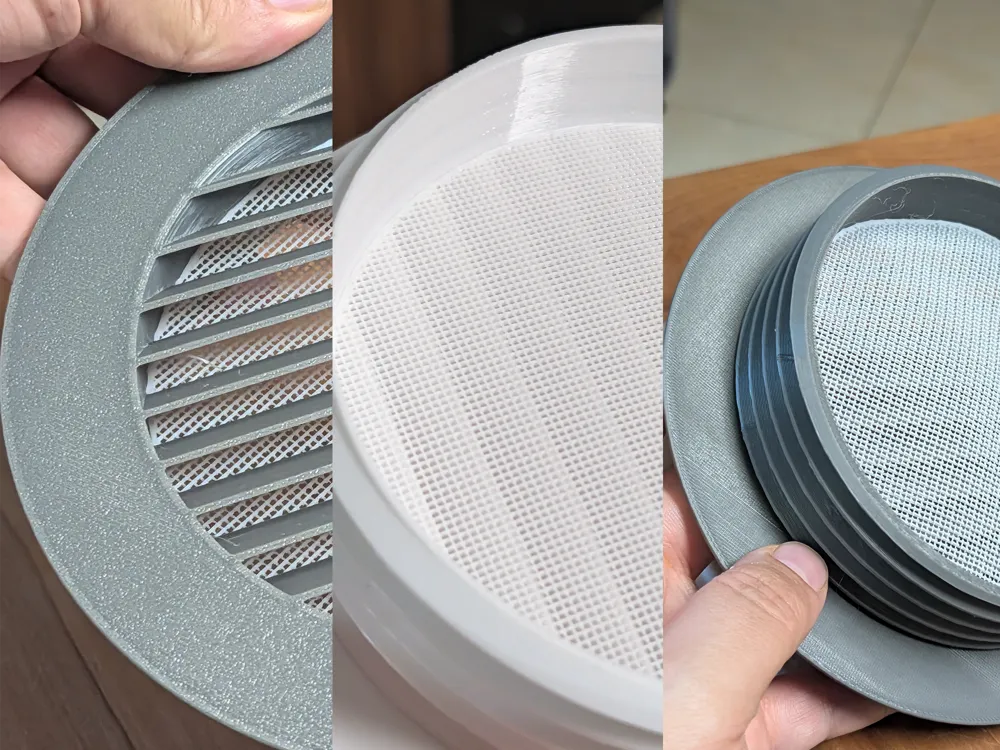
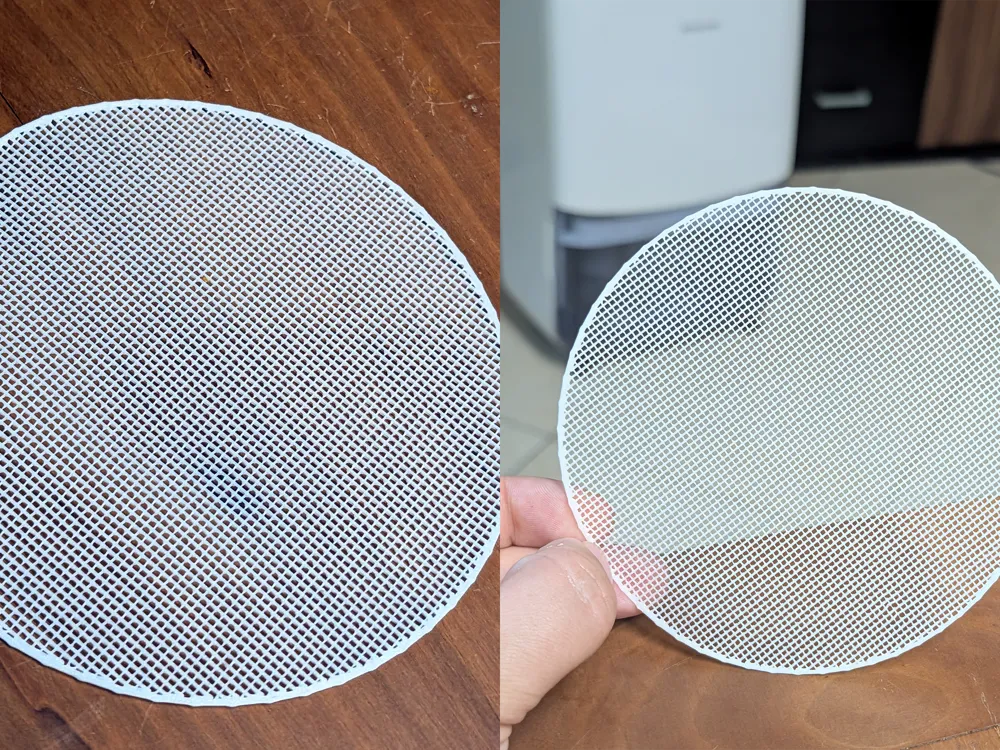
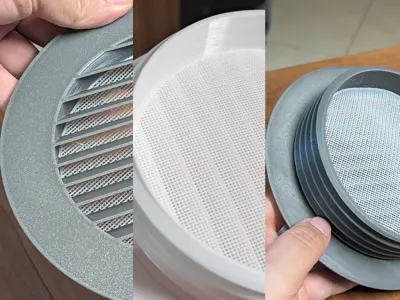
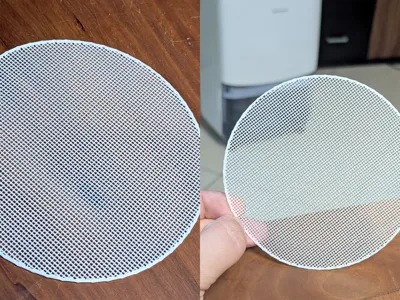
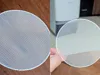
- Profile 4 (Insect Screen / Bug mesh): A convenient, clip-guard bug guard to keep flies and beetles out.
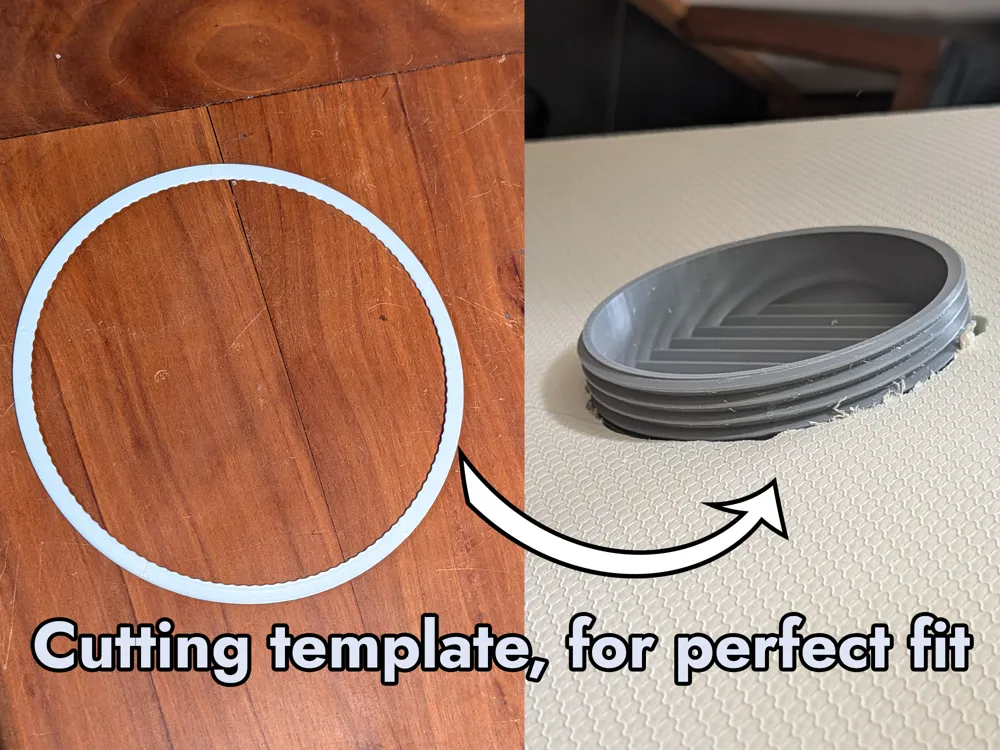
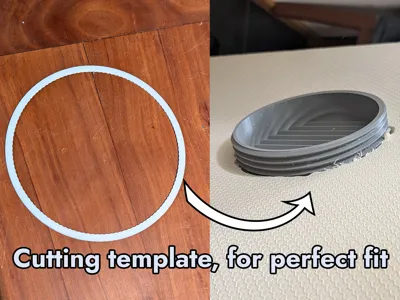
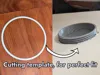
- Profile 5 (Cutting Template): A printable guide to easily mark your panel cuts before slicing.
My Setup & Material Tips
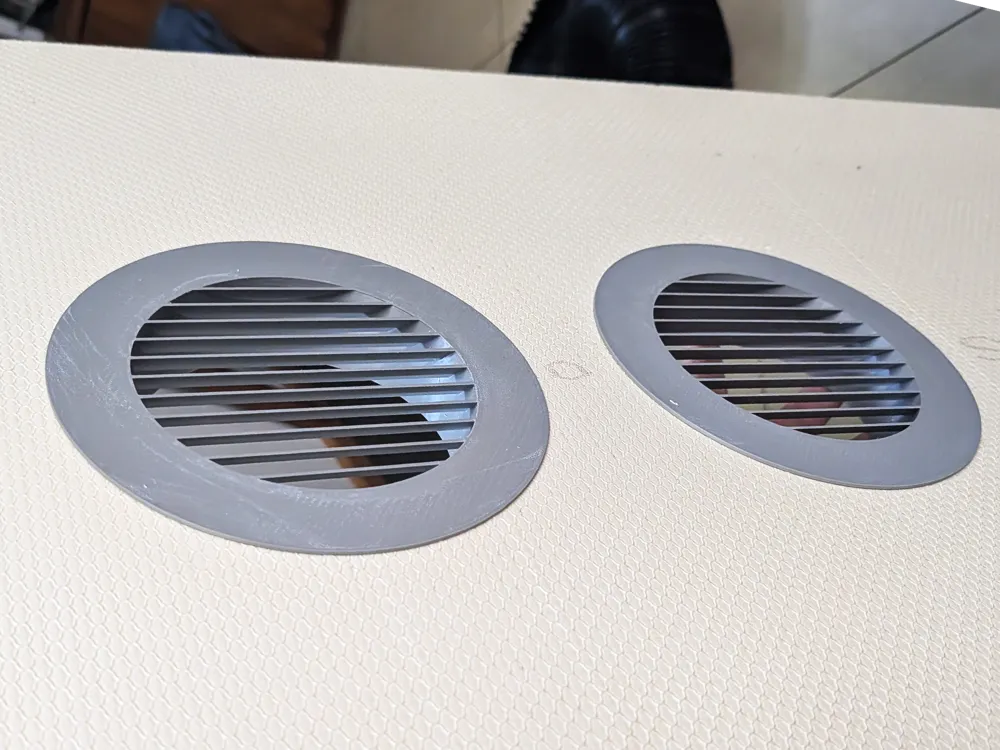
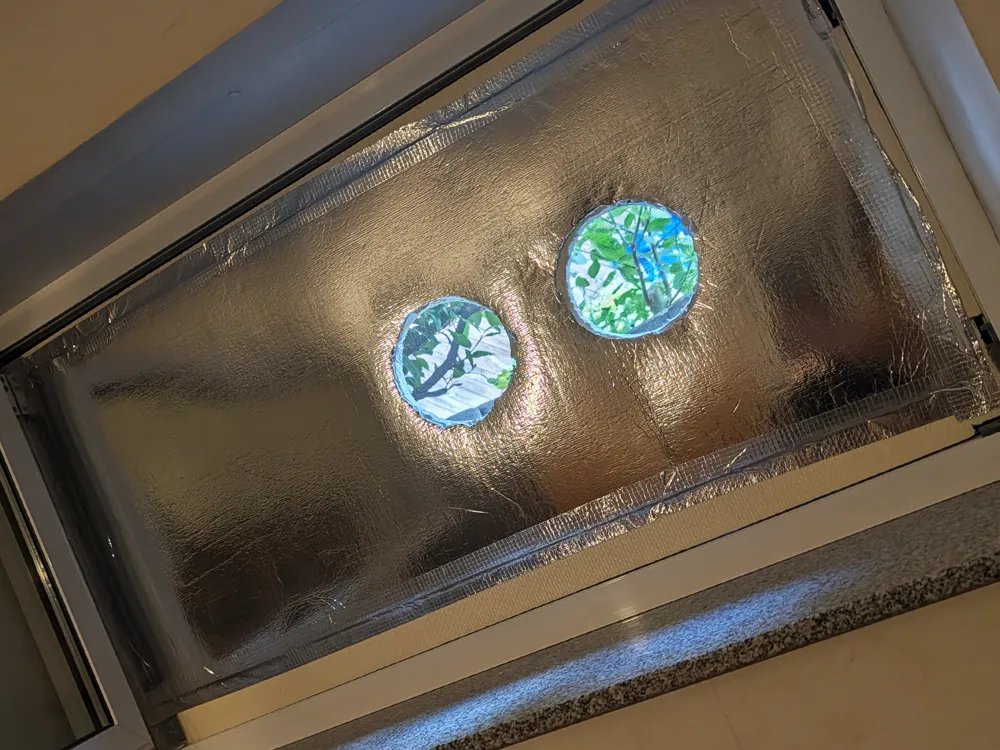
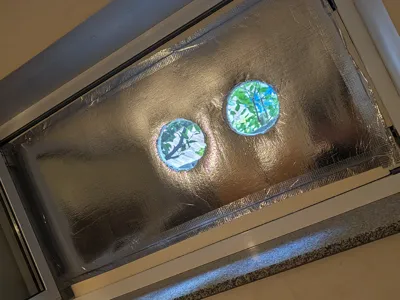
I paired this adapter with a 20mm XPS panel which I lined with reflective radiator insulation foil. The whole setup cost me less than 10€ at my local hardware store. You can easily cut XPS with a standard utility knife and simply glue 2 panels together if you have a bigger window. It is lightweight, stable, thermal isolating, completely opaque (light-tight), and seals beautifully.
If you don't want to use XPS, this design easily adapts to plywood, acrylic, or any other window insert material you prefer.
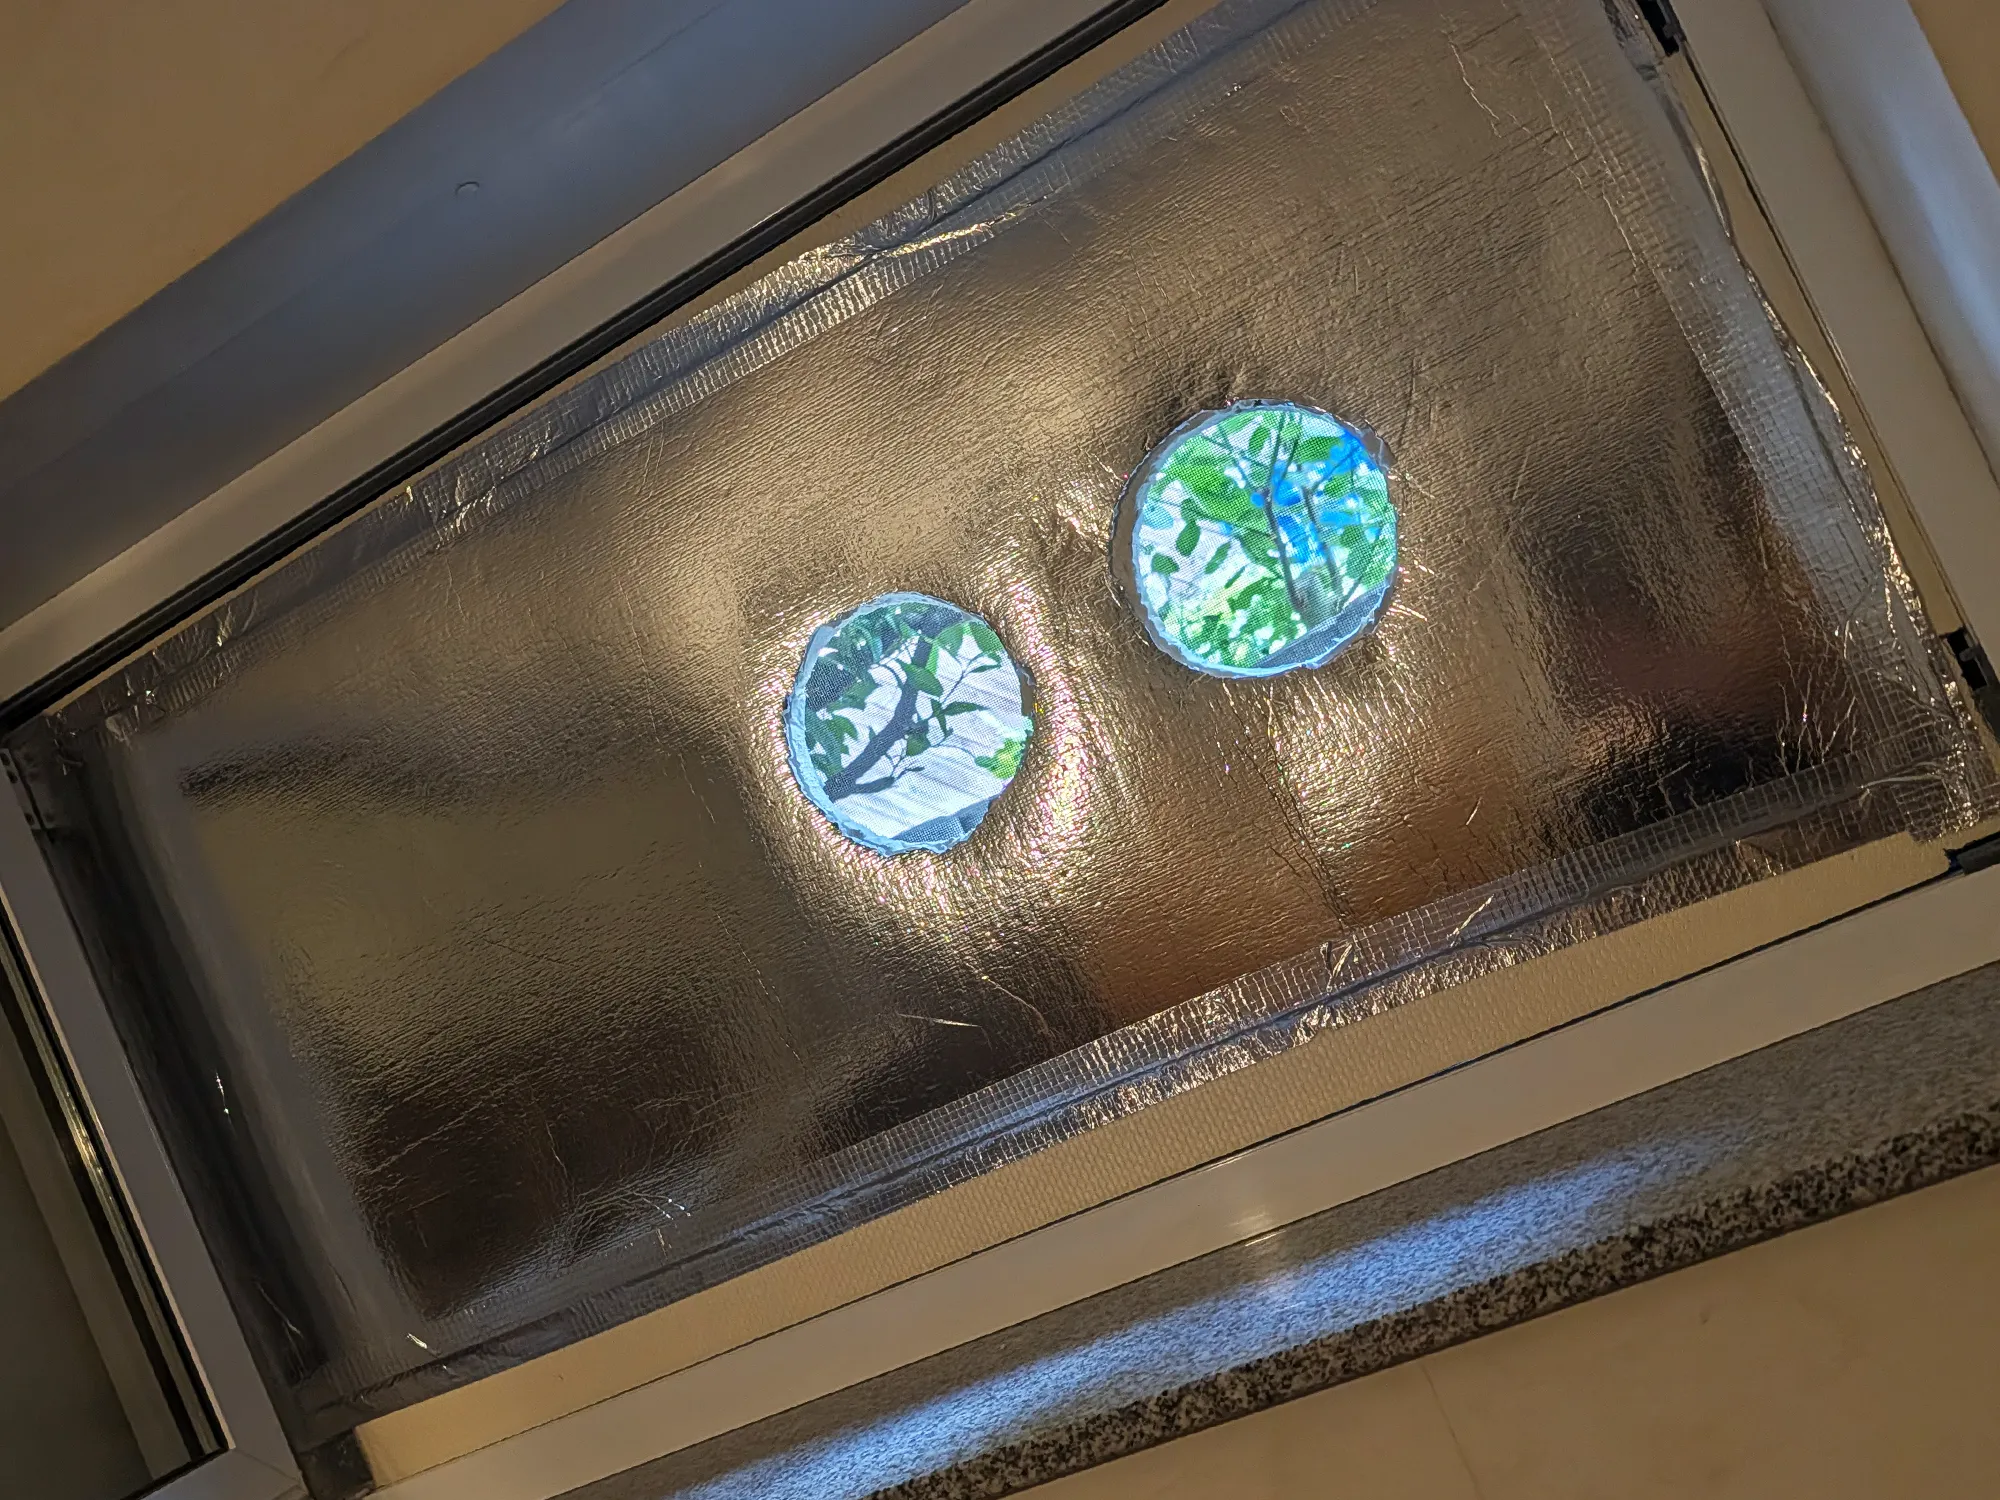
Step-by-Step Setup for the full window panel:
- Cut your panel roughly to your window's dimensions first.
- Hold it up to the frame and incrementally trim the edges piece for piece for a perfect, airtight press-fit.
- (Optional) Use the cutting template to mark the exact holes for your pass-through adapter.
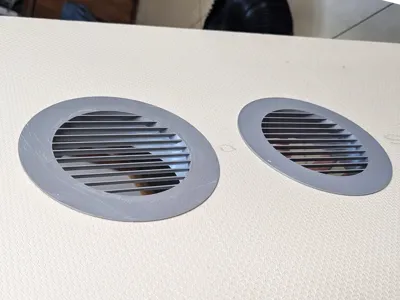
- Cut out the holes (141mm diameter) and screw the adapter tightly into place.
- After that, make it UV-resistant and heat-reflective by covering it with radiator insulation foil. (From the outside ofc.)
- (Optional) Push in the clip-on bug mesh.
- screw in the pass-trough you just printed.
- connect your 150mm Hose
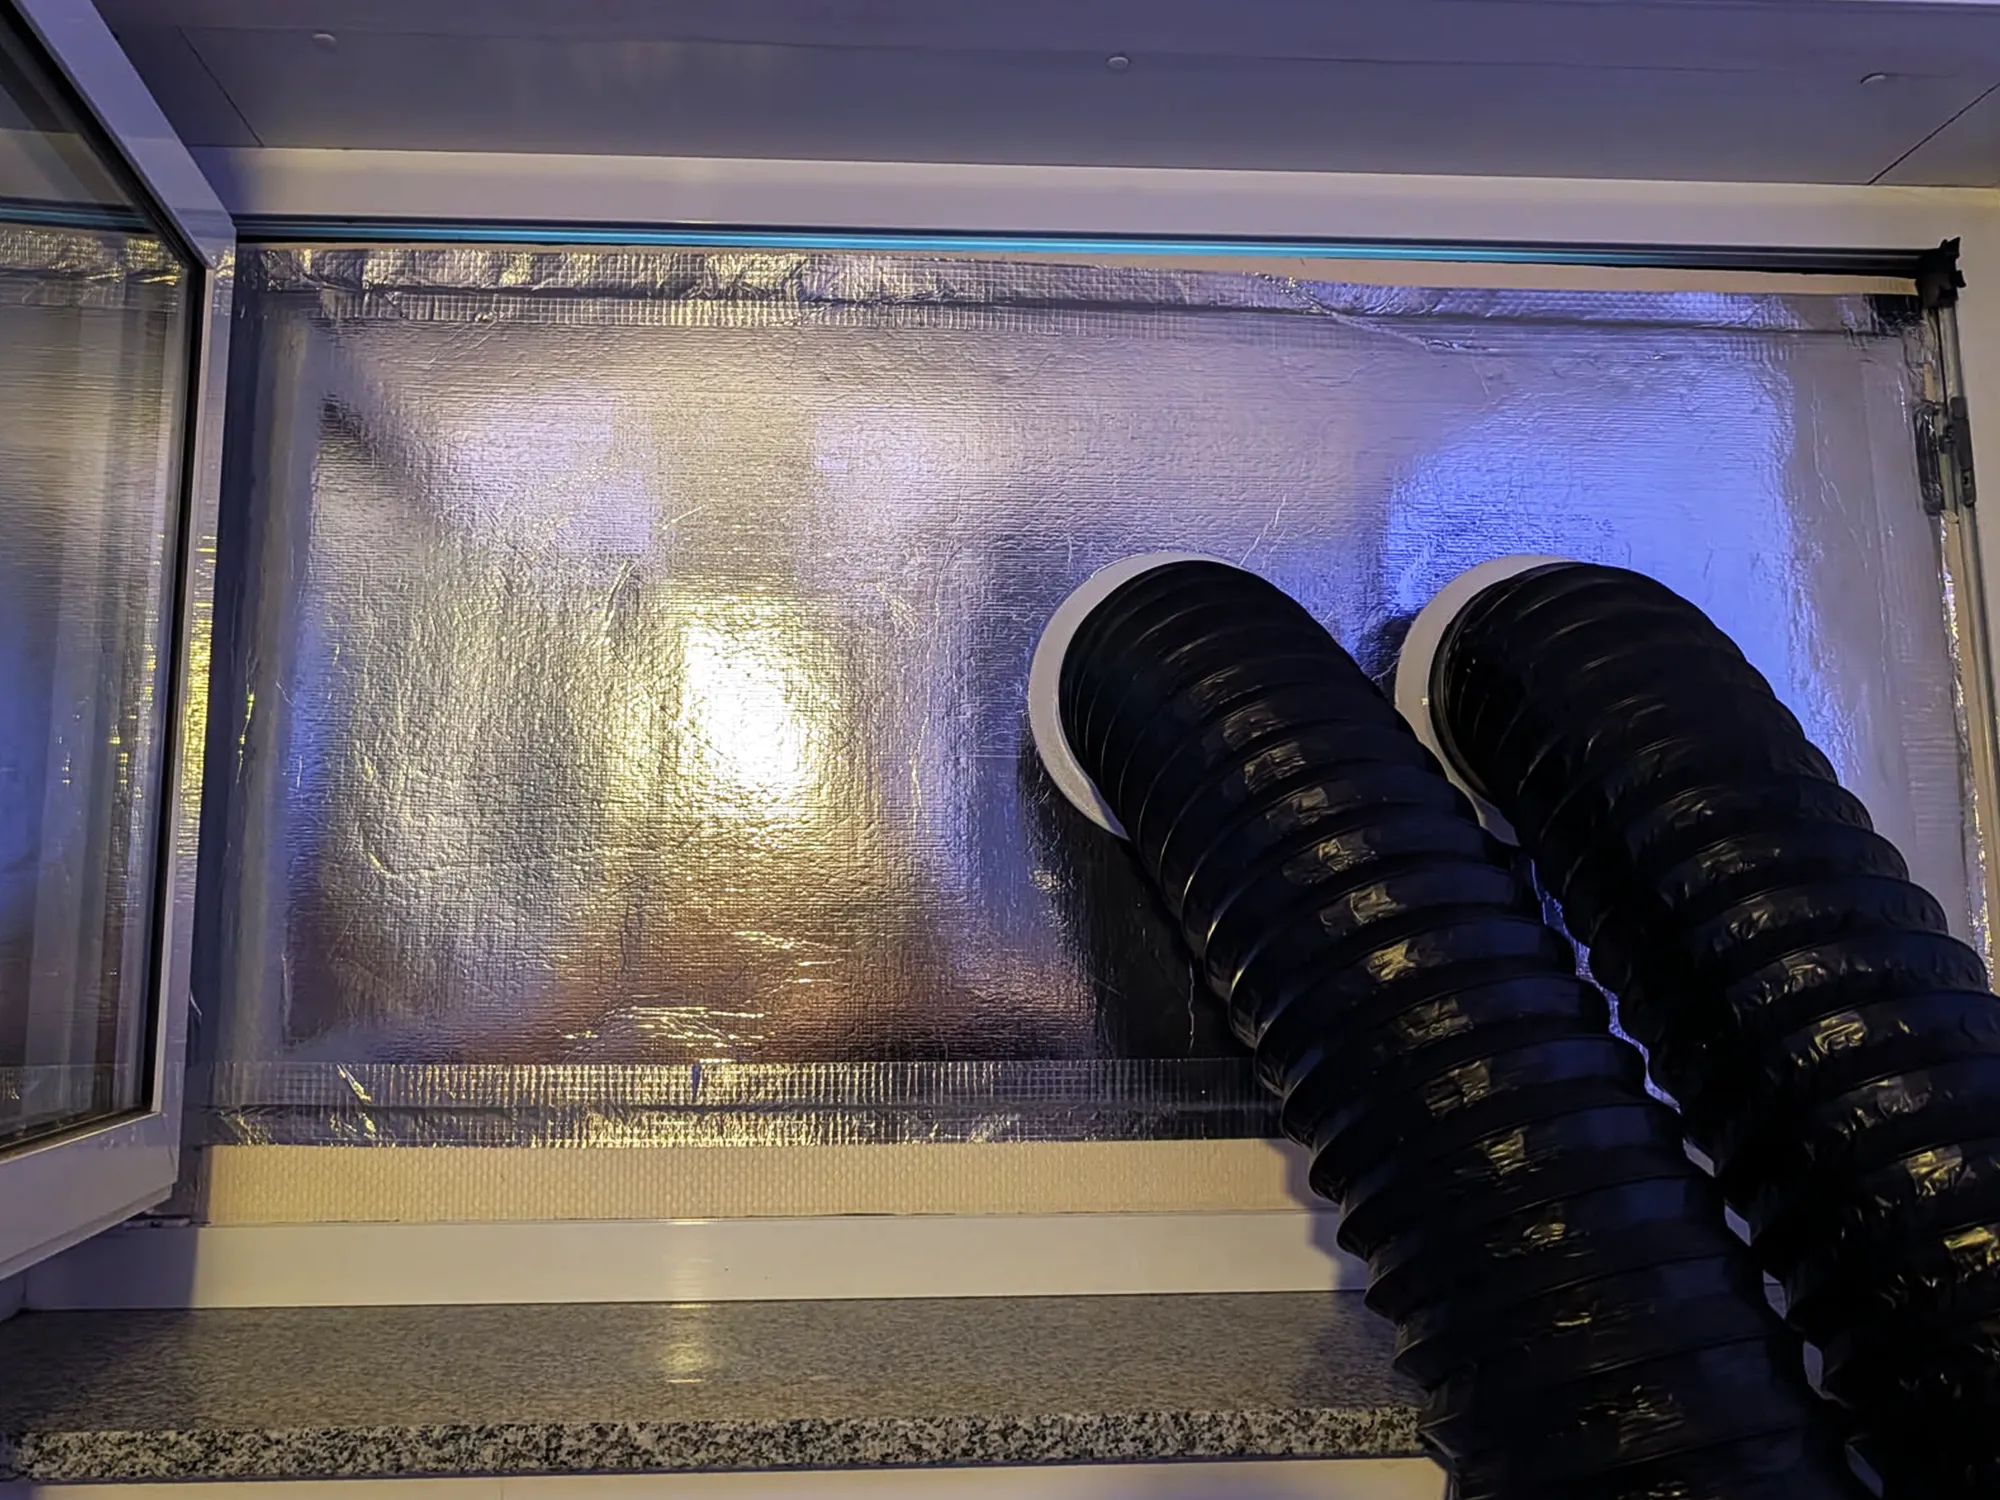
Filament Recommendations
This is a functional part exposed to both the sun and the hot exhaust air of an air conditioner
- 🟢 ABS / ASA: Best choice. If you already have experience with this material, this should be your choice. It handles the heat and provides necessary UV resistance.
- 🟡 PETG: Doable but if you use it in a hot environment for the AC exhaust, this already could deform over a longer time.
- ❌ PLA (Not Recommended): Avoid PLA for this specific project. The heat from the exhaust hose can cause it to deform very quickly
Changelog:
2026-06-29 - Made the Threading tolerances less tight, added a second build plate for a tighter fitting bug mesh
2026-06-30 - fixed the first thread of the outside part for the 15-42mm model. Thanks to @volker.defriesand @user_3587351113 for pointing out the defect
License

You may create derivative works based on this object, provided that all such derivative works are published exclusively on the MakerWorld platform and include proper attribution to the original creator. You may not share, upload, host, distribute, or publish this object—or any derivative work of this object—on any other digital platform, marketplace, or distribution channel. Commercial use of this object and any derivative works is strictly prohibited. This includes, but is not limited to, selling, renting, sublicensing, or using the object in any context in which you receive monetary compensation or other financial benefits.


Comment & Rating (22)