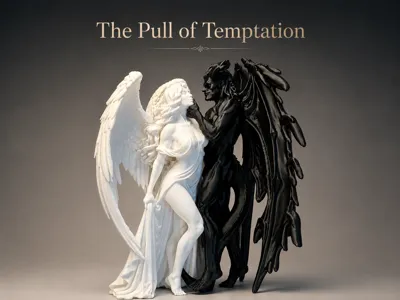
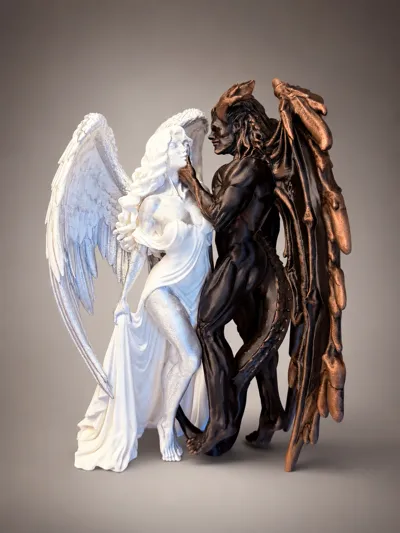
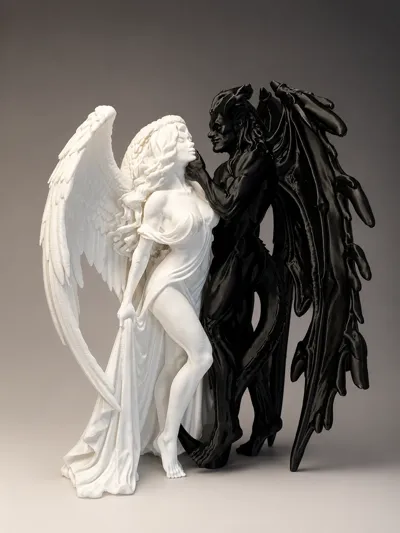
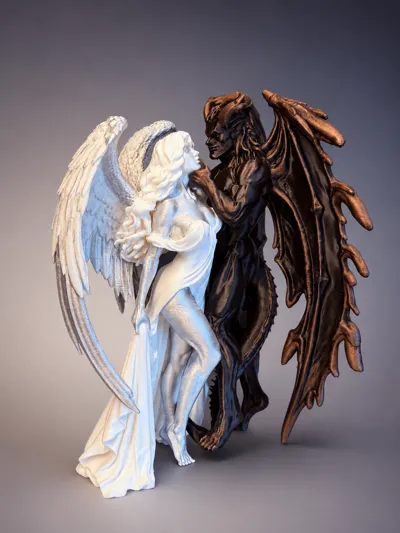
The Pull of Temptation - Angel & Demon (Tall Size)


Print Profile(1)

Description
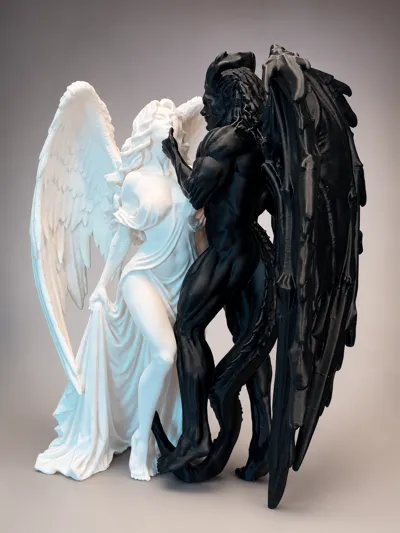
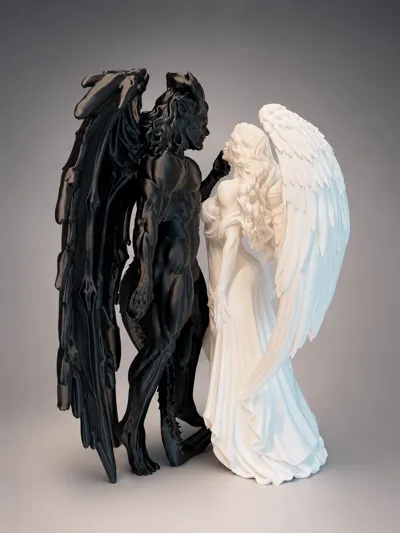
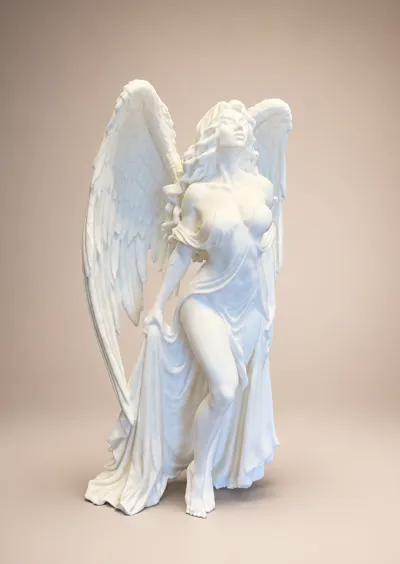
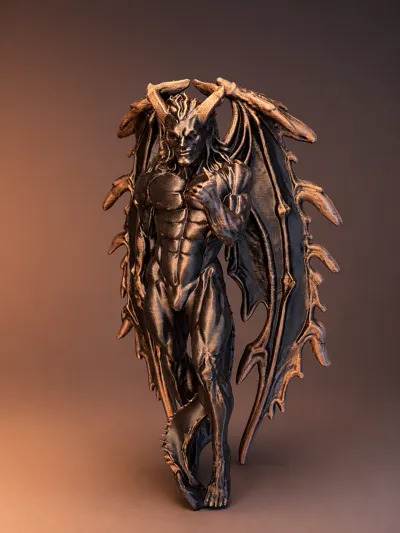
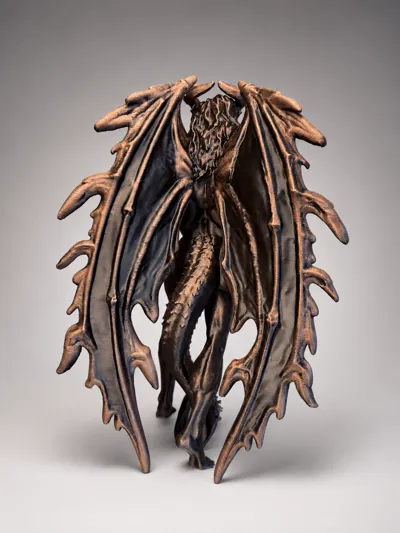
This sculpture is made of 2 separate models.
Current height; Angel - ~22cm, (8.66") and the Demon ~24 cm (9.45")
The idea behind The Pull of Temptation was to create two complete opposites—something you know is probably not good for you, but is still incredibly hard to resist.
I also wanted to play around with the question: Who is really tempting who? The devil is lifting the angel’s chin, but she almost looks like she is kissing—or smirking against—his thumb. At the same time, she is clutching her dress, almost as if she is trying to hold herself back. The devil is close, but he is not quite touching her.
So in the end, who is actually tempting who?
I wanted this sculpture to be on the taller side, but with the height comes a longer print time and more challenging supports around the angels hair.
I have not tried printing either figure at a smaller size. It is very possible that you could ease up on the supports if you scale them down, but at the current size, I would not recommend using anything weaker than the included settings.
Printing
- Use a clean print plate with some glue (unless you are using a super tack plate)
- Use dried out filament
- (Different filament types impact the print differently, please adjust your settings accordingly. If printing with silk PLA, then I recommend to adjust the Speed Outer wall setting to 40mm/s and Tope Surface to 40mm/s.
- Leave each model on the dedicated print plate, they don't share the same support settings.
Support Removal
- Let the model cool down before removing the supports.
- Use pliers when removing the supports.
- Start with breaking the support in the middle by “crushing” them by using a plier.
- Start with the larger outside supports first, then carefully work your way into the chair area using small pliers around the wings, head and arms etc.
- For the Black Angel, gently pull/wiggle the support down following the direction of the wings/spikes.
- For the White Angel - The support is nestled under and might be in the hair and will take a little bit extra time.
- I added support blockers where possible, but I could not block everything. You may find that a few small support branches need to remain in place. They should not be noticeable from a normal viewing.
Sanding and gentle heating might be needed under the wing edges and under the chin of both of the models. If applying heat be careful to avoid warping or damaging the print.
If you like this design, please leave a rating, a comment or a boost.
Boost Me (for free)
Drawn to the light or tempted by the dark? 😈😇
Either way, a Boost is deeply appreciated!
License
You shall not share, sub-license, sell, rent, host, transfer, or distribute in any way the digital or 3D printed versions of this object, nor any other derivative work of this object in its digital or physical format (including - but not limited to - remixes of this object, and hosting on other digital platforms). The objects may not be used without permission in any way whatsoever in which you charge money, or collect fees.
Comment & Rating (0)