
Raspberry Pi 5 DISP/CSI FPC Camera & Display Clip
Print Profile(0)
Description
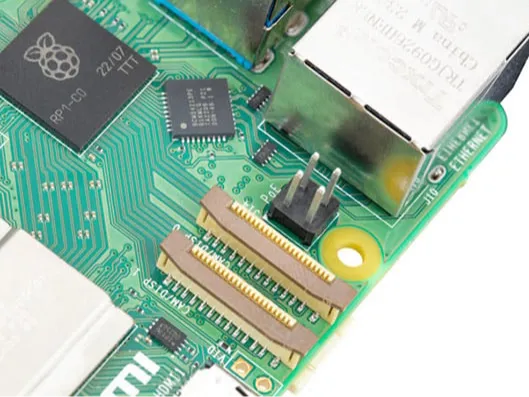
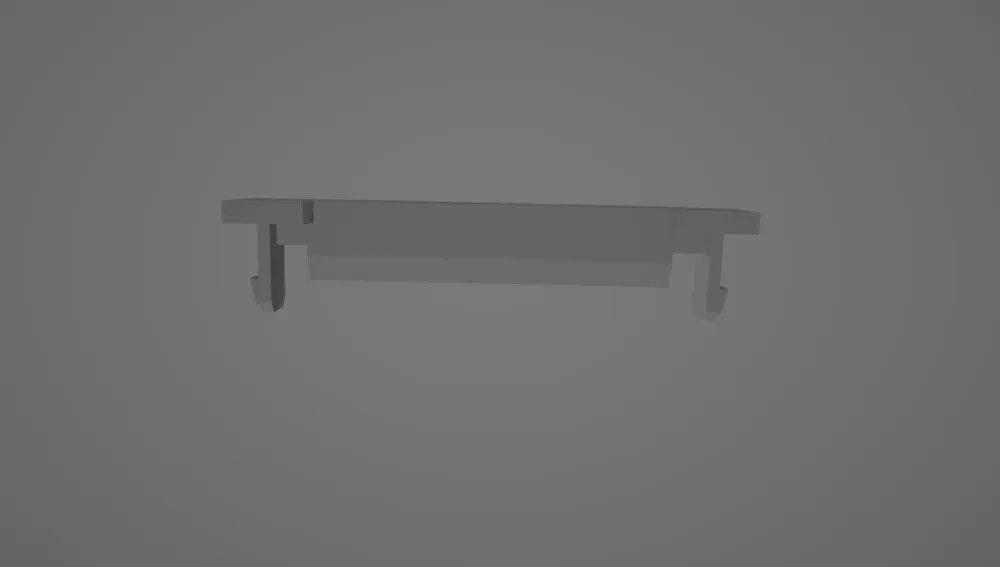
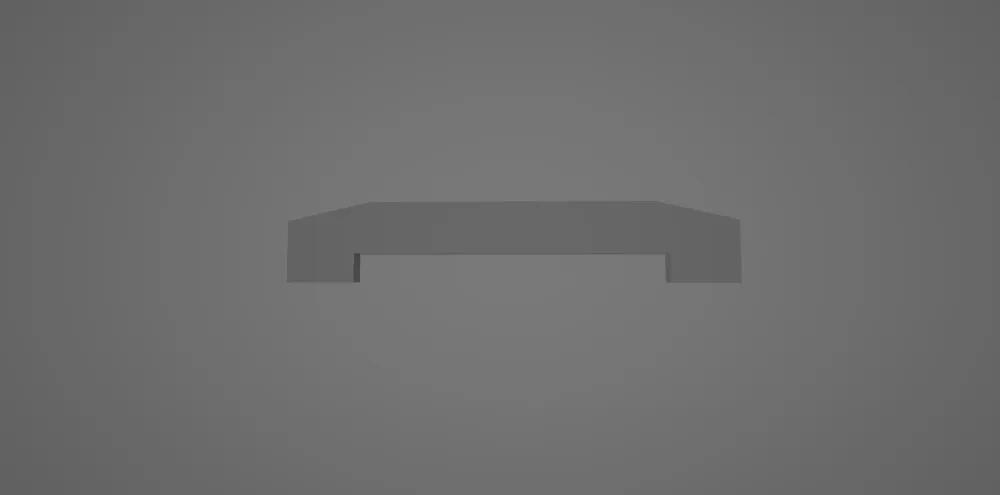
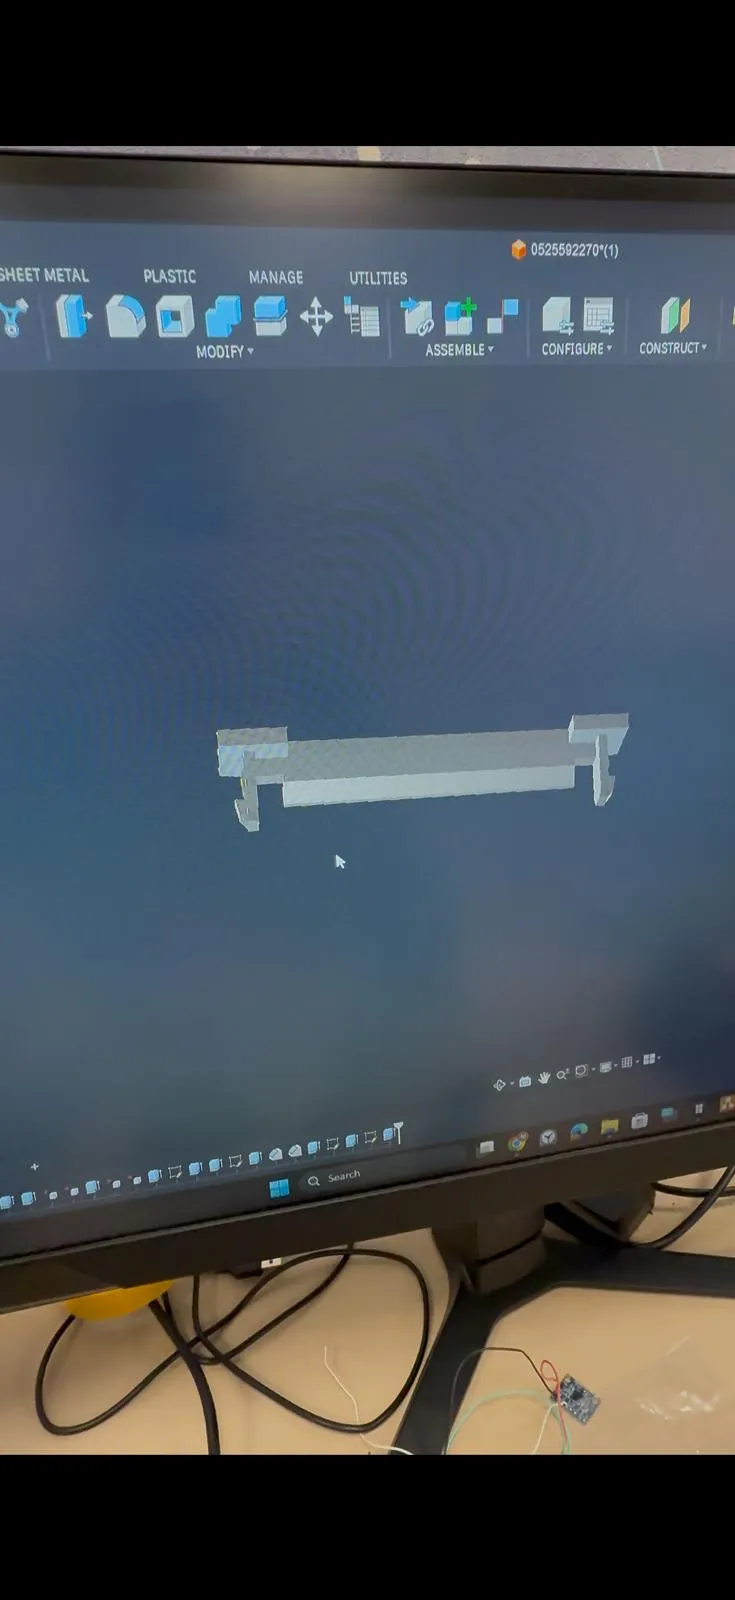
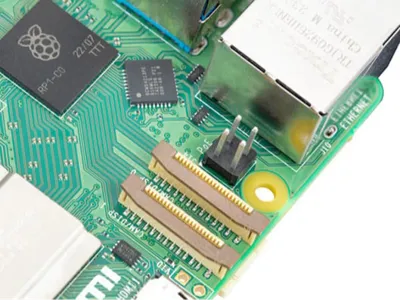
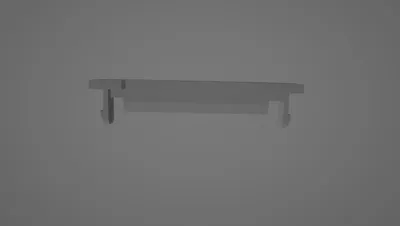
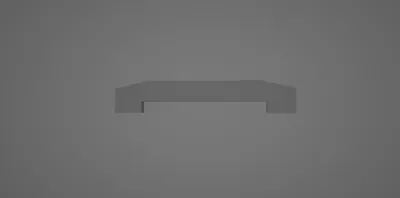
Raspberry Pi 5 FPC Camera & Display Connector Clip (Repair / Replacement)
Short Description
A reverse-engineered replacement clip for broken Raspberry Pi camera/display FPC connectors. Save your expensive hardware with this quick DIY fix!
Description
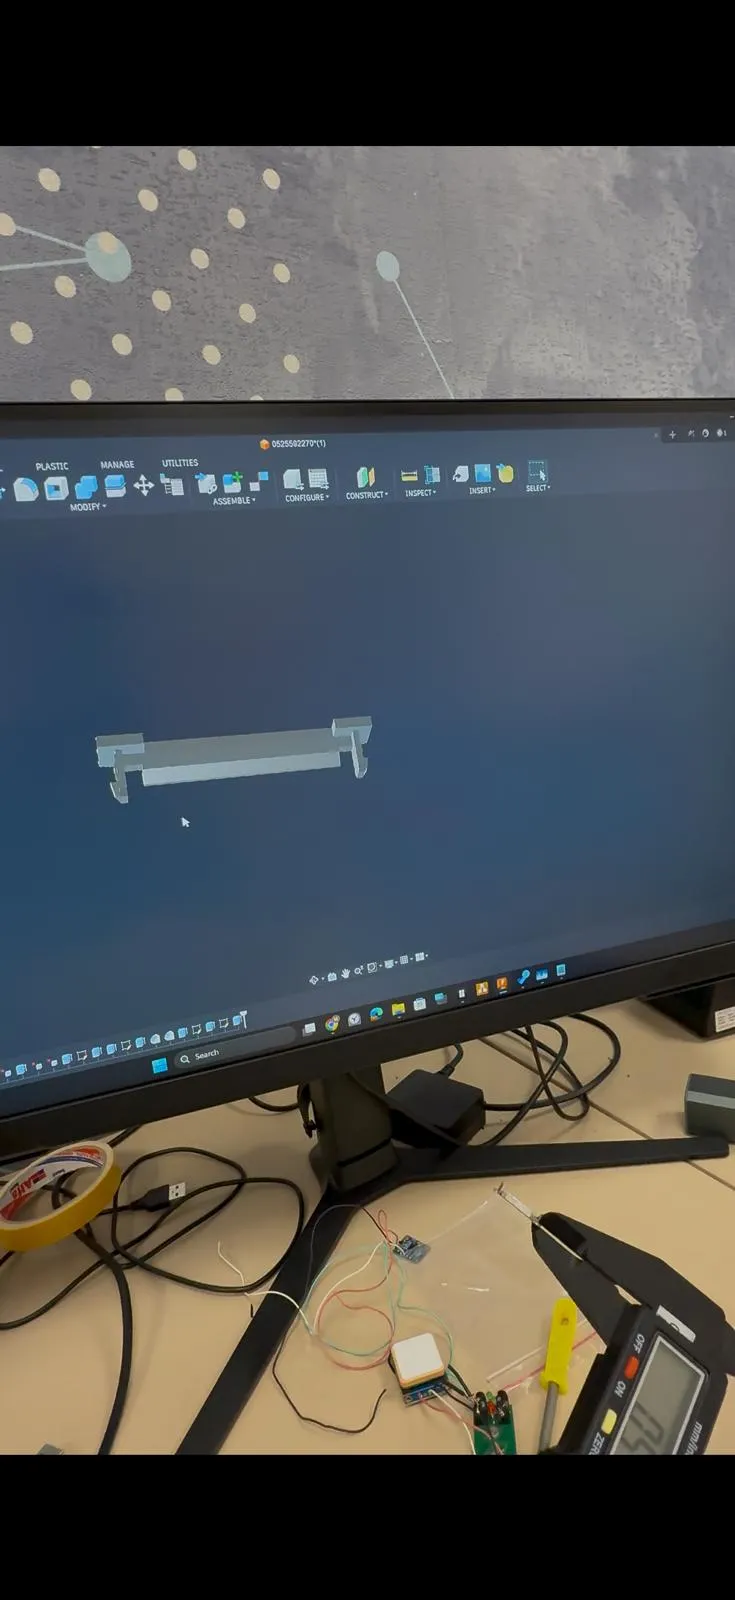
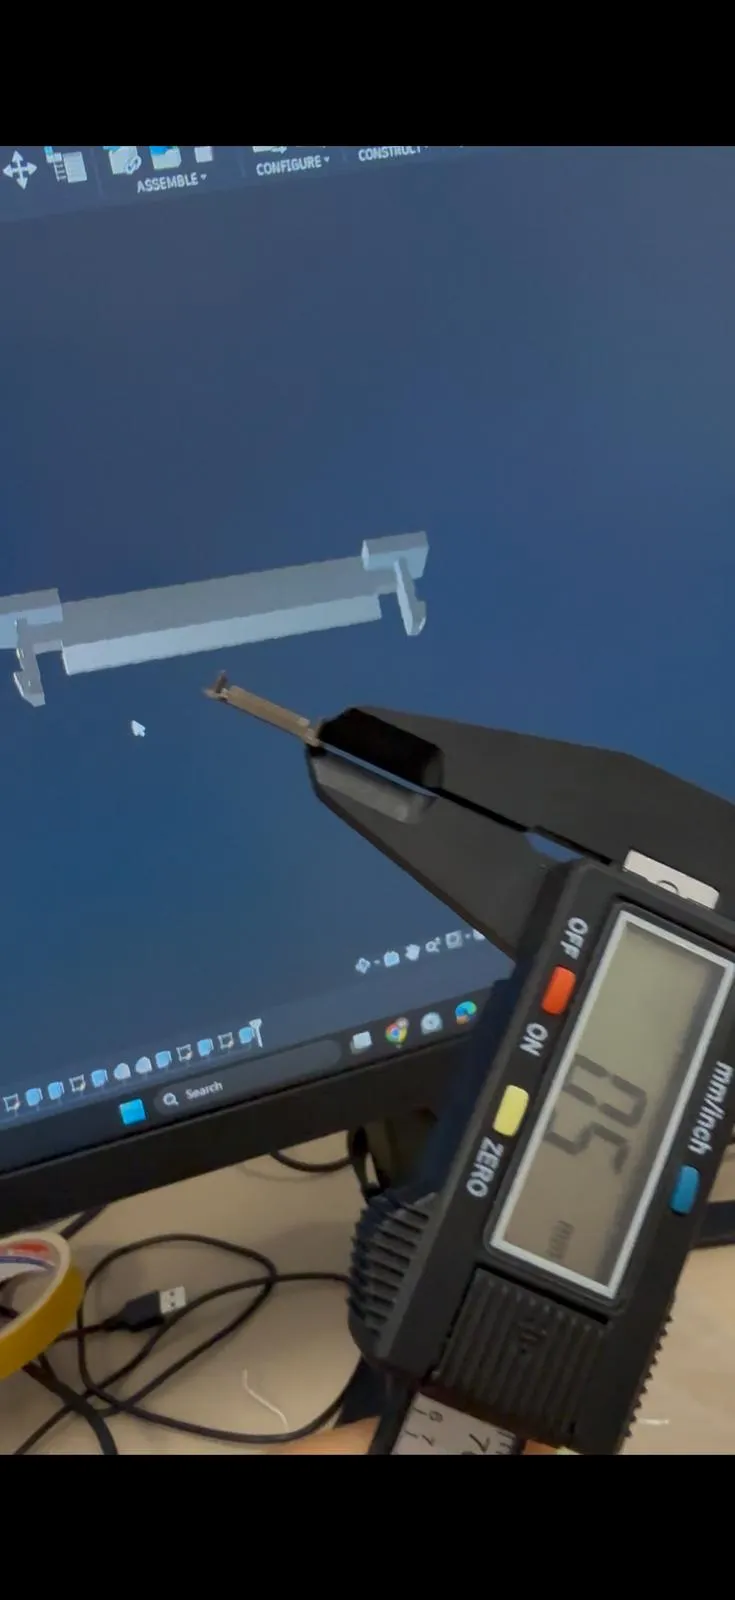
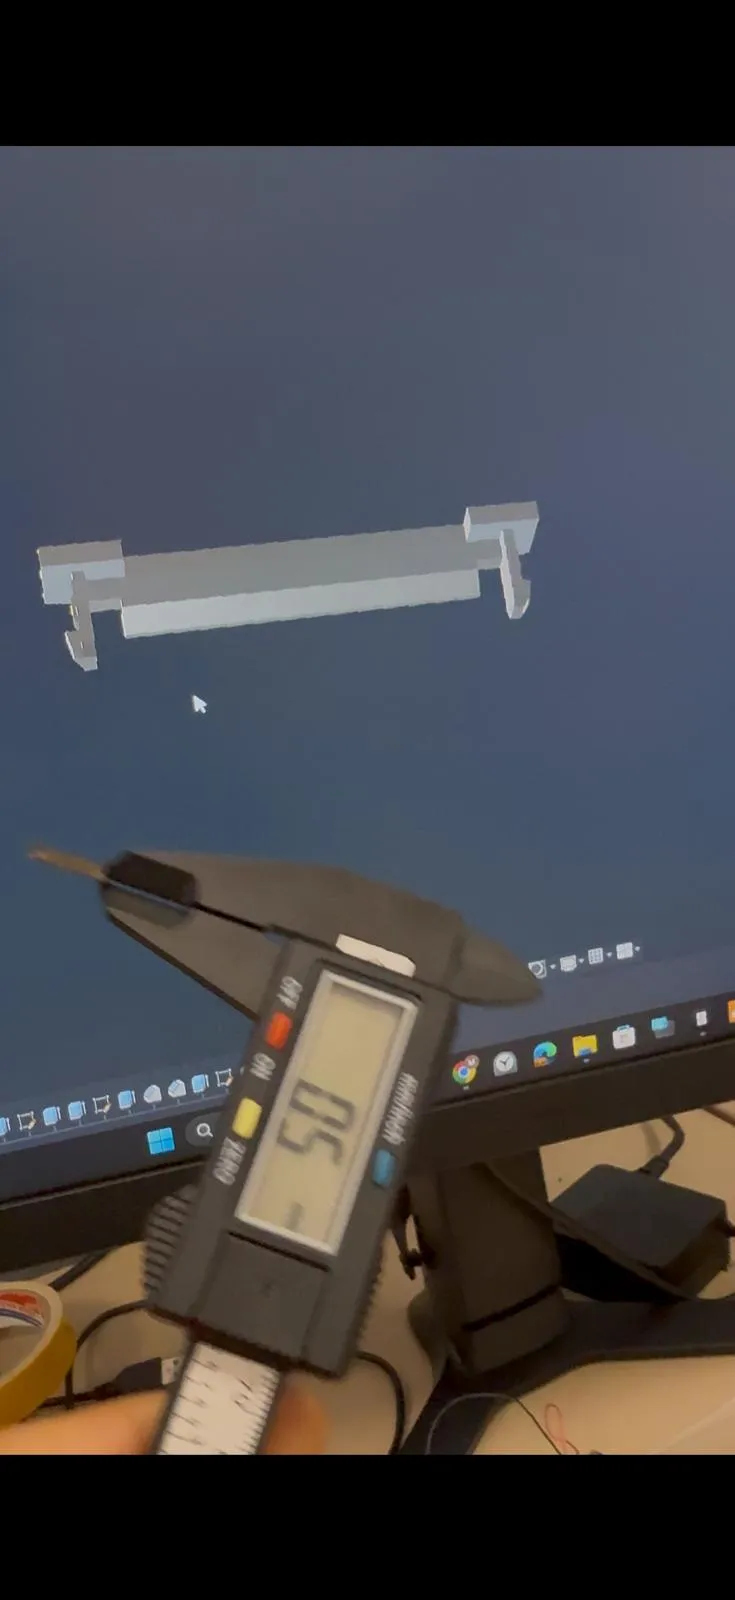
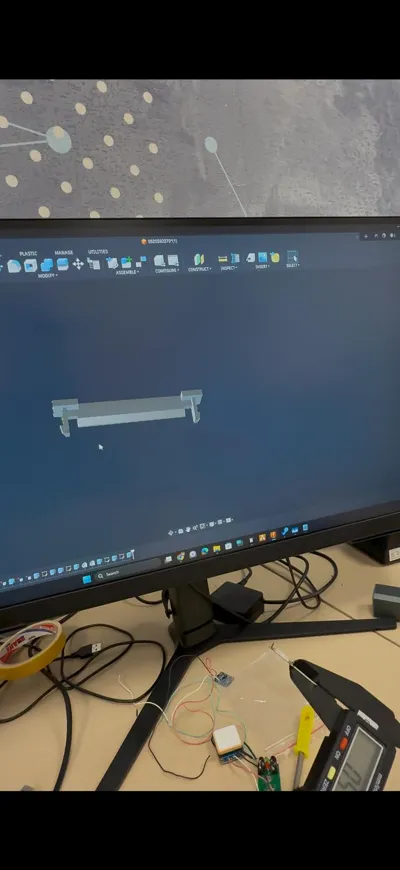
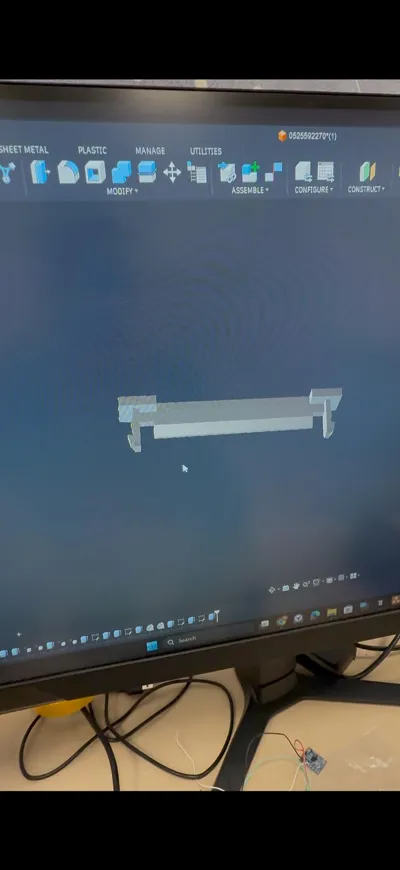
Save Your Hardware from a Simple Broken Clip! A broken FPC connector clip on a Raspberry Pi can render the camera or display port completely useless. Instead of replacing an entire system—which in my case involved a complex helmet rig and hardware worth over 400usd—I reverse-engineered this replacement clip to bring the ports back to life.
After successful testing and verification via SSH, both cameras were fully detected and functioned flawlessly.
Installation & Post-Processing Notes:
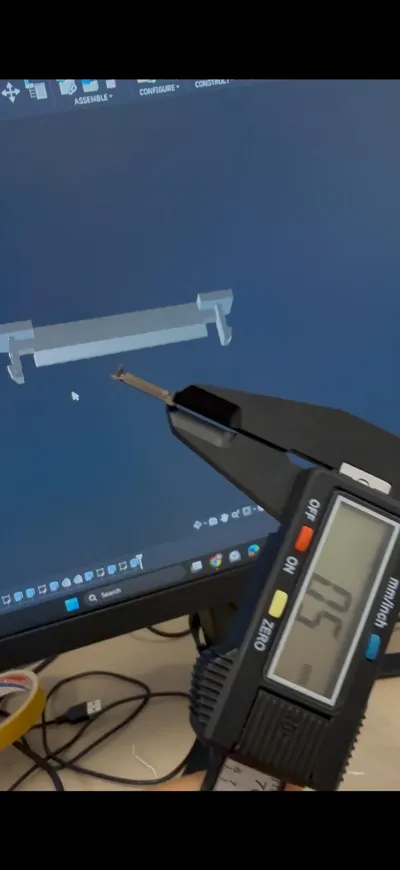
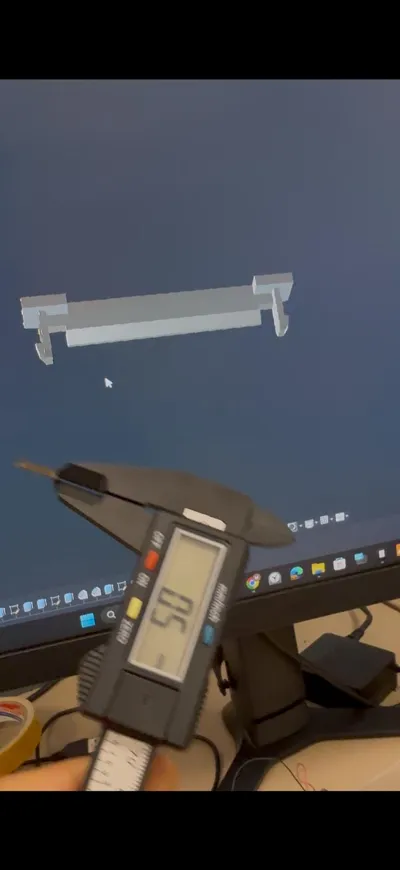
- Due to the extremely tight tolerances of FPC connectors, your 3D printed part may come out slightly thicker than the original depending on your printer's calibration.
- Crucial Step: Use a fine file or precision sandpaper to gently thin down the edges of the printed part until it fits snugly into the connector slot.
- Once filed to the correct thickness, insert the ribbon cable, press the clip into place, and your port is good to go!
Print Settings
Since the connector is a very small and precise part, your slicer settings are very important:
- Layer Height: 0.08 mm - 0.10 mm (For maximum precision)
- Infill: 100%
- wall/perimeter: 3 or 4 (To reduce part fragility)
- brim: Recommended (The part is very small, so it needs to adhere well to the build plate)
- Material: It can be printed with PLA, but for flexibility and long-lasting durability, PETG, ABS, or if available, PC (Polycarbonate) and Carbon Fiber (CF) reinforced filaments, which are much more suitable for technical projects, will give excellent results.
!!!!!!!!!!! Crucial Print & Post-Processing Notes: !!!!!!!!!!!
- nozzle Selection: Due to the extremely small and precise nature of this part, printing with a 0.2 mm nozzle is highly recommended for the best dimensional accuracy.
- If using a 0.4 mm nozzle: The printed part will likely come out thicker than required. You will need to use a fine file or precision sandpaper to carefully shave down and thin out the mouth/tip section that goes into the connector slot until it fits perfectly :)
License

You shall not share, sub-license, sell, rent, host, transfer, or distribute in any way the digital or 3D printed versions of this object, nor any other derivative work of this object in its digital or physical format (including, but not limited to, publishing derivative works outside the Makerworld platform or hosting on other digital platforms). The objects may not be used without permission in any way whatsoever in which you charge money or collect fees. Subject to the above restrictions, derivative works may be published only within the Makerworld platform, and all such derivative works must be licensed under the same SDFL‑C license, without modification or additional terms. You may download the digital versions of this object, 3D print it, and display images, videos, or usage demonstrations of 3D printed versions of the object on personal social media platforms or Makerworld official channels, provided that no digital versions of the object are shared or distributed.


Comment & Rating (0)