
Ultimate Toilet Seat Bolt Fixings Replacement Kit
Print Profile(1)
Description
Overview
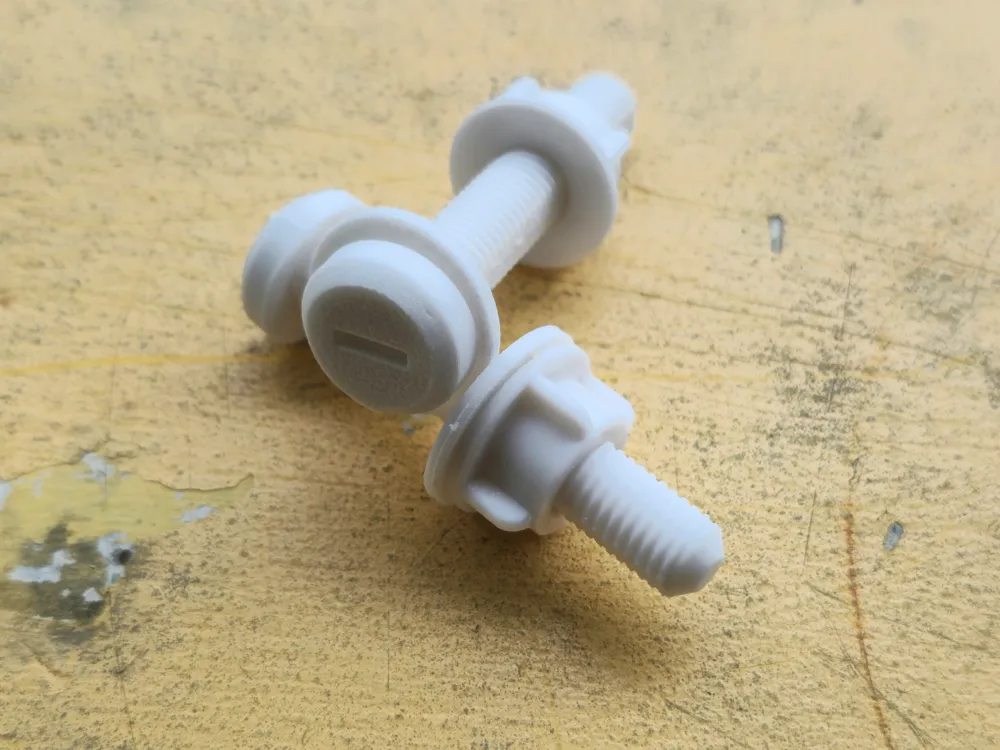
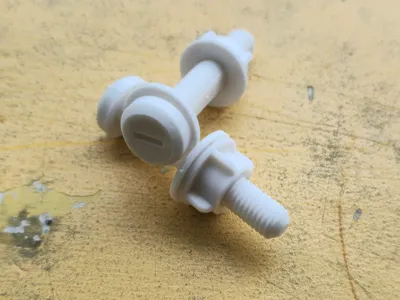
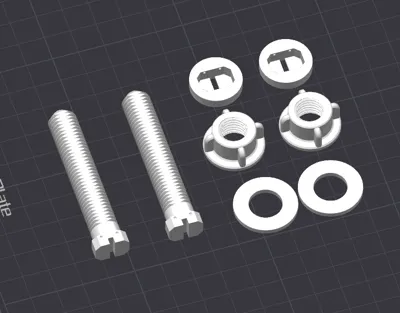
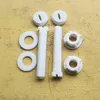
Tired of flimsy replacement toilet seat bolts snapping or sliding around? This is a fully 3D-printed, heavy-duty replacement hardware kit designed from the ground up for maximum mechanical strength.
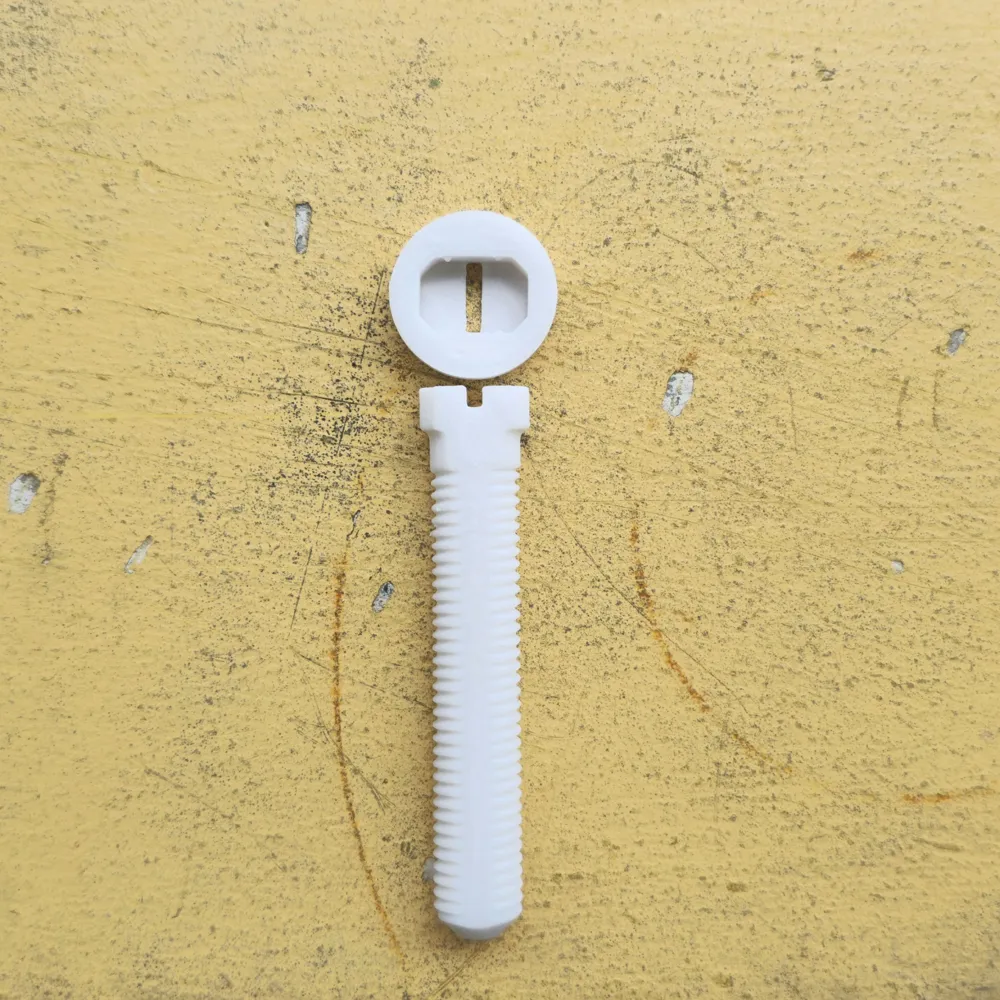
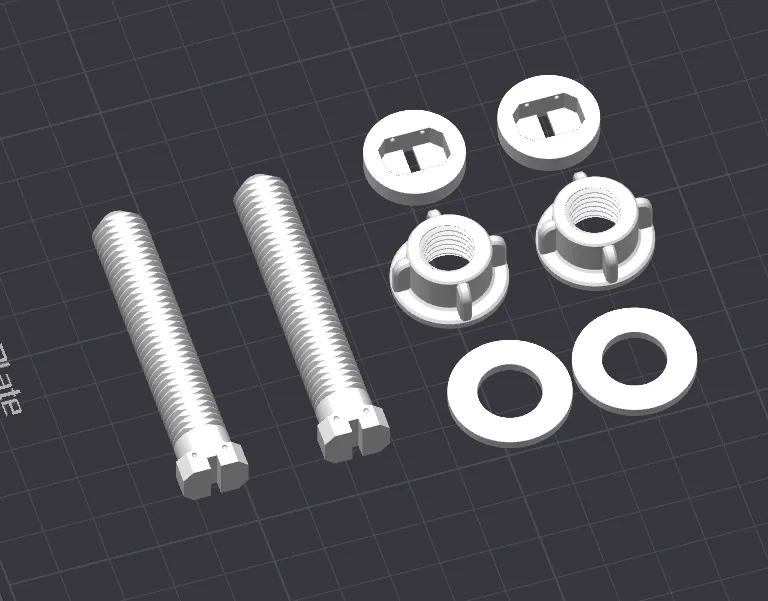
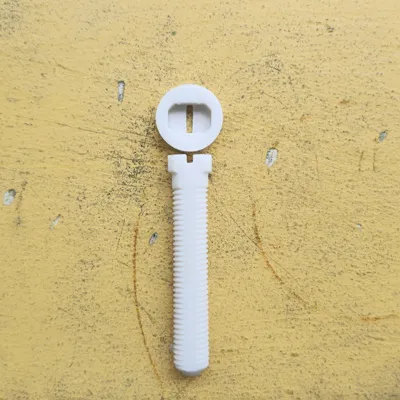
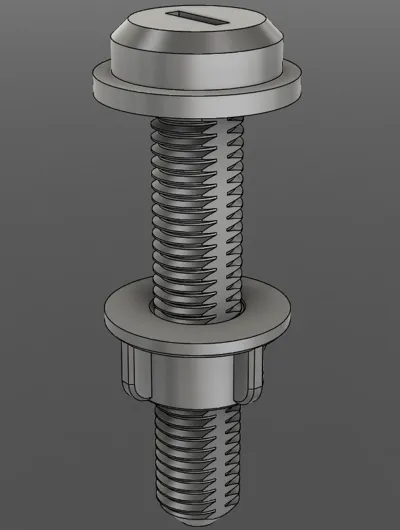
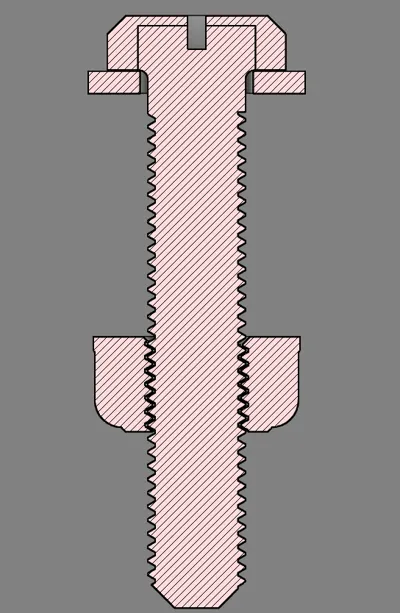
Most 3D-printed bolts are printed vertically, meaning the shear force of everyday use easily snaps them along the layer lines. This design features a two-piece press-fit bolt and a flat-sided thread profile, allowing you to print the threaded shaft completely flat on the build plate. The result? Incredible tensile and shear strength that won't fail under pressure.
Key Design Features
- Horizontal Shaft Printing: Maximizes layer-line orientation so the bolt handles torque and shear forces like a champ.
- Flat-Sided Threads: Prevents messy overhangs on the build plate, ensuring smooth, clean threads right off the print bed without ugly support scarring.

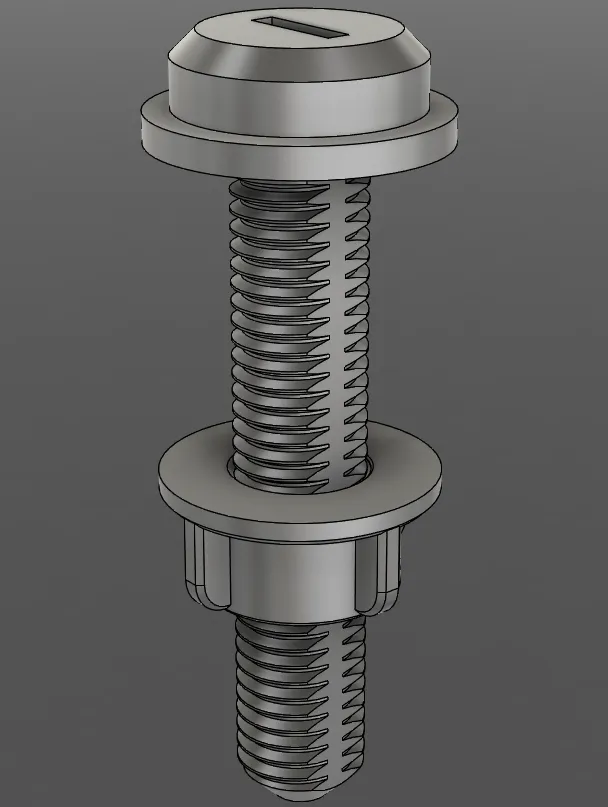
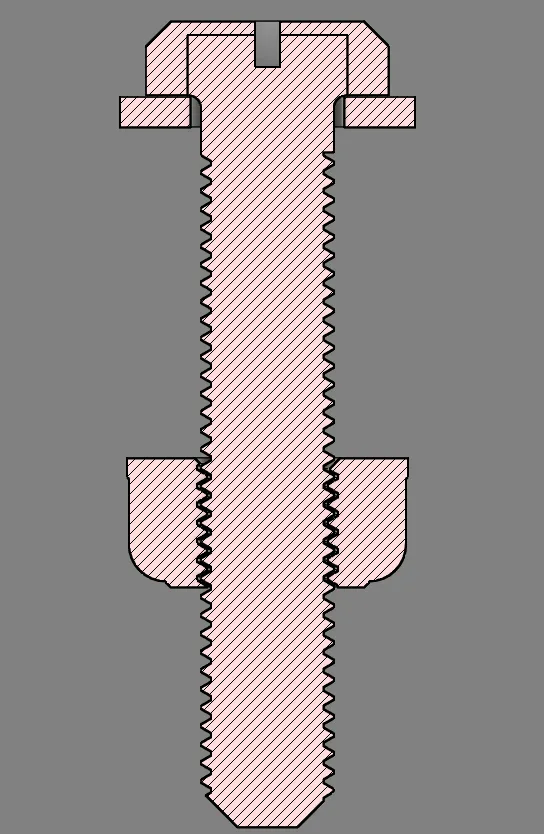
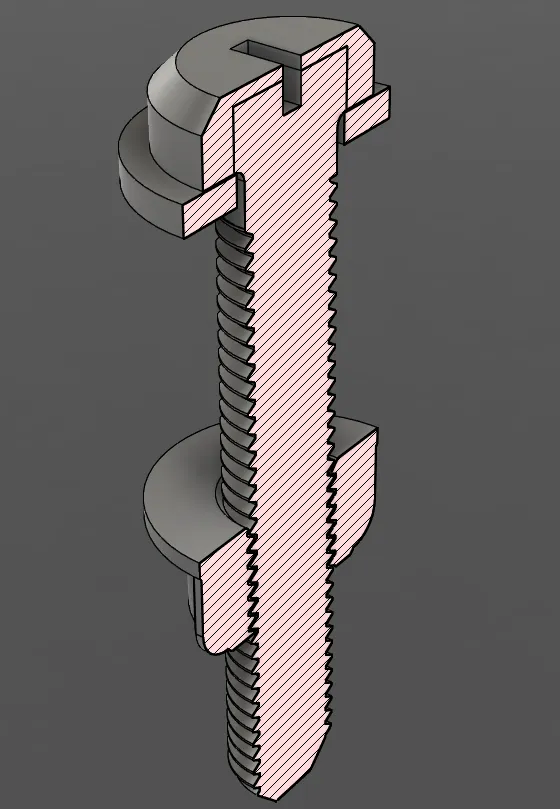
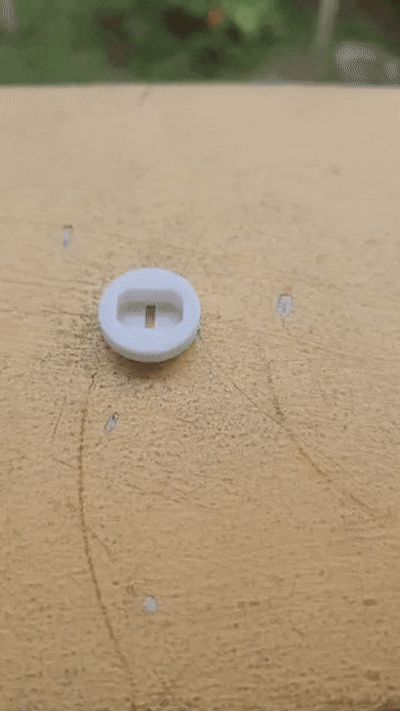
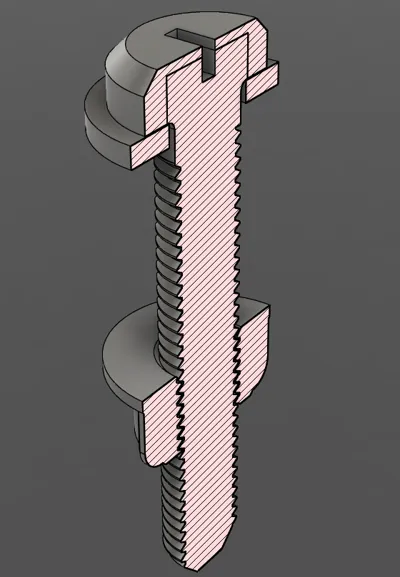
- Press-Fit Head: The slot-drive cap presses firmly onto the shaft, giving you a clean, functional top-down tightening experience.
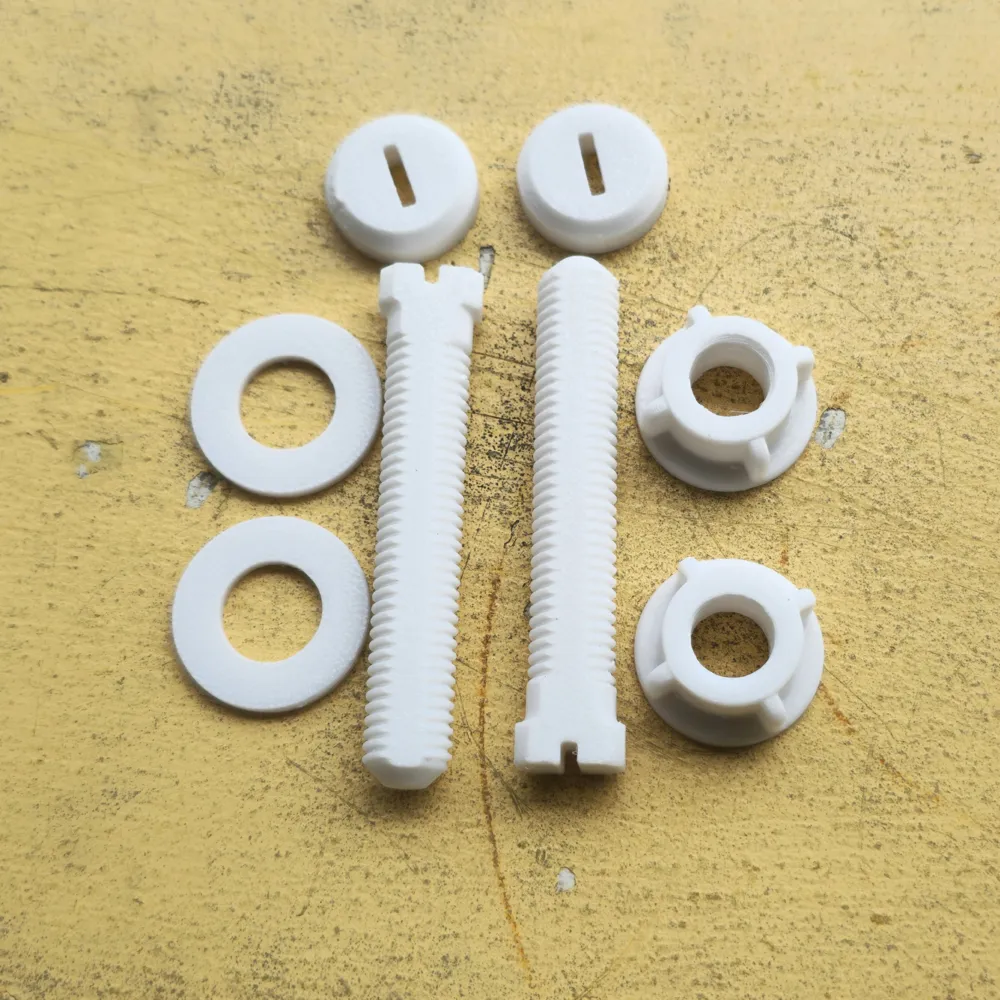
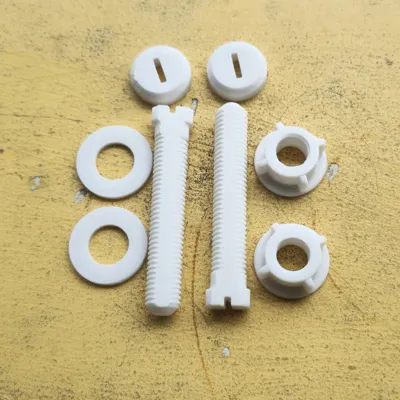
- Load-Distributing Washers: Washers are included to distribute the clamping pressure evenly, preventing the plastic nuts from binding against the porcelain fixture.
- Ridged Nuts: Designed for easy, tool-free hand tightening in cramped spaces.
Recommended Print Settings
To ensure these hold up to daily use, do not skimp on your slice settings!
- Material: PETG, ABS, or ASA are highly recommended. Avoid standard PLA, as it will creep (loosen over time under constant tension) and is sensitive to harsh bathroom cleaning chemicals.
- Wall Loops: 3 or more walls (Essential for thread strength).
- Infill: 20% or more
- Supports: None needed! The flat edges handle the build plate perfectly.
Assembly Notes
- Print the shafts, caps, washers, and nuts.
- Push the cap onto the top of the bolt shaft. Depending on your printer's calibration, it will be a very tight press-fit. You can use a small mallet to tap it into place or add a drop of superglue/epoxy for a permanent bond.
- Install, hand-tighten, and enjoy hardware that actually lasts!
Boost Me (for free)
If you like this design, please consider leaving a 5-star review and posting your print! Your feedback helps a lot.
License

You may create derivative works based on this object, provided that all such derivative works are published exclusively on the MakerWorld platform and include proper attribution to the original creator. You may not share, upload, host, distribute, or publish this object—or any derivative work of this object—on any other digital platform, marketplace, or distribution channel. Commercial use of this object and any derivative works is strictly prohibited. This includes, but is not limited to, selling, renting, sublicensing, or using the object in any context in which you receive monetary compensation or other financial benefits.


Comment & Rating (4)