
BetaFPV Twincase
Print Profile(5)
Bill of Materials

Description
Membership
Start your own 3D print business now 🚀 Become a member and start selling my models officially right away 🖨️💰 👉 Sales license is only valid during active membership
Boost Me (for free)
If you like my work, please support me by following my page 🙏
This way you won't miss any new developments, updates, or improvements and will always stay up to date.
If you are particularly dedicated, you can also leave a boost 🚀
Thank you very much for your great support! 💚
Double TinyWhoop Case
Overview
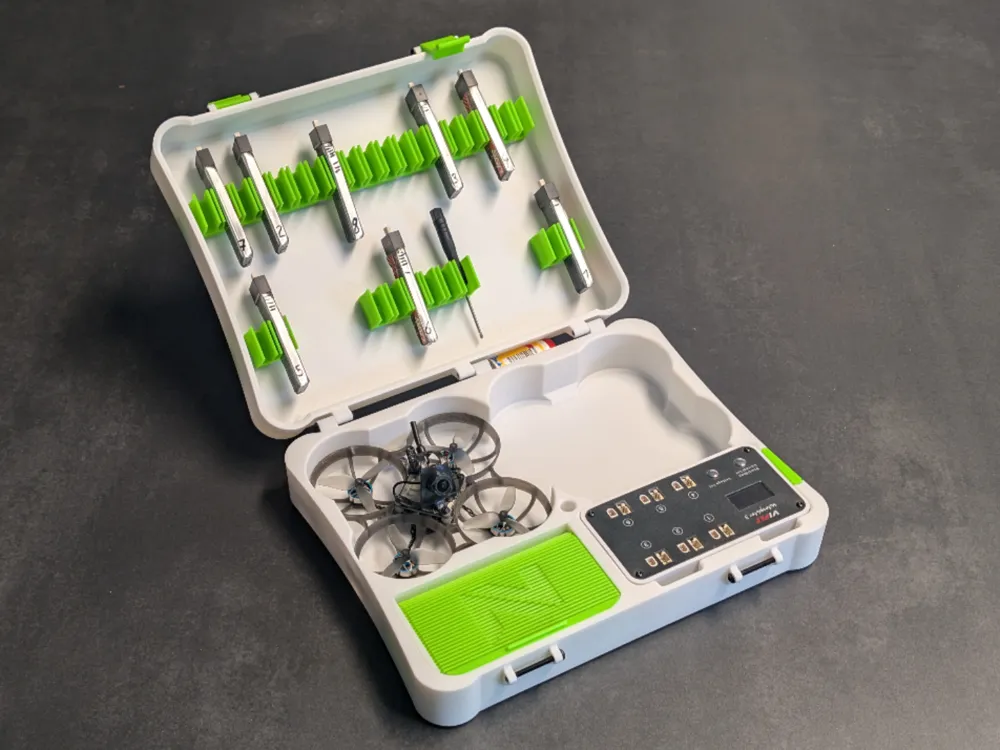
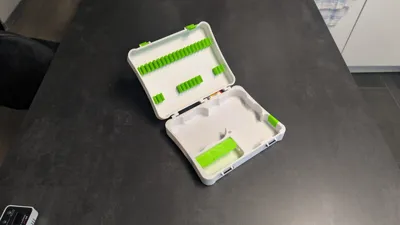
Since there were frequent requests if I could develop a case that could accommodate two TinyWhoops at the same time, I designed this Double TinyWhoop Case
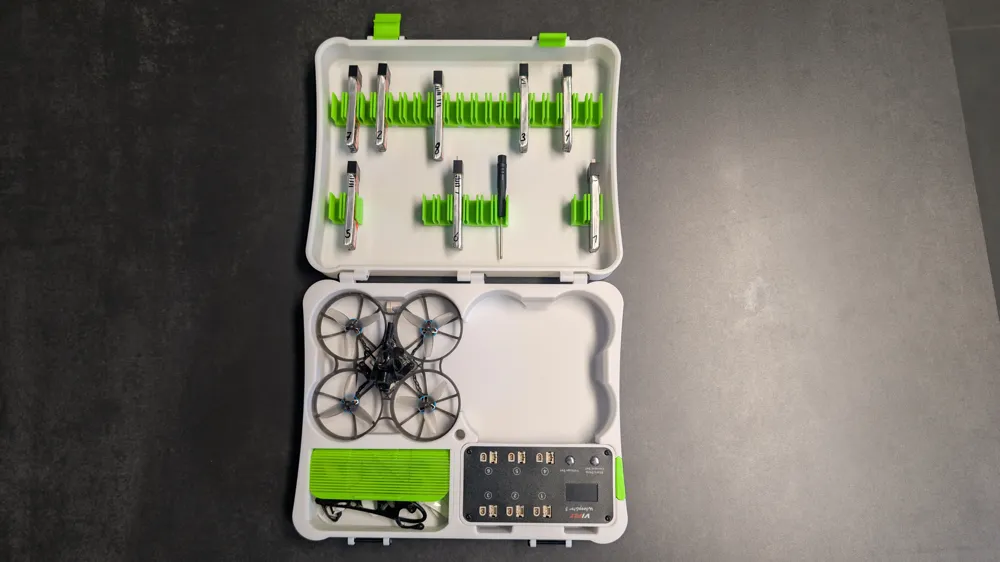
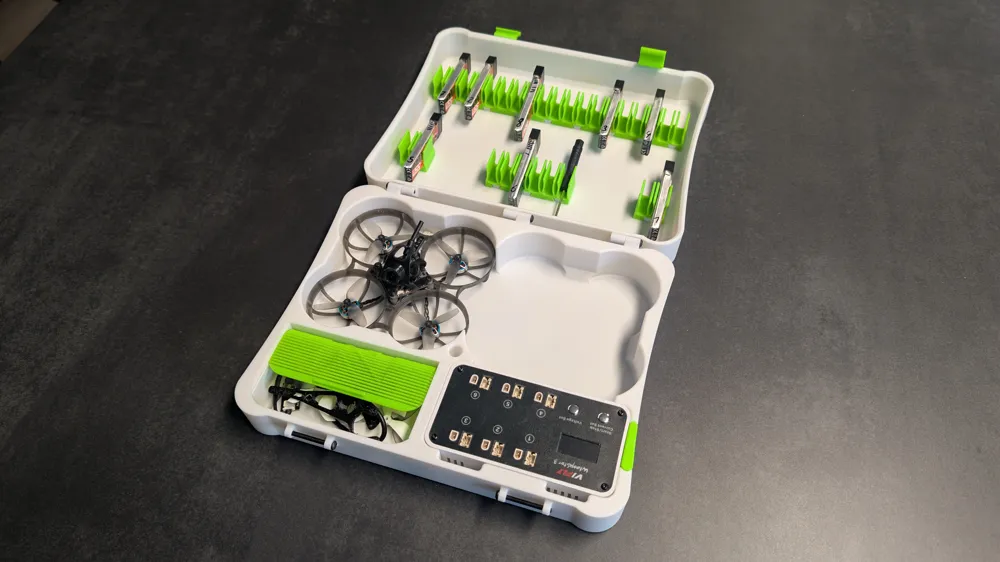
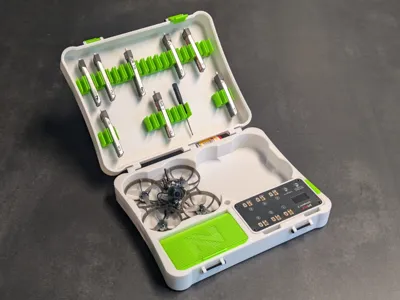
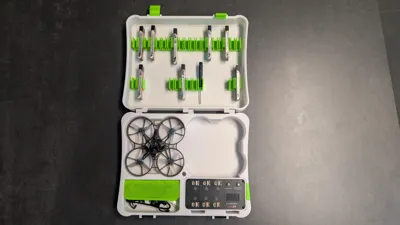
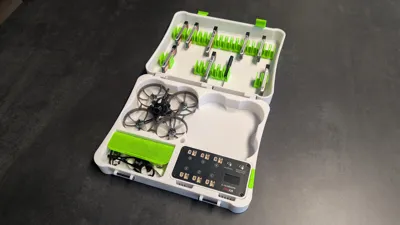
The case is the further development of my well-known BetaFPV case for a copter and now offers space for up to two TinyWhoops, numerous batteries, a 1S charger, as well as spare parts and tools
Features
Space for 2 TinyWhoops
The following models can be used directly in the standard version
- 2 × BetaFPV Meteor 75 Pro
Compatible Copters
With optional inserts
- BetaFPV Air65 (with Air65 insert)
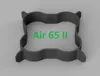
- BetaFPV Air65 II (with Air65 II insert)
- BetaFPV Air75 (with Air75 insert)
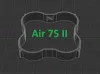
- BetaFPV Air75 II (with Air75 II insert)
- BetaFPV Meteor 65 Pro (with Meteor 65 Pro insert)
- Mobula 6 (with Air65 insert)
Without additional insert
- HDZero M8 Freestyle
Additional inserts for other models may be released in the future
Charger Compatibility
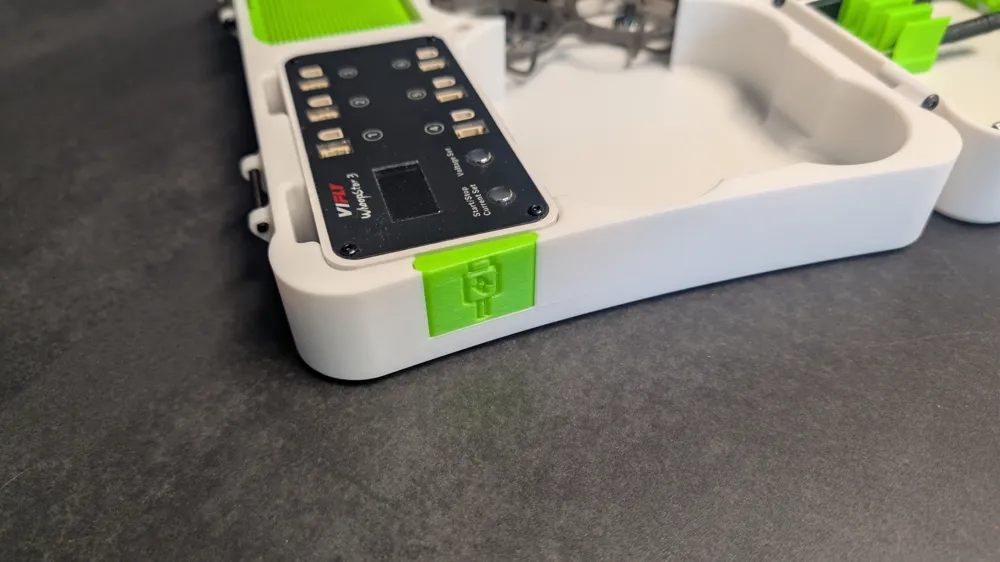
The case has space for the popular WhoopStor 3 1S charger
Additionally, an optional insert is available, with which the BetaFPV Hexa 1S charger can also be safely stored in the case
Battery Storage
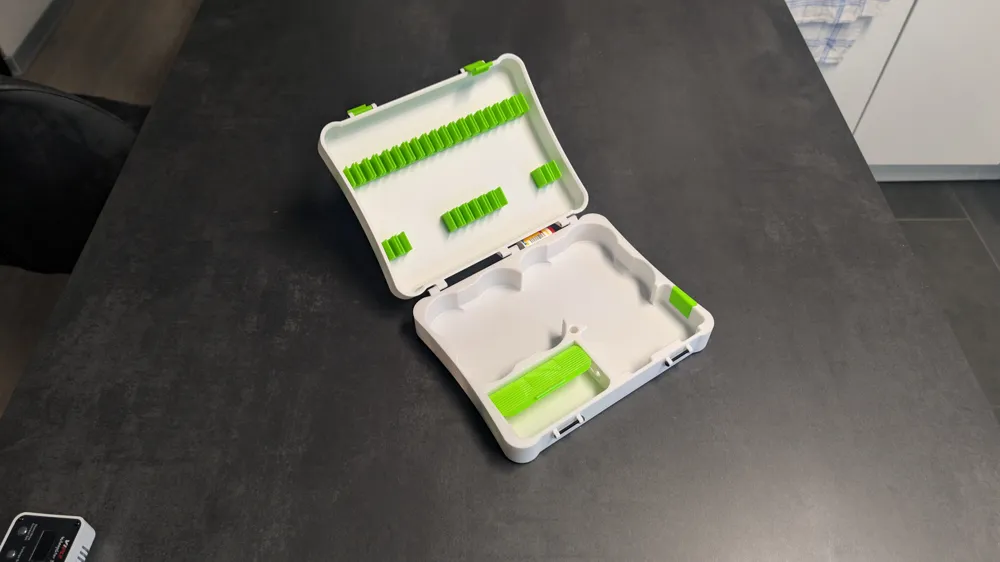
Up to 29 1S LiPos can be safely stored in the lid of the case
Important note:
The retaining clips for the batteries may need to be secured with a little superglue so that they remain permanently secure and do not shift
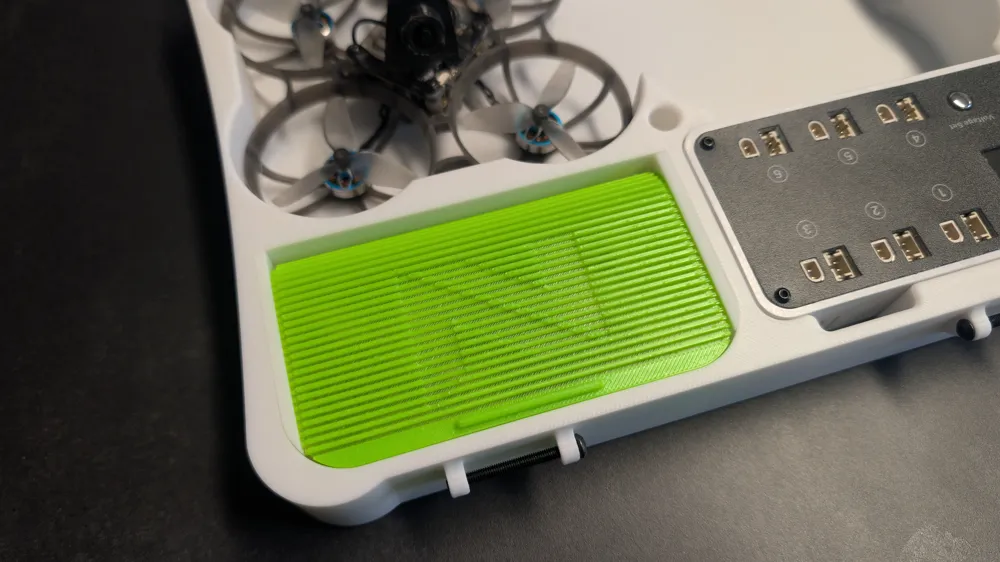
Parts & Tool Compartment
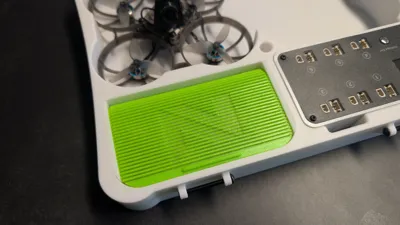
The case has an integrated tray for
- Spare parts
- Tools
- Propellers
- Screws
- further accessories
The tray is closed by a sliding shutter and protects the contents during transport
Improved Latches
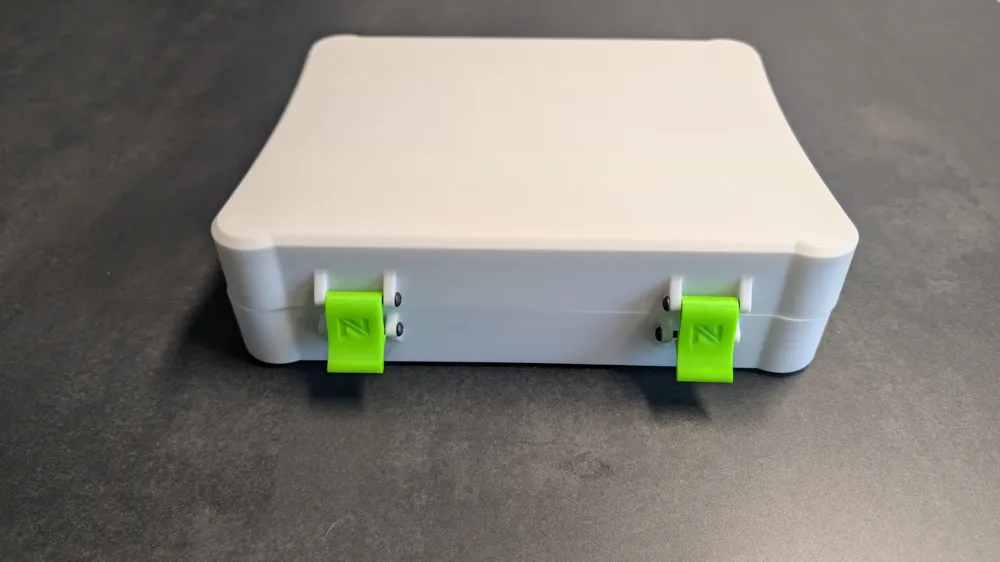
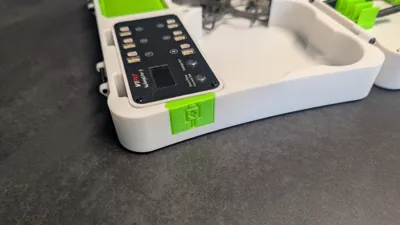
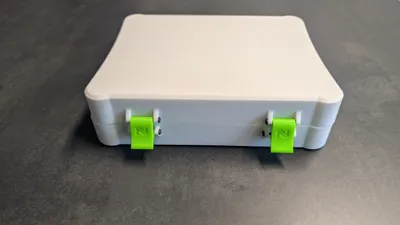
Since the double case is larger than the original single case, it has been equipped with two latches
This ensures that the case remains securely closed even when fully loaded
Important Note on the Final Version
The version shown in the pictures is mirrored
After the first test print, I noticed that the charger would be upside down in the original arrangement. Therefore, the positions of the charger and the tool tray were swapped in the final version
The released files already contain this revised version
Required Hardware
The following screws are additionally required for assembly
Hinges
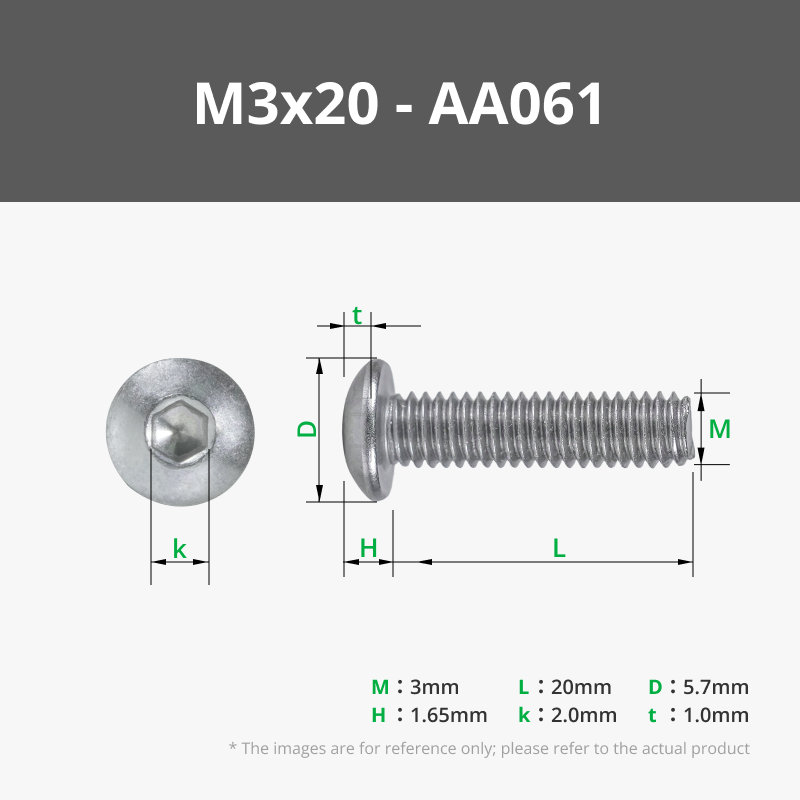
- 3 × M3x20 mm screws
Latches
- 4 × M3x30 mm screws
Two screws are needed for each latch
Hinge Assembly
- Align the lid and base so that the hinge halves interlock
- Slide the hinge halves together
- Then thread one M3x20 mm screw through each hinge. The screw acts as an axle and allows the lid to pivot
Latch Assembly
Mount the two latch clamps with a total of four M3x30 mm screws
Then check that the latches operate smoothly and close the case securely
Tool Tray Assembly
Step 1
First, connect the left and right side panels with the base
The base may need to be slightly post-processed so that it fits into the two side panels with some pressure
Step 2
Slide the pre-assembled unit into the designated recess in the case
Stop approximately 1 cm before the final position
Step 3
Now slide the shutter from the front into the guide rails
Tip: A small drop of oil in the guides facilitates sliding and improves the smooth operation of the shutter
Step 4
Once the shutter has been fully inserted, the complete assembly can be pushed into the case to its final position
Step 5
If the frame is a bit loose, it can be secured with a small drop of superglue
Have fun with the Double TinyWhoop Case!
This case was specially developed for TinyWhoop pilots who want to transport multiple copters, batteries, charger, spare parts, and tools compactly and securely
License

You shall not share, sub-license, sell, rent, host, transfer, or distribute in any way the digital or 3D printed versions of this object, nor any other derivative work of this object in its digital or physical format (including - but not limited to - remixes of this object, and hosting on other digital platforms). The objects may not be used without permission in any way whatsoever in which you charge money, or collect fees.


Comment & Rating (16)