Search models, users, collections, and posts

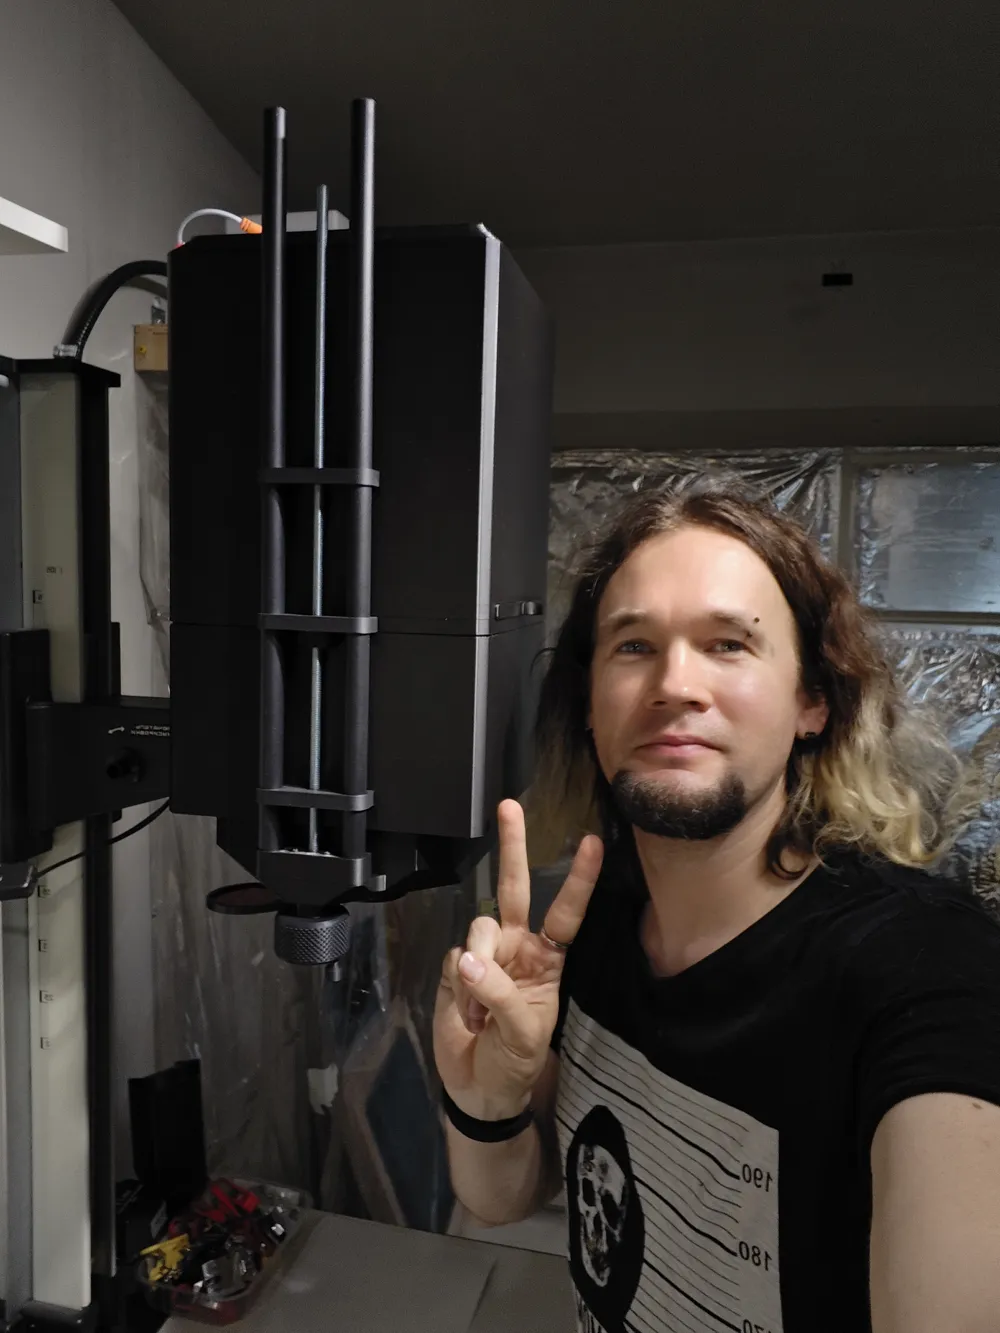
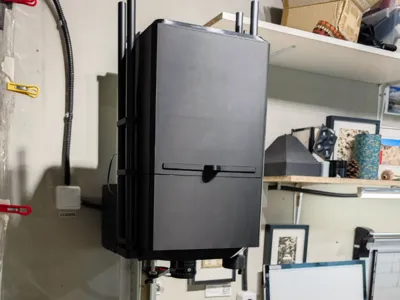
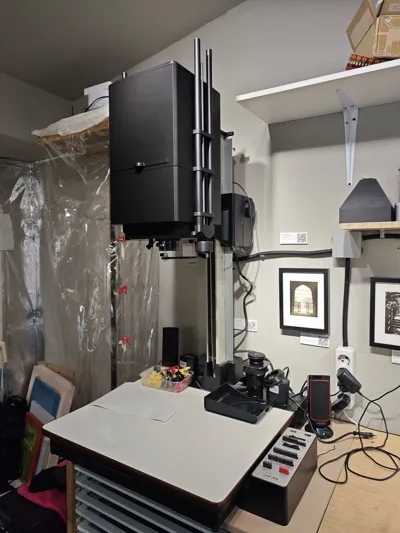
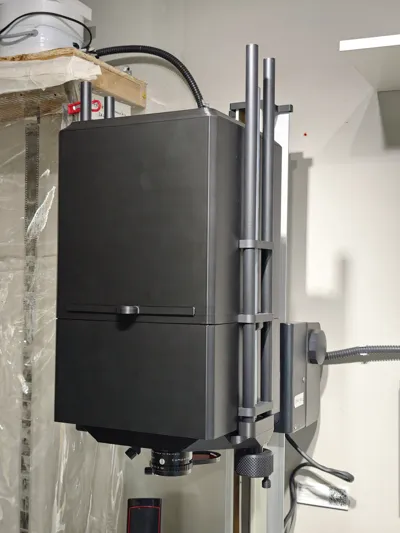
Wurst 138 Darkroom Enlarger Head – 13x18/6x17/5×7"
IP Report
Print Profile(1)
0.2mm layer, 2 walls, 5% infill
Designer
56.1 h
14 plates
Open in Bambu Studio
Boost
2
1
0
2
0
0
Released
Description
Summary
Work in Progress (WIP)
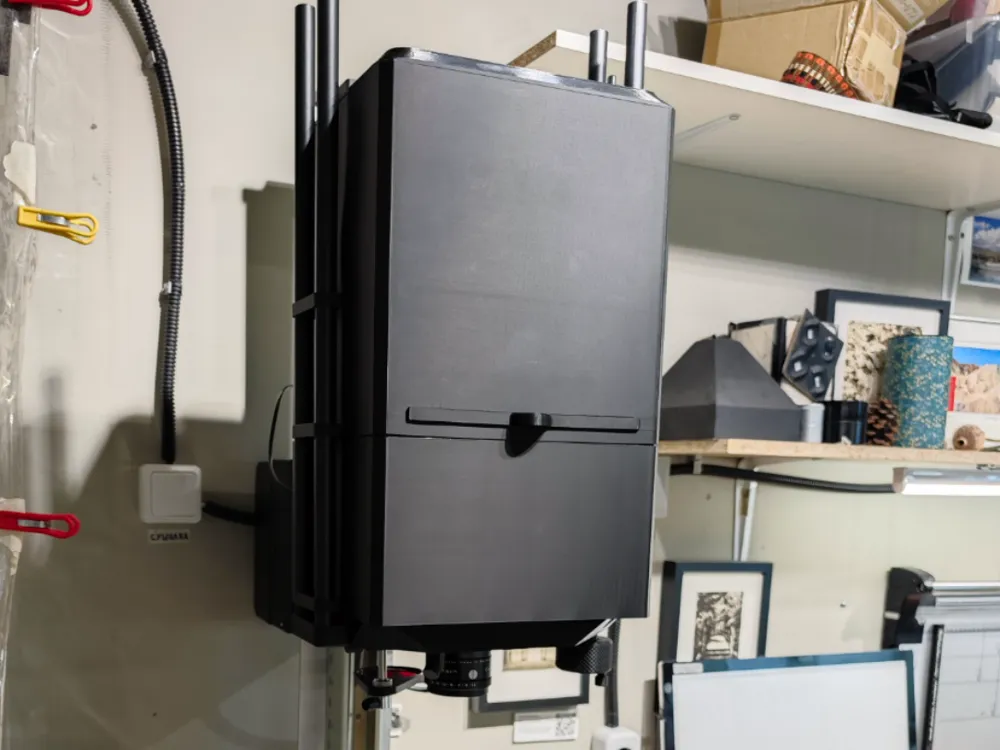
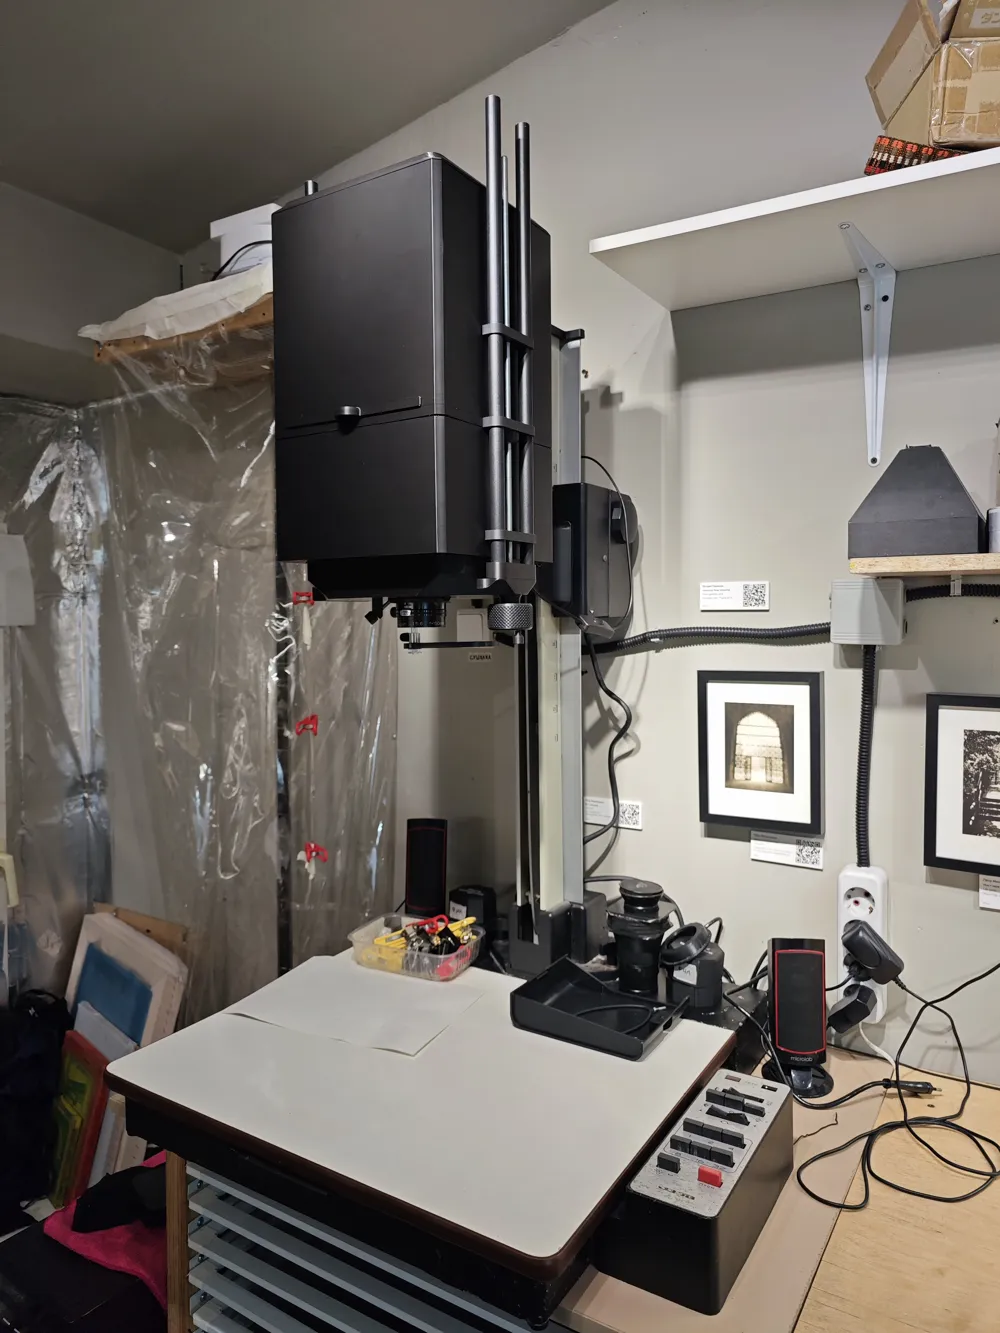
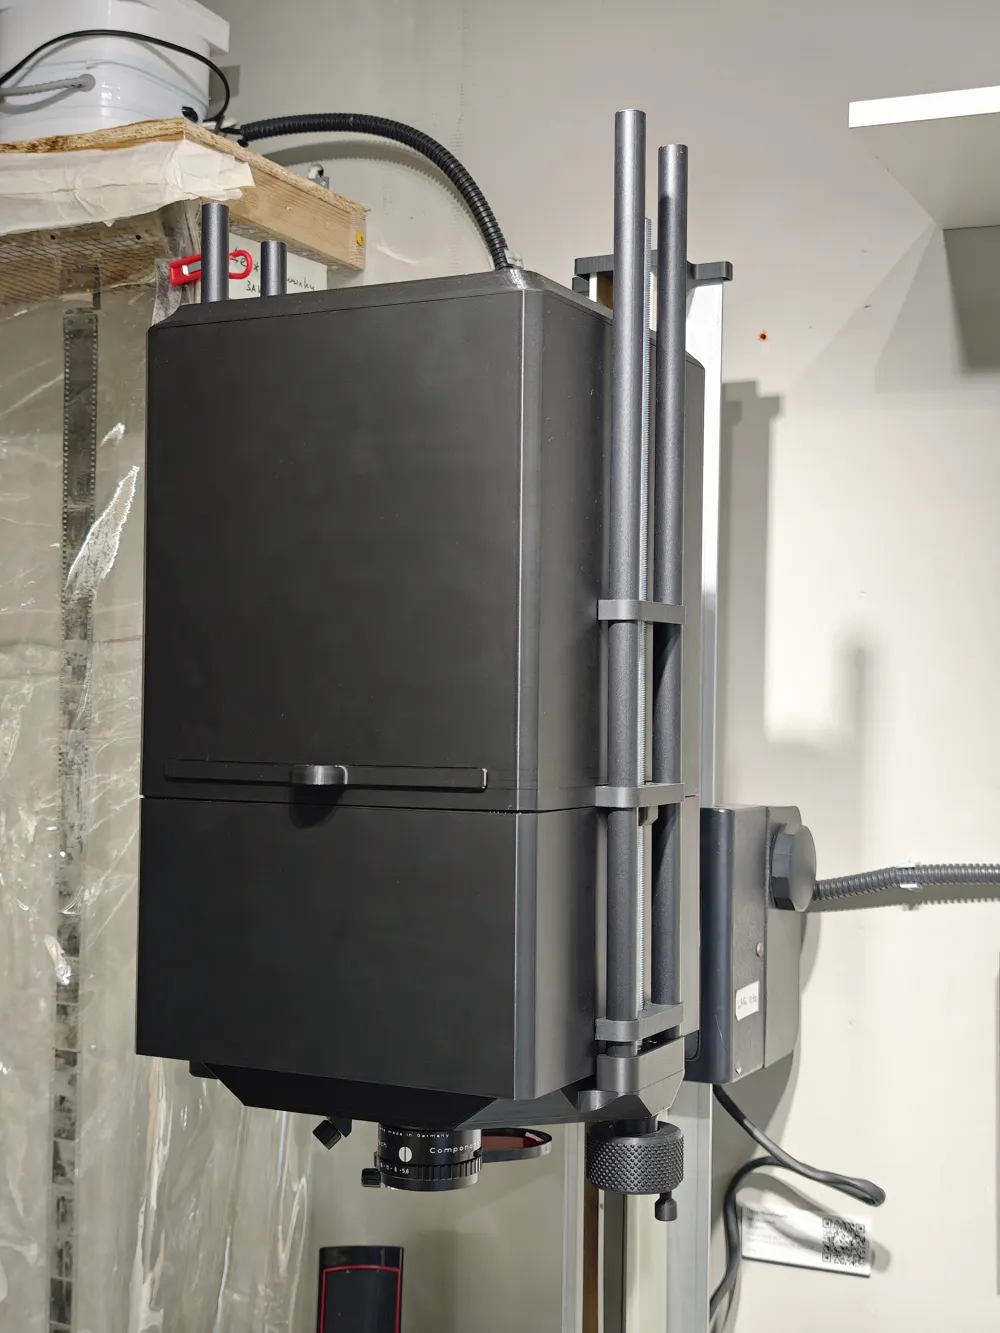
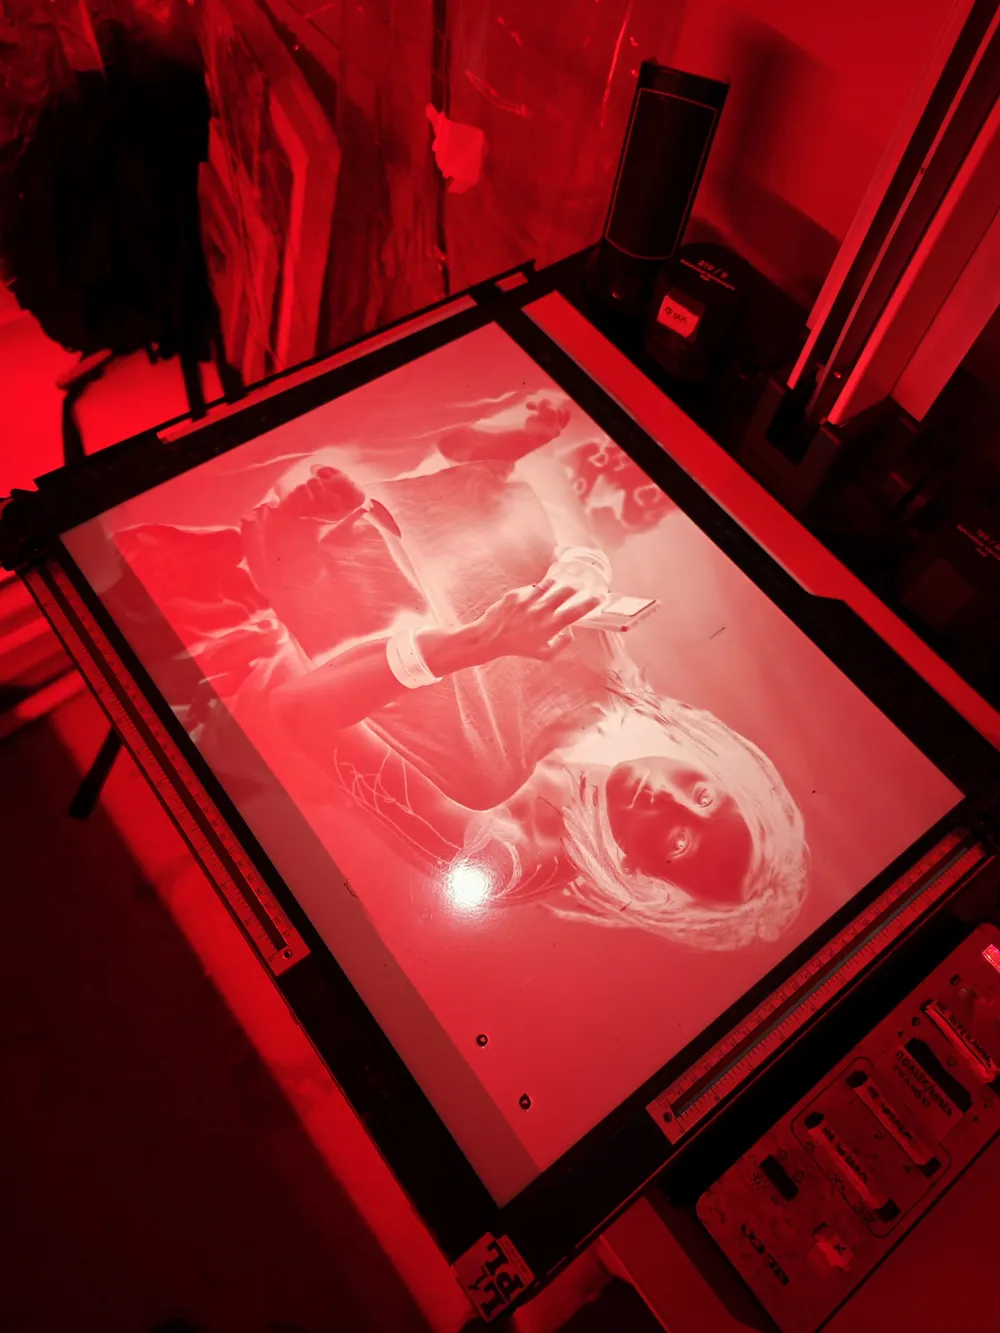
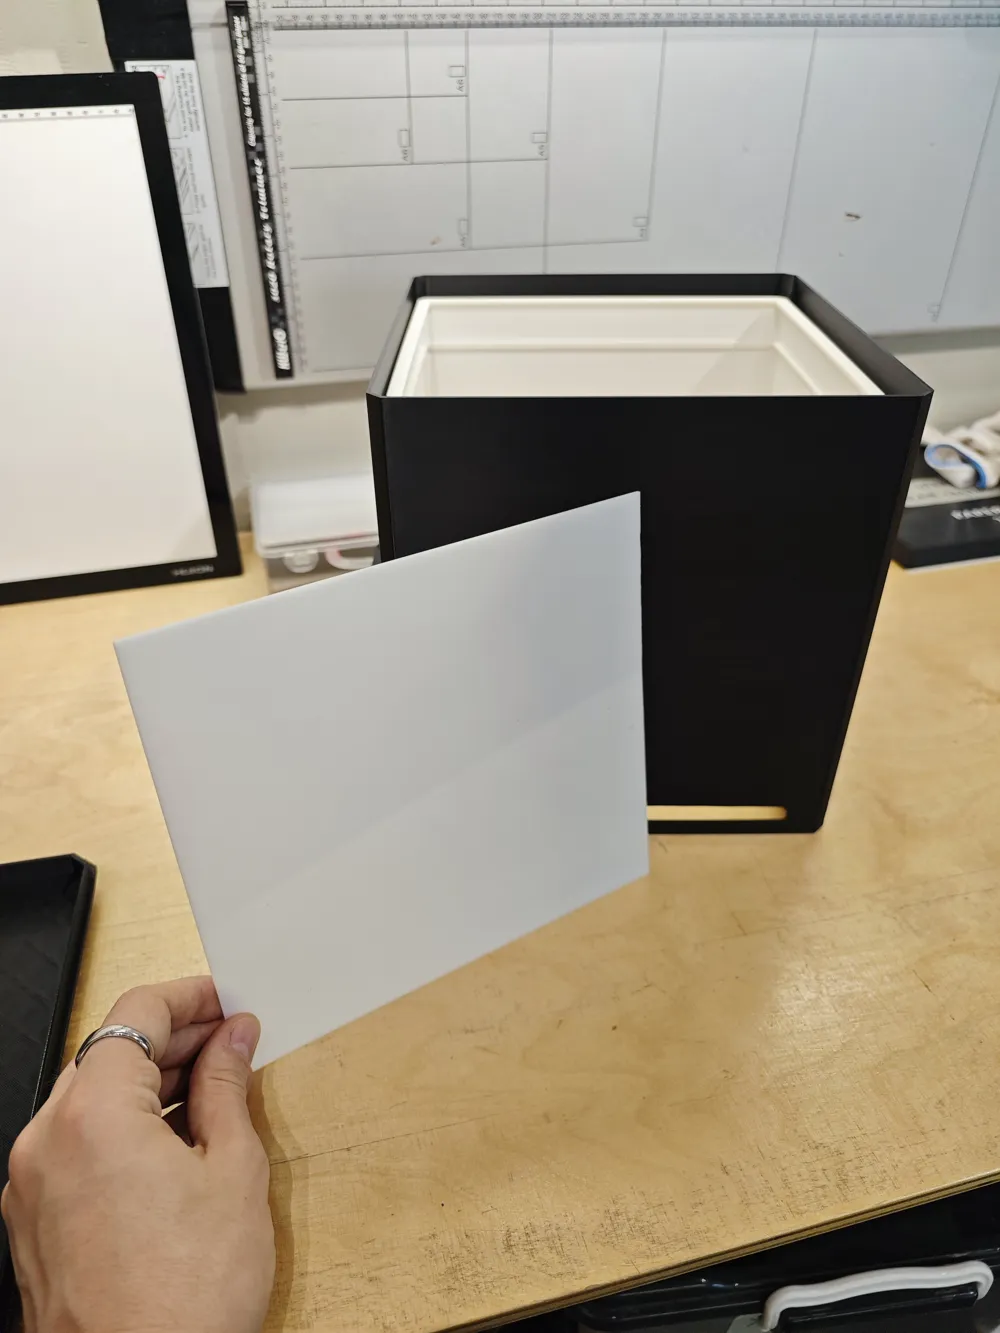
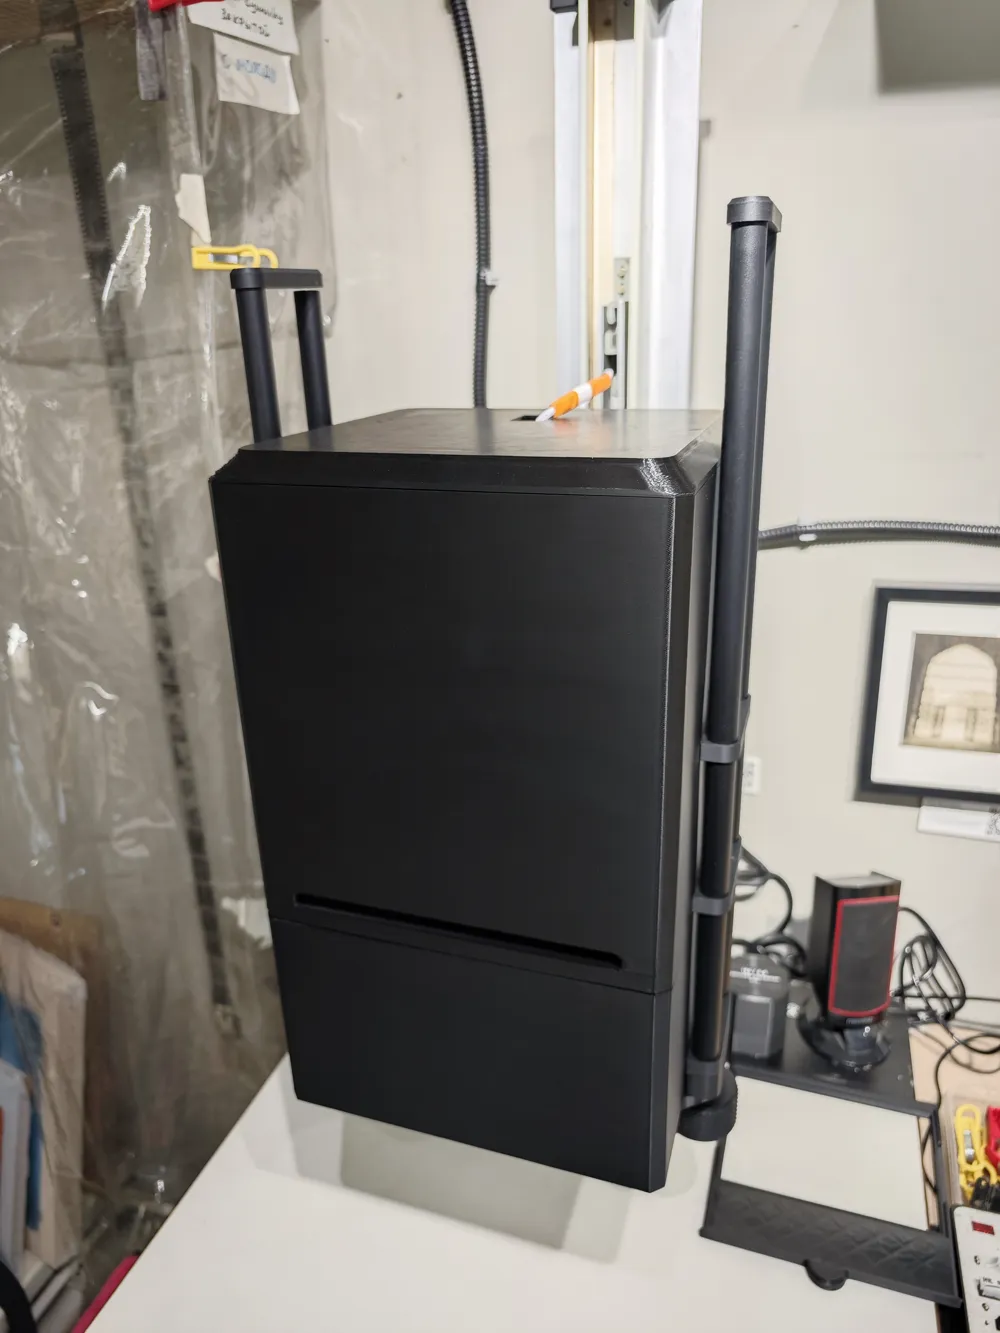
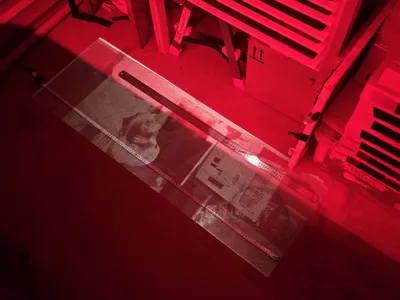
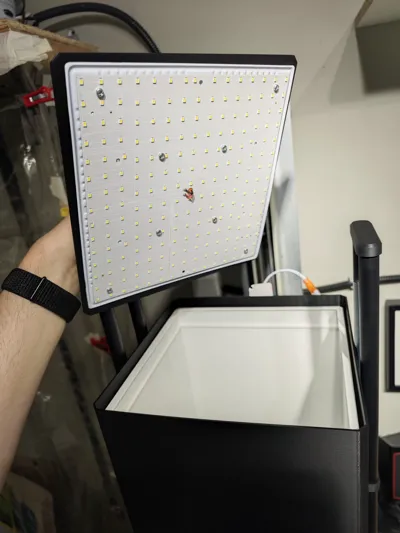
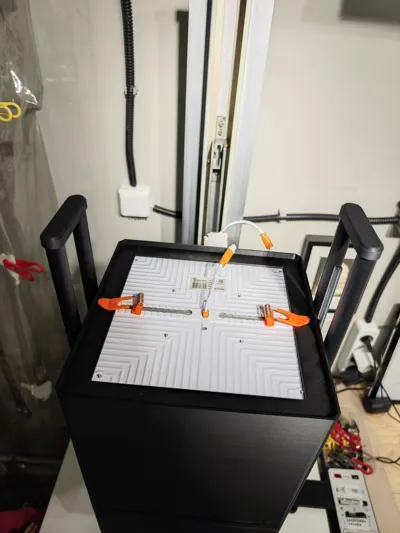
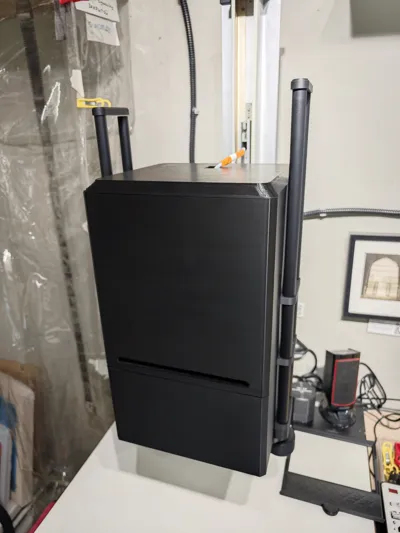
This is my version of the original Wurst enlarger by @sovograf (https://www.thingiverse.com/sovograf), redesigned for 3D printing. Many thanks for making the original project available and inspiring this adaptation.
The current version is fully usable for printing, but there are still some limitations regarding focusing comfort when using guide rails without linear bearings. In future revisions, I plan to improve the bellows system to achieve fully parallel movement.
Features
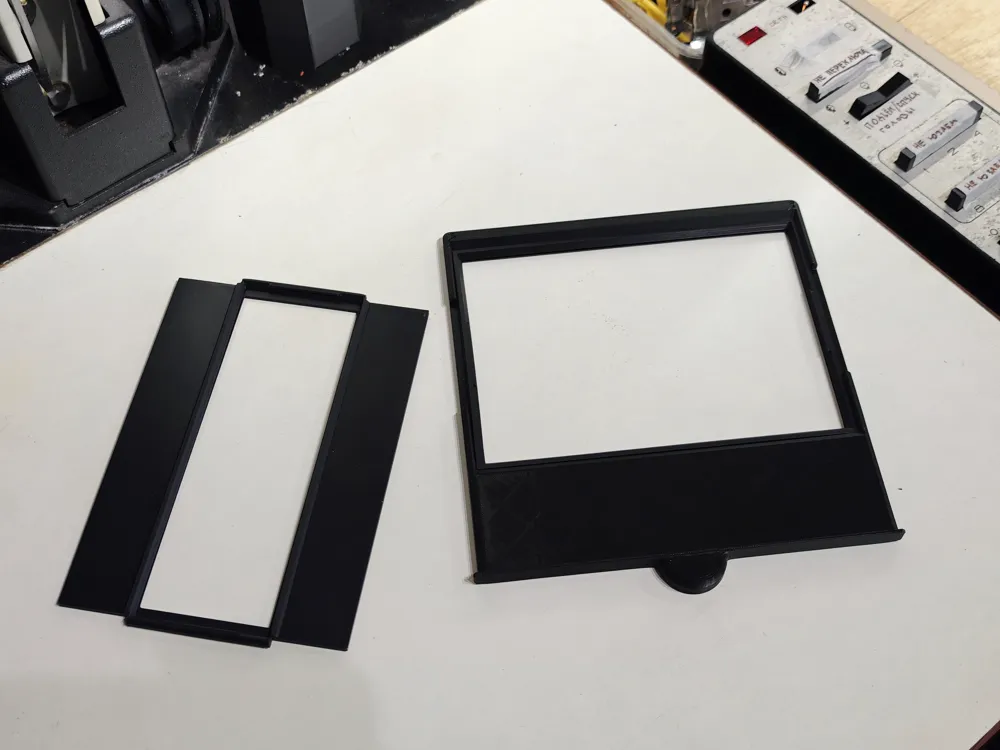
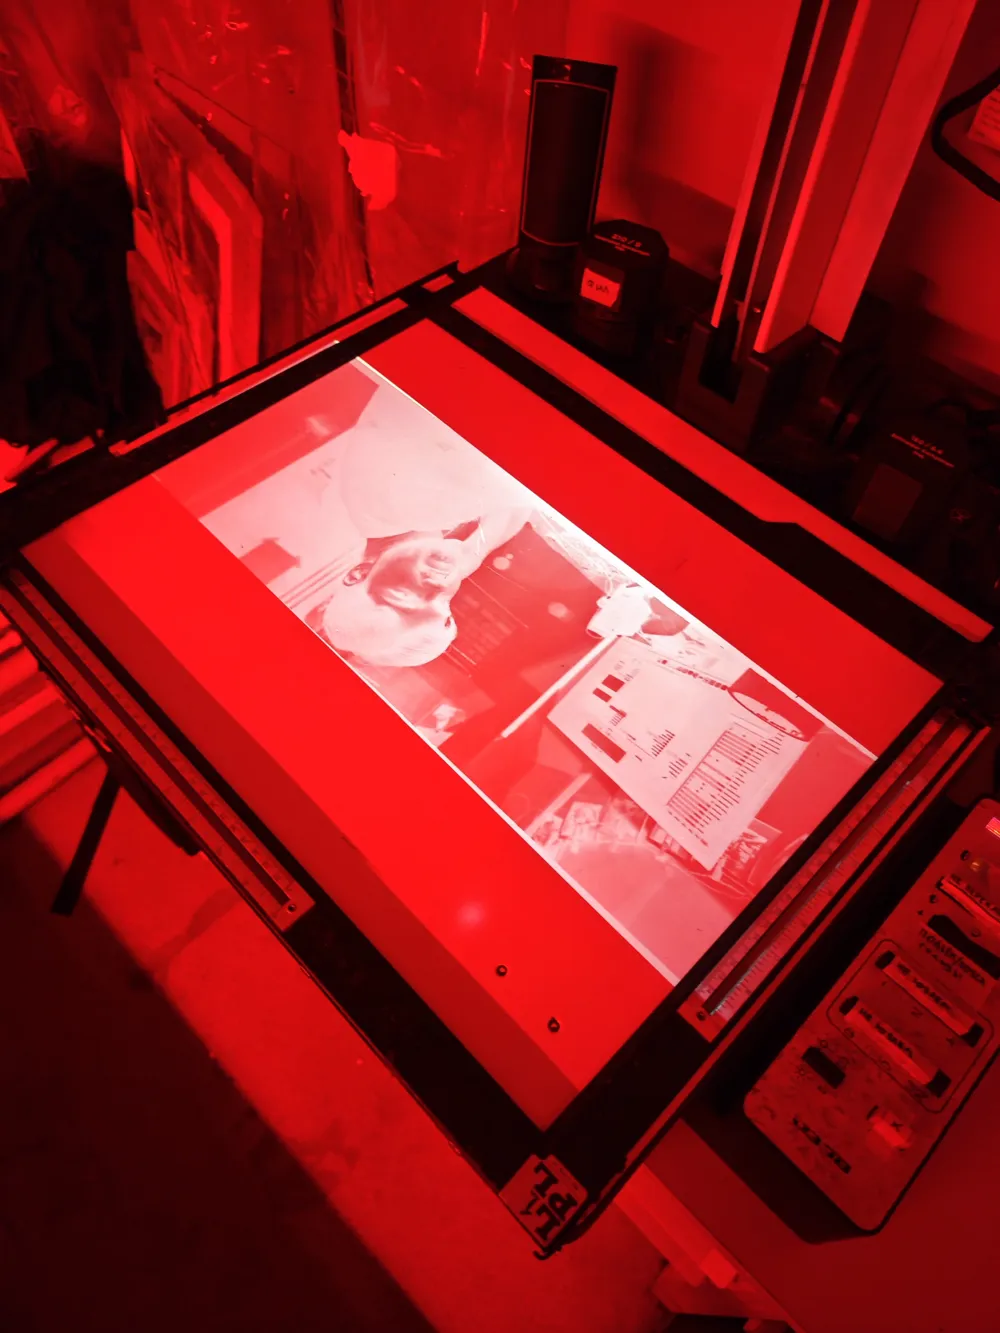
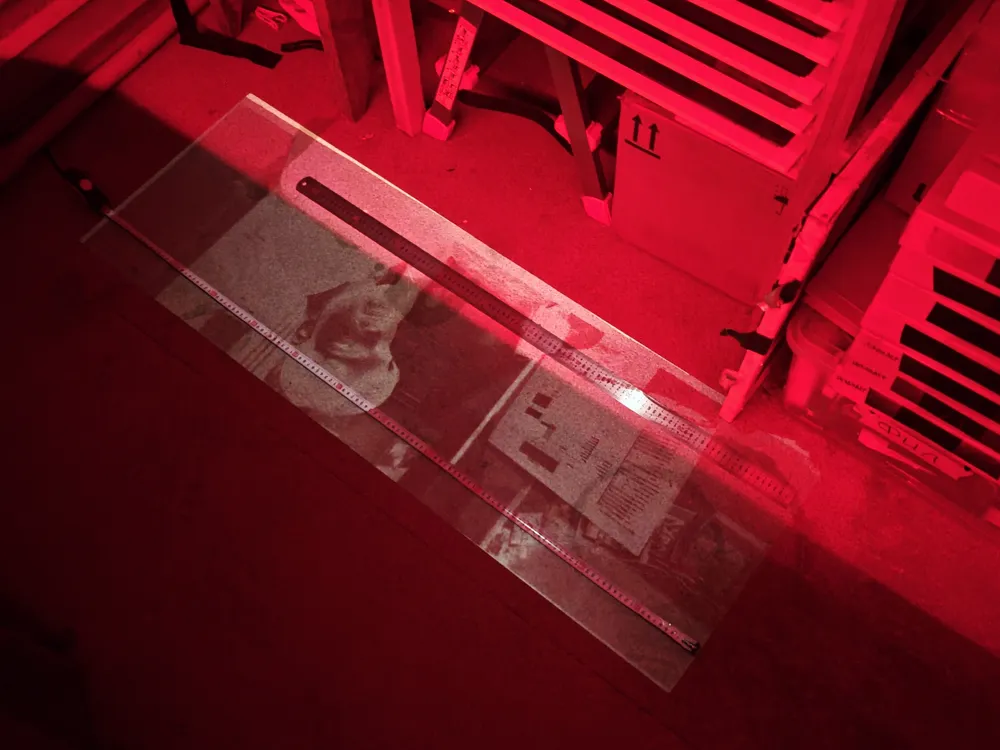
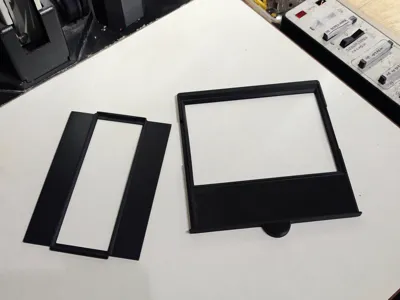
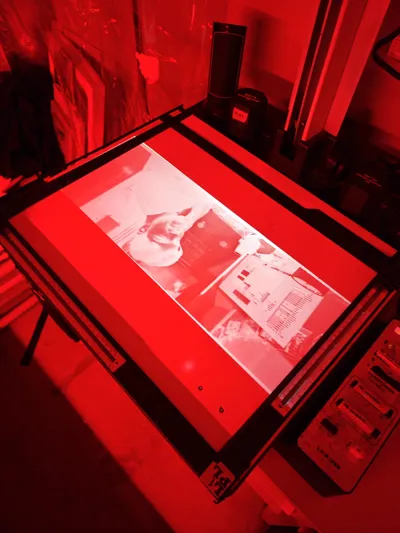
- Supports 13×18cm, 6×17cm, and 5×7" negatives
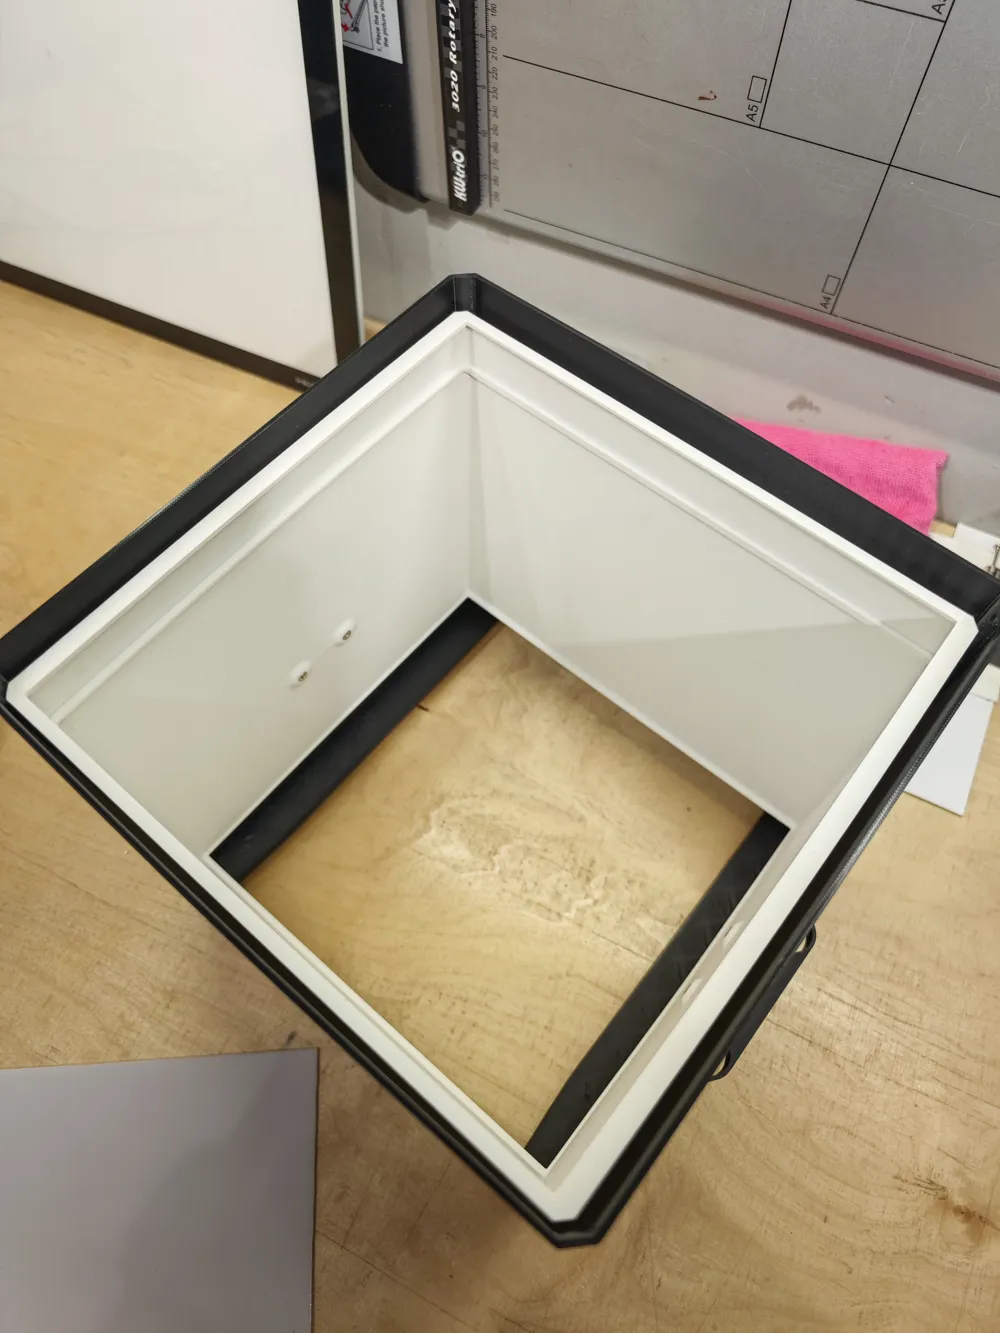
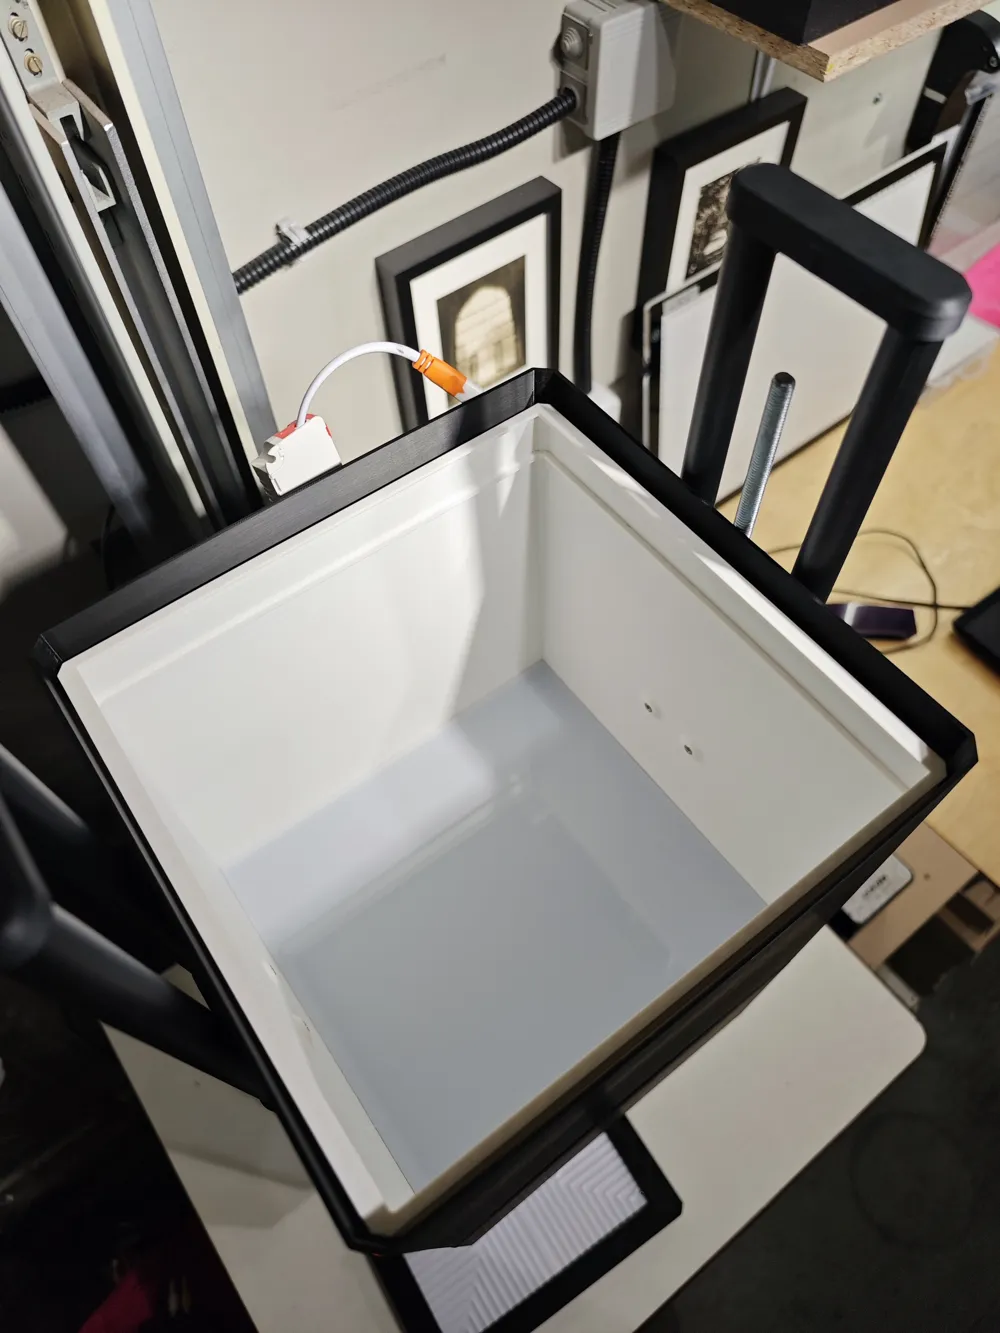
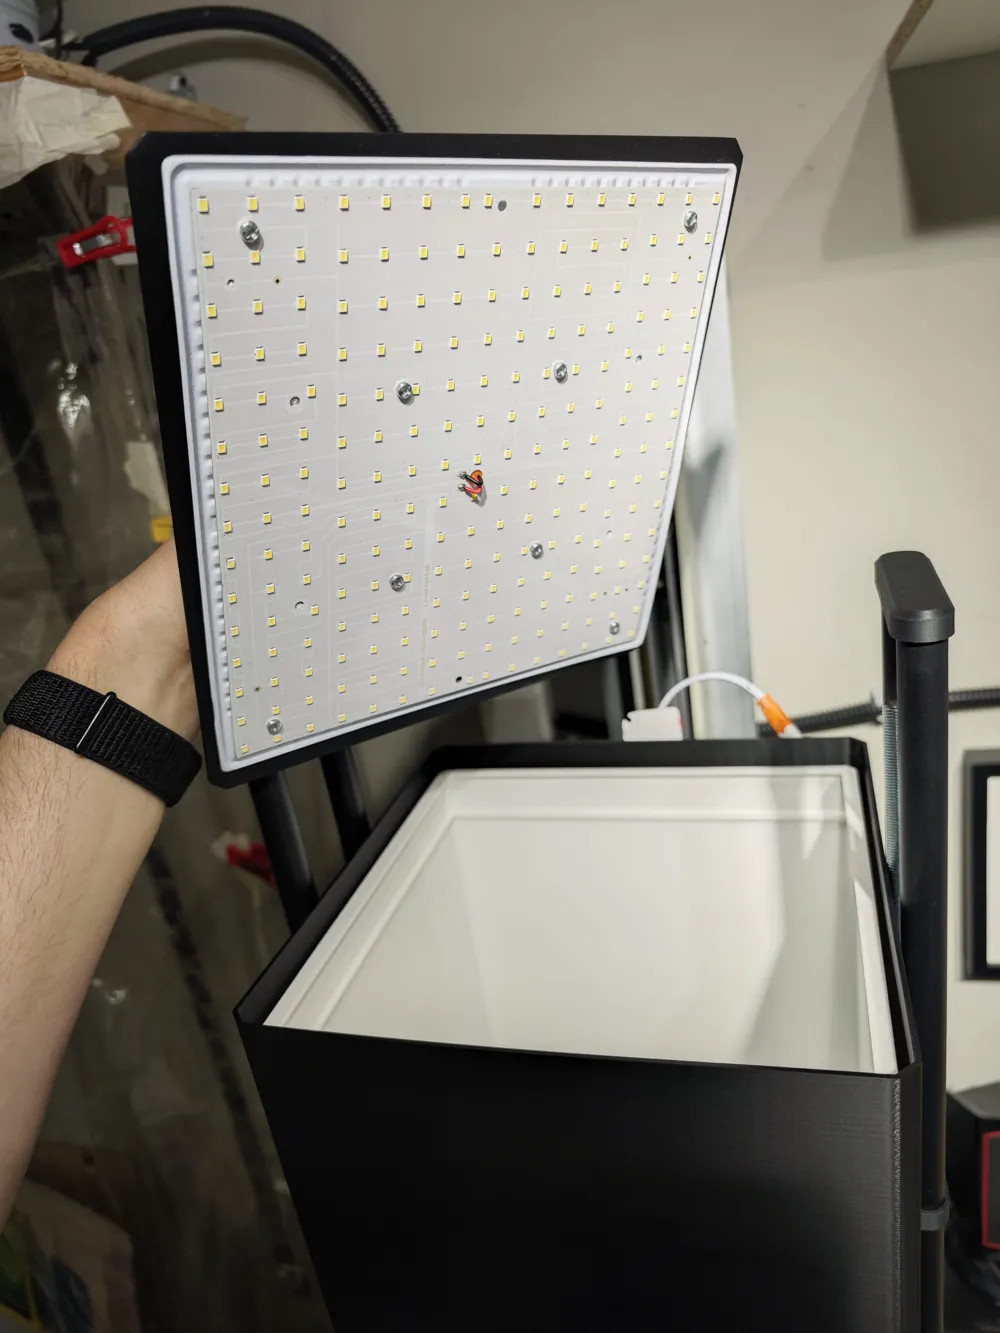
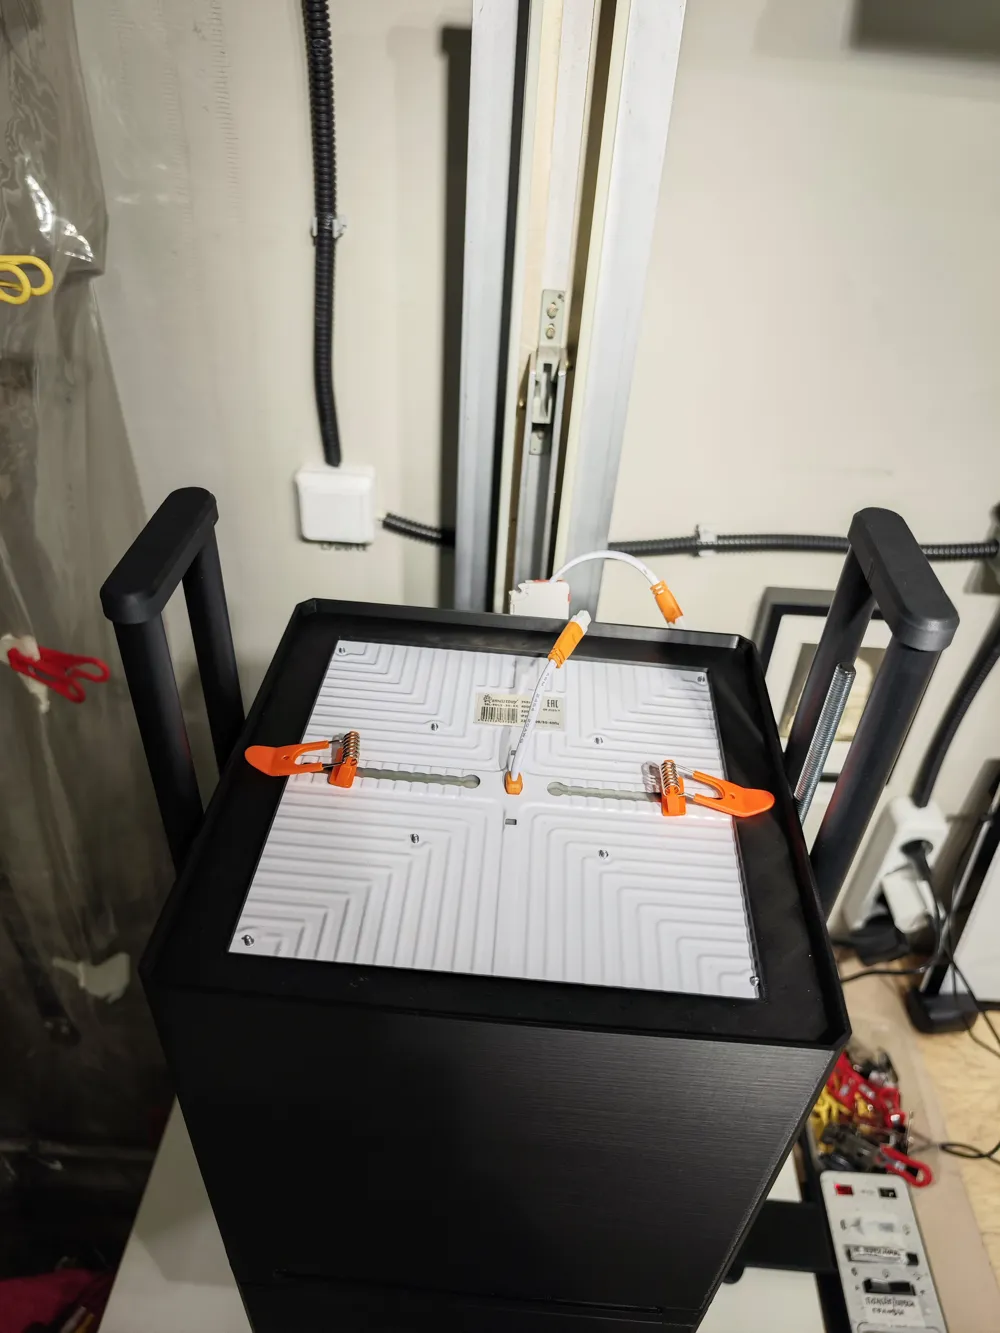
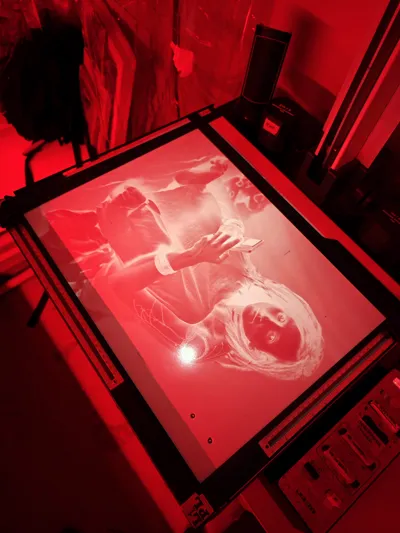
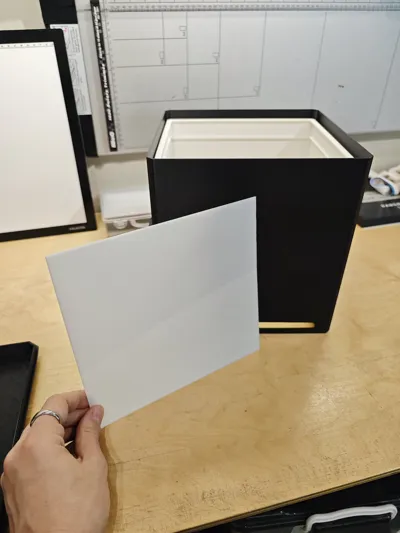
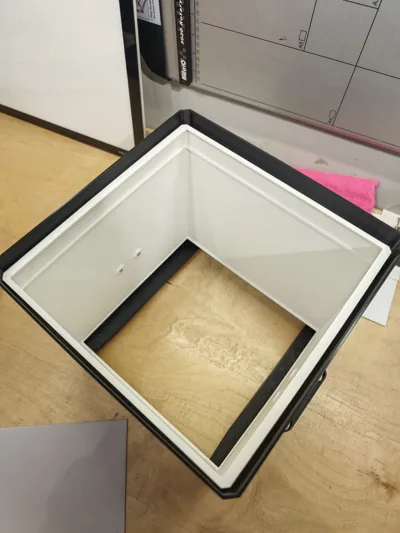
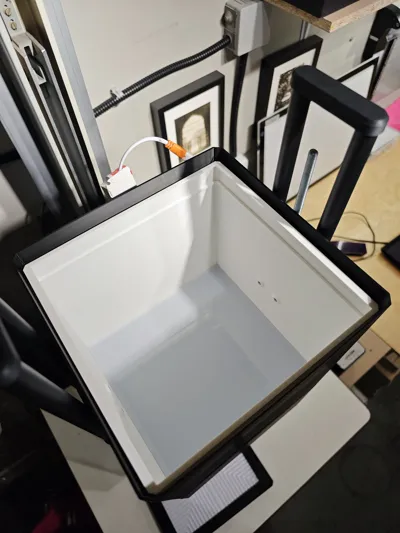
- Diffused light source with excellent illumination uniformity across the entire 13×18cm image area. No visible vignetting
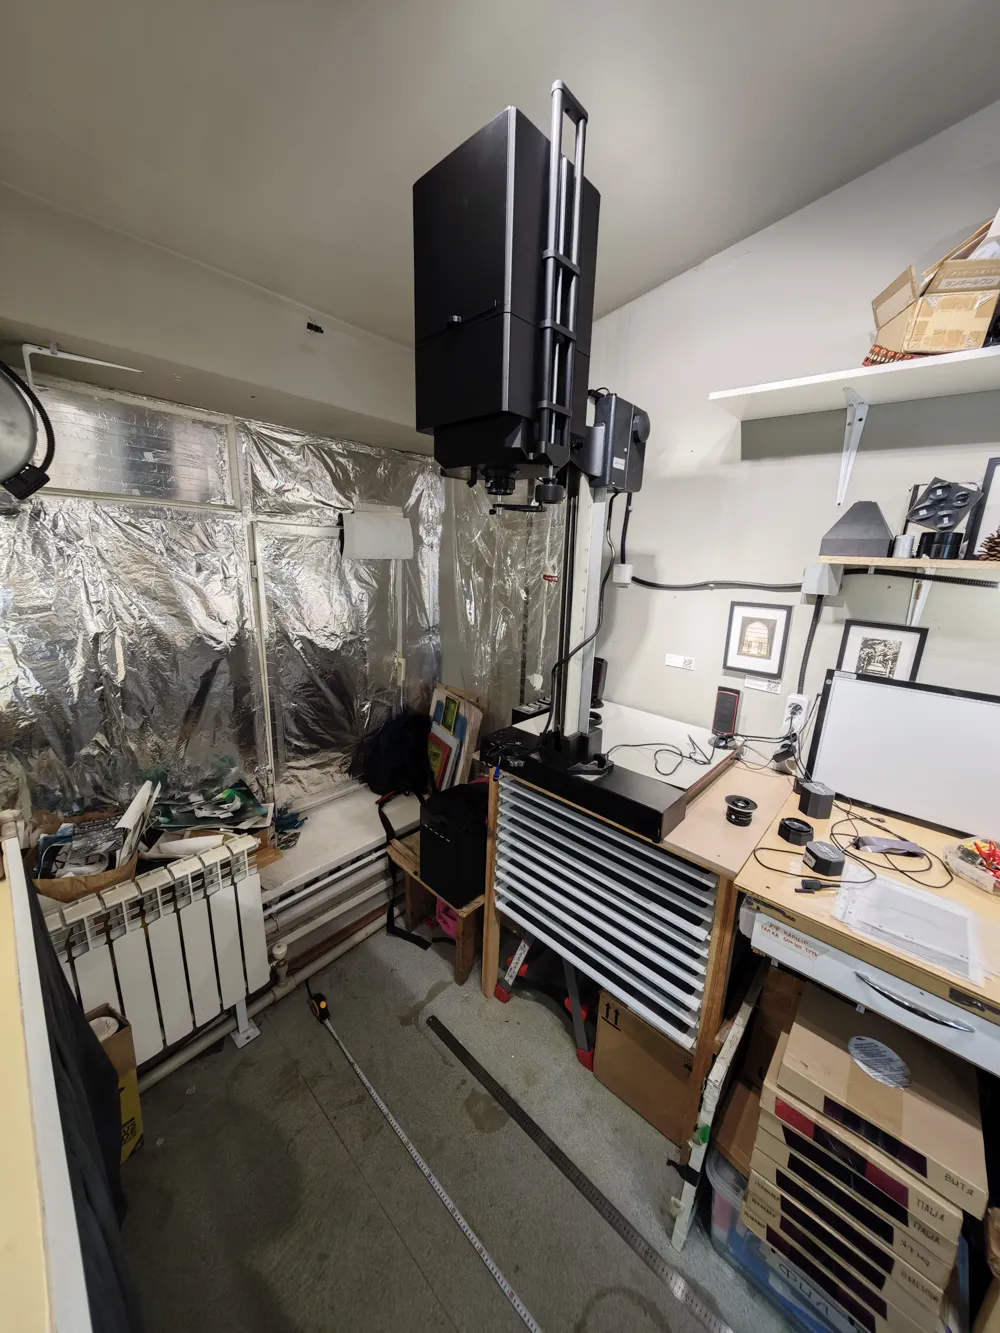
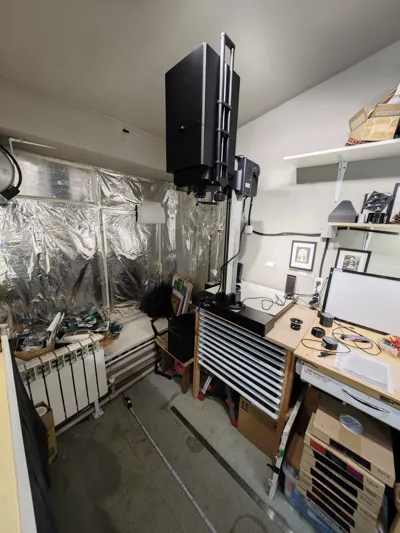
- Mounting system designed for the Soviet Azov enlarger column, as this was the hardware available to me. If you plan to use another enlarger column, you will need to design your own mounting adapter
- Optimized for a 150mm enlarging lens. Vignetting is minimal, with recommended working apertures of f/22–f/32 (tested with a Schneider Componon 150mm f/5.6)
- With an Azov column, the maximum print size is approximately 50×60cm when projecting onto the baseboard. When projecting onto the floor, prints over 1 meter on the long side are possible
- For floor projection, I recommend using a 210mm lens. With this setup, I was able to achieve prints over 120 cm on the long side. Tests with a Schneider Rodagon 210mm f/5.6 showed no visible vignetting at f/22.
- Lens mounting system compatible with Durst Laborator 1200 and Modular 70 lens boards
Requirements
- 3D printer with a minimum build volume of 256×256×256mm (I used a Bambu Lab P1S)
- Approximately 2.3kg of black filament and 0.45kg of white filament (I used eSUN and Bambu PLA)
- Azov enlarger column or equivalent (custom mounting adapter required for other enlargers)
- 225×225mm Frameless square LED panel 36w (I used SmartBuy 36W LED)
- 150mm enlarging lens with M42 or M50 thread (tested with Schneider Componon 150mm f/5.6)
- White opal acrylic sheet, 2x210×225mm
- 4 pcs. rail tubes 16х500mm
- 1 pcs. M8 threaded rod, approximately 500mm long + 1 pcs. 8mm Drop in Anchor
- 1 pcs. M8 nut (6.4x13x14.5mm)
- 2 pcs. M5 bolts with hexagon head(3.5x7.8x9mm), 25mm long
- 2 pcs. M5 heat-set inserts (6x8x7mm)
- 16 pcs. M3 bolts with tapered head, 20mm long
- 6 pcs. M3 bolts with tapered head, 10mm long
- 22 pcs. M3 heat-set inserts (3x3x4.2 mm)
- 4 pcs. M4 heat-set inserts for mounting to the Azov column (not required if you design a different mount)
Important
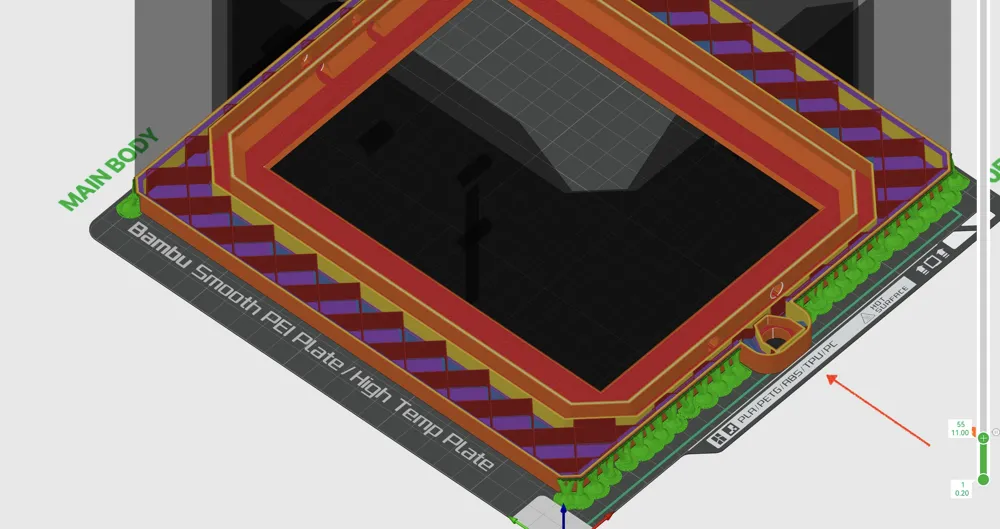
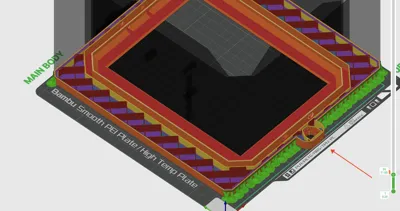
- When printing the MAIN BODY part, you will need to pause the printer and insert the nut into the model (as shown in the screenshot). I have already added the pause to the Wurst138_PRINT_project.3mf file, but it was created in Bambu Studio and may not open or work correctly in other slicers.
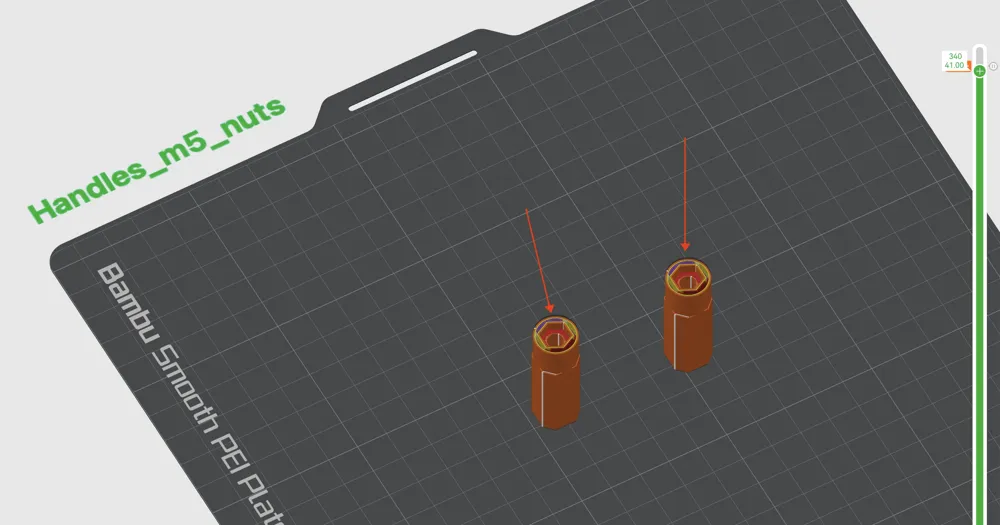
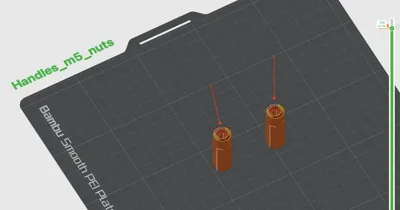
- A similar procedure is required for the Nut_Handle parts. Pause the print at the specified layer and insert the bolts into the model before resuming the print.
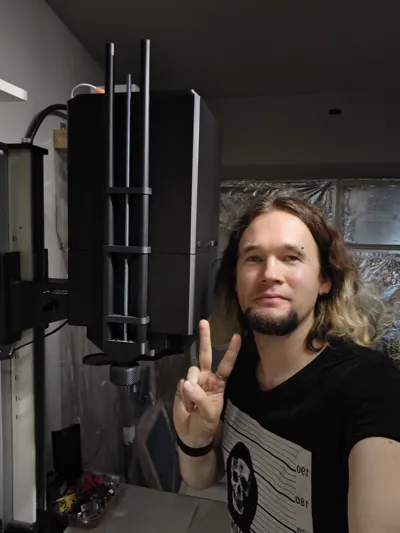
P.S. Be careful — this thing is HUGE!
License

This user content is licensed under a
Creative Commons Attribution-Noncommercial-Share Alike


Comment & Rating (0)