


Print Profile(1)

Bill of Materials

Description
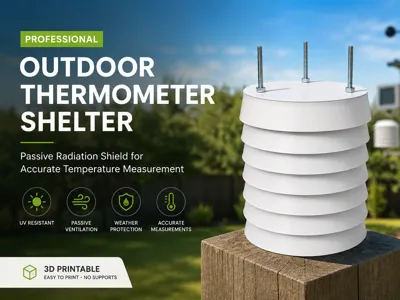
Professional Outdoor Thermometer Radiation Shield
Passive Radiation Shield for Accurate Temperature Measurements
Protect your temperature sensor from direct sunlight and rain while ensuring accurate ambient temperature measurements through excellent natural airflow.
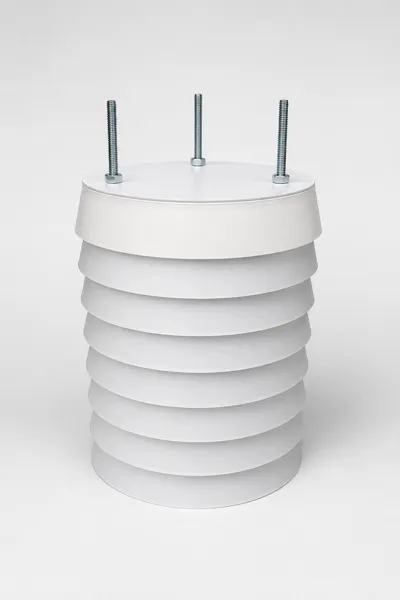
Inspired by the design of professional weather station radiation shields, this model has been carefully optimized for 3D printing while maintaining excellent natural airflow and effective protection from direct solar radiation. This helps improve the accuracy of ambient temperature measurements compared to an exposed sensor.
It is ideal for:
- 🌡️ Home Assistant
- 🏠 ESPHome
- 📡 DIY Weather Stations
- ☀️ Outdoor Environmental Monitoring
Features
- Designed after a professional radiation shield
- Excellent natural ventilation
- Protects the sensor from direct sunlight
- Reduces solar heating
- Simple assembly
- Requires only common M8 hardware
- Optimized for 3D printing
- No supports required
- Suitable for year-round outdoor use
- Easy sensor installation
- Modular design
Recommended Material
I printed the entire model in ASA because of its excellent UV and weather resistance.
PETG should also work, although I have not personally tested it.
For the best performance, print all parts in white. White reflects sunlight and minimizes heat absorption, resulting in more accurate temperature measurements.
If you want to maximize measurement accuracy, you can paint the inside surfaces matte black, similar to some professional weather shelters. This helps reduce internal reflections and can slightly improve sensor performance under certain lighting conditions.
Hardware Required
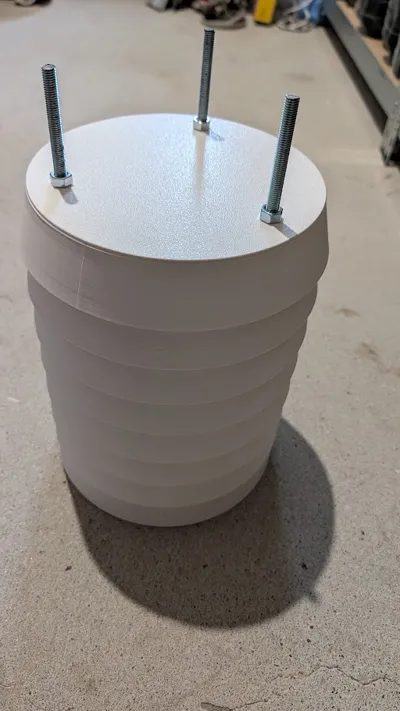
- 3 × M8 threaded rods (330 mm long each)
- 6 × M8 nuts
- 6 × M8 washers
Tip
The easiest solution is to buy a 1 meter M8 threaded rod and cut it into three equal pieces.
Assembly
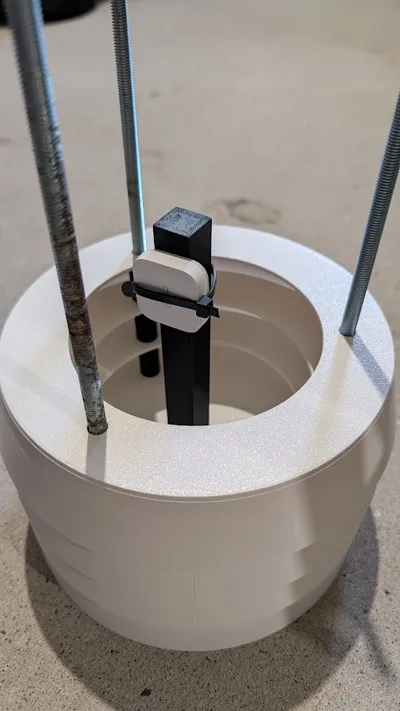
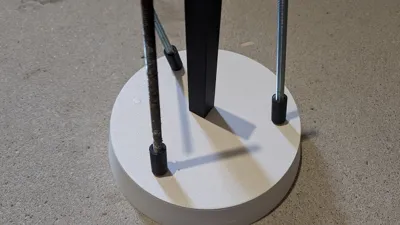
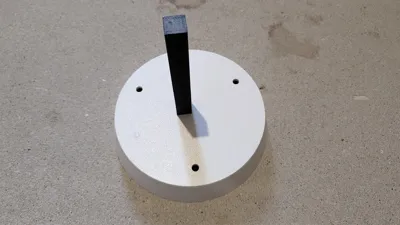
- Glue the center sensor support into the bottom plate.
- Screw one nut onto each threaded rod and insert the rods through the bottom plate.
- Place one spacer on each threaded rod.
- Add the next shield plate.
- Repeat until reaching the third intermediate plate.
- Attach your temperature sensor to the center support.
- Continue stacking the remaining shield plates with spacers.
- Install the top cover.
Tighten the assembly using the remaining nuts and washers.
(Do not overtighten the nuts, as this may deform the printed parts.)
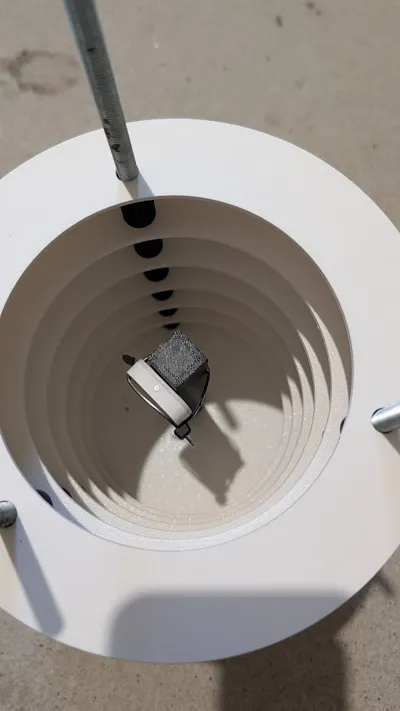
Compatible Sensors
The included center mount is designed for the Aqara Temperature and Humidity Sensor. I attached the sensor using a small cable tie, and it has been working perfectly outdoors.
The mounting design can easily be adapted for other temperature and humidity sensors if needed.
Feel free to remix the model to fit your own hardware.
Printing Tips
- Material: ASA (recommended)
- Layer Height: 0.20 mm
- Supports: Not required
- Brim: Not required (I printed all parts successfully without one)
- Walls: 3
- Infill: 15%
- Nozzle: 0.4 mm
Why use a radiation shield?
A temperature sensor exposed to direct sunlight can read several degrees higher than the actual ambient air temperature.
A properly designed radiation shield:
✅ Blocks direct solar radiation
✅ Allows continuous airflow
✅ Protects against rain
✅ Improves measurement accuracy
If you like this model, please consider leaving a ⭐ rating and sharing your make!
Happy printing! 😊
License
You shall not share, sub-license, sell, rent, host, transfer, or distribute in any way the digital or 3D printed versions of this object, nor any other derivative work of this object in its digital or physical format (including - but not limited to - remixes of this object, and hosting on other digital platforms). The objects may not be used without permission in any way whatsoever in which you charge money, or collect fees.
Comment & Rating (0)