
Broken Mjolnir (MCU)
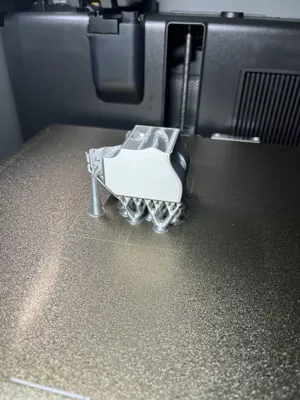
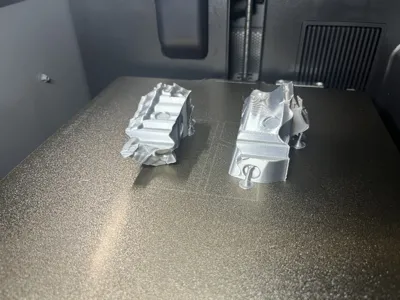
Print Profile(1)
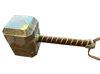




Description
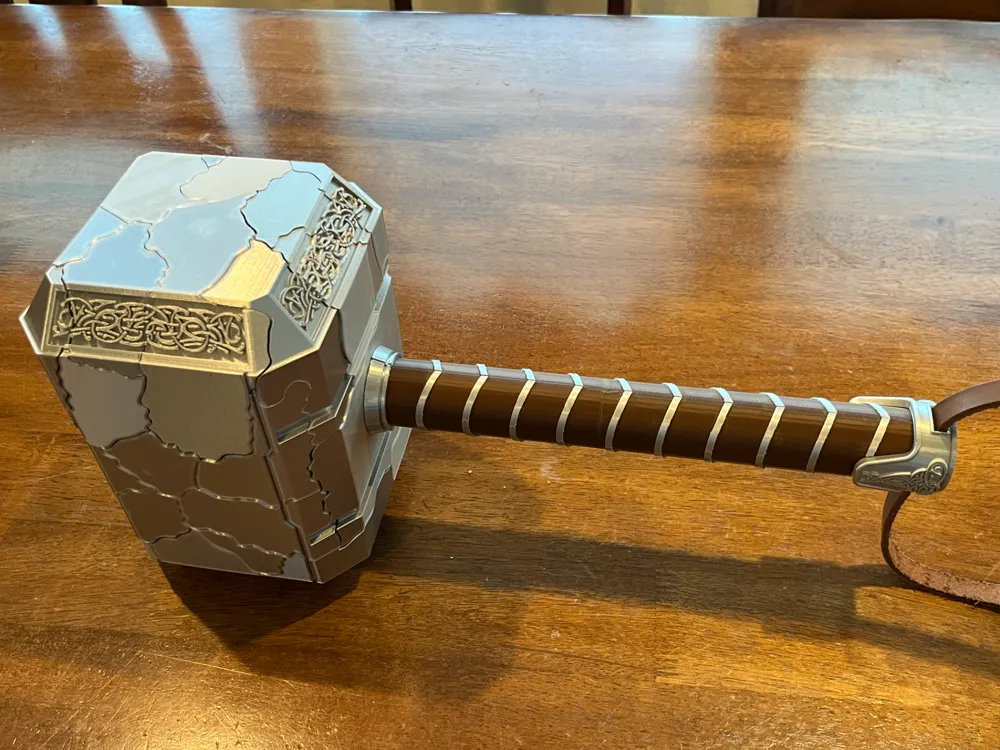
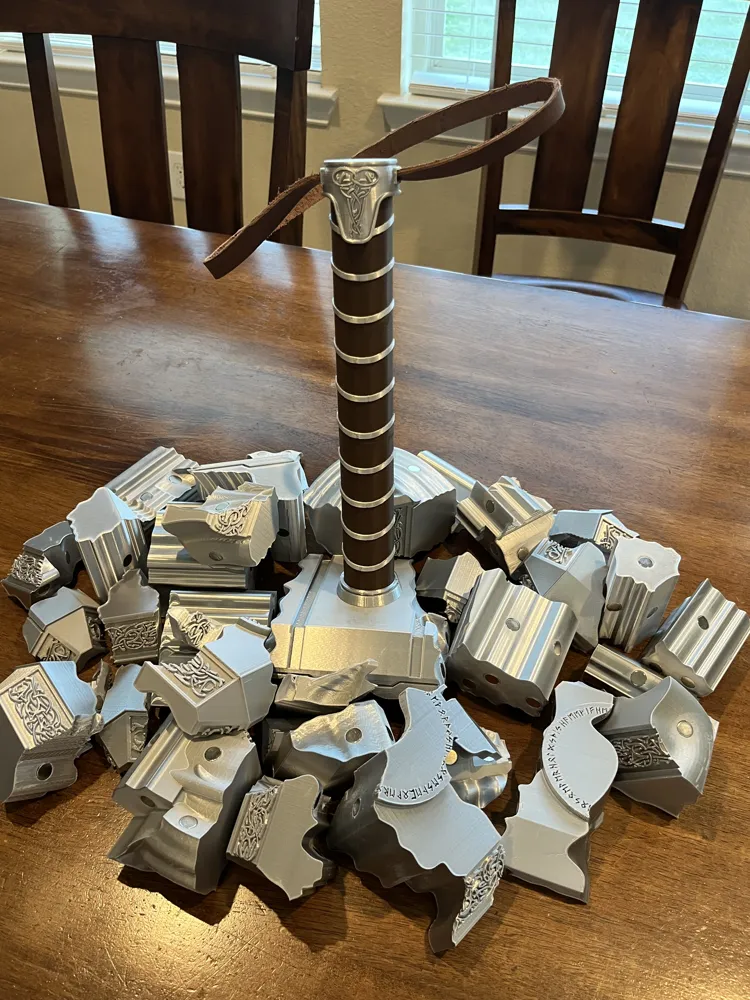
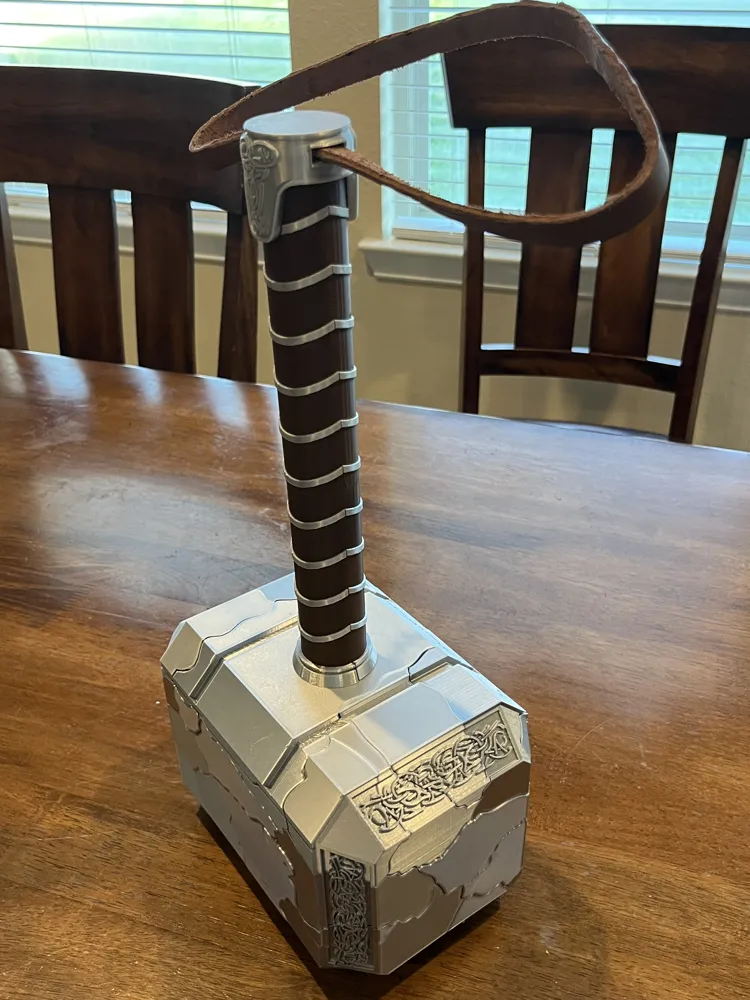
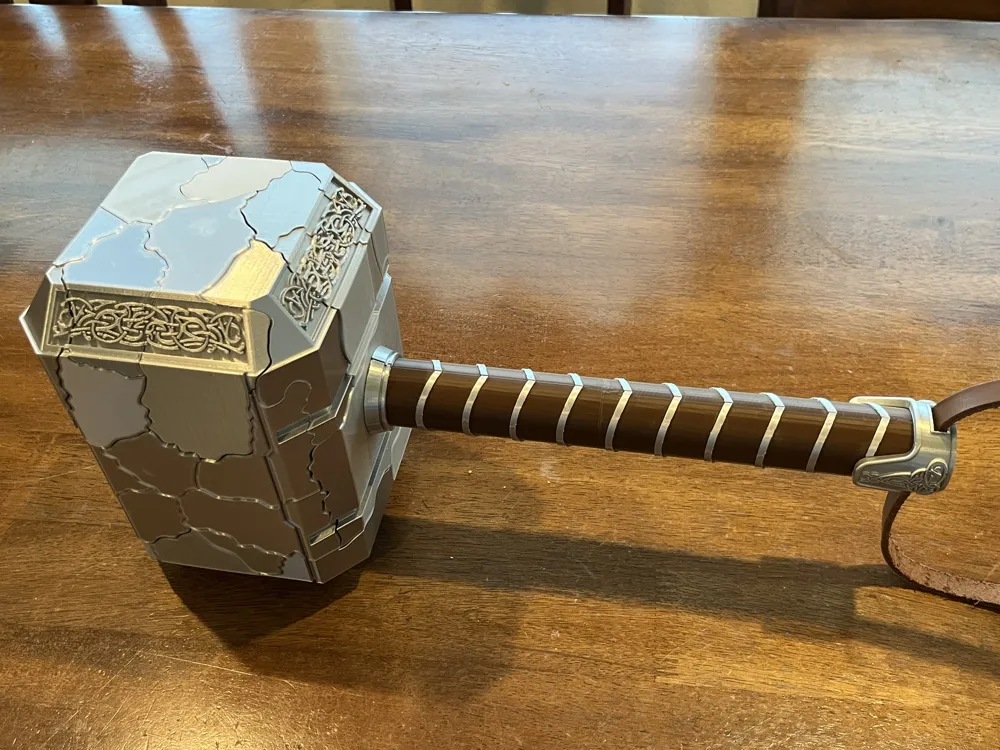
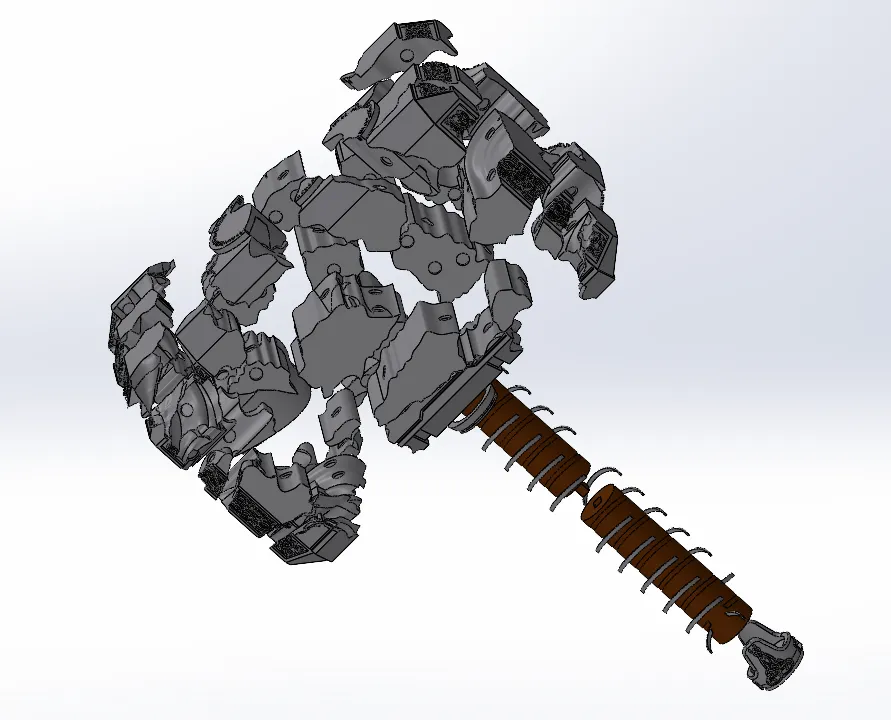
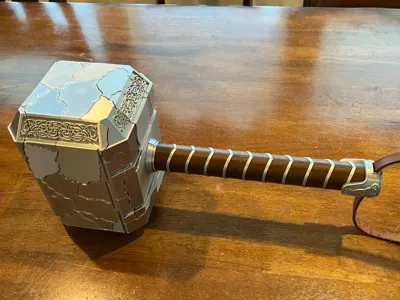
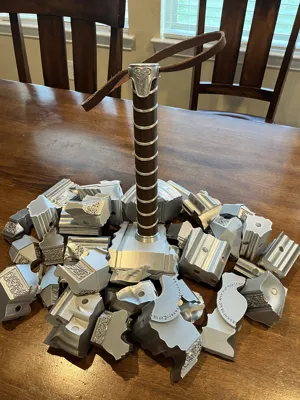
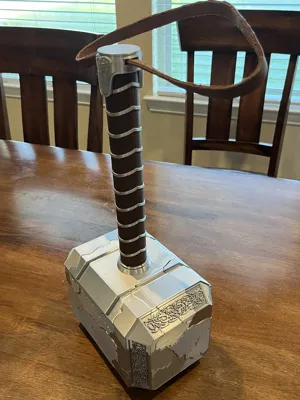
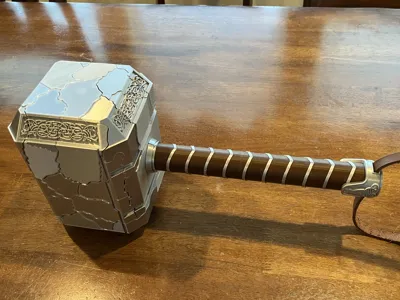
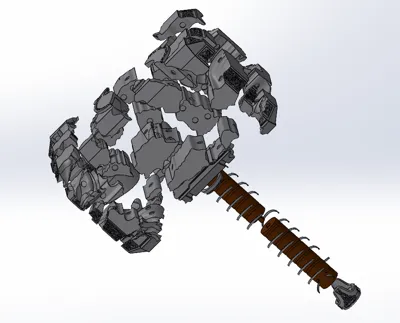
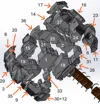
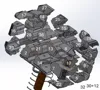
Model for Thor's Hammer from Thor: Love and Thunder. Hammer head splits into different pieces like in the movie and are held together using magnets.
Print orientation in the .3mf matches the orientations I used when I printed it, but you might need to test printing in different orientations if the fit between two of the hammer head pieces isn't lining up well.
The magnets used are 10x2mm and are superglued into the holes. You'll need around 210 magnets. Depending on the infill percentage and what you intend to do with the hammer (display vs carry around), you might need to adjust the strength of the magnets. I used 20% infill for a display build and the hammer stays together, but the pieces can come apart come apart when yanked. 20% infill gives the hammer a nice weight to it, but 10-15% might be better for balancing with the magnet strength.
I printed all the pieces on an Ender v2 with a smooth plate. I used Cura to slice it so it just had straight supports. I used a generic coffee brown PLA for the handle and generic silk silver PLA for the hammer head pieces. The Bambu filaments selected below should match the generic ones I used.
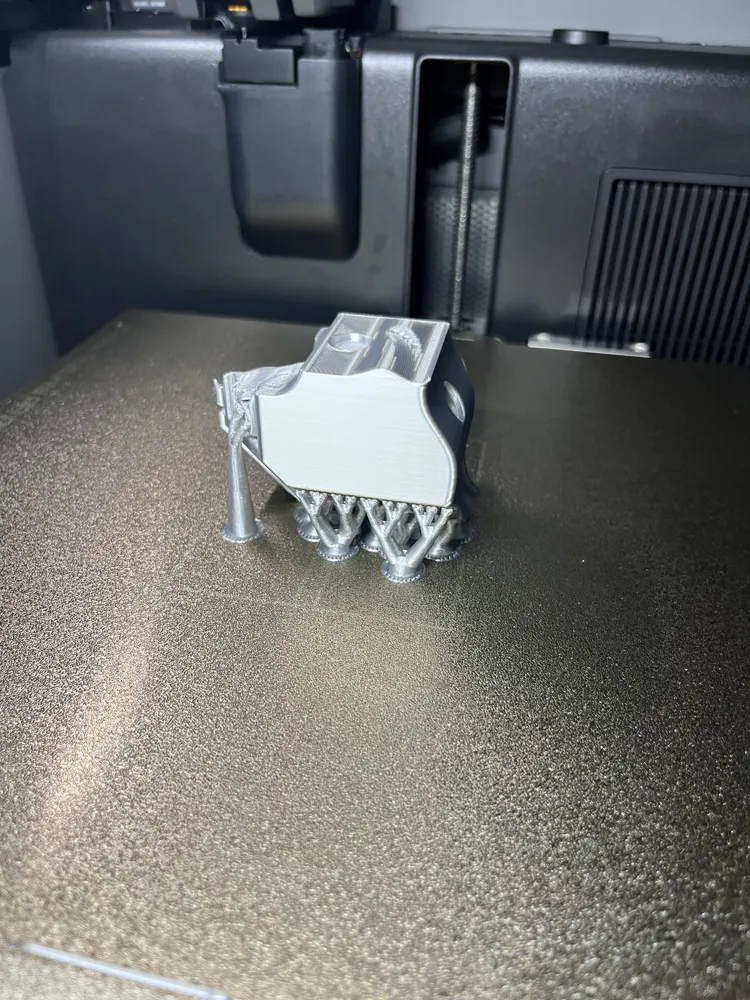
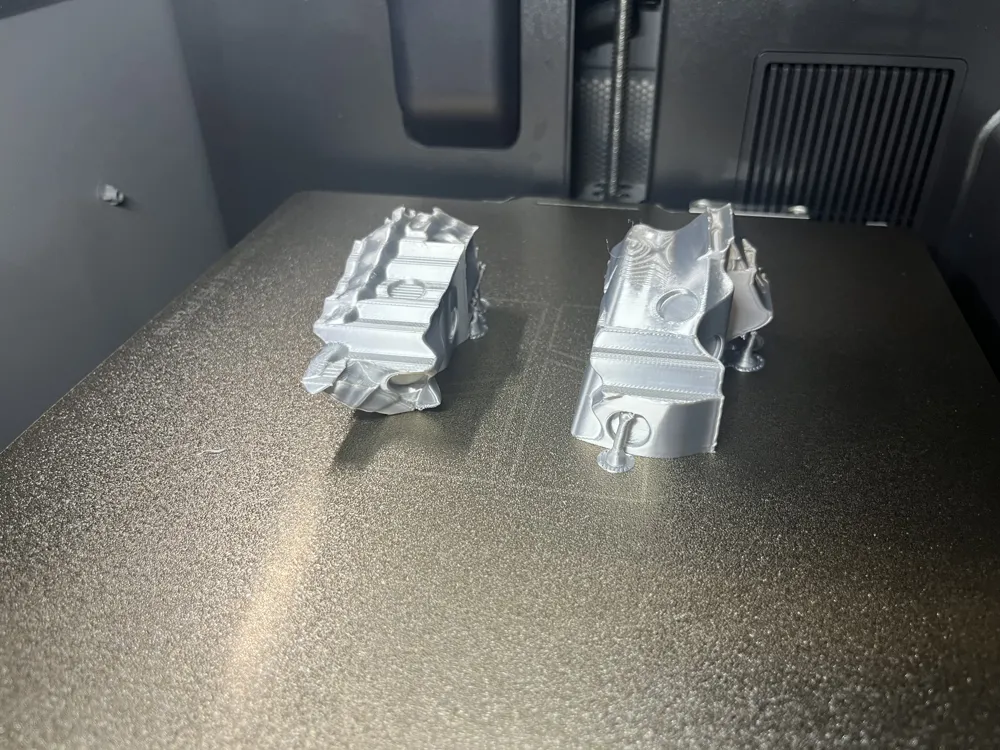
I tested some of the prints on my Bambu P2S and they printed fine. I used tree supports on the starting textured plate to test the prints. I would recommend a smooth plate since most of the head pieces print on one of the hammer faces so smooth will look better.
I transferred all the settings I used in Cura into the .3mf, but did slow down the print settings for the P2S with silk.
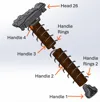
Leather strap was found at craft store and cut to fit the hole in the hammer hilt.
Documentation (3)
License

You shall not share, sub-license, sell, rent, host, transfer, or distribute in any way the digital or 3D printed versions of this object, nor any other derivative work of this object in its digital or physical format (including - but not limited to - remixes of this object, and hosting on other digital platforms). The objects may not be used without permission in any way whatsoever in which you charge money, or collect fees.


Comment & Rating (0)