Rocky - 1/6 Scale with Better Joints for Play


Print Profile(2)

Description
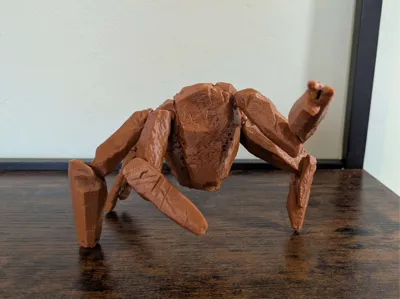
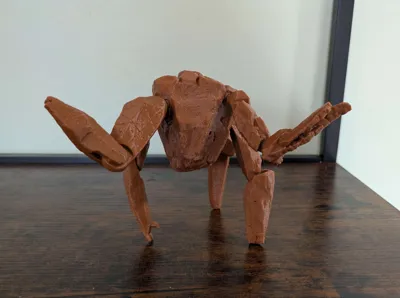
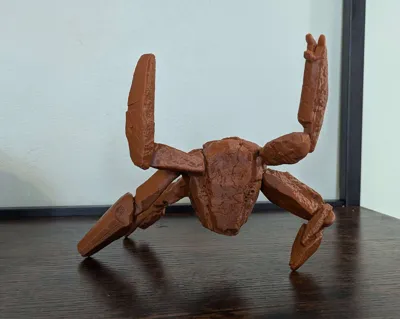
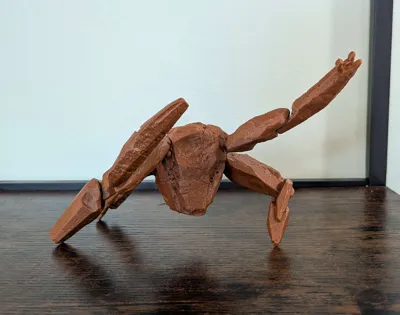
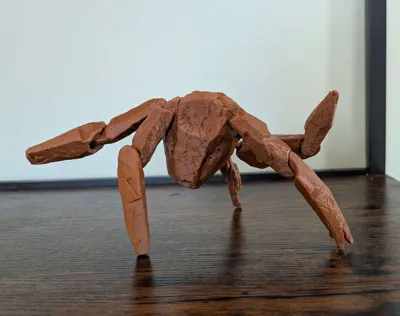
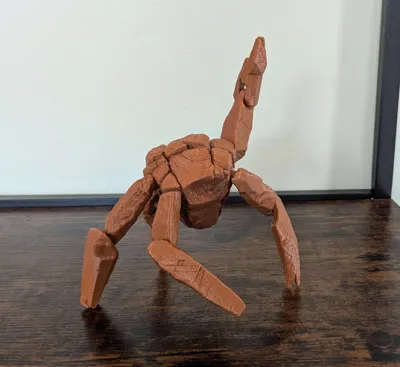
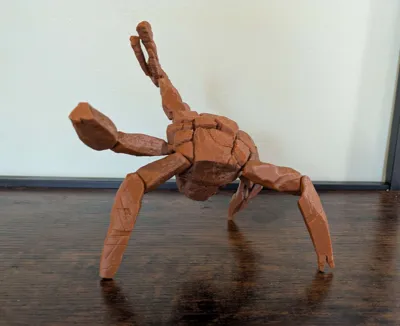
This is a remix of the officially released model of Rocky from Project Hail Mary. I wasn’t happy with the stability or range of motion of the articulated figure’s joints — my kids think Rocky is really cute, and they wanted something they could actually play with. This is my attempt to make that work. This version of Rocky can balance on any three legs and can hold a variety of poses.
As I was working on this, I also noticed that the official model’s shoulder joints were lower than that of the actual puppet used in the film, and one arm was attached at the wrong angle. I’ve attempted to fix those issues too.
The joints are all snap-in ball-and-socket joints. I reversed the direction of the shoulder joints so that the sockets are in the torso rather than in the arms. The elbow joints are all ball-and-socket variations too, because even though they only need to rotate in one direction, that seemed more secure. I am sure this isn’t perfect (I have not worked with articulated figures before) but it’s a definite improvement over the original.
This version is scaled up to 1/6 scale (matches many dolls and action figures). I haven’t tested the joints at any other scale.
TO ASSEMBLE: The pieces aren’t labeled (I didn’t like having visible numbers on the figure) so I’ve included the original assembly diagram for reference. Snapping the joints together can be tricky. Use an even, firm pressure, and if it seems necessary, apply heat to the socket side of the joint (I used a little bit of boiling water). I found this to be necessary with some brands of filament but not with others.
Notes:
- You should trim or file down any uneven places on the ball joints, such as where the supports were connected, so they’re as close to a perfect sphere as possible. This will help keep the joints from wearing out.
- While you can (carefully) take apart the joints after putting them together, they’ll get loose if you do this repeatedly, so I recommend against it.
- It would be easier to paint Rocky before putting them together, but if you do, you’ll want to be extra careful with the assembly so that your hard work doesn’t go to waste (I did snap a couple of joints when assembling test prints).
- There are two options (open hand and fist) for the first leg, but once assembled they’re not really interchangeable, so just pick which one you want at the start.
- I’ve had much better luck avoiding print failures if I print the pieces one at a time. The first print profile has them all one plate, but I’ve also provided a second profile with the pieces separated out to print individually.
- I’ve only tested this with PLA. I don’t know if other types of material will have the same give necessary to snap the joints together.

Comment & Rating (12)