
Keypad (e.g. for CAD)
Print Profile(1)
Description
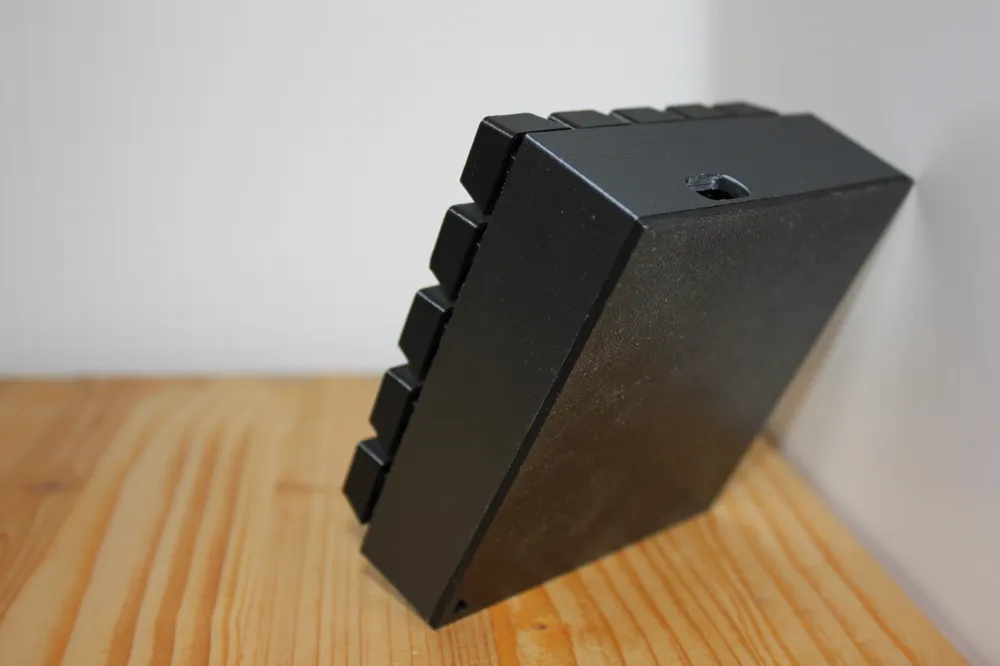
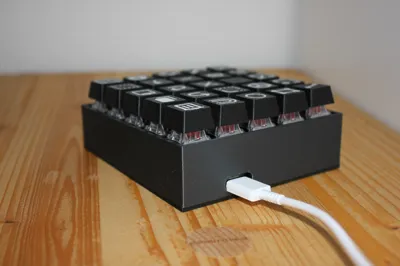
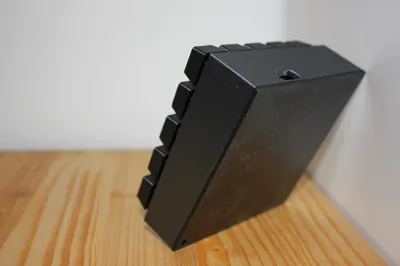
Build your own keypad
Annoyed with doing the same things with your mouse over and over and wasting time or there are too many keybindings to remember?
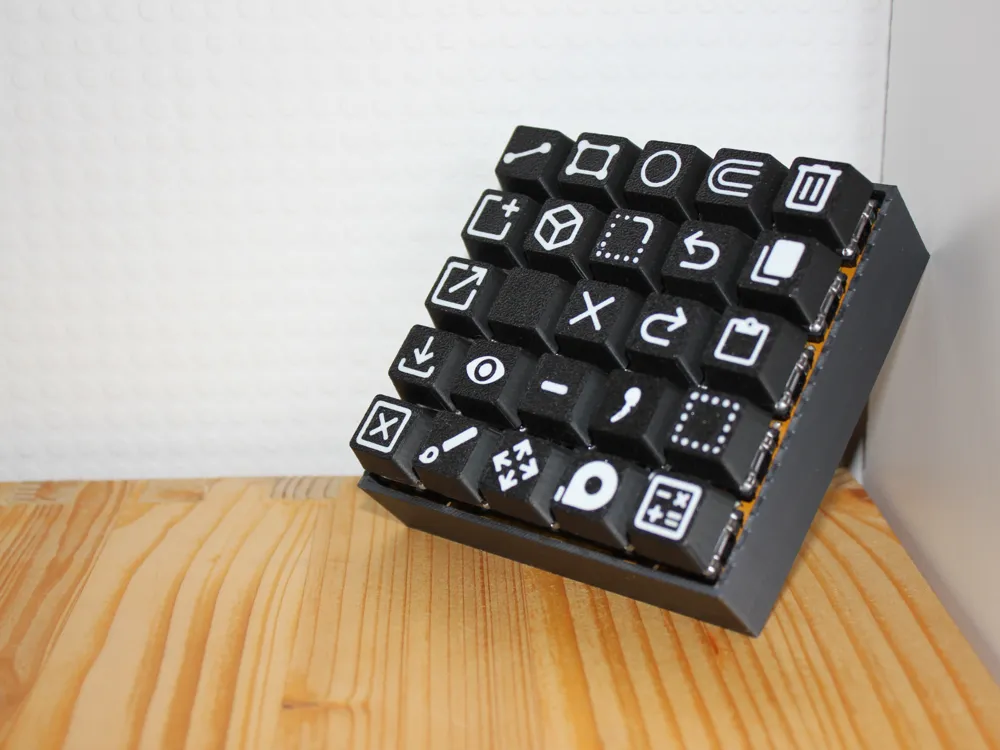
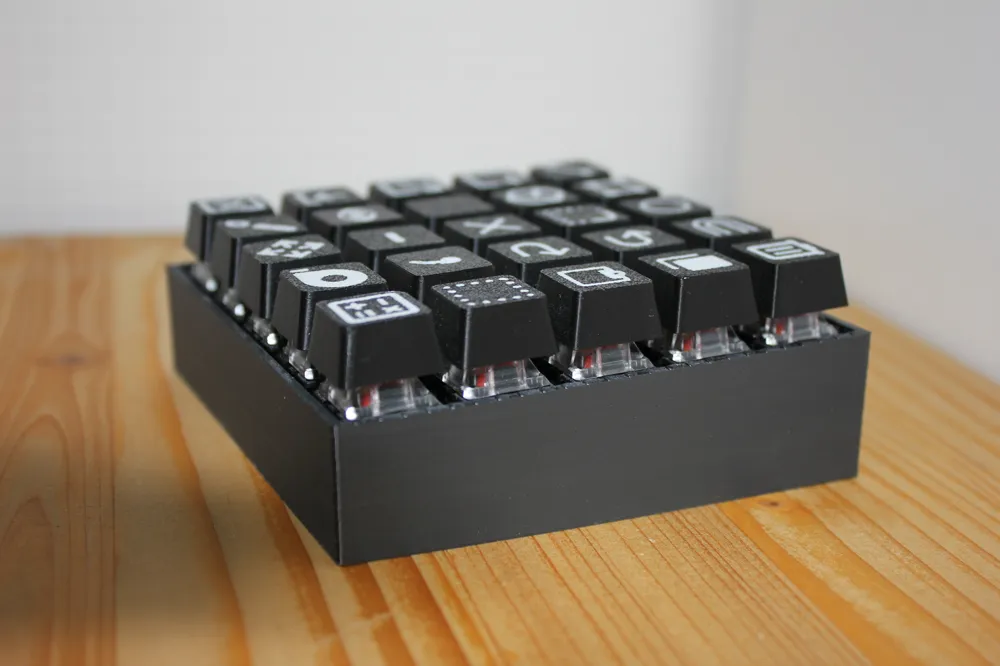
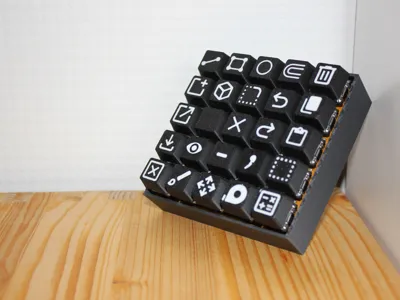
This might be right for you: A simple and small keypad with 25 keys boosts your efficiency by executing different actions just by clicking a key.
It is cheap to build and you can even customize it the way you want. I use it for designing my 3D models I love it.
What you need:
- 1x KB2040 Microcontroller
- 1x 40percent club “25” PCB (www.40percent.club/2017/09/25.html - Download .zip file and order the board from some PCB manufacturer )
- 25x MX style switches
- 25x 1N4148 Diodes
- some pin headers and female pin headers
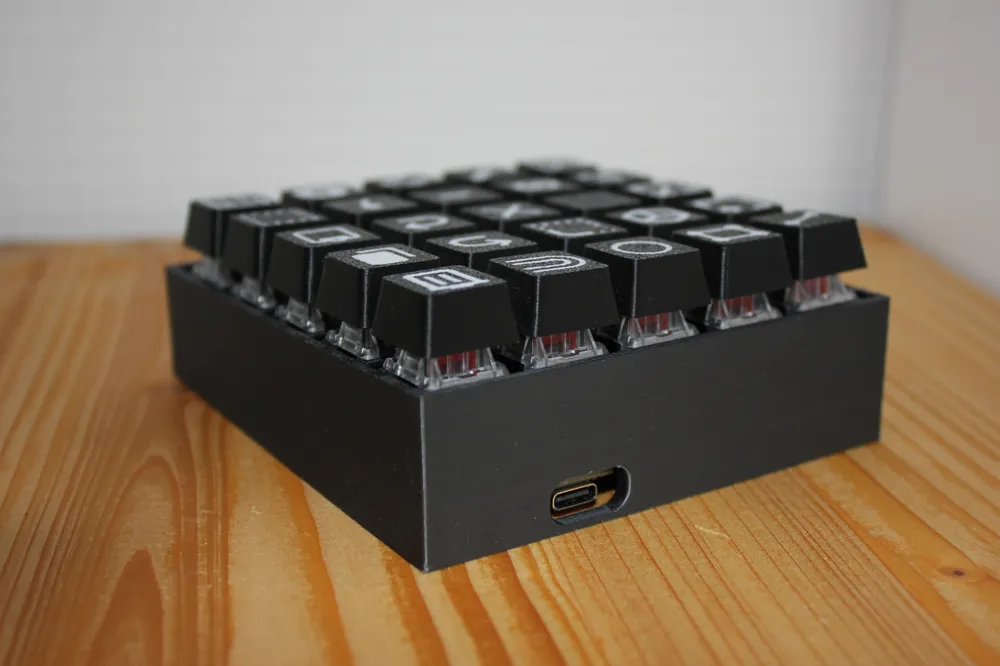
- USB type C cable
- the printed parts
How to build it
Cut two (male) pin headers to a length of 12 pins and solder them to the board (use a breadboard to hold them in place)
Warning: Align both headers so all the pins but D+ and D- have a header pin soldered to them, as shown below:
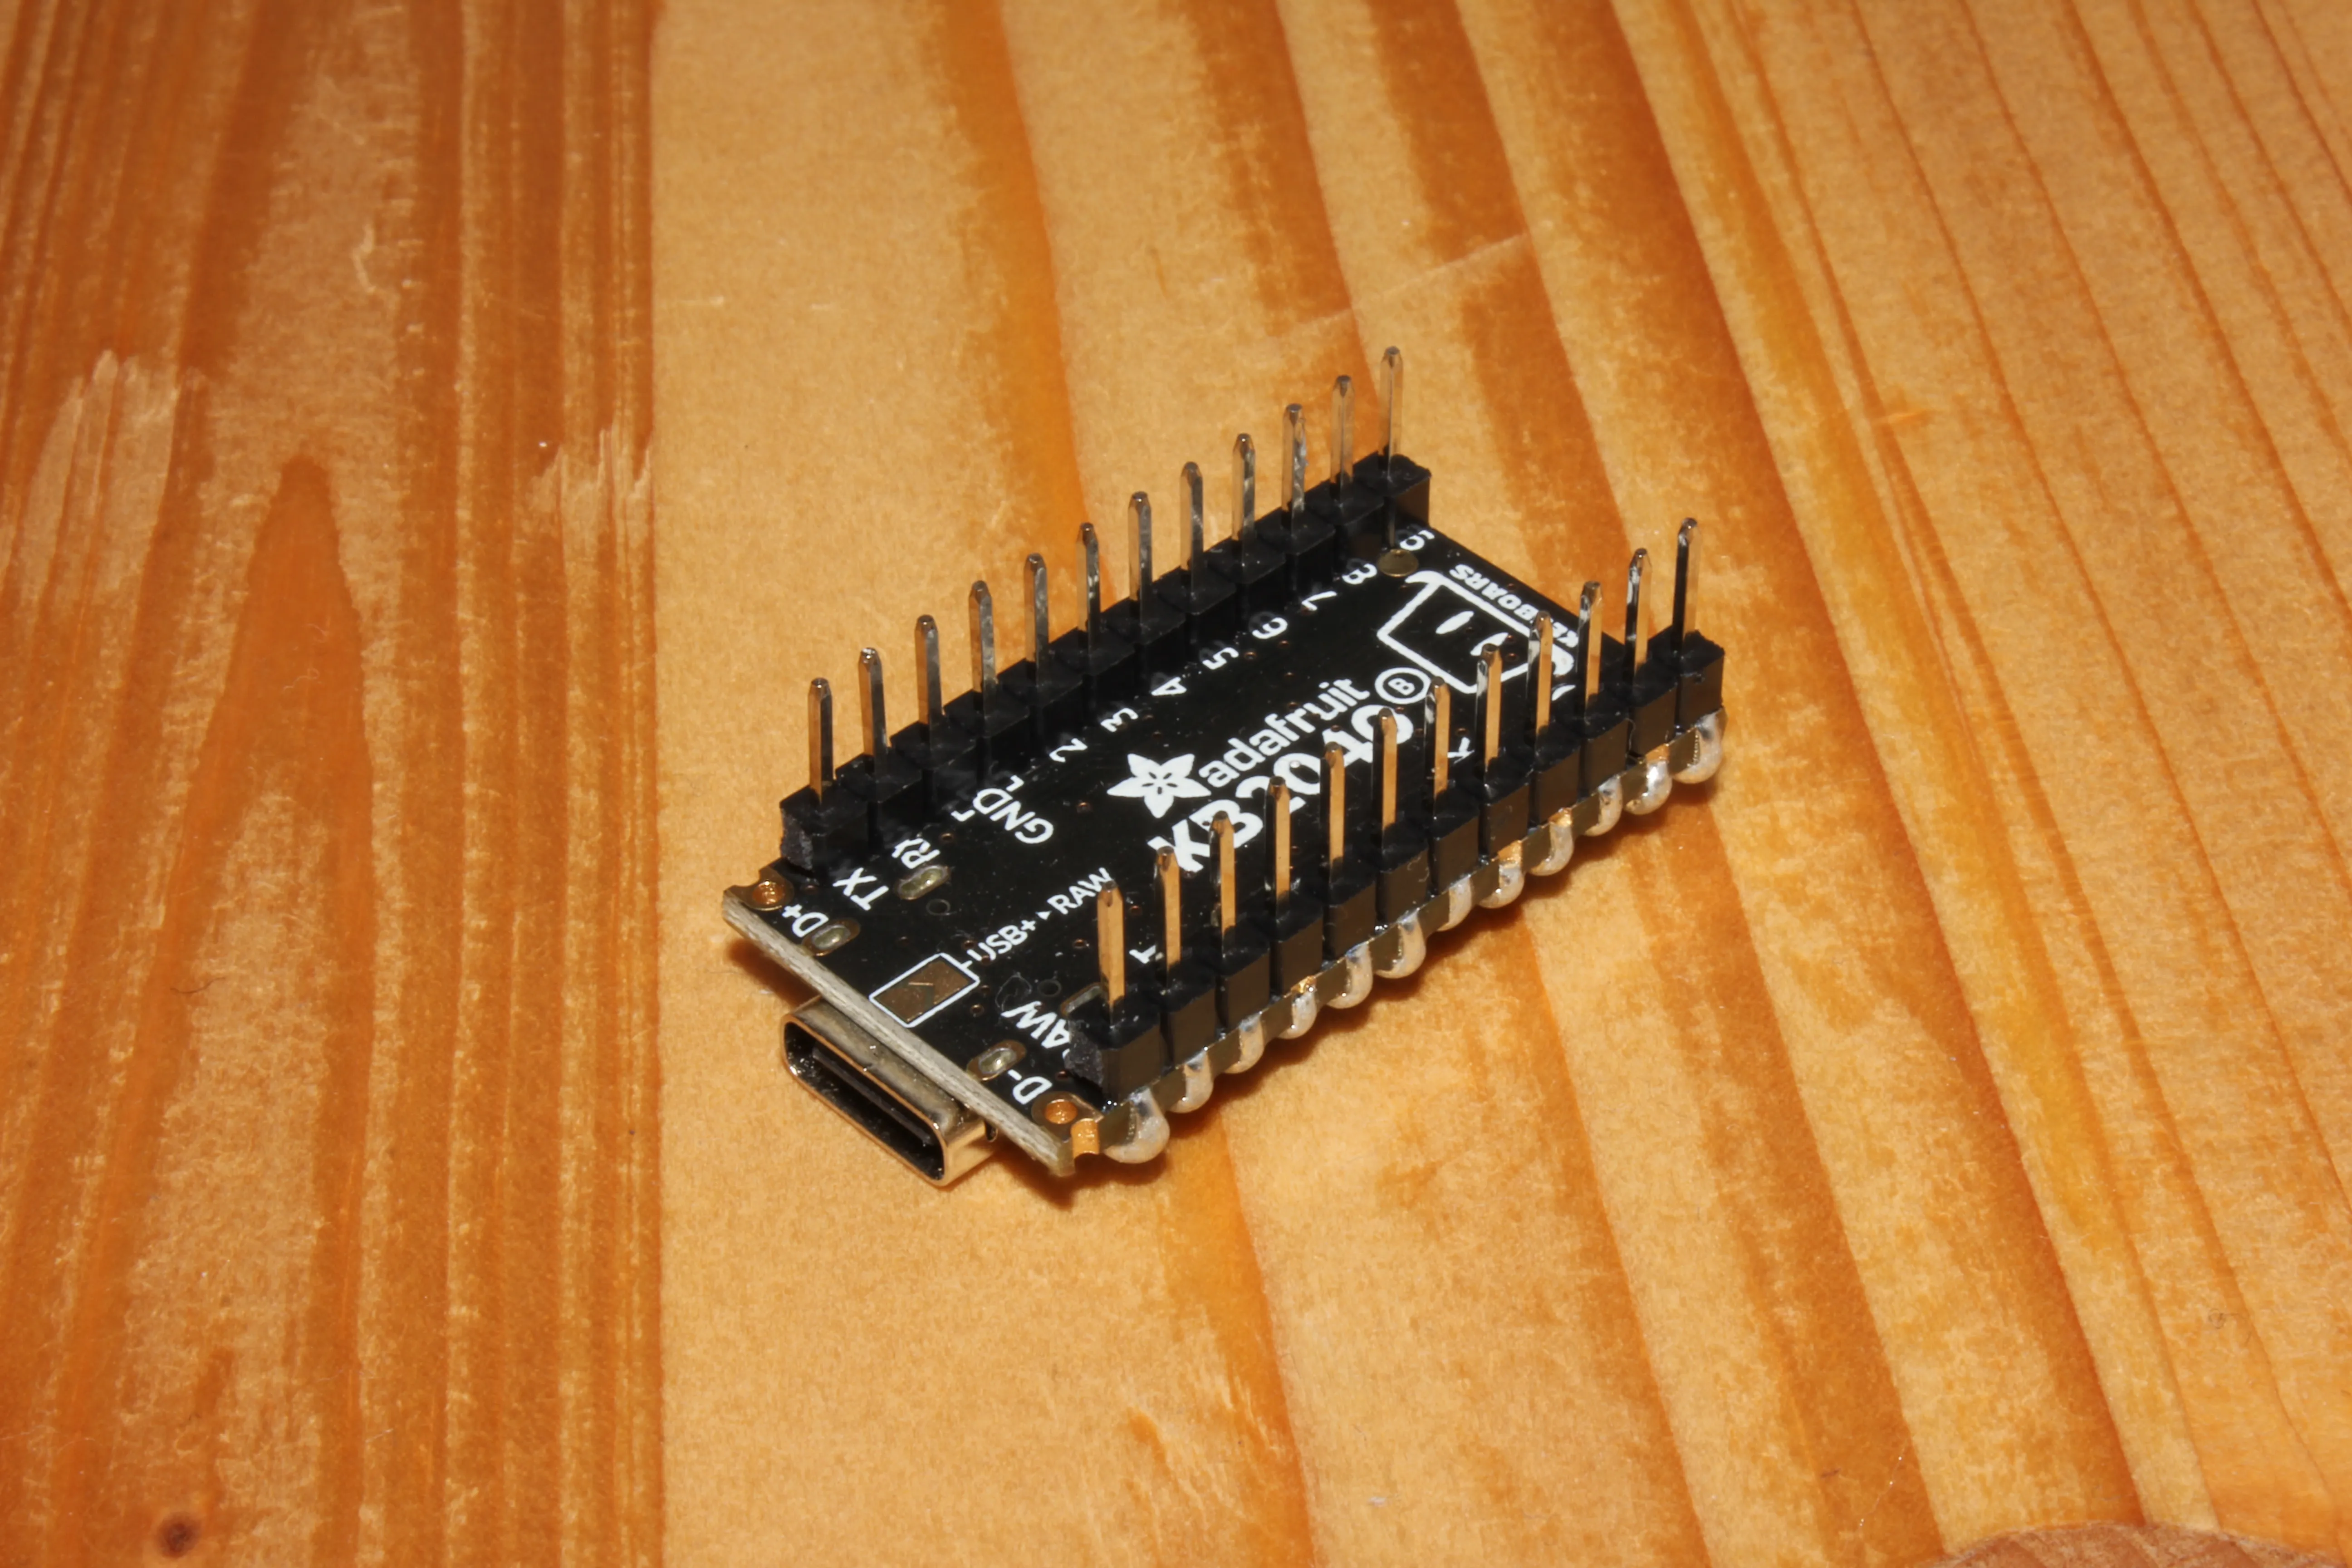
(My soldering joints are awful)
Go to https://config.qmk.fm/#/40percentclub/25/LAYOUT_ortho_5x5 (make sure “LAYOUT_ortho5x5” is selected), name your keymap and configure your keymap horizontally mirrored (actions you want to be placed on the right side of your board should be placed on the left on the website). Download it as a JSON File.
There is also an example keymap for a Fusion 360 macropad at the bottom of this page.
Install QMK MSYS, run it with administrator privileges and enter the command
qmk setup
(you will want to answer with y in most cases)
! Make sure no USB devices are connected to your computer before continuing !
Now connect the KB2040 Microcontroller to your computer with the USB type C cable.
Copy the path to your file and then run:
qmk flash -c /Path/to/your/keymap.json -e CONVERT_TO=kb2040
(Make sure to paste your path instead of the example)
When “Waiting for drive to deploy” is shown, press the RST button on your controller while holding BOOT.
If the command finished, disconnect your controller.
Place your circuit board on the table so the holes where the microcontroller is placed are on the left side of the board and place the diodes in the corresponding holes. Make sure the side with the black stripe of the diode points to the right side of your PCB, otherwise your keypad will not work.
Here is an image of how it should look:
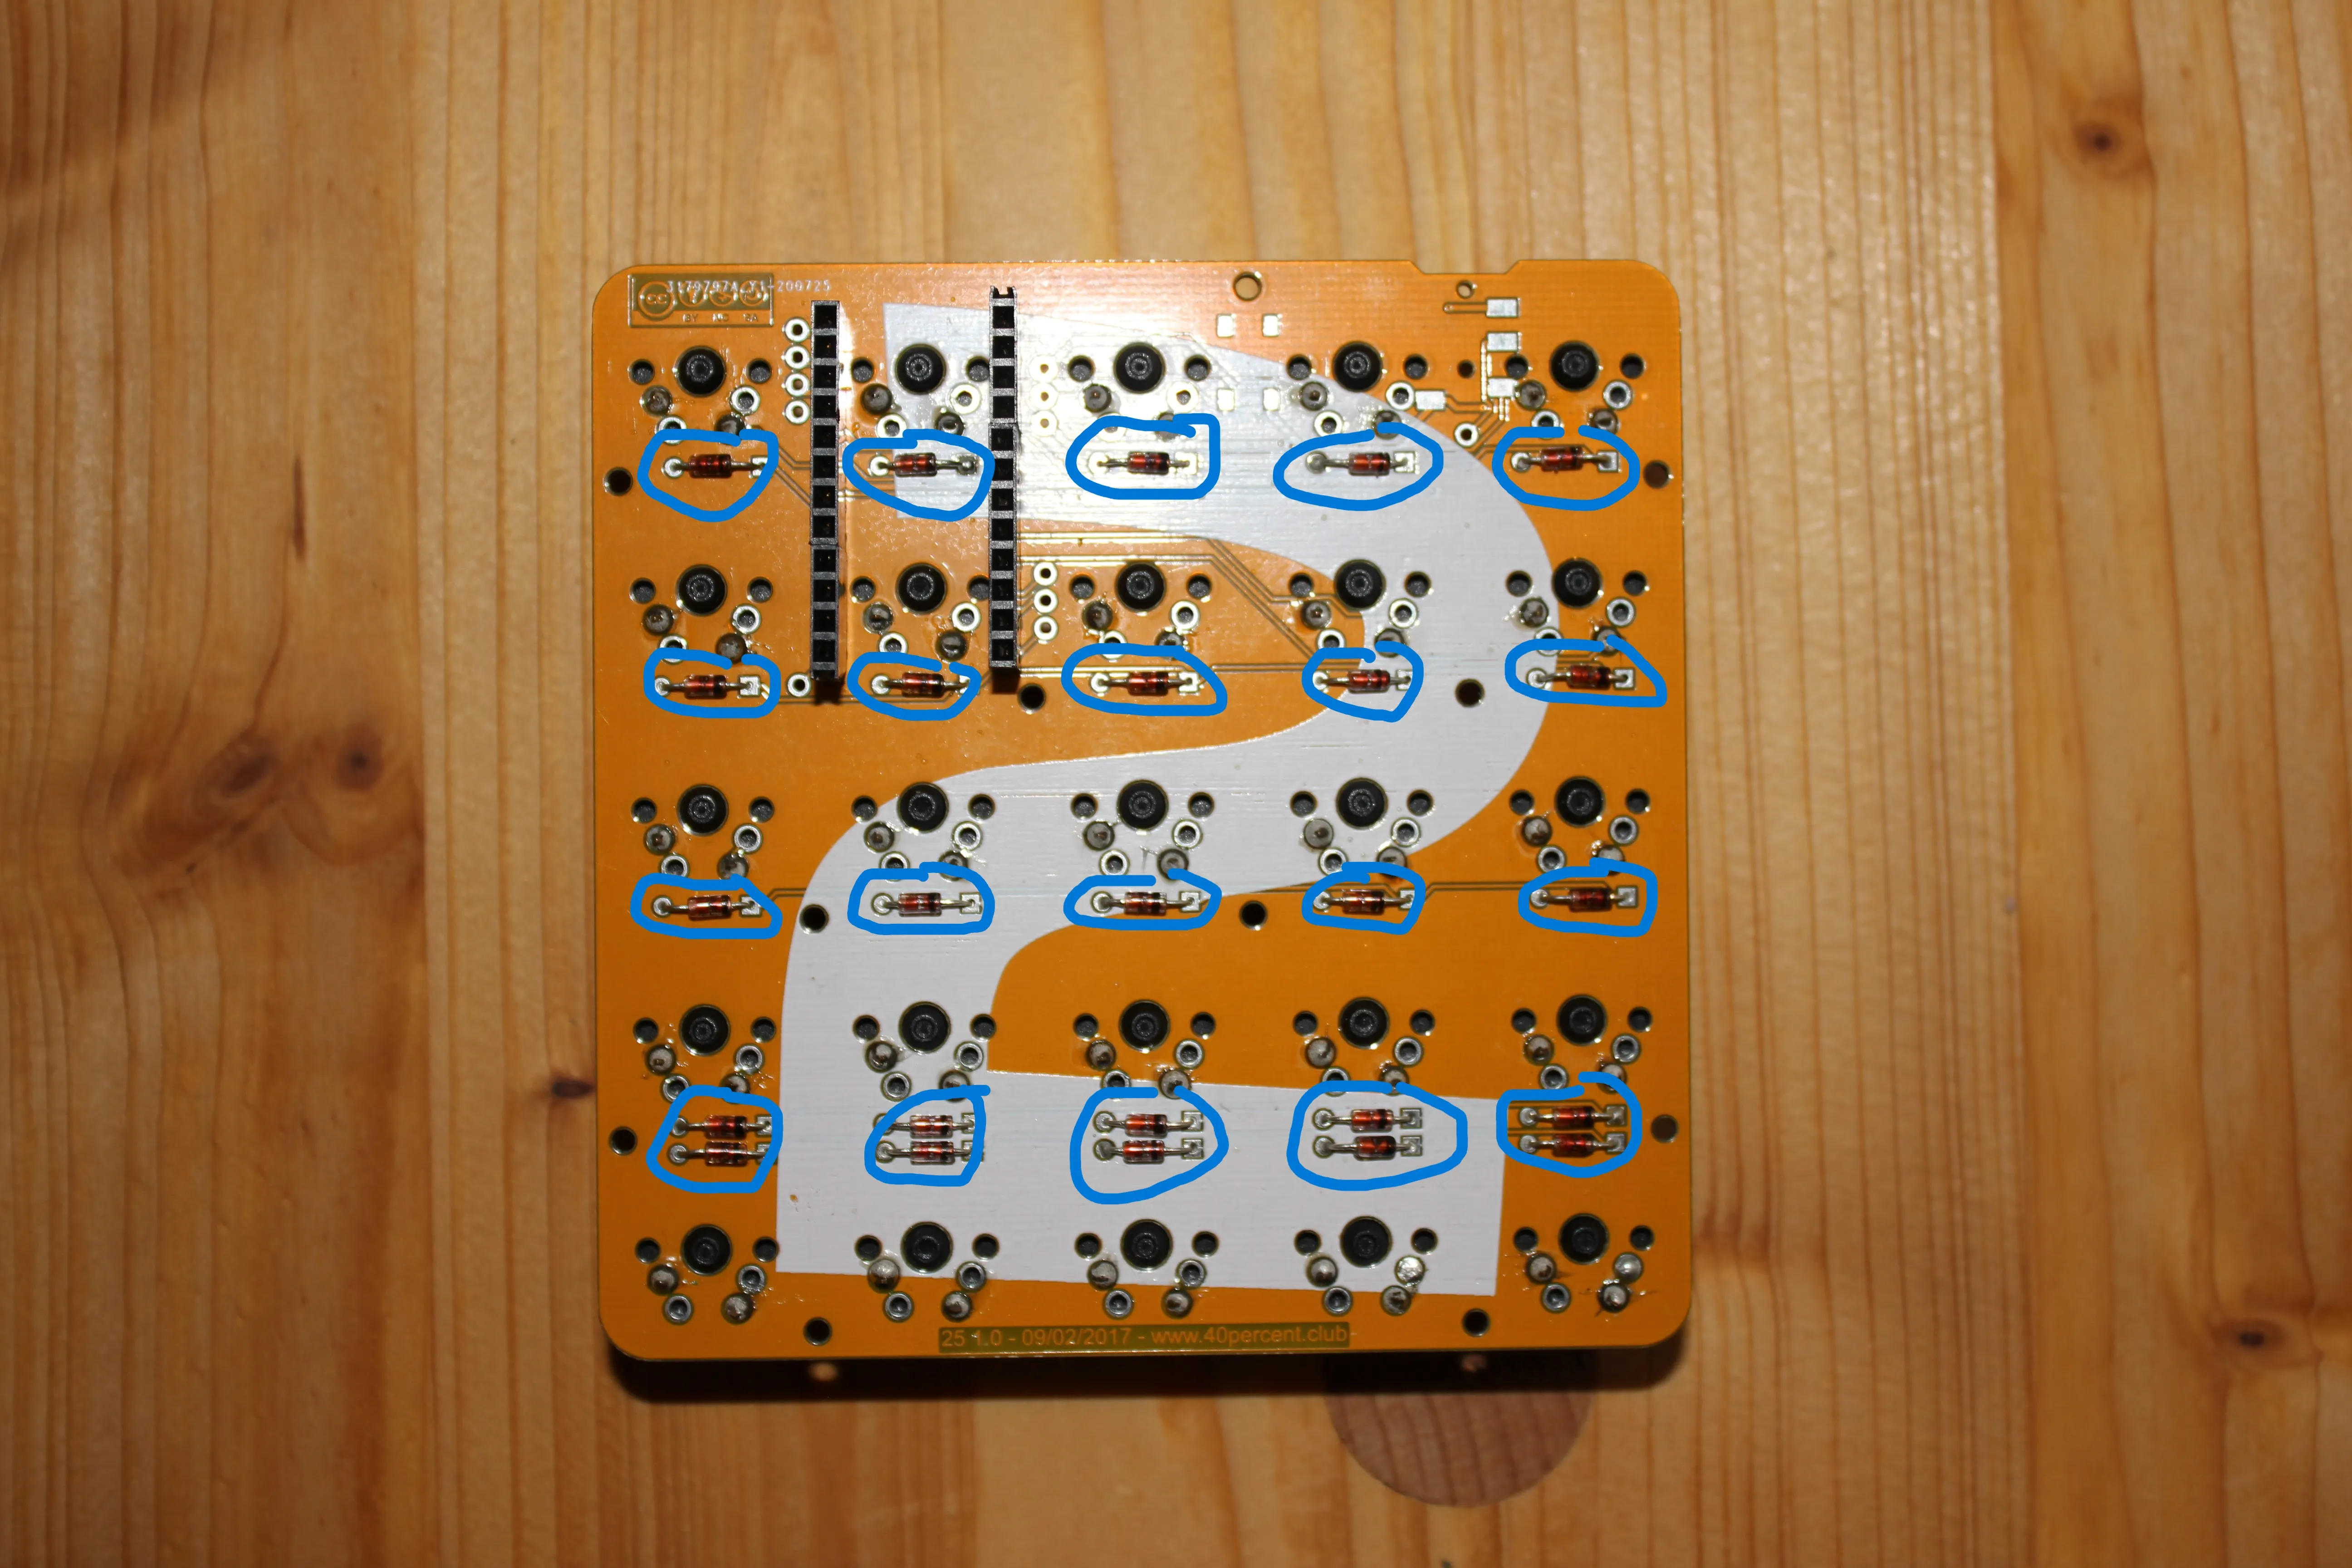
Solder the diodes to the board from the other side.
Cut two female pin headers to the size of 12 pins, place them in the holes for the microcontroller and solder them to the board from the other side again.
It should look like on the image below:
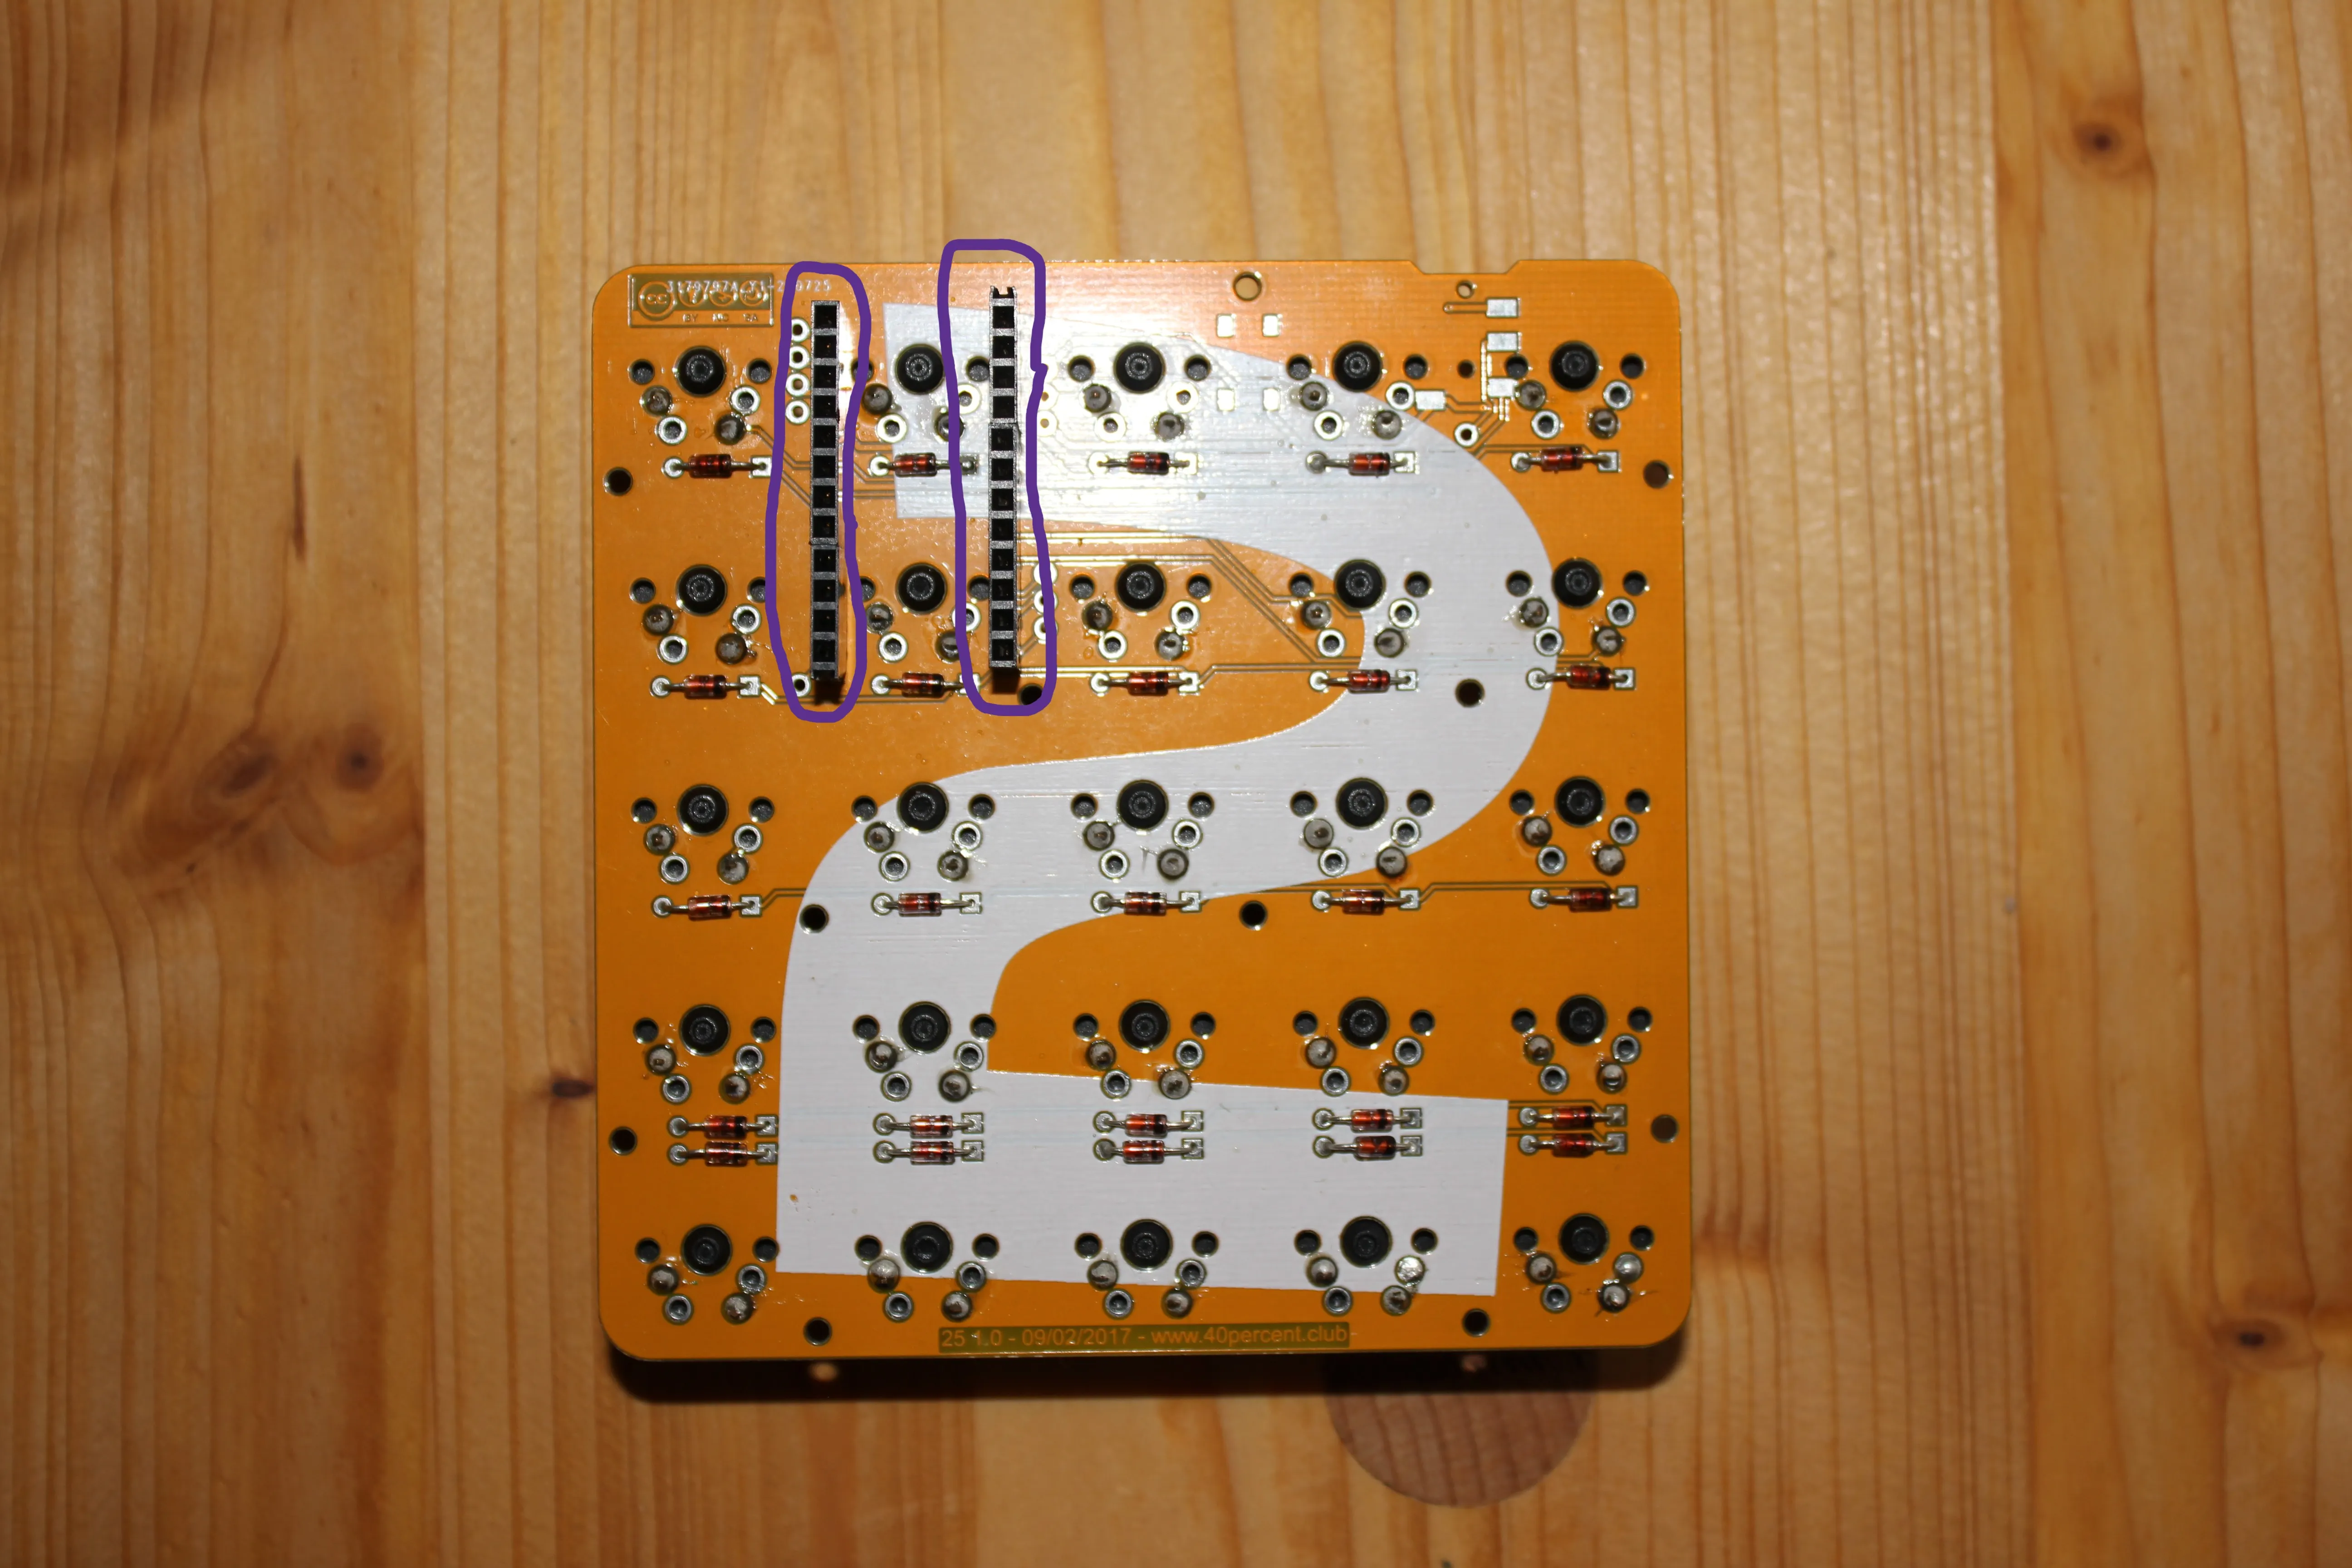
Turn the board around, place your switches and solder them to the PCB from the other side again:
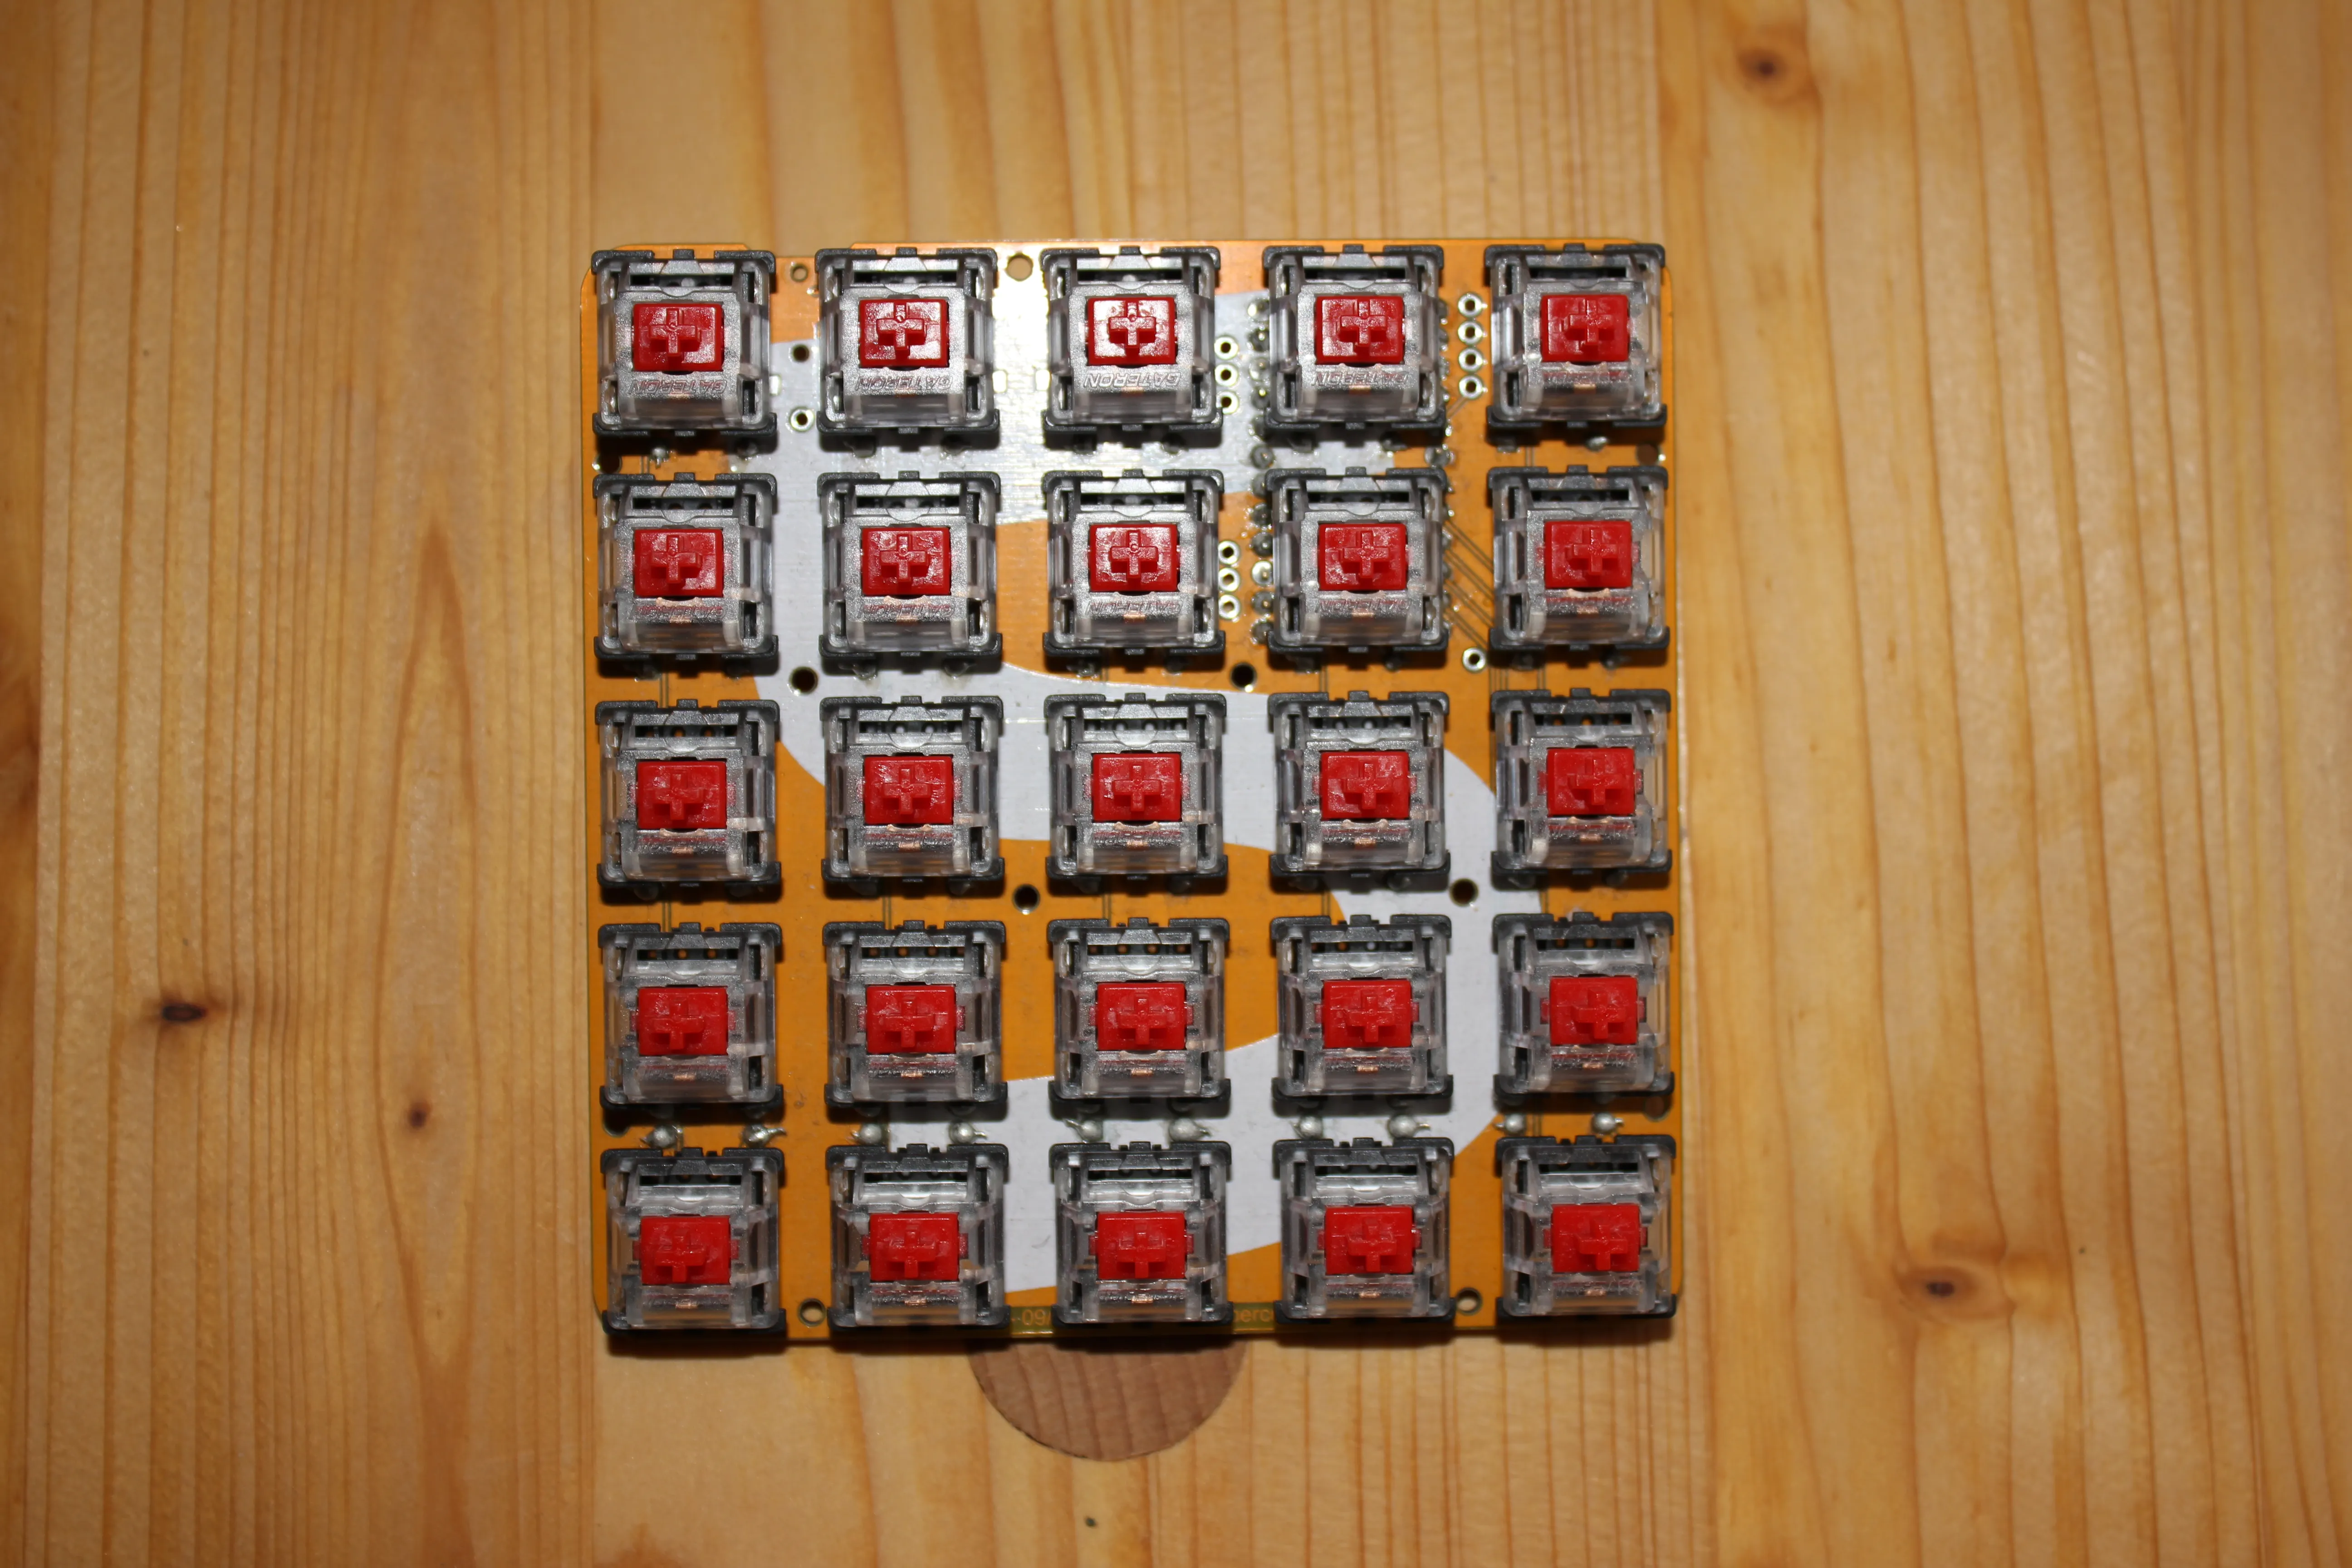
You have finished soldering!
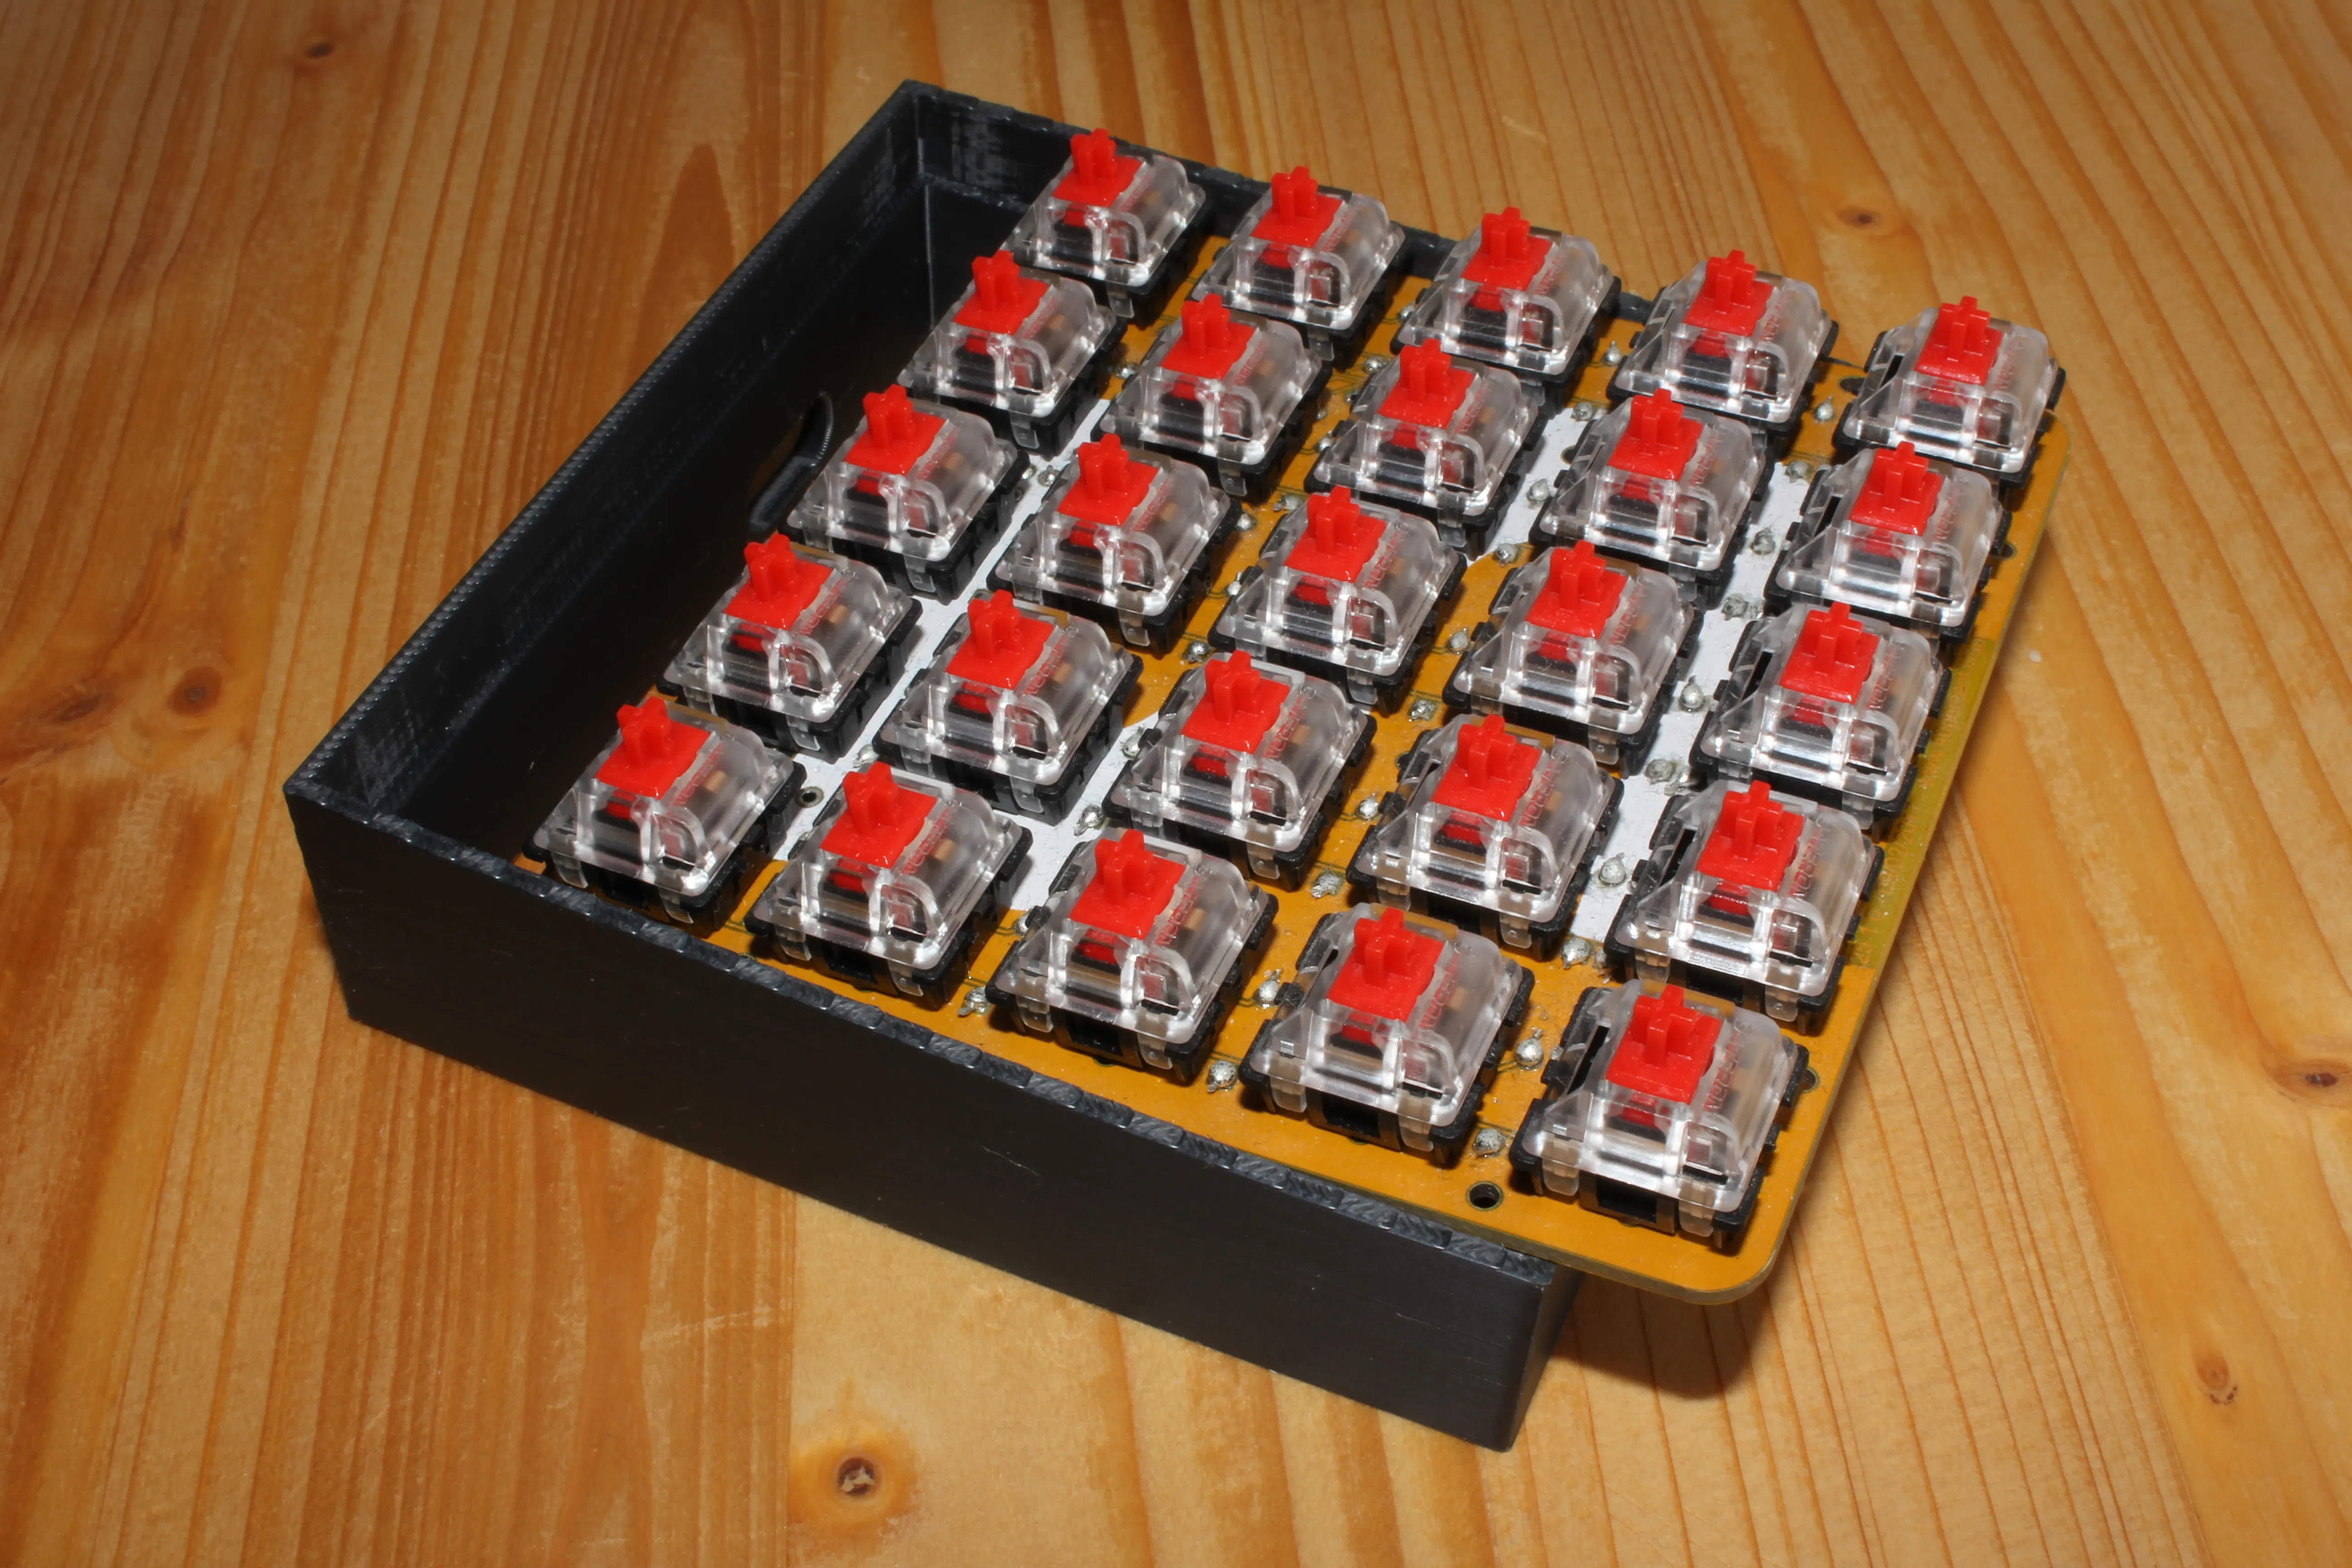
Push the microcontroller into the female headers, …
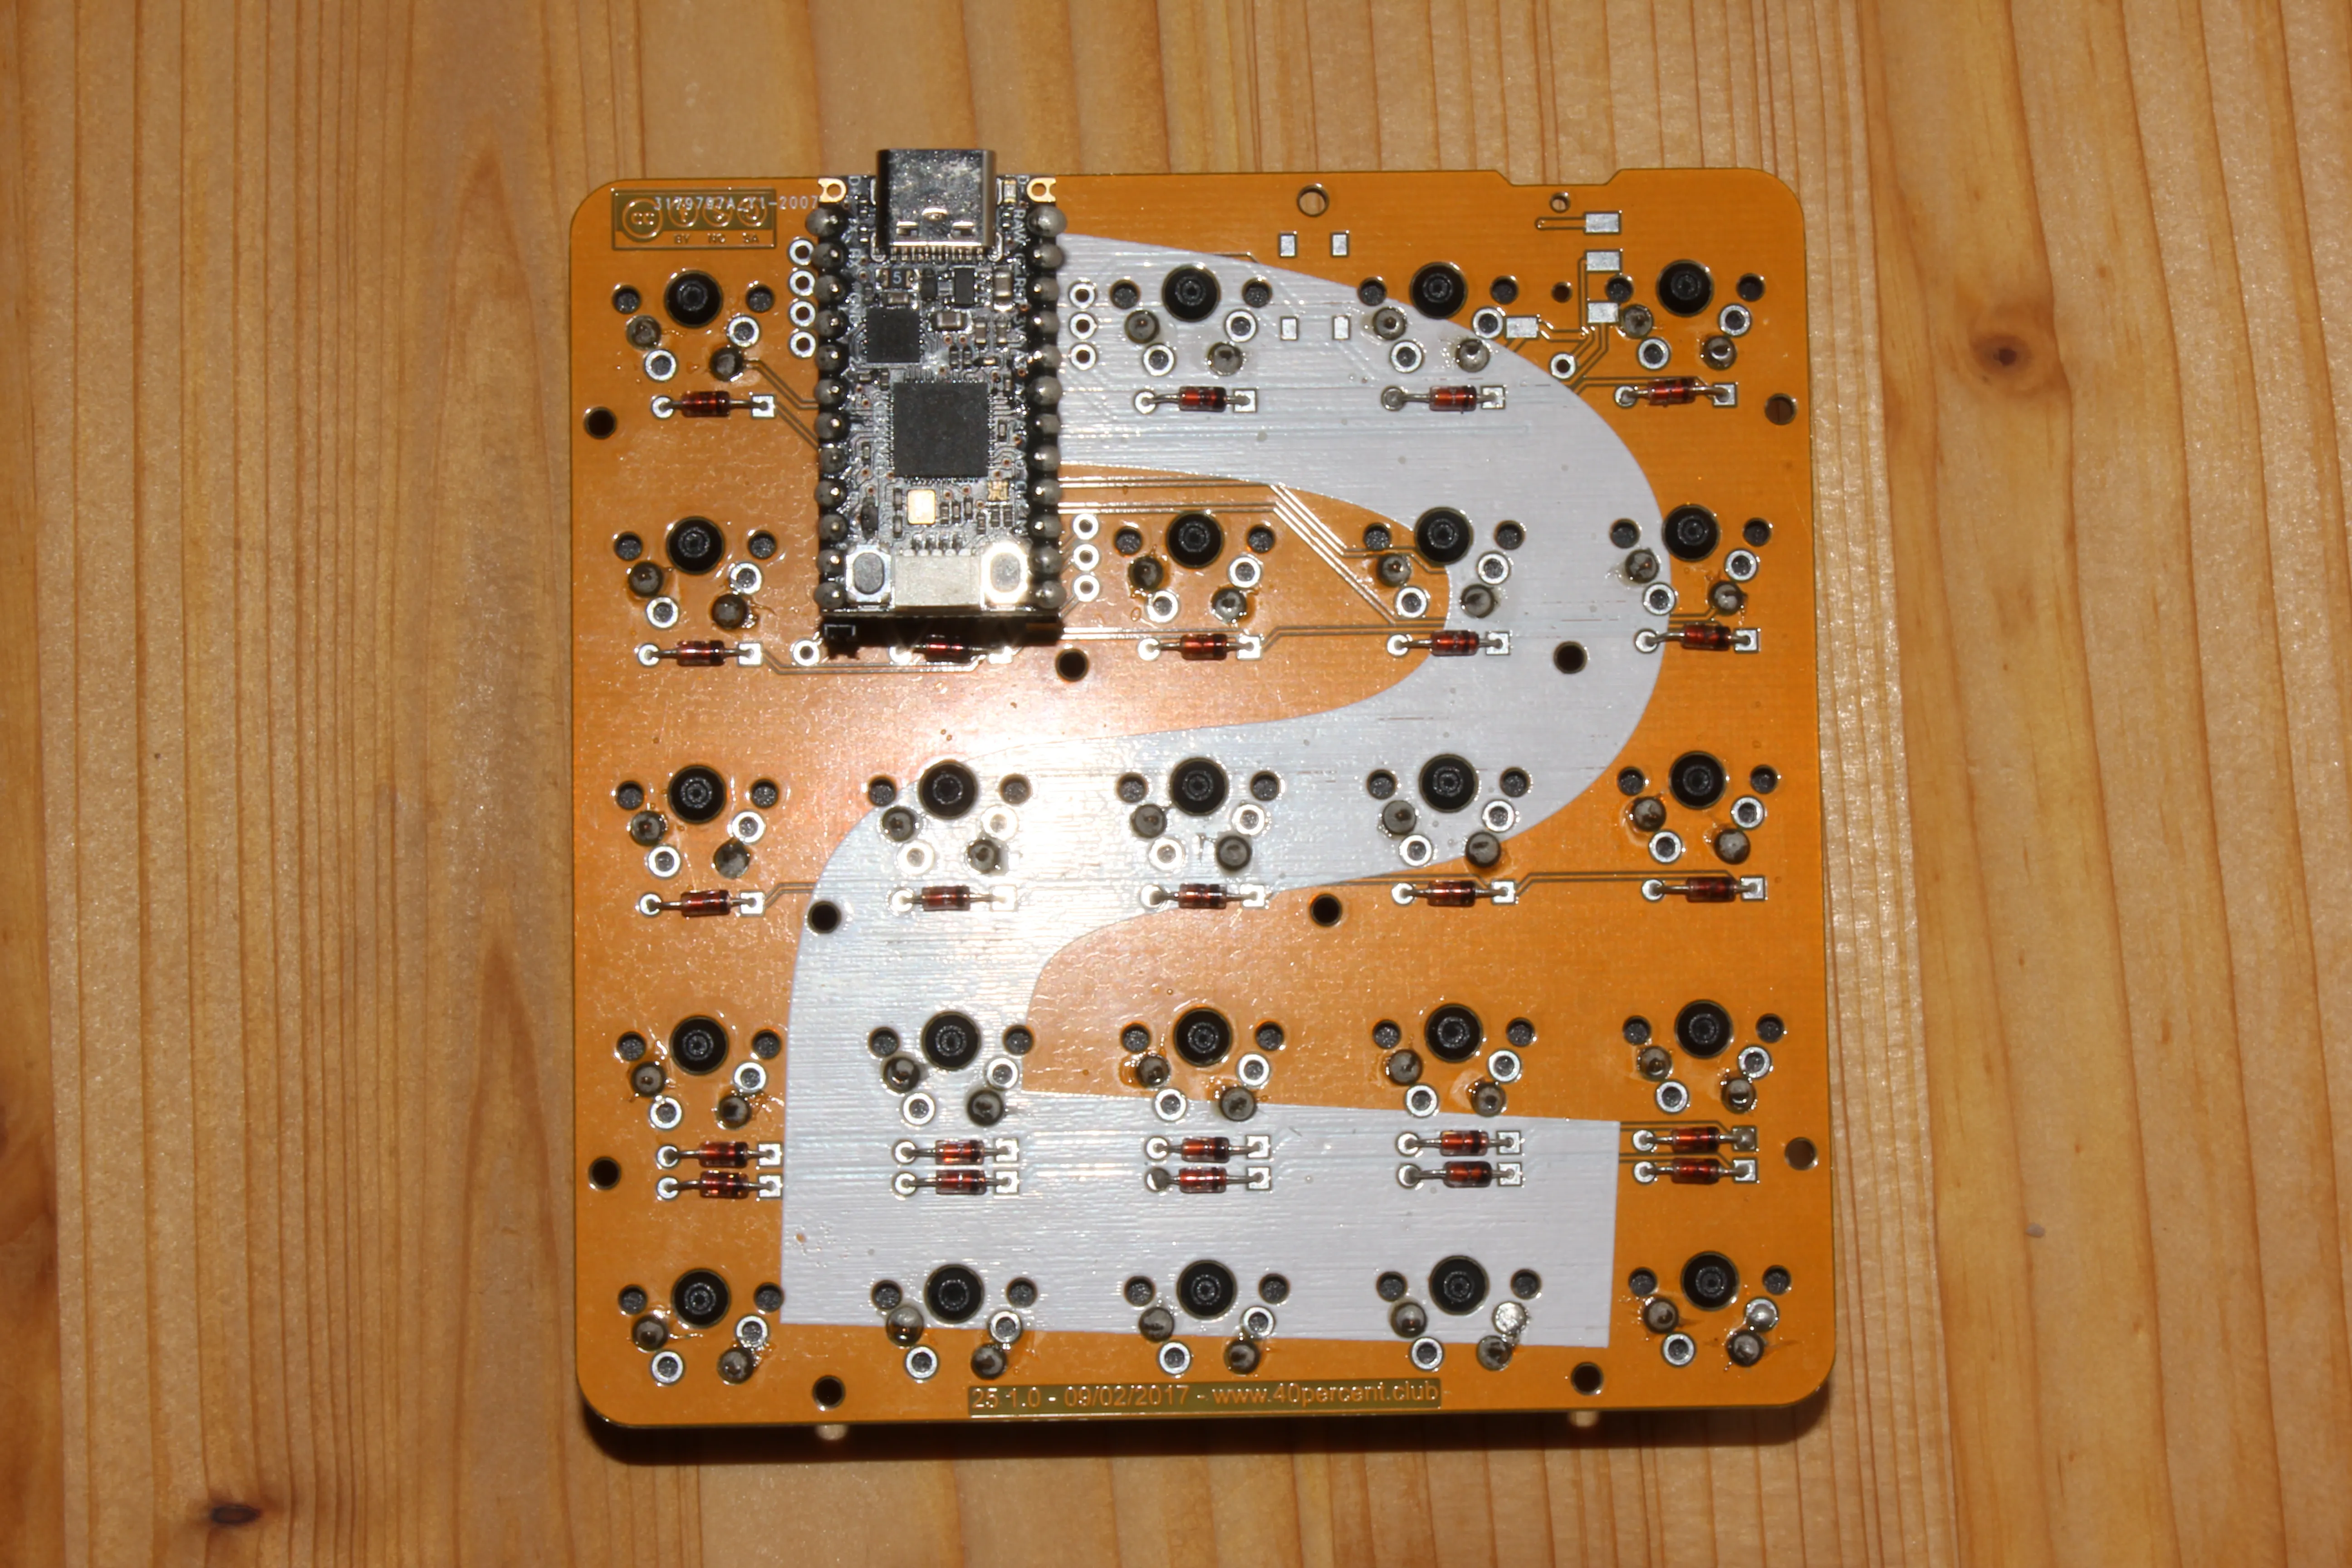
slide the PCB into the case, …
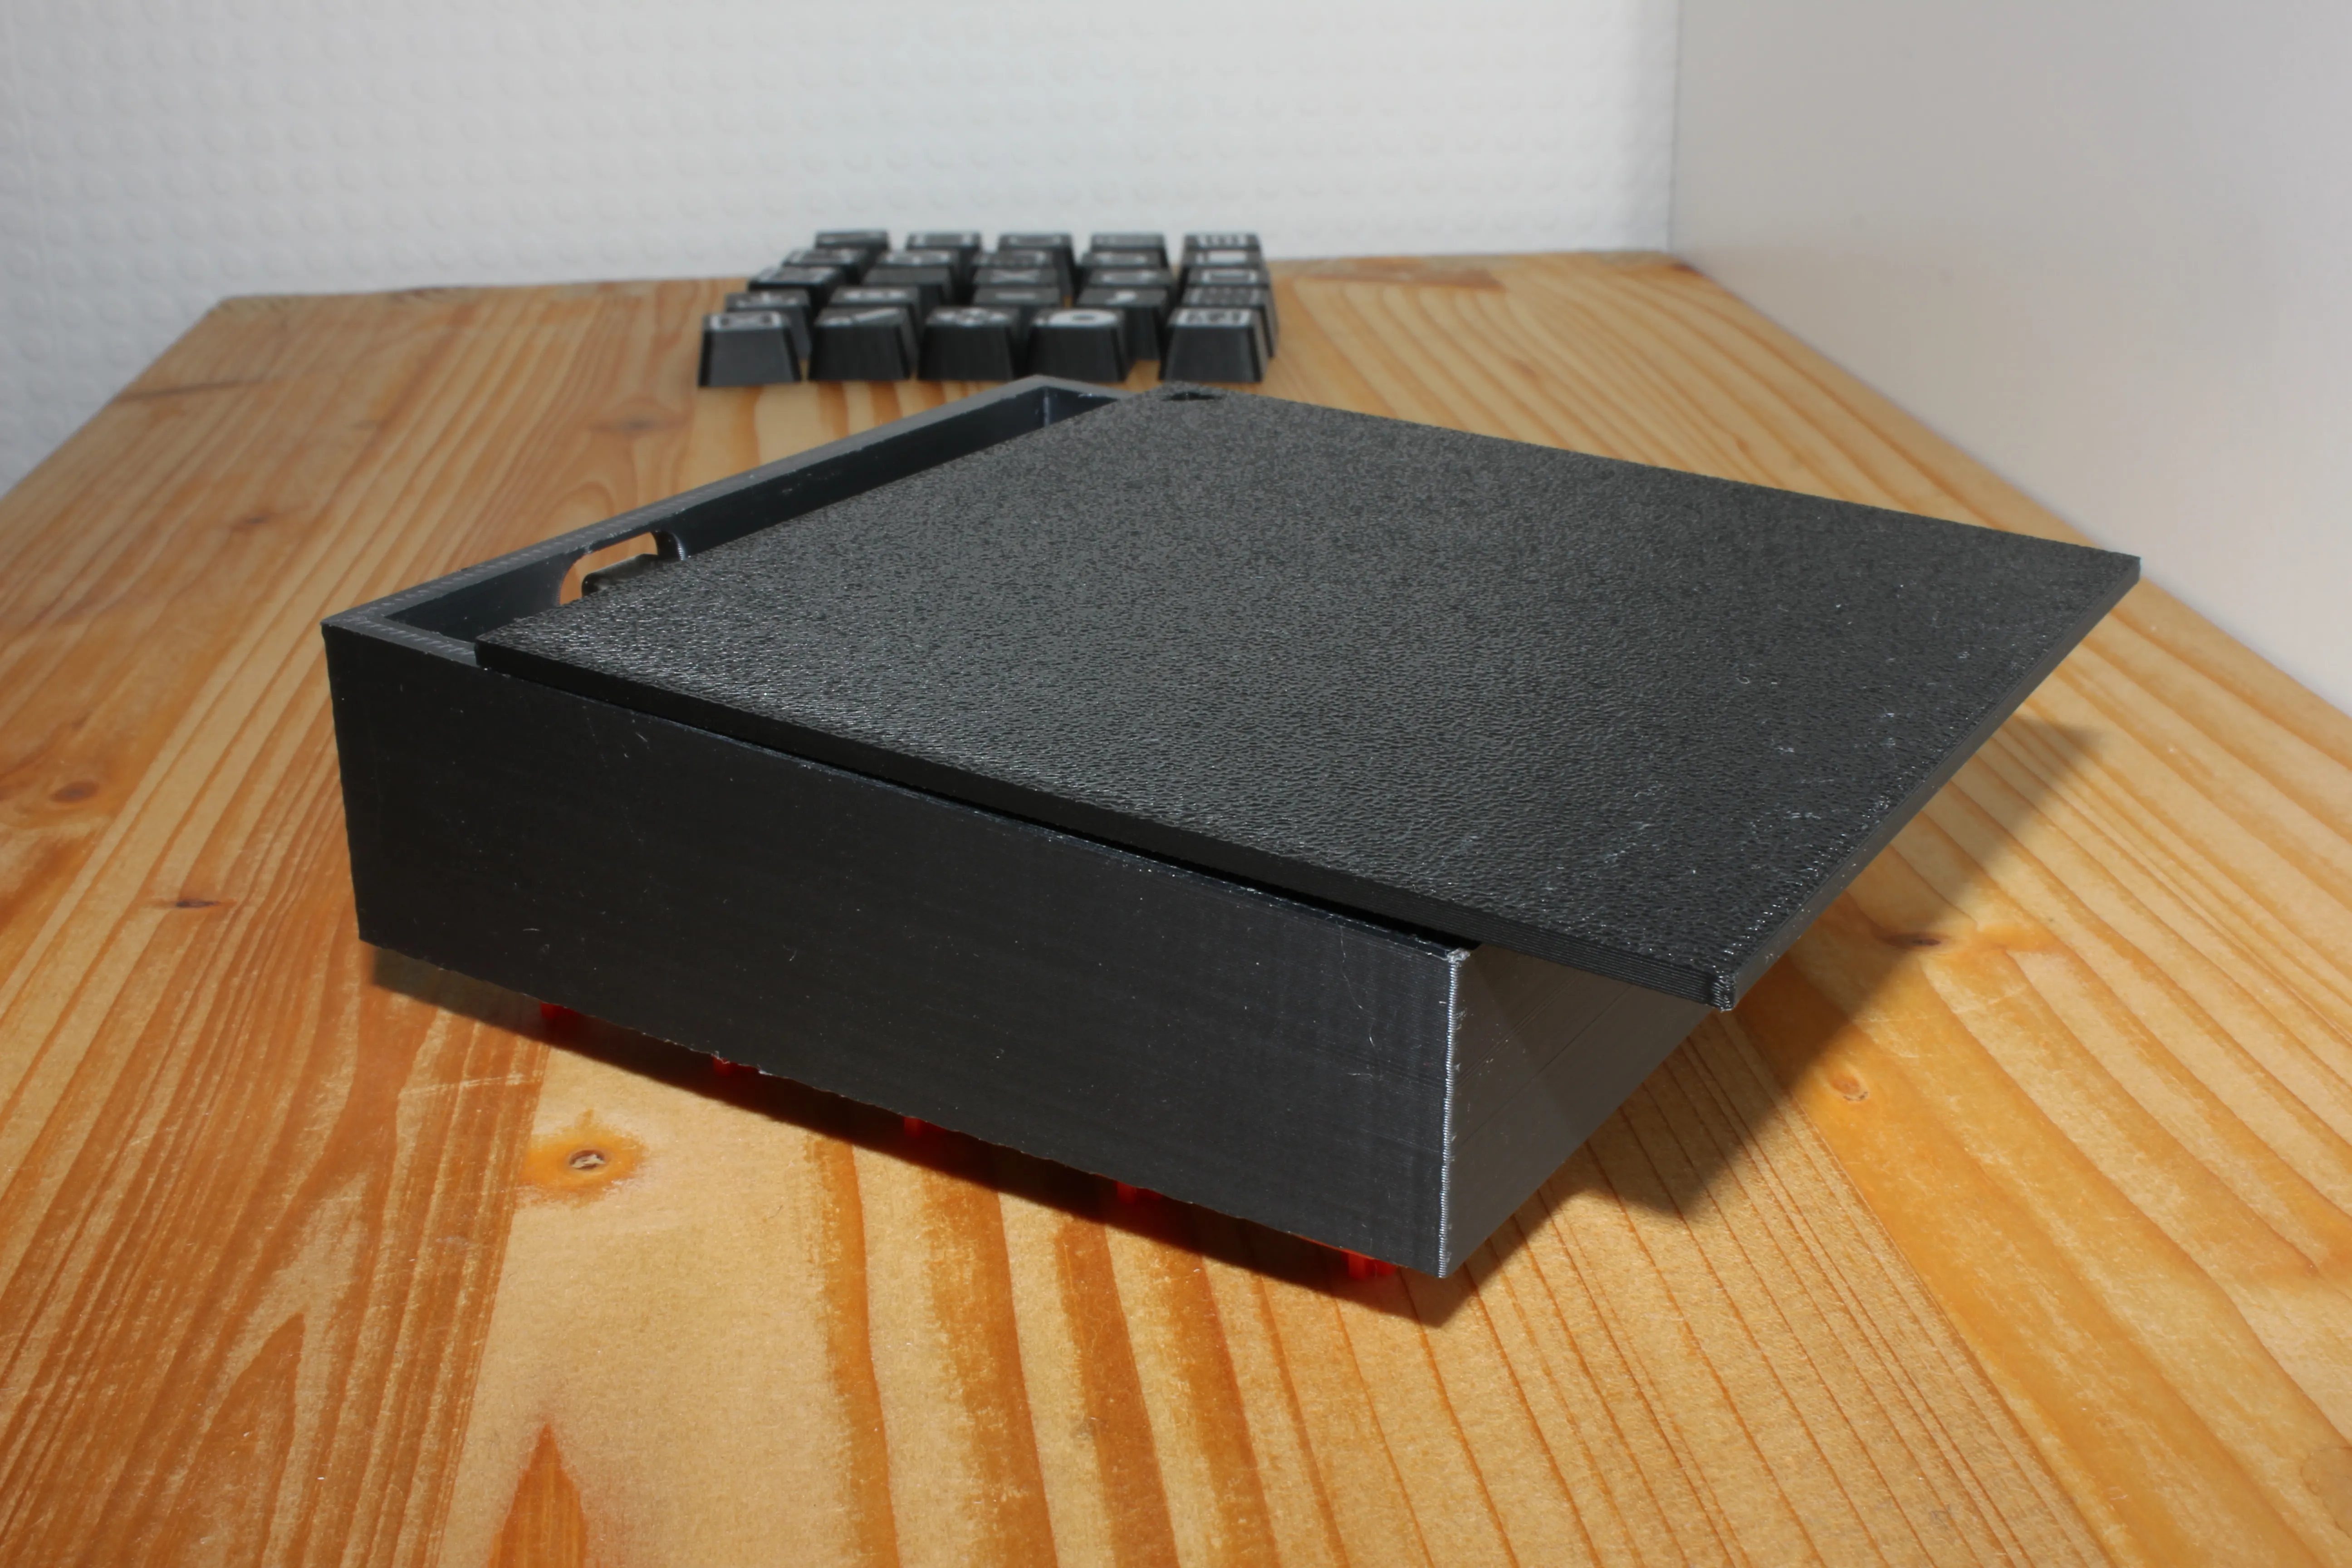
slide the bottom cover on and press it in:
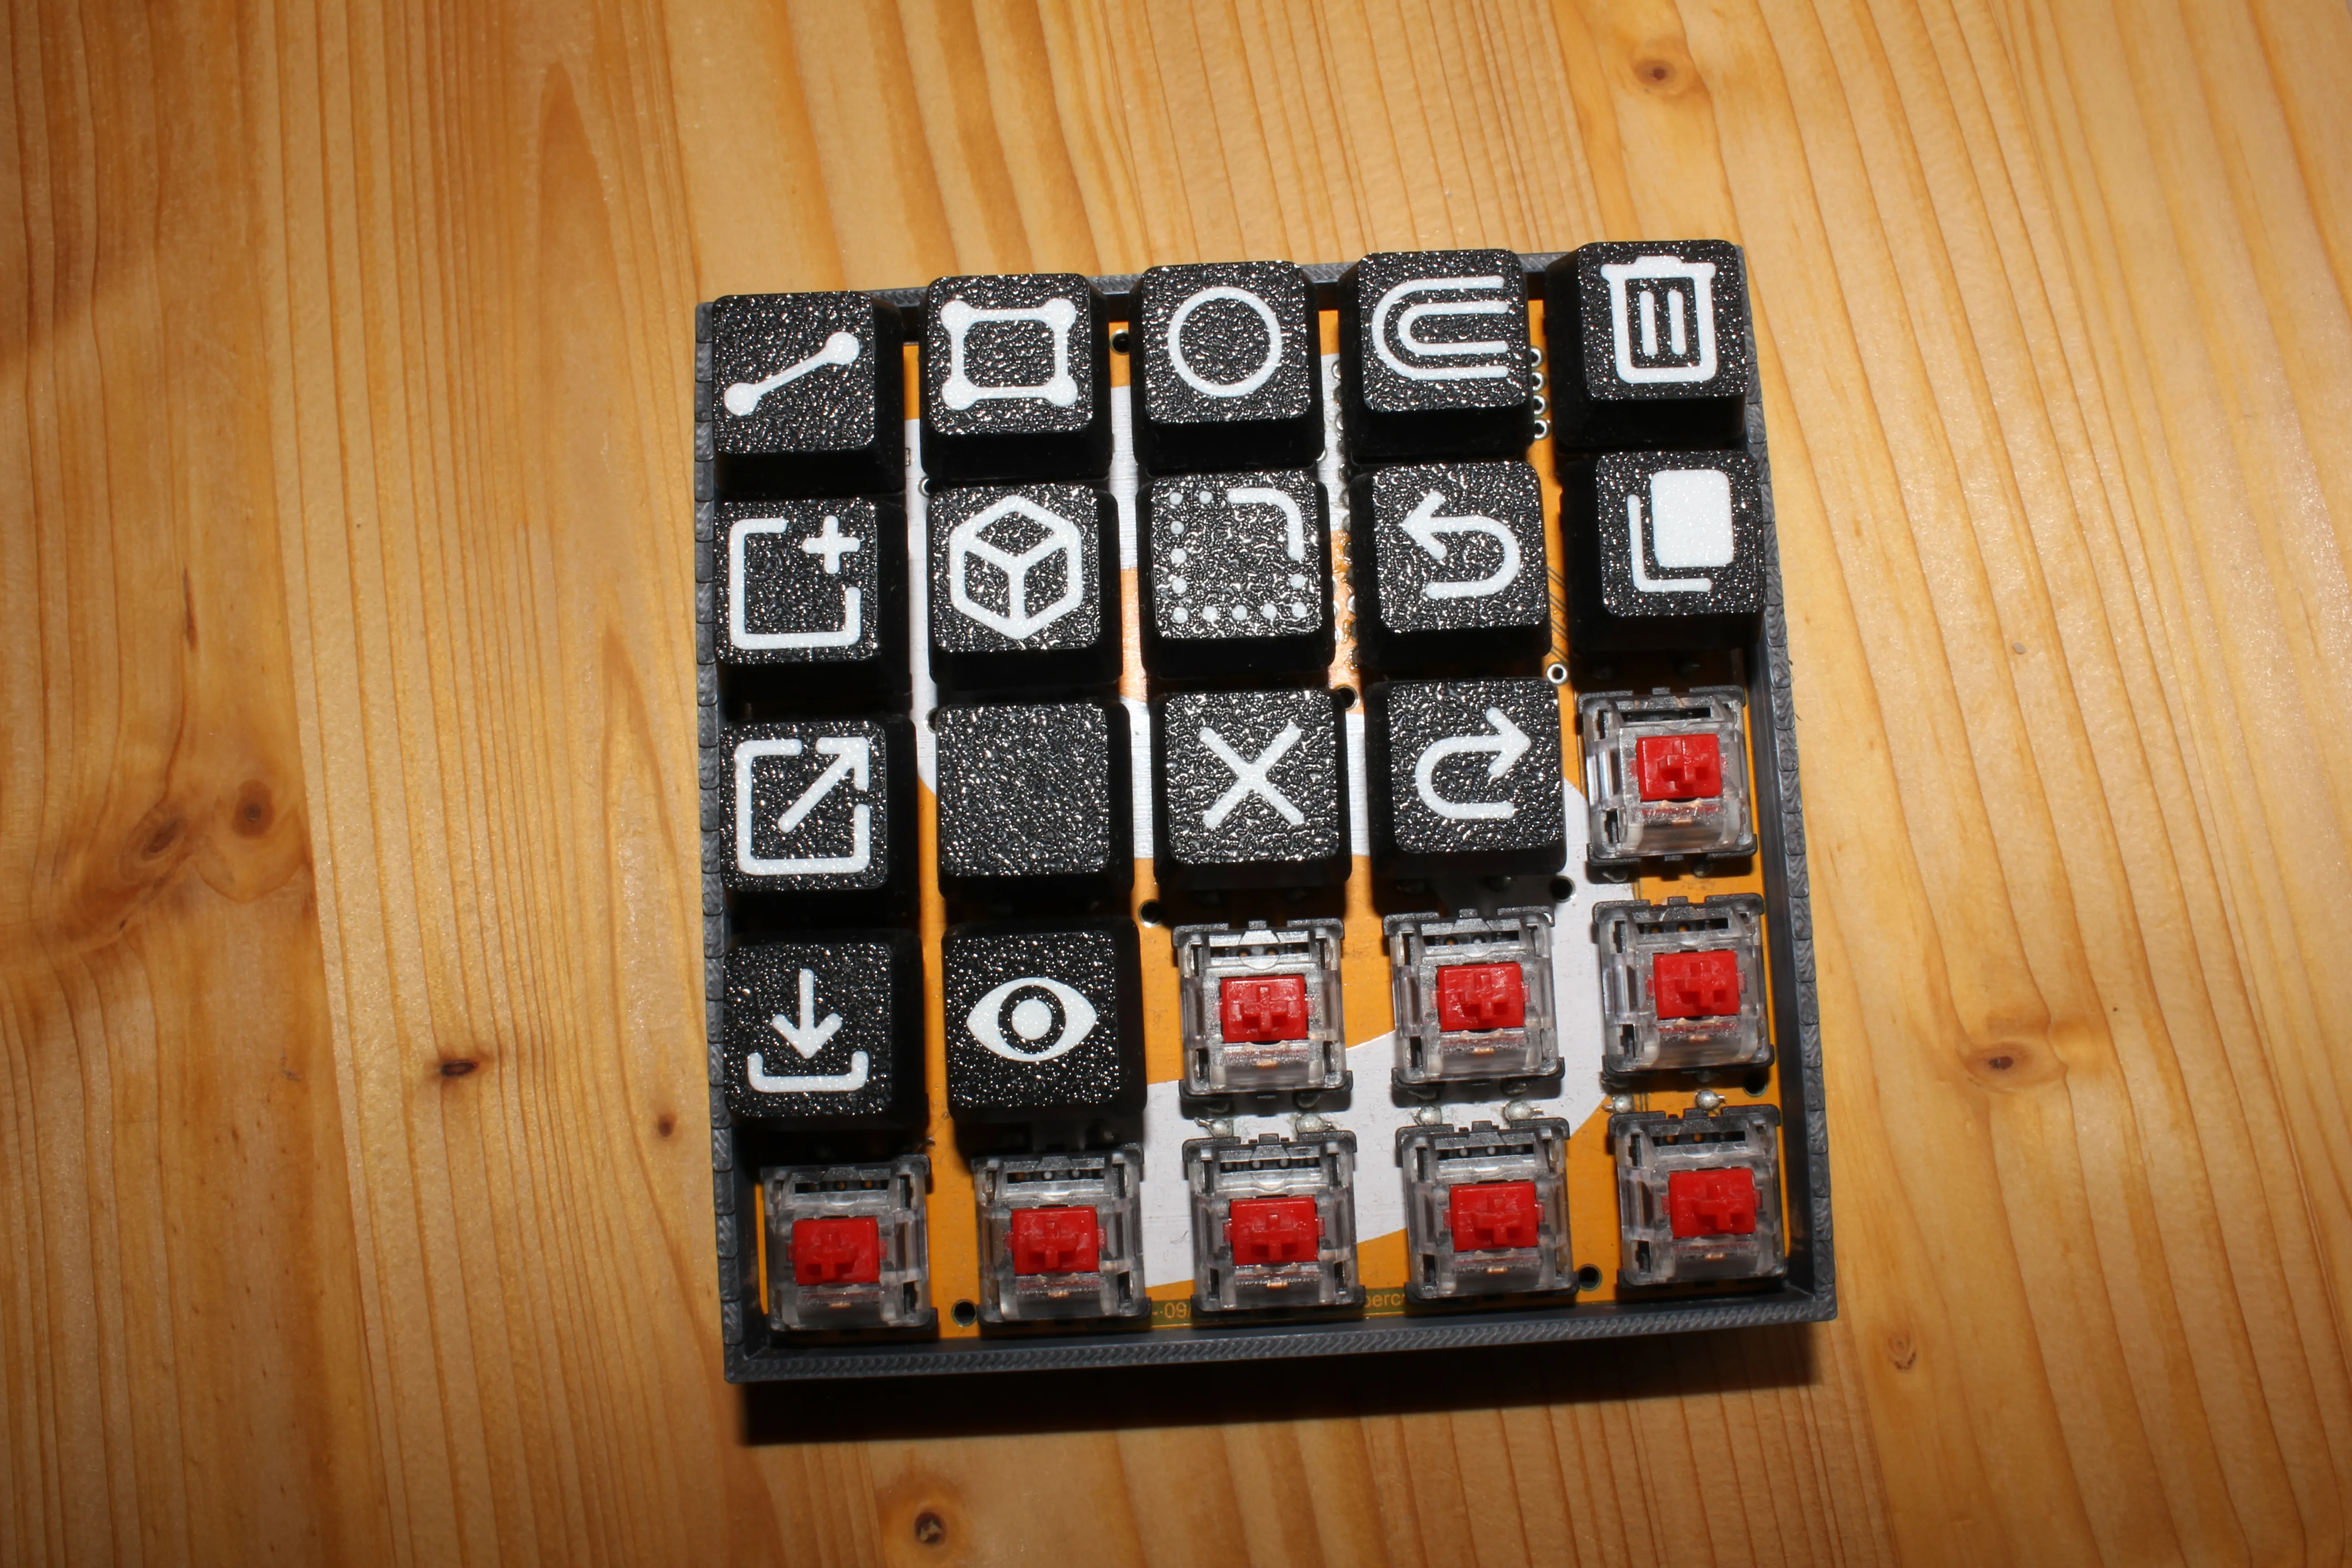
Now, you can finally install your keycaps (in the 3mf, there are also example keycaps for a CAD Keypad that match the example configuration)!
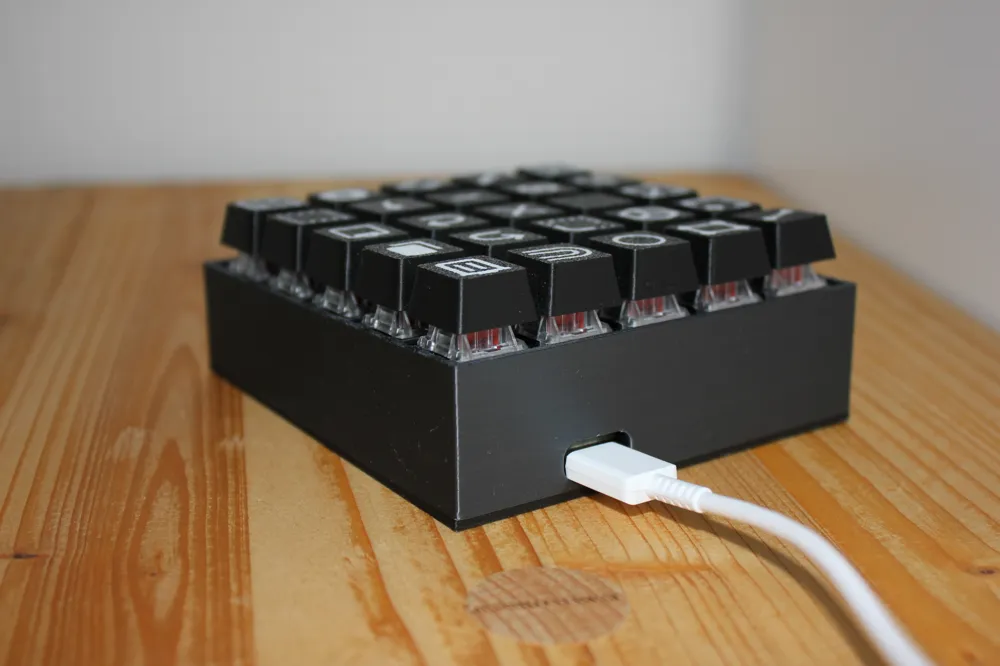
Your keypad is ready - You just need to connect it to your PC and it should work like a charm!
If something doesn't fit well, just scale the problematic part in BambuStudio.
I hope you liked this project. If you want to support my work, feel free to leave a comment, a like or a boost.
If you have suggestions, problems or feedback, don't hesitate to reach out!
Example keymap for Fusion 360 (copy and paste it into a .json file):
{
"documentation": "\"This file is a QMK Configurator export. You can import this at <https://config.qmk.fm>. It can also be used directly with QMK's source code.\n\nTo setup your QMK environment check out the tutorial: <https://docs.qmk.fm/#/newbs>\n\nYou can convert this file to a keymap.c using this command: `qmk json2c {keymap}`\n\nYou can compile this keymap using this command: `qmk compile {keymap}`\"\n",
"notes": "",
"version": 1,
"keyboard": "40percentclub/25",
"keymap": "keymap",
"layout": "LAYOUT_ortho_5x5",
"layers": [
[
"KC_DEL",
"KC_O",
"KC_C",
"KC_R",
"KC_L",
"LCTL(KC_C)",
"LCTL(KC_Z)",
"KC_F",
"KC_E",
"LCTL(KC_N)",
"LCTL(KC_V)",
"LCTL(KC_Y)",
"KC_ESC",
"KC_NO",
"LCTL(KC_O)",
"KC_LSFT",
"KC_COMM",
"KC_MINS",
"KC_V",
"LCTL(KC_S)",
"KC_CALC",
"KC_I",
"KC_M",
"KC_A",
"LALT(KC_F4)"
]
],
"author": ""
}
License

You may create derivative works based on this object, provided that all such derivative works are published exclusively on the MakerWorld platform and include proper attribution to the original creator. You may not share, upload, host, distribute, or publish this object—or any derivative work of this object—on any other digital platform, marketplace, or distribution channel. Commercial use of this object and any derivative works is strictly prohibited. This includes, but is not limited to, selling, renting, sublicensing, or using the object in any context in which you receive monetary compensation or other financial benefits.


Comment & Rating (0)