
LM-68 Tram H0 Scale
Print Profile(1)
Description
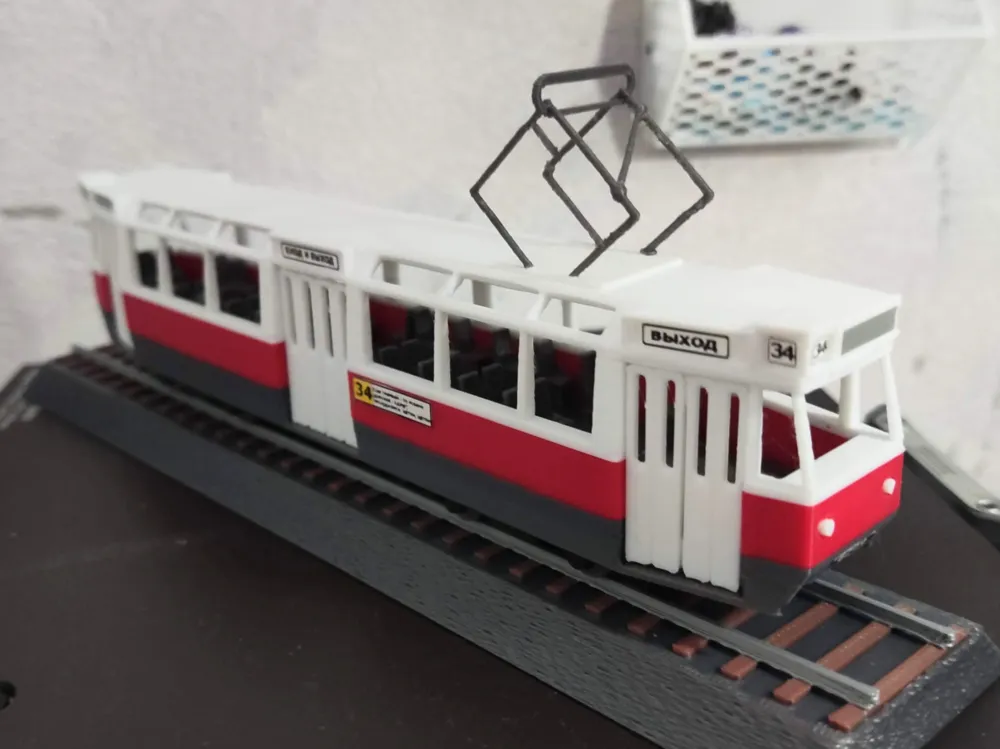
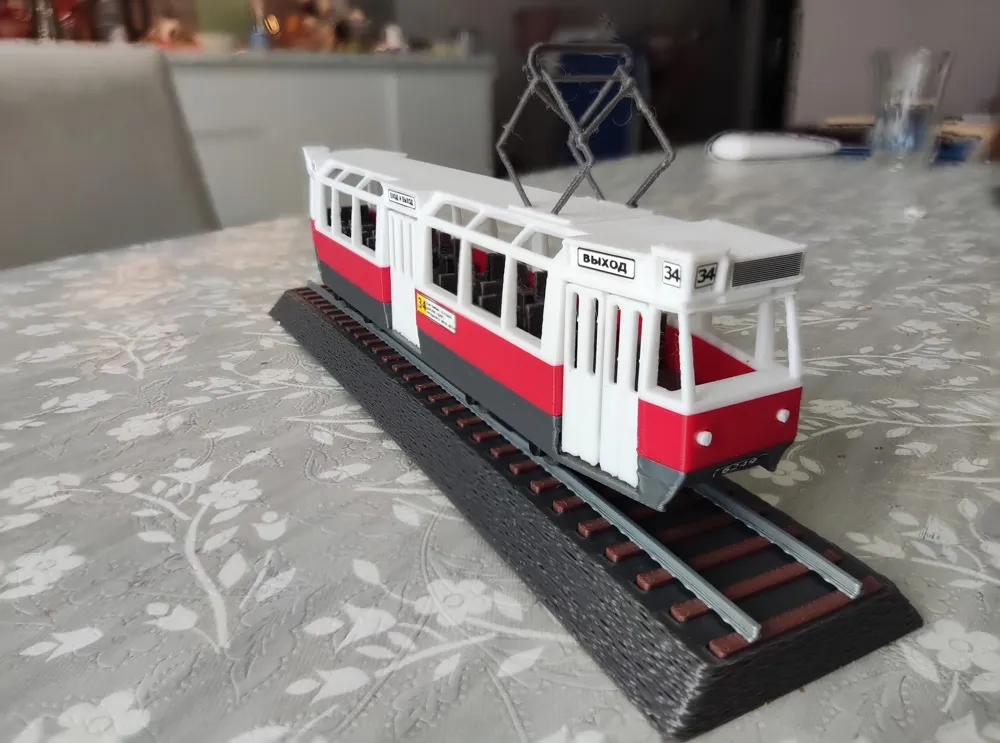
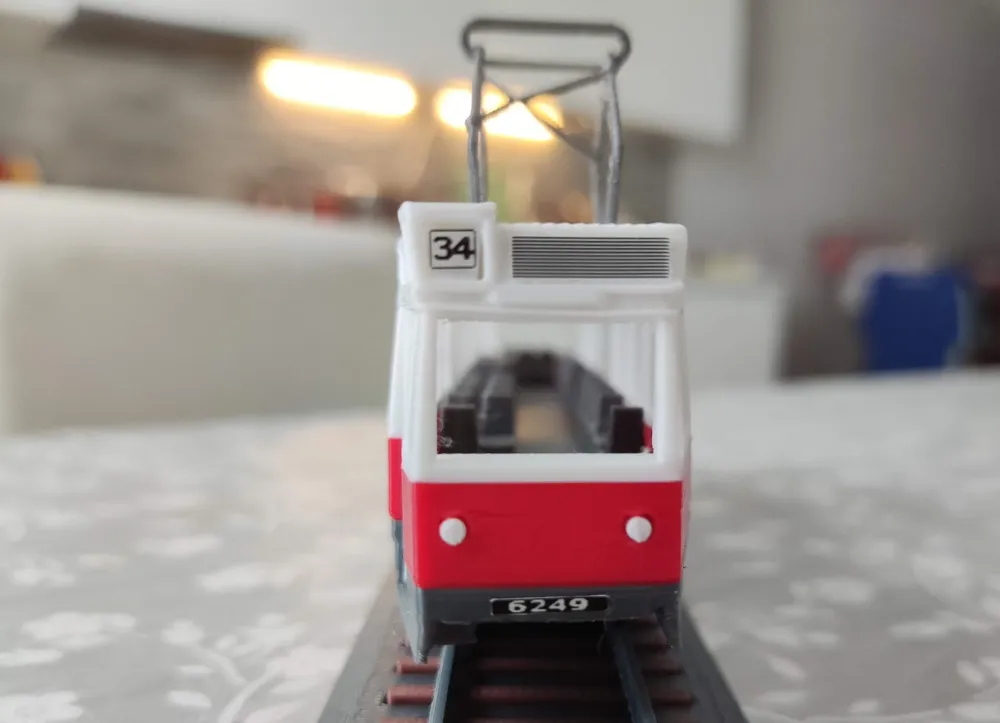
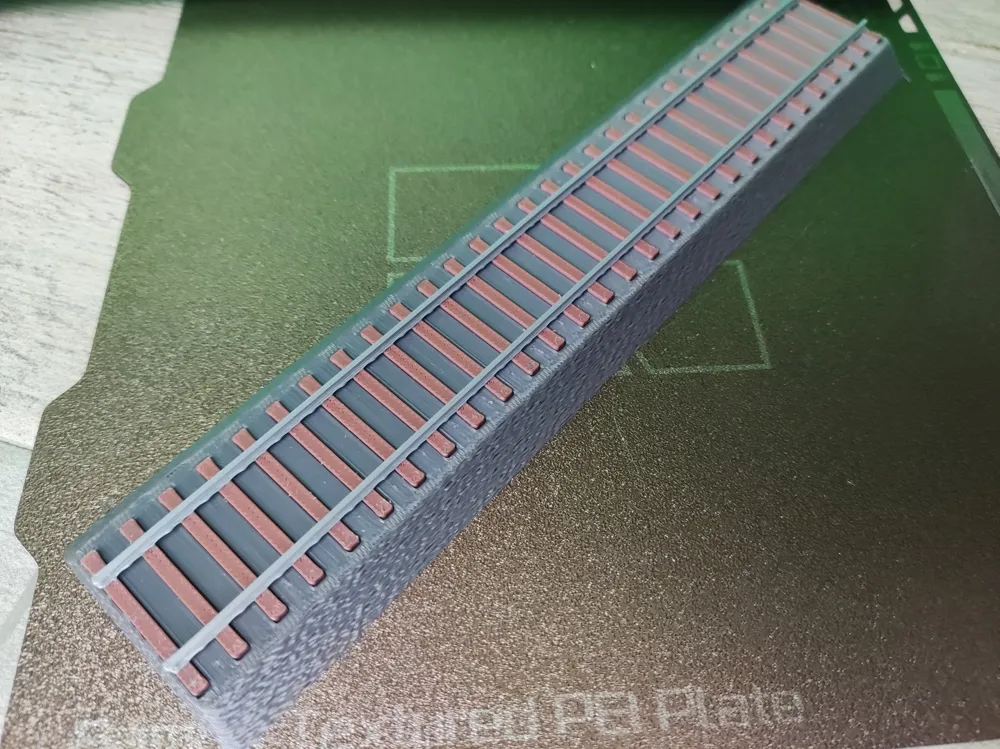
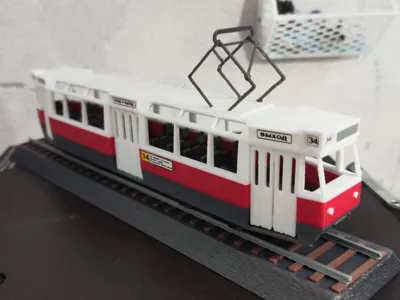
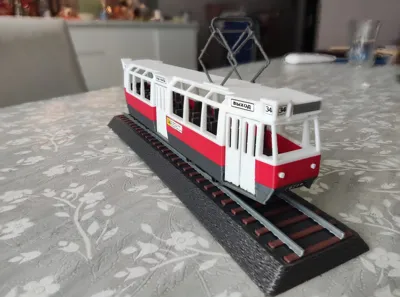
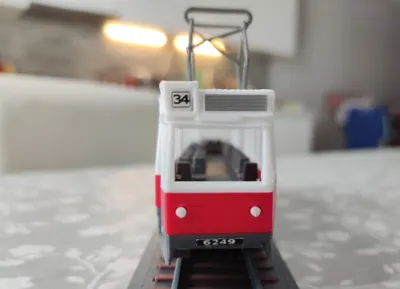
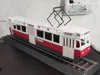
This is a reasonably accurate yet easy to reproduce H0 scale model of LM-68 tram that was built and used in Leningrad (now St.Petersburg) in the 1970s and 1980s.
Modelled in FreeCAD and Blender based on technical drawings available online.
I originally made this model for Ender 2 and now revised it for A1 mini. It should not be too much of a challenge for any printer if some care is exercised by the operator. I warn you however that this is not a click-and-forget kind of print. Use decent quality PLA, dry before use, clean the printing plate. This is a miniature model so extra care, some basic tools, and maybe a magnifying glass may be required during assembly. A couple of drops of CA glue will be needed to attach the doors and the pantograph.
The pantograph may seem like a torture test for your printer, but I had a pretty good success rate printing them. It is also available as a separate model here: https://makerworld.com/en/models/2641875-model-train-pantograph-h0-customizer

Print the seats first.
If you have AMS, the tram body should be trivial. If you don't have one, use the auto-pause filament trick and change filaments manually. There is one pause in the upper half of the body that you should not remove regardless of your AMS use. It's needed so that you could insert the seats into the body before the roof starts printing. Place the seats, make sure they sit firmly, then resume printing.

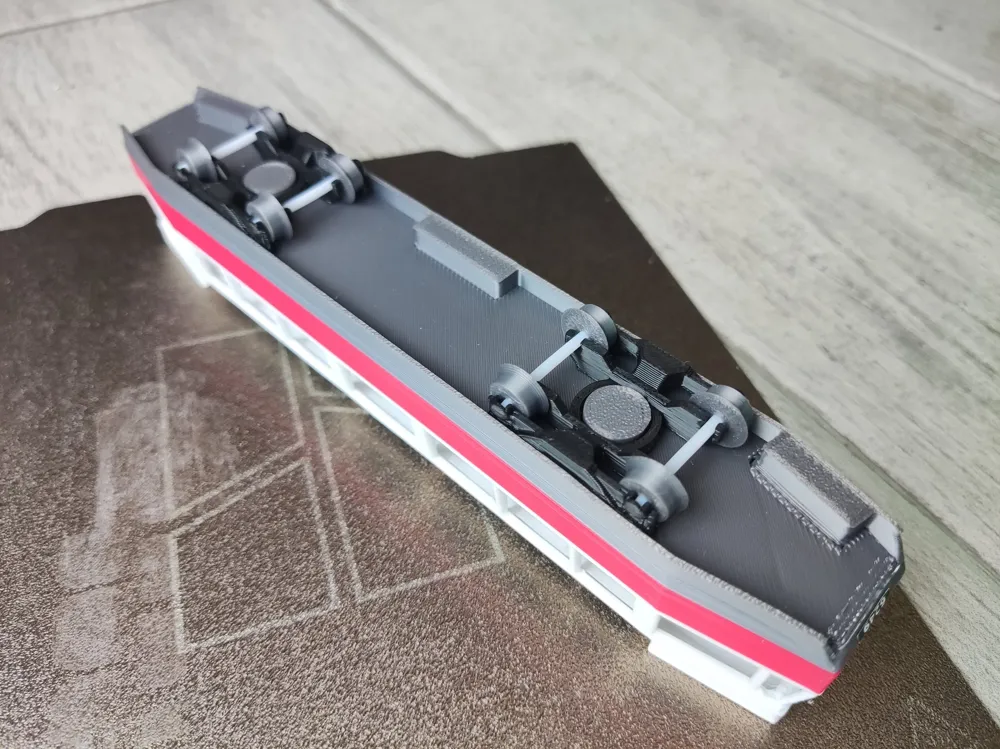
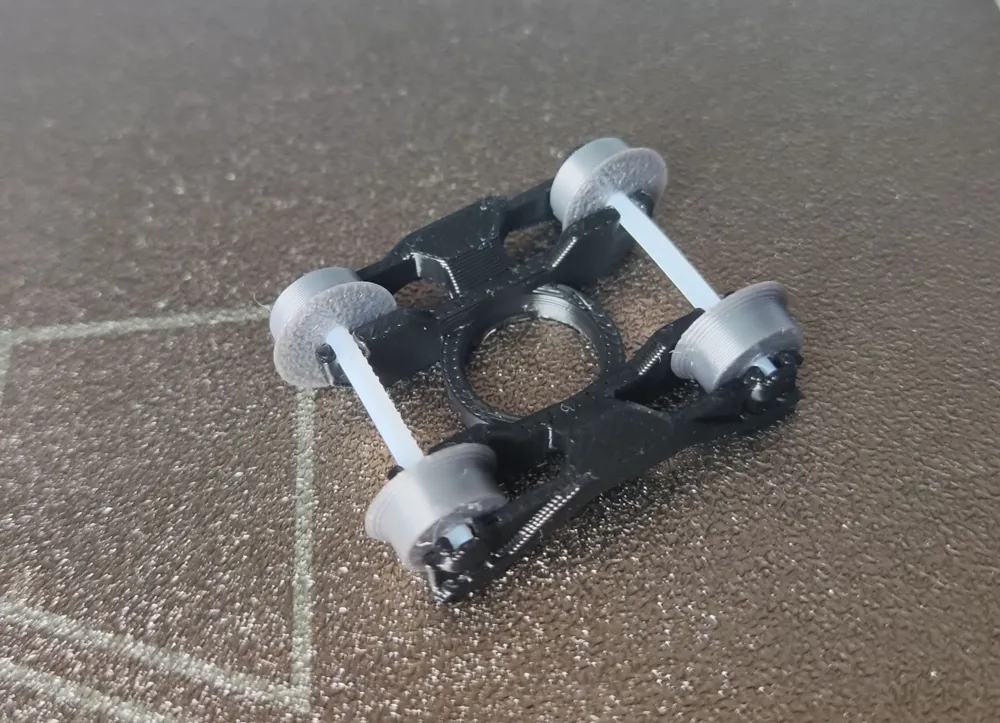
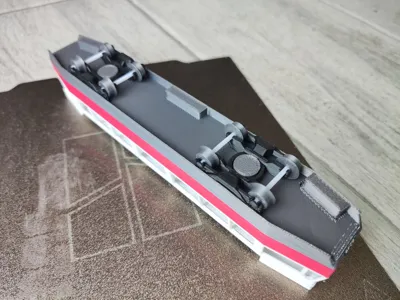
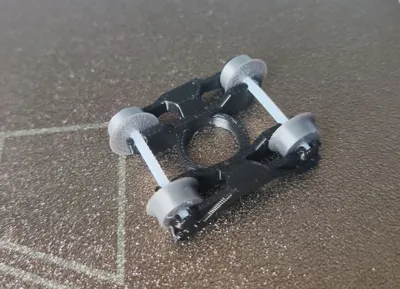
Uses "25T bogie|25T转向架 - HOopenrailway" by H-555666. I altered the original model to make use of pieces filaments for the axles. This is fine for display, but if you need a running model, you'll probably need the original model or factory made bogies.
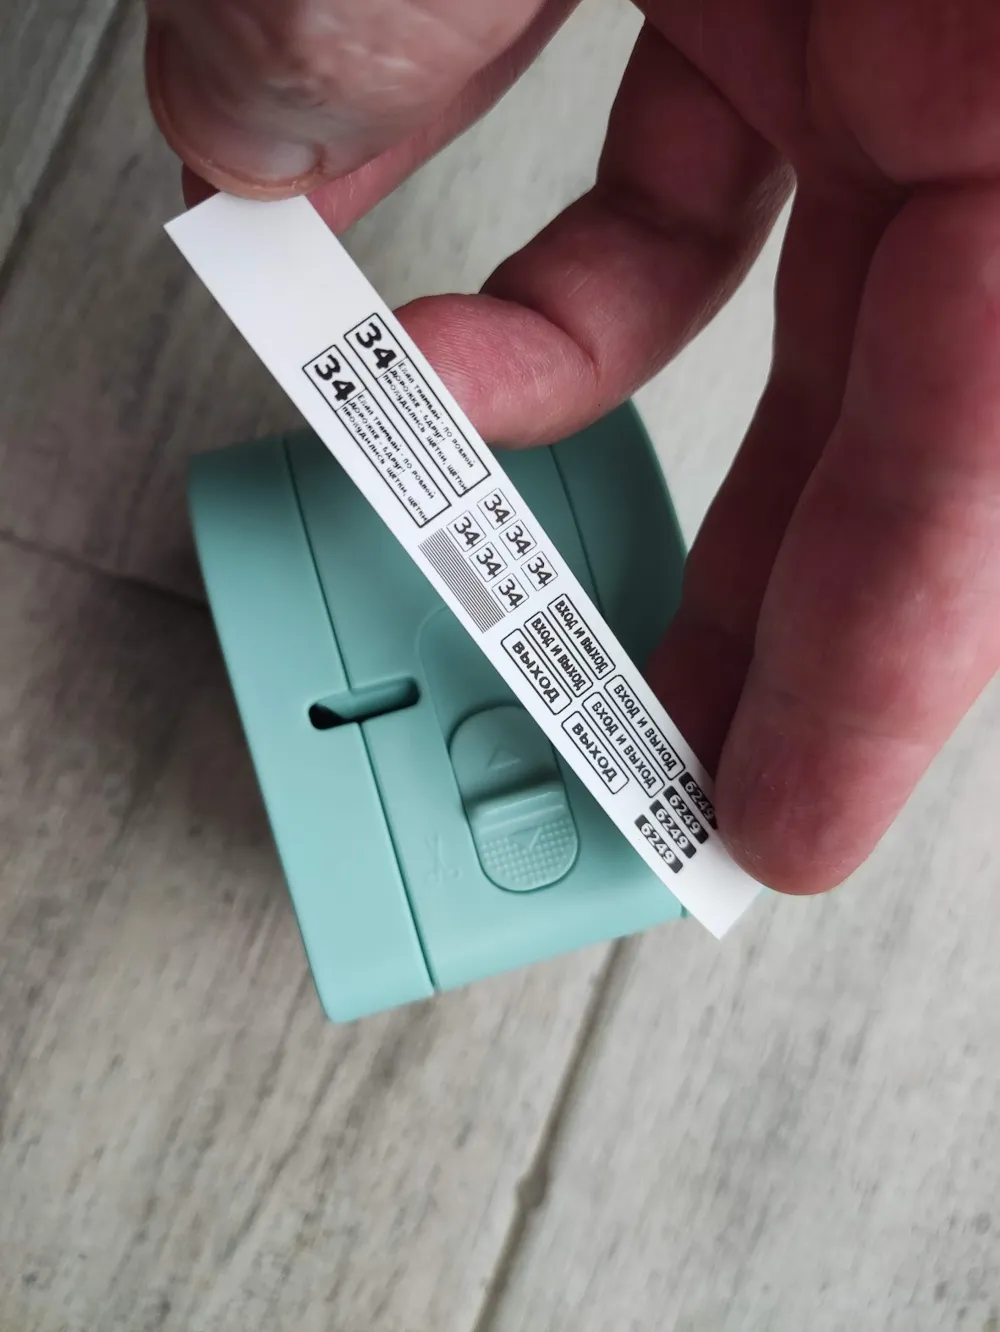
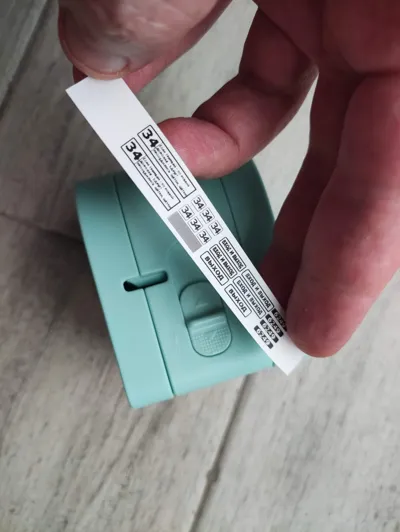
I used a Phomemo 12 label printer to print the stickers. Here's the hand-pixelled image:

Just in case the image is distorted by the site, the original is 88 pixels wide. The free utility to use the printer is available on github.
Boost Me (for free)
I hope find my model inspirational. A boost will be greatly appreciated.
License



Comment & Rating (0)