A1 VIbration Damping Pods


Print Profile(1)
Description
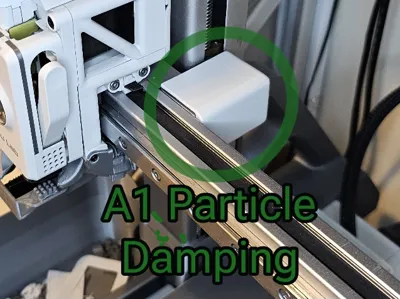
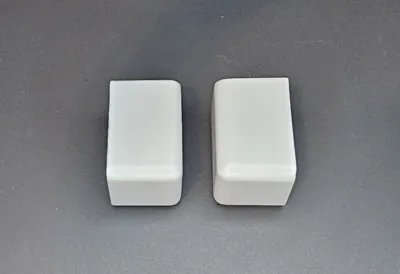
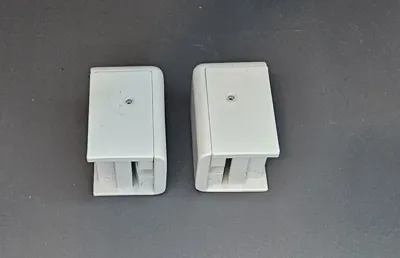
A1 Vibration Damping Pods
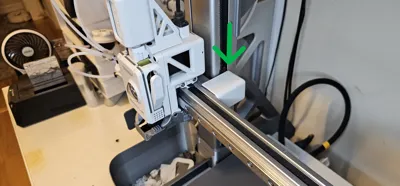
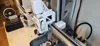
Inspired from the use of damping in the A2L. These mount to the brace that connects the X-axis to the Z-axis screws instead of the gantry. The mount is the point were any vibrations and or resonance would travel to the print head via the X-Axis – this way both X and Z axis have damping. Plus, space on my gantry is at a premium! French Riviera premium.
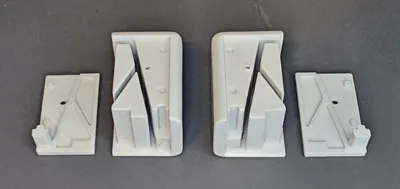
I used Iron Sand (Iron Filings) - available on Amazon, or anywhere you buy your overpriced scientific supplies - as the damping material. This is better for high frequency vibrations than bearings or BB's and way better than marshmallows. Each bottom clip is secured with an M3x6 button head, coarse thread, screw. They are a tight slip fit by design but are removable if needed. They do not interfere with printer maintenance or your relationship with your mother-in-law.
Disclaimer ~ Iron Sand is used in a wide variety of applications for this purpose. I don't have the equipment, nor interest to do a bunch of testing to say how effective these may be in this application on this device. I have seen varying guides of how to calculate damping material v’s object mass. This is just the direct application of theory. Feel free to test and comment with your results below.*
Assembly-
- Fill each compartment to approximately ¾ full. I used a hobby syringe. Make sure to fill them equally so they weigh the same on each side! Use a scale to weigh each compartment as you fill them. Mine weighed 57grams each, once filled. Your results may vary. but, if they weigh the same as mine we can be twinzies.
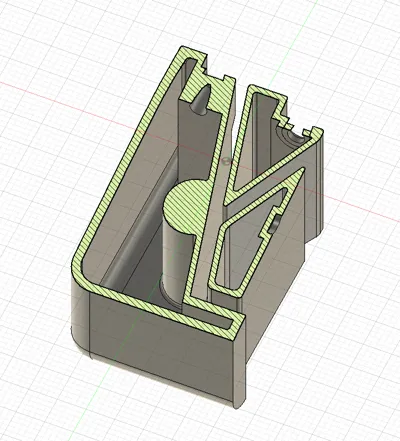
- Seal each compartment by gluing a plug in the fill port. Or fill each port with a glue plug.
- Insert into X-axis brace from the top. Will be a snug fit by design. Grunting and cursing may ease the process. Make sure they sit all the way down. My brackets had some significant burrs, so you may need to de-burr or perform some fitment of the Pods.
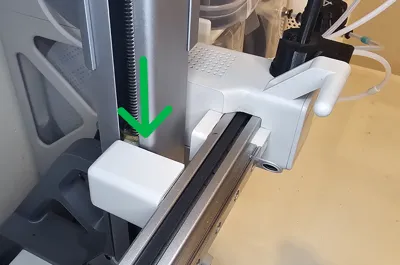
- Insert clip from below. Or lower the printer onto the clip.
- Secure bottom and pod together with the M3x6 button head coarse thread screw. Tighten until something snaps!
- And of course -recalibrate… or don’t.. you do you.
*These may give you buttery smooth prints, or bring about the end of times, or do absolutely nothing at all. Either way, I stand by option three.
California Prop 67 warning - this print and its materials may cause dullness, averageness, and or mediocrity. If you develop feelings of apathy that last for more than 3 hours - who cares!
License
You shall not share, sub-license, sell, rent, host, transfer, or distribute in any way the digital or 3D printed versions of this object, nor any other derivative work of this object in its digital or physical format (including - but not limited to - remixes of this object, and hosting on other digital platforms). The objects may not be used without permission in any way whatsoever in which you charge money, or collect fees.
Comment & Rating (0)