
Gaming console DIY Raspberry pi
Print Profile(2)
Bill of Materials


Description
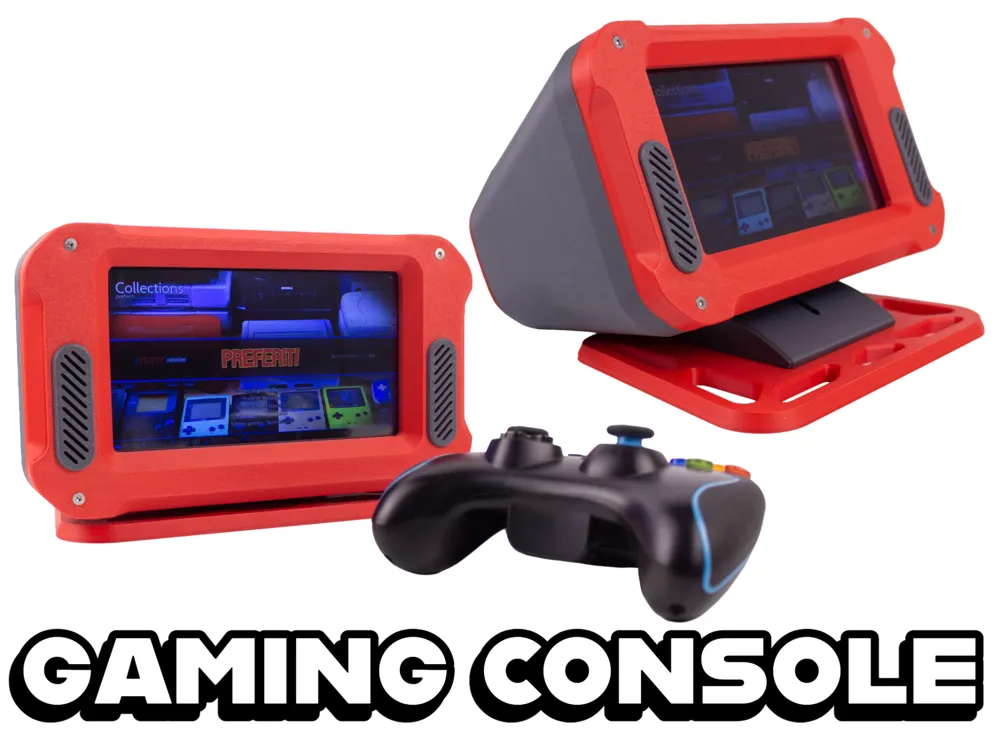
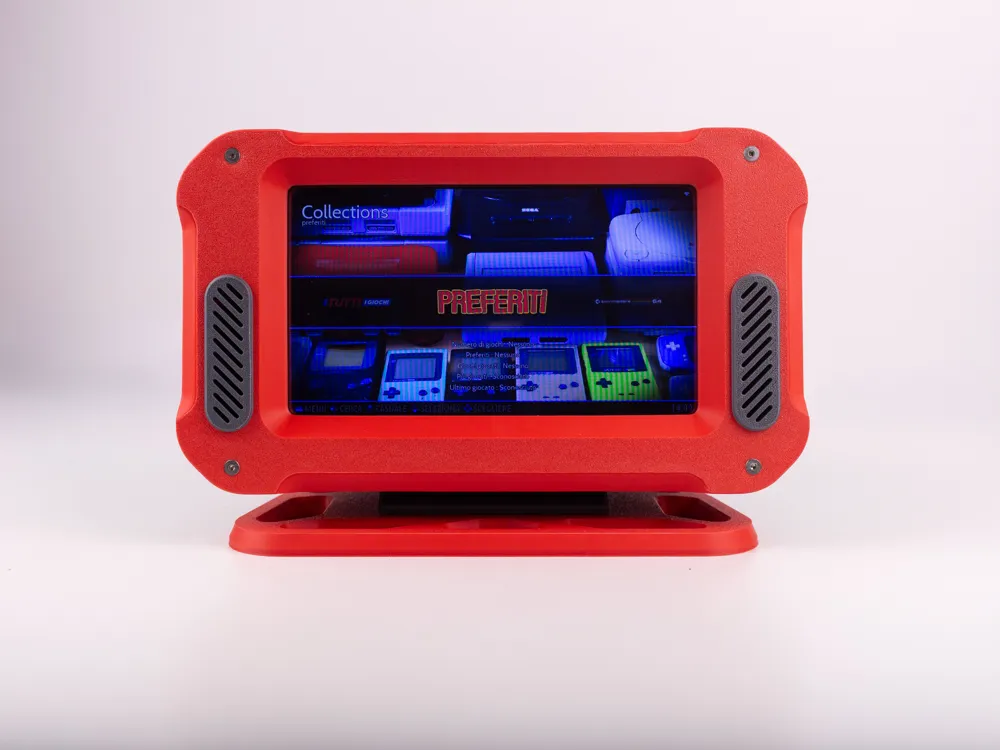
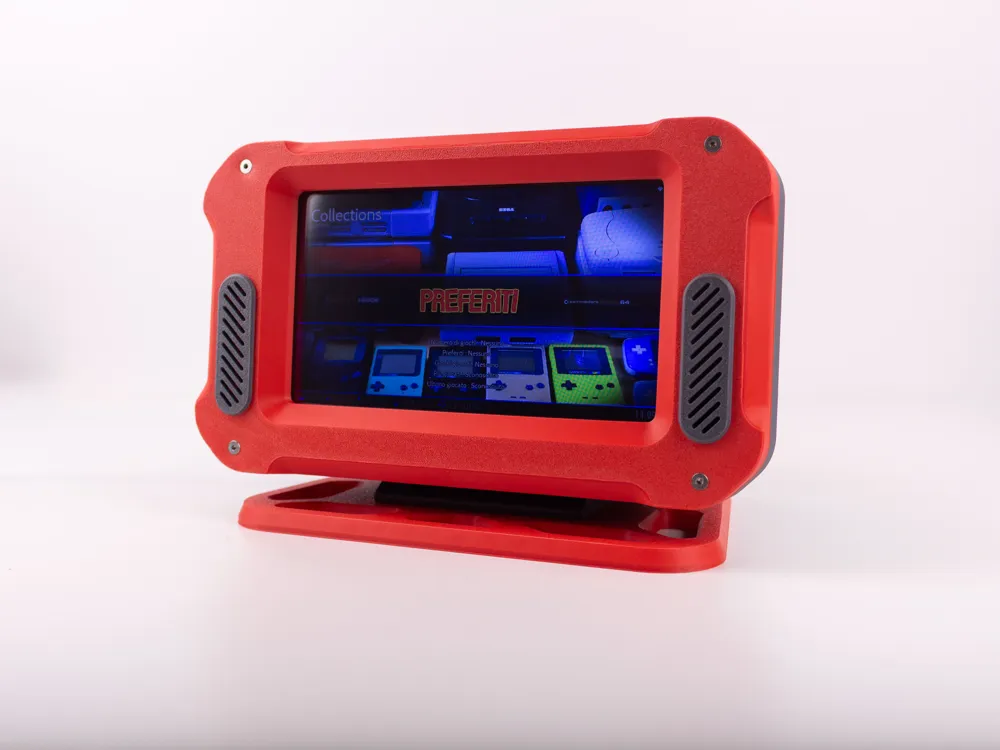
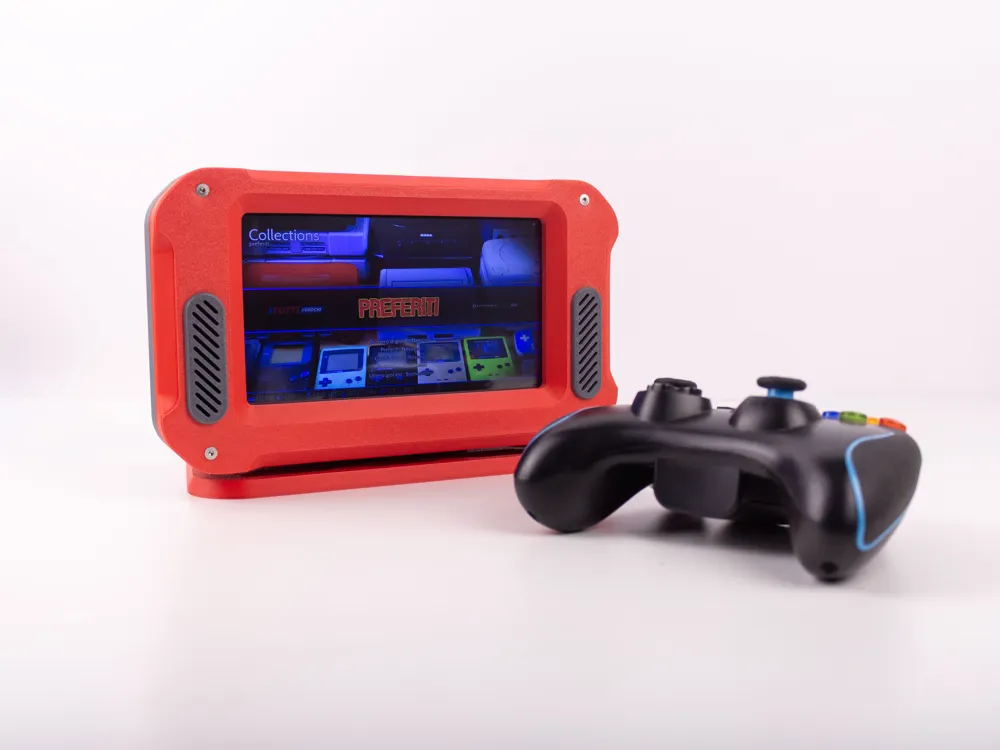
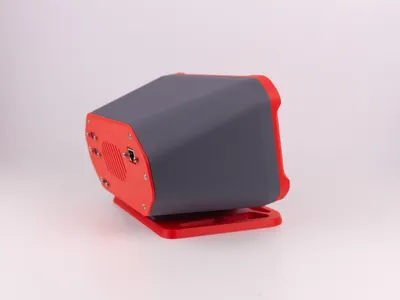
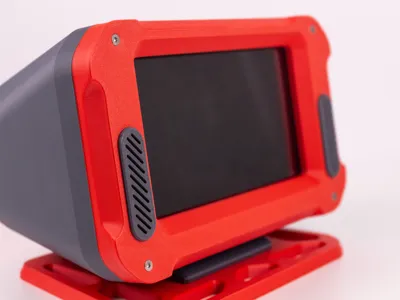
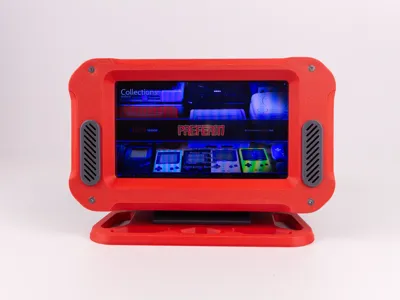
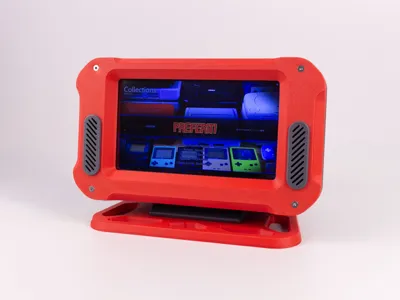
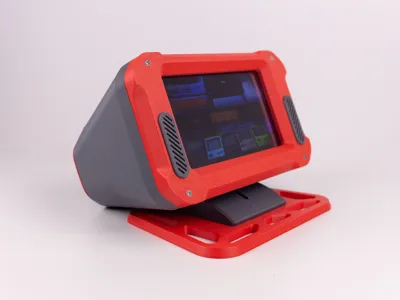
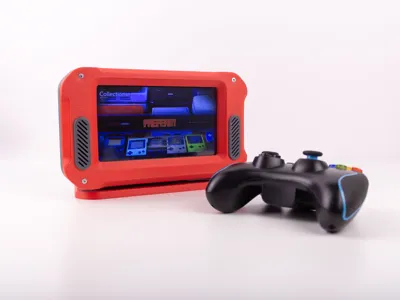
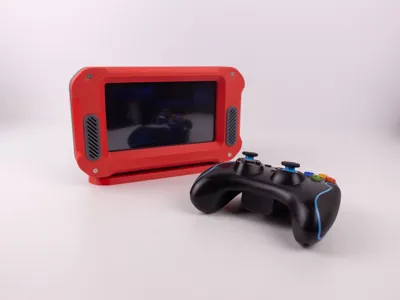
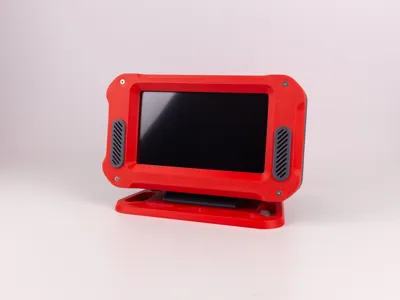
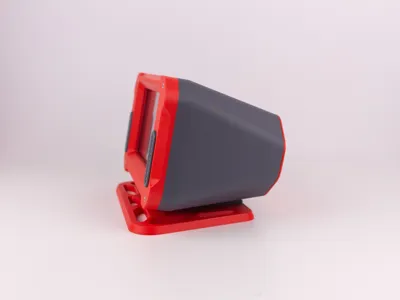
Retro-Futuristic Mini Arcade Console powered by Raspberry Pi
Boost Me (for free)
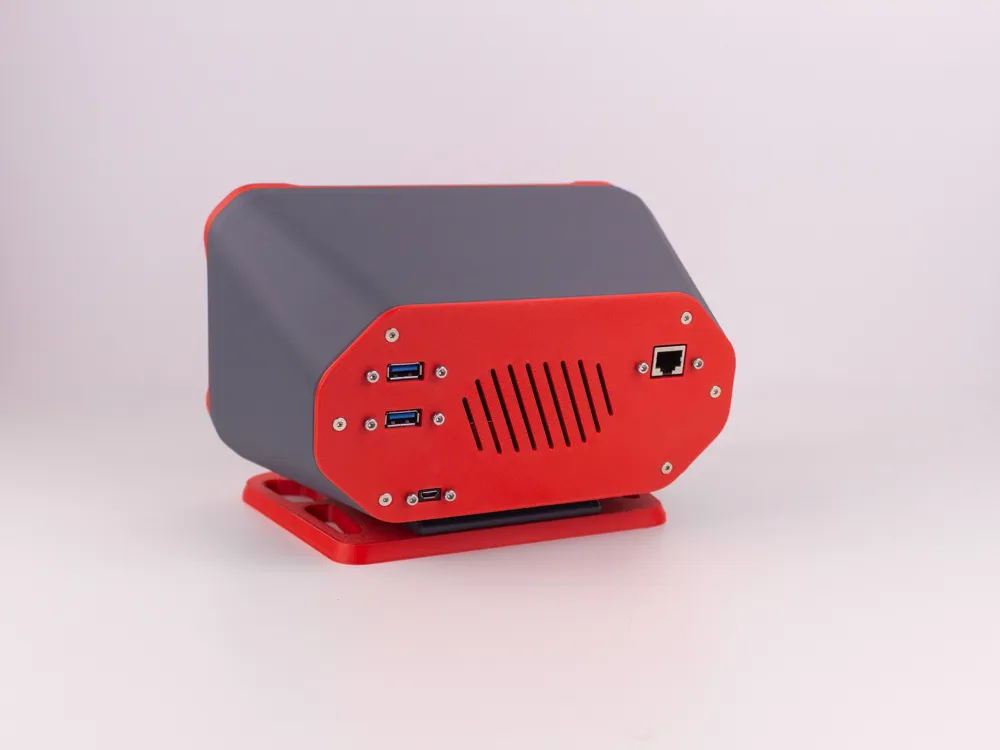
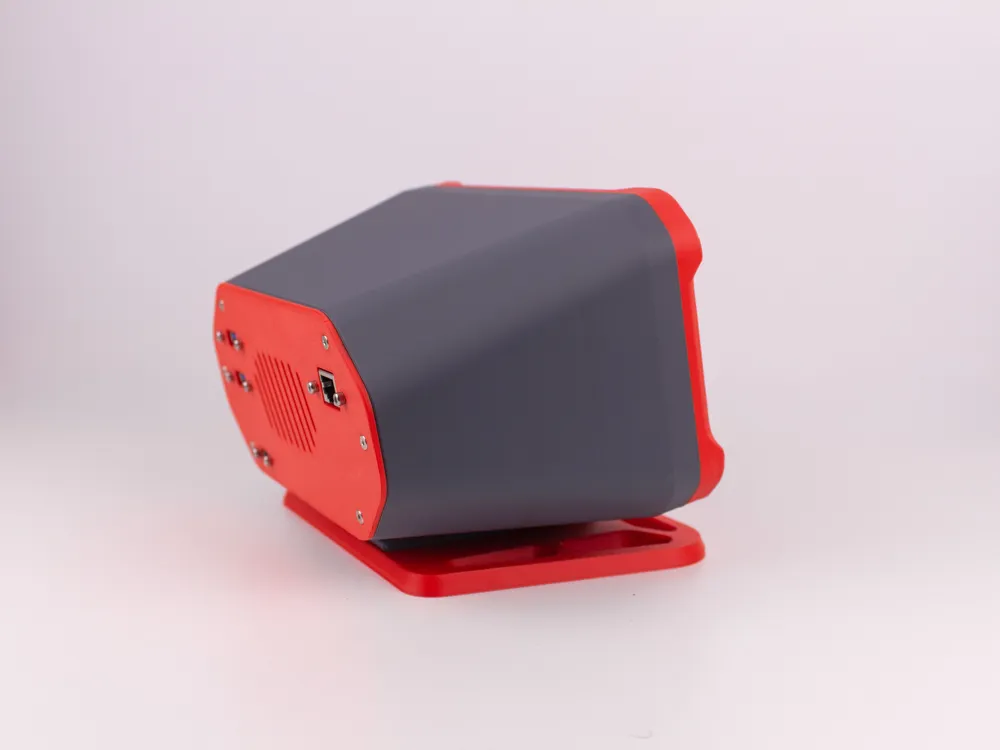
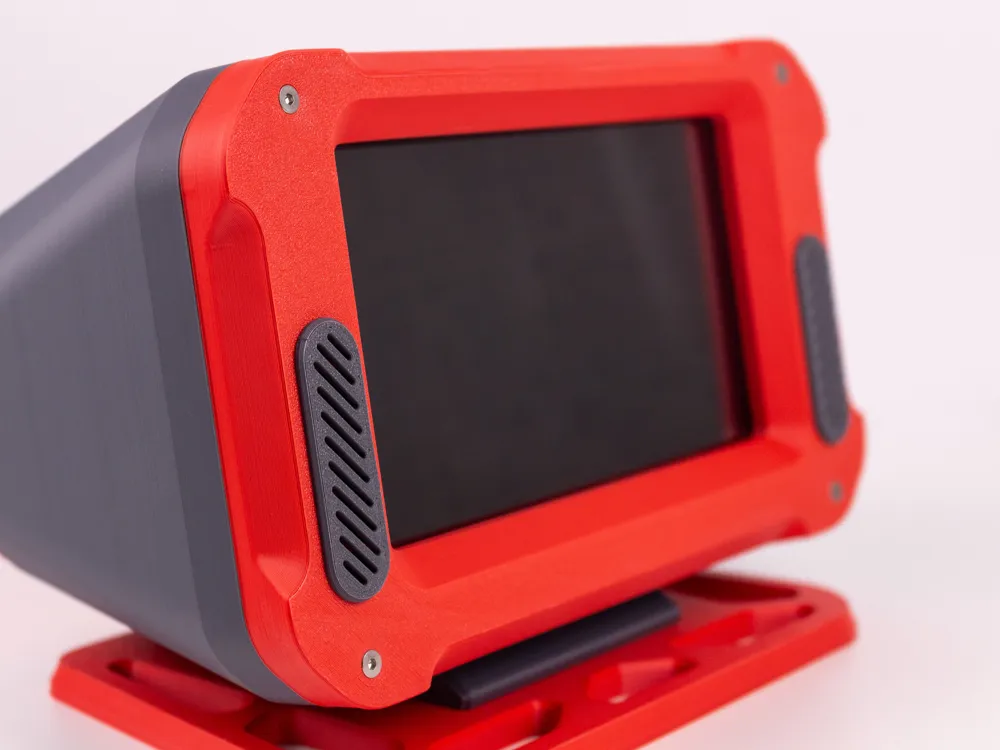
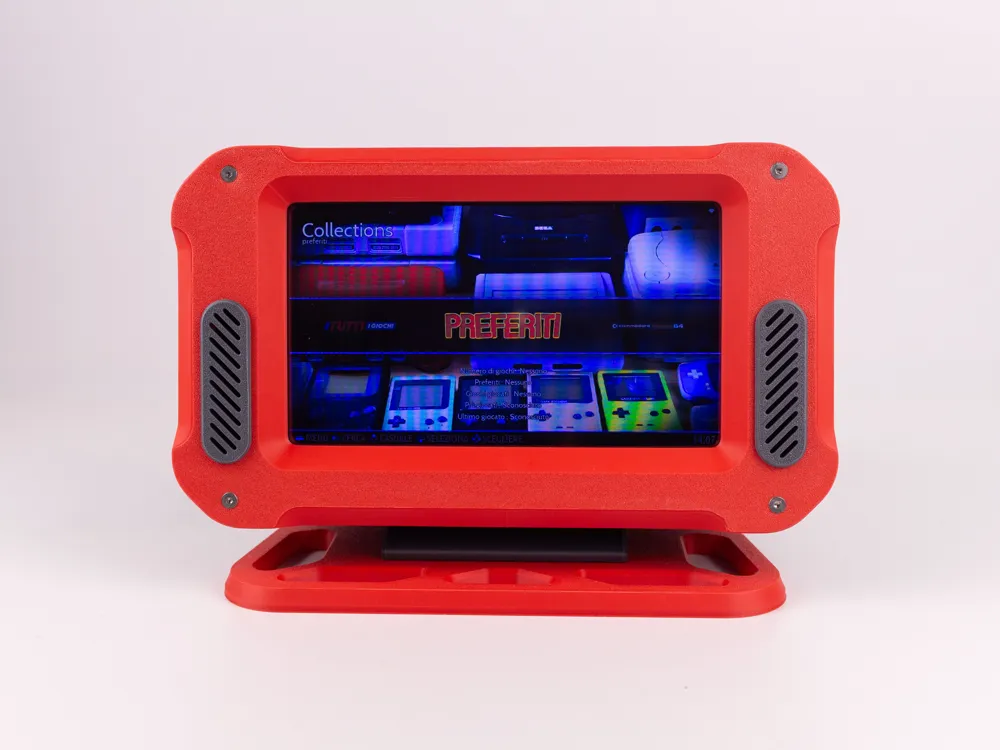
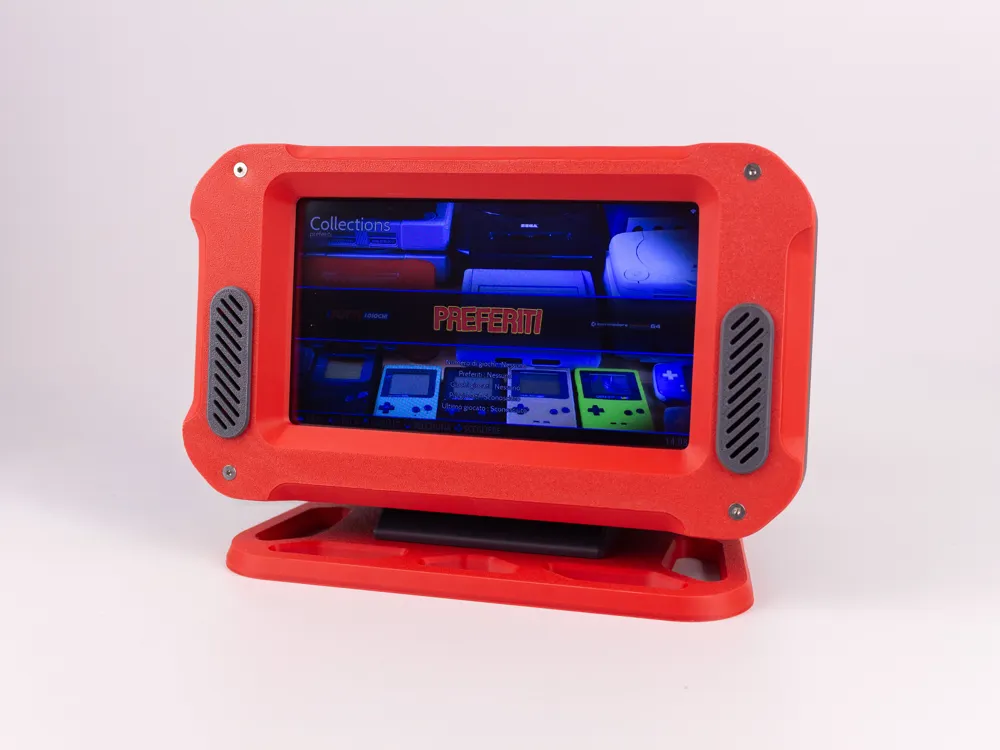
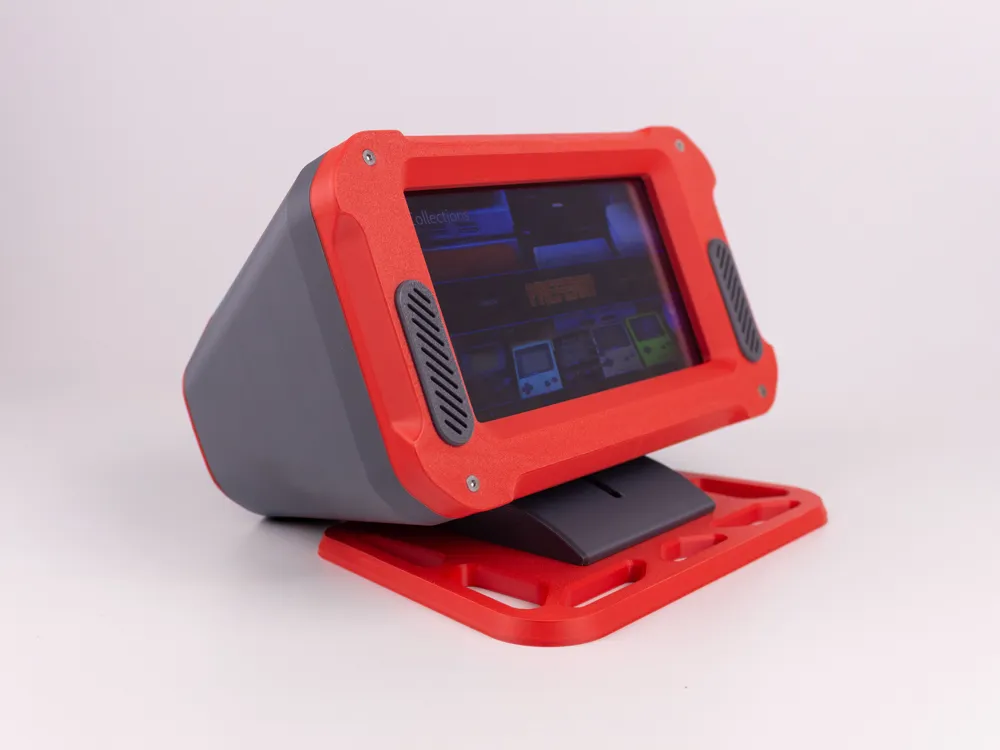
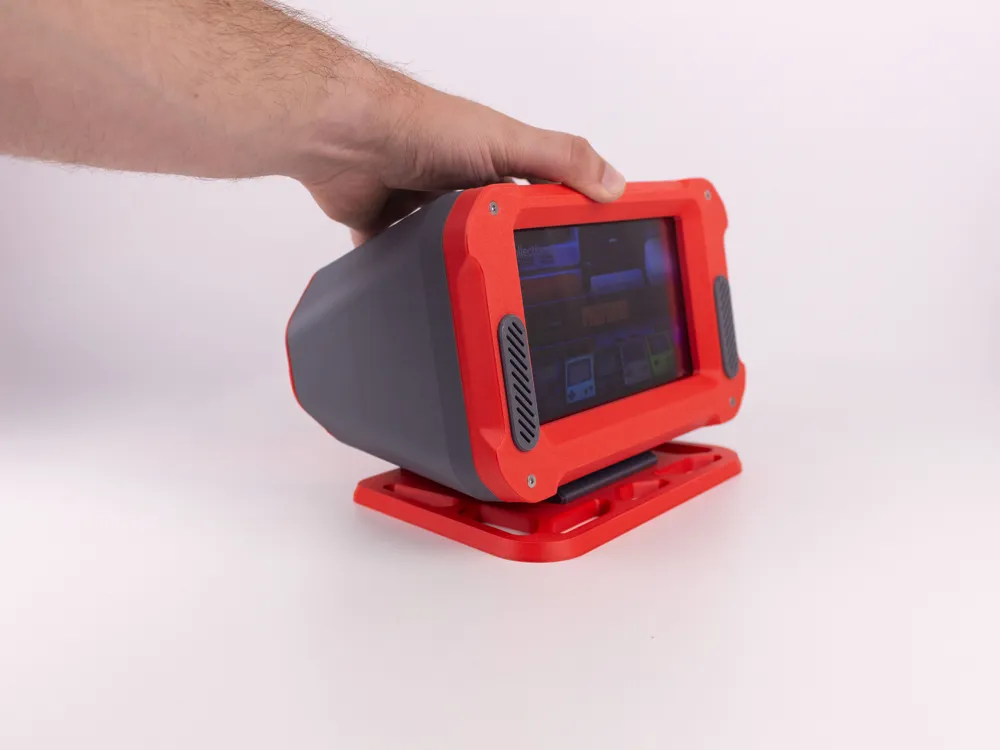
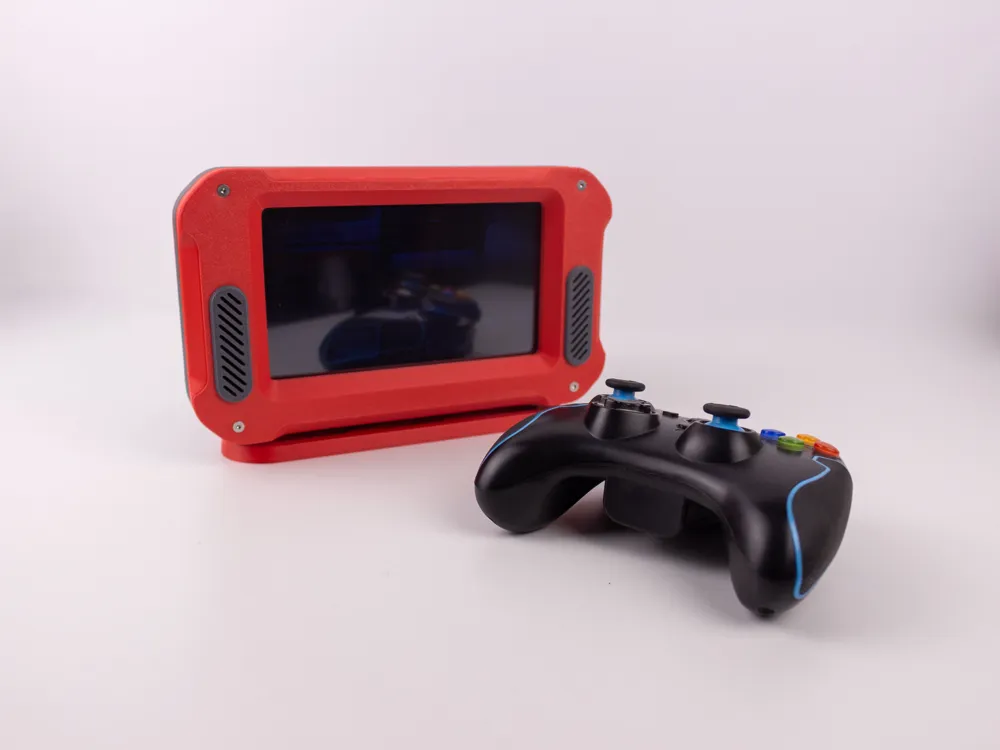
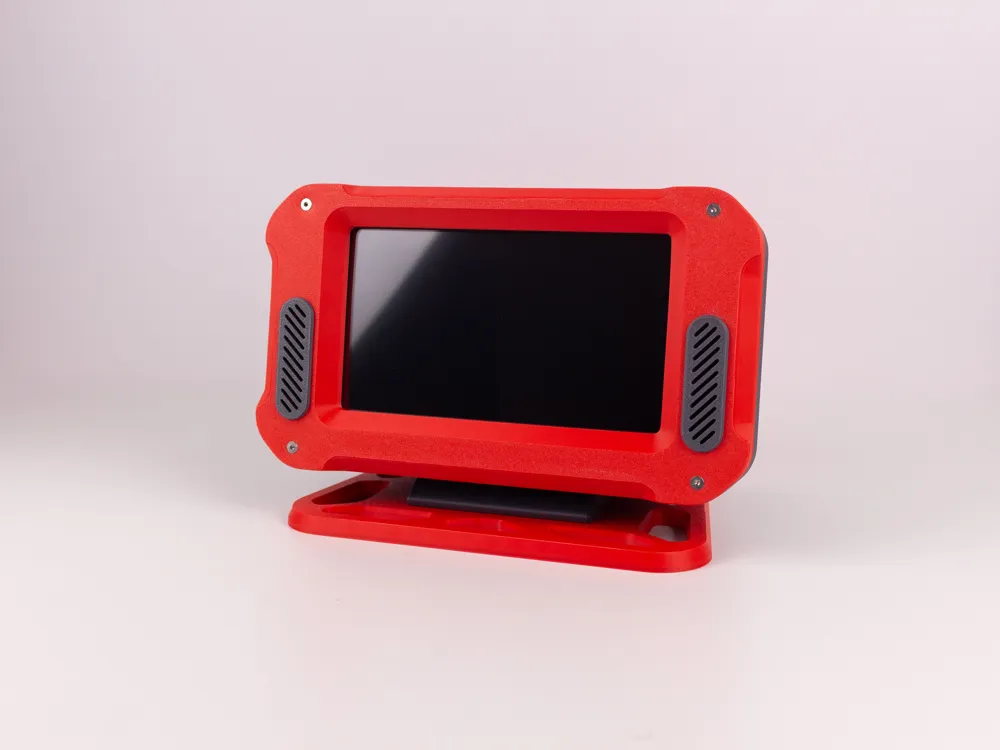
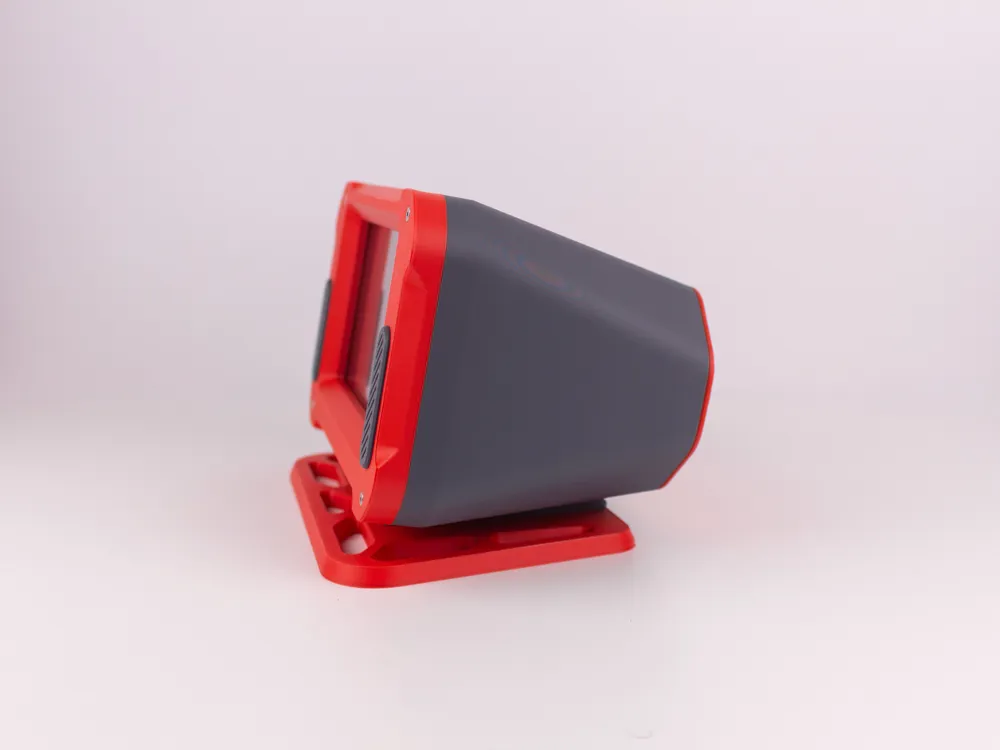
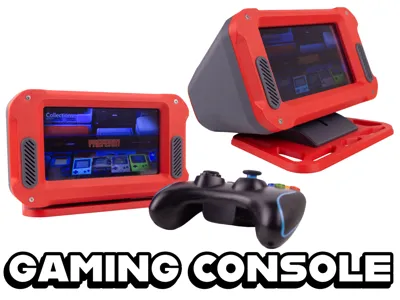
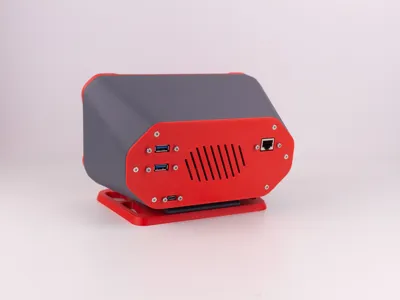
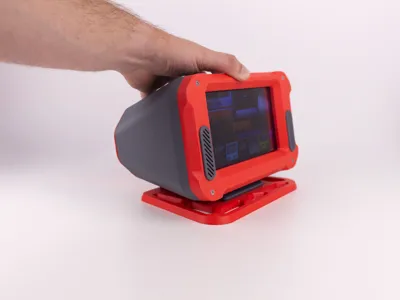
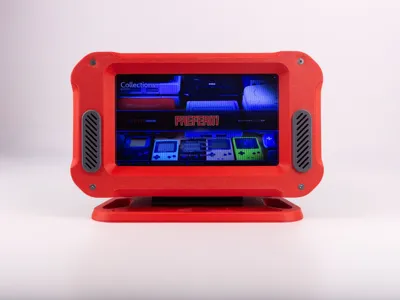
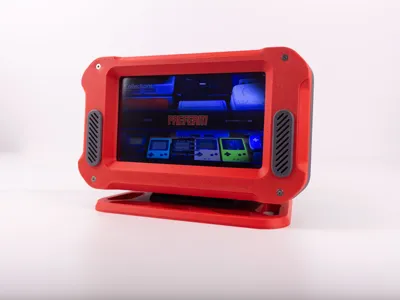
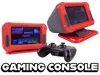
Welcome to my latest project! Why just plug a Raspberry Pi into a TV when you can build your very own mini arcade cabinet? I designed this retro-futuristic console to be fully 3D printable, featuring an adjustable stand, an integrated 7-inch touch screen, built-in stereo speakers, and front-facing USB ports for your controllers.
It's strangely simple to build and incredibly fun to use. Just install Batocera, RetroPie, or your favorite emulation system, and you are ready to play!
🎥 Full Assembly Video Tutorial
Printing Guidelines
- Material: I printed everything in Matte PLA and had no heat issues, but if you want to be extra safe, PETG or other heat-resistant materials are suitable
Assembly Notes
You will need a soldering iron for two things: pressing the heat-set inserts into the plastic parts and doing some very basic soldering for the audio amplifier module (connecting the 3.5mm jack and the speakers). The rest of the assembly just requires a screwdriver!
🛒 BOM - Electronics
Here is everything you need for the electronics and wiring:
- Raspberry Pi 3 B+ (or higher): Link
- 7-inch Touch Screen: Link
- Raspberry Pi Cooling Kit: Link
- L-Shape HDMI Adapter (mind the orientation!): Link
- L-Shape Micro USB Adapter (for the touch screen): Link
- 2x USB Port Extension Cables: Link
- 1x Micro USB Extension Cable (for main power): Link
- 1x Ethernet Extension Cable - Upward orientation (optional): Link
- 2x Pre-assembled Audio Speakers: Link
- Audio Amplifier Module: Link
- 3-pole 3.5mm Audio Jack: Link
🔩 BOM - Hardware & Screws
Note: All screws required are countersunk flat head unless otherwise specified.
- 18x M3x5x4 Heat-set inserts
- 4x M2.5x4x4 Heat-set inserts
- 4x M3x20 screws
- 10x M3x6 screws
- 4x M3x10 screws
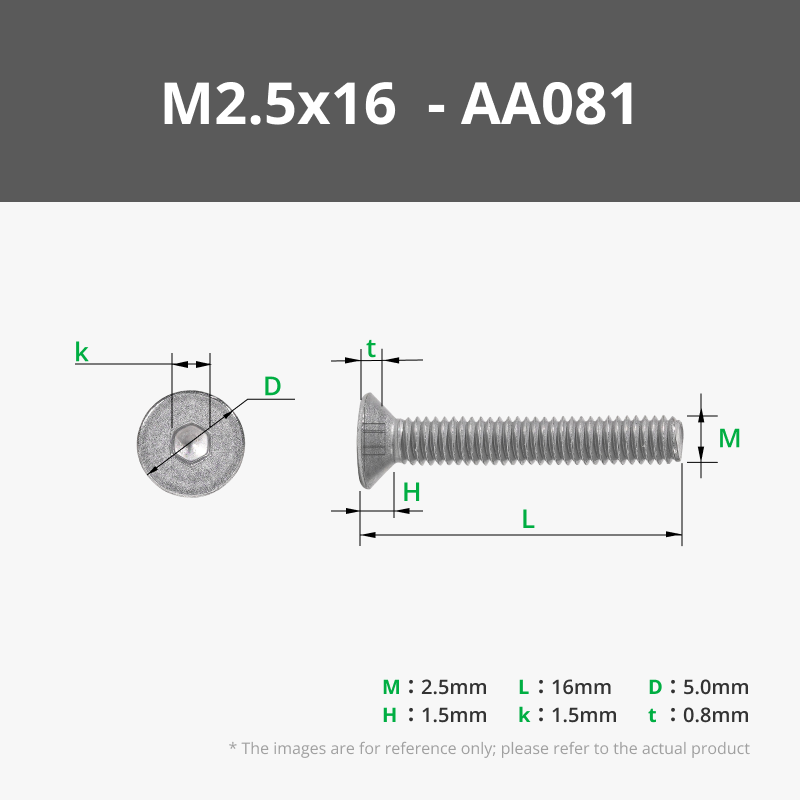
- 4x M2.5x16 screws
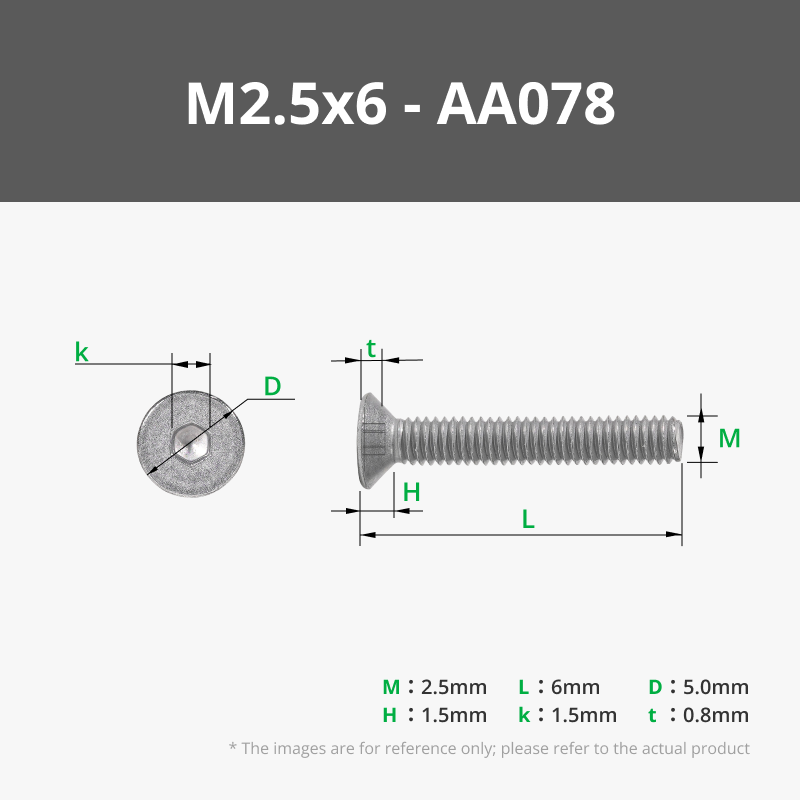
- 4x M2.5x6 screws
- 1x M5x20 Hex head screw
- 1x M5 Wing nut
If you enjoy this model, please leave a like, share your makes, and consider supporting my work! Happy printing and retro-gaming! 🕹️
License

You shall not share, sub-license, sell, rent, host, transfer, or distribute in any way the digital or 3D printed versions of this object, nor any other derivative work of this object in its digital or physical format (including - but not limited to - remixes of this object, and hosting on other digital platforms). The objects may not be used without permission in any way whatsoever in which you charge money, or collect fees.


Comment & Rating (3)