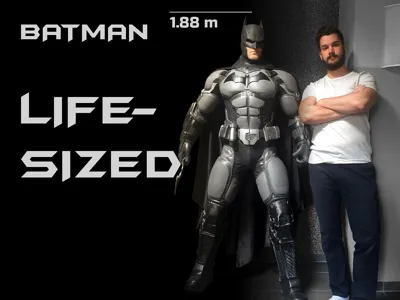
LIFESIZED Batman Statue


Print Profile(3)
Description
Yes, I’m insane.
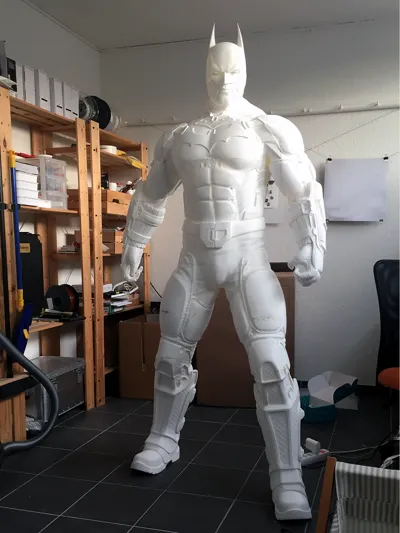
Regular-sized figures and statues just aren’t my thing - So I modelled Batman from scratch and printed him…life sized.
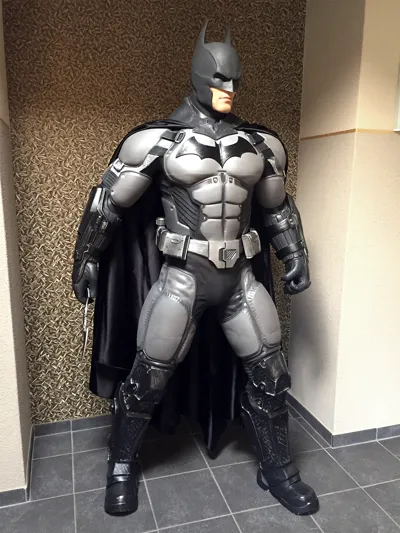
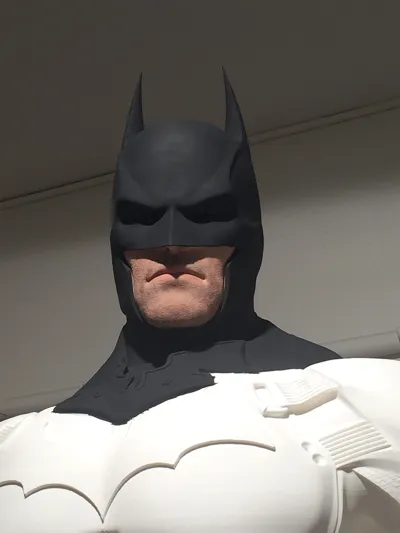
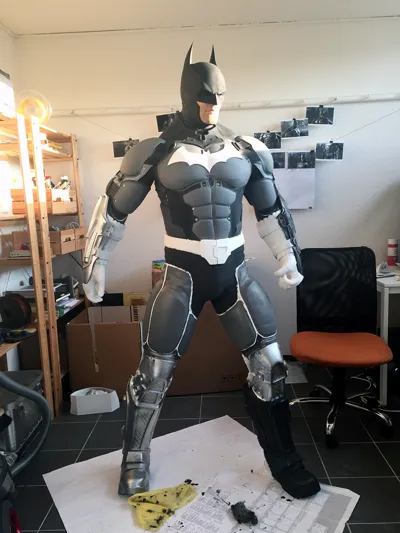
After printing, assembling and painting, I gave him a batcape, glass eyes, metal screwhead details and a glossy surface finish for his metal parts.
I modelled him after the design in the arkham origins game because I think this is one of the sickest batsuit designs. Who agrees?
If you happen to be equally crazy as I am and to actually download and print your own life-sized statue, here’s a few additional information:
Print overview
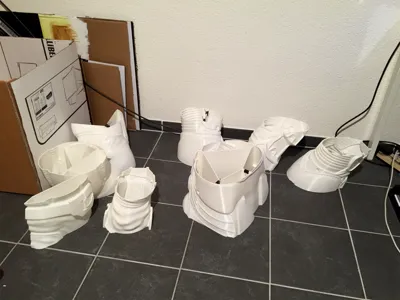
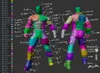
Batman himself consists of 40 parts which can be printed on every Bambu printer except for the A1 mini.
His accessories on the belt as well as the batarang add another 11 parts making it a total of 51 parts.
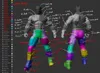
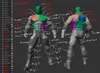
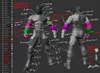
To identify each part, I created a general overview below.
You can identify each part in the print profiles too - I named the print bed labels and the parts on it according to the overview.
Because Bambu Studio won’t let me create more than 36 plates, I divided the parts into “Lower body”, “Torso & Head” and “Shoulders, arms & Accessories”.
Each print profile has its own overview with the parts it contains.
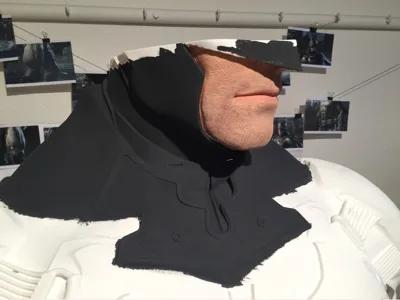
Assembling, Post-processing
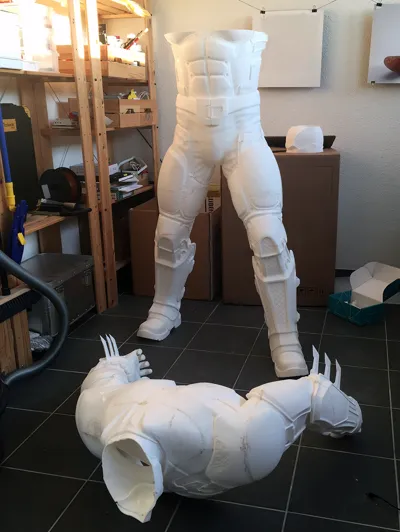
For assembling, there’s no connectors, screw holes or anything like that - Like a typical cosplay prop, the print itself just serves as the base and is then further refined, making the seams invisible and giving it a nice finish which will also hold everything together properly.
I used a heated sculpting tool called Modifi3D to melt the seams together, which added a lot of strength already while also making the seams barely noticeable.
And from this point on, it’s entirely up to you how far you want to take the surface finishing process. I coated everything in fiberglass which was a sh!tload of work but it really paid off in terms of both durability and appearance.
And because there’s so many different ways, techniques and methods for the entire post-process, there’s no right or wrong when it comes to slicing and printing.
I printed everything without infill and without top- or bottom surface (with a few exceptions), leaving the parts hollow, made of 6 wall loops. Sort of a vase mode.
Adjust the parameters to your liking.
Really curious to see if there’s ANYONE who will actually go for this project. And if so, I need pictures!
If you appreciate my work, would you mind boosting me so I can reduce the financial damage on this insane project? 👉👈
Documentation (1)
License
You shall not share, sub-license, sell, rent, host, transfer, or distribute in any way the digital or 3D printed versions of this object, nor any other derivative work of this object in its digital or physical format (including, but not limited to, publishing derivative works outside the Makerworld platform or hosting on other digital platforms). The objects may not be used without permission in any way whatsoever in which you charge money or collect fees. Subject to the above restrictions, derivative works may be published only within the Makerworld platform, and all such derivative works must be licensed under the same SDFL‑C license, without modification or additional terms. You may download the digital versions of this object, 3D print it, and display images, videos, or usage demonstrations of 3D printed versions of the object on personal social media platforms or Makerworld official channels, provided that no digital versions of the object are shared or distributed.
Comment & Rating (4)