Search models, users, collections, and posts

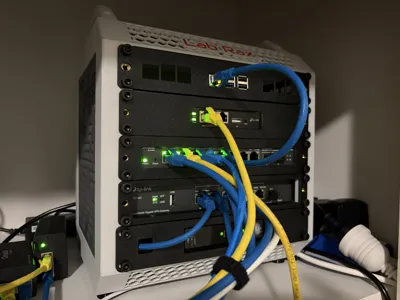
Lab Rax TP-Link Omada ER707-M2 / ES210XPP-M2
IP Report
Print Profile(1)
0.2mm layer, 2 walls, 15% infill
Designer
8.2 h
1 plate
Open in Bambu Studio
Boost
1
6
0
0
7
4
Released
Description
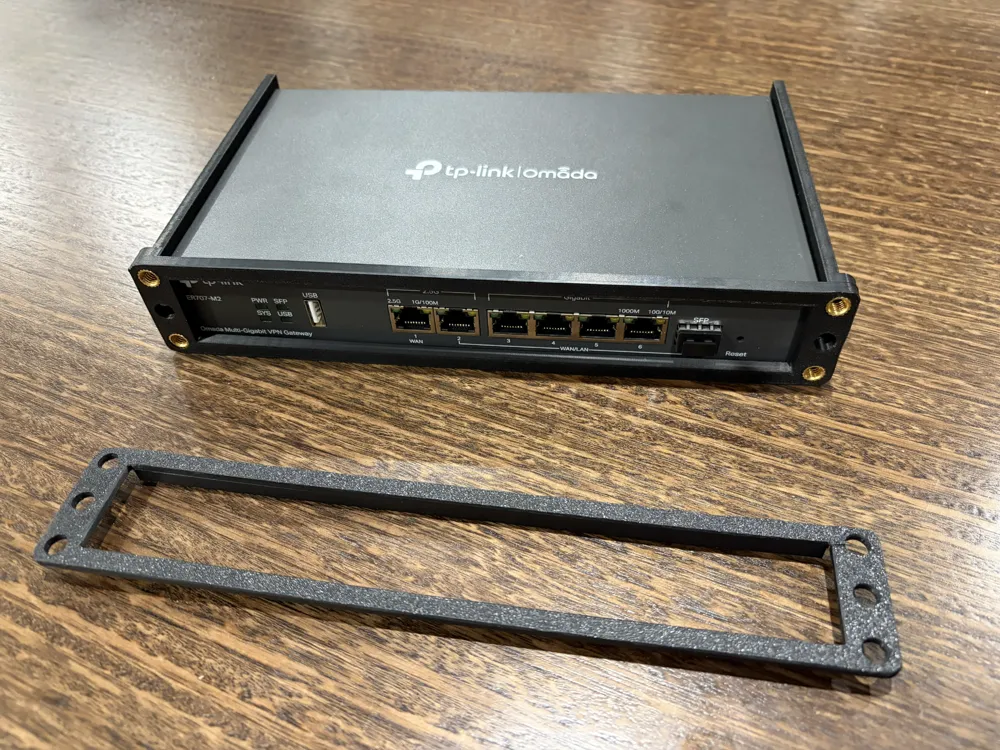
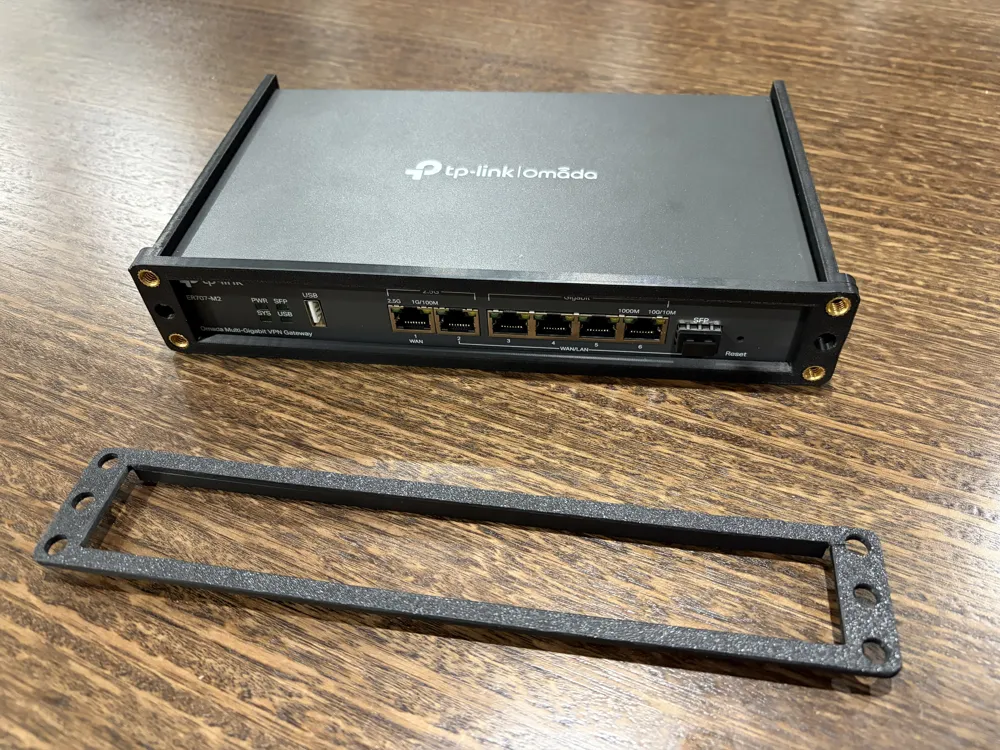
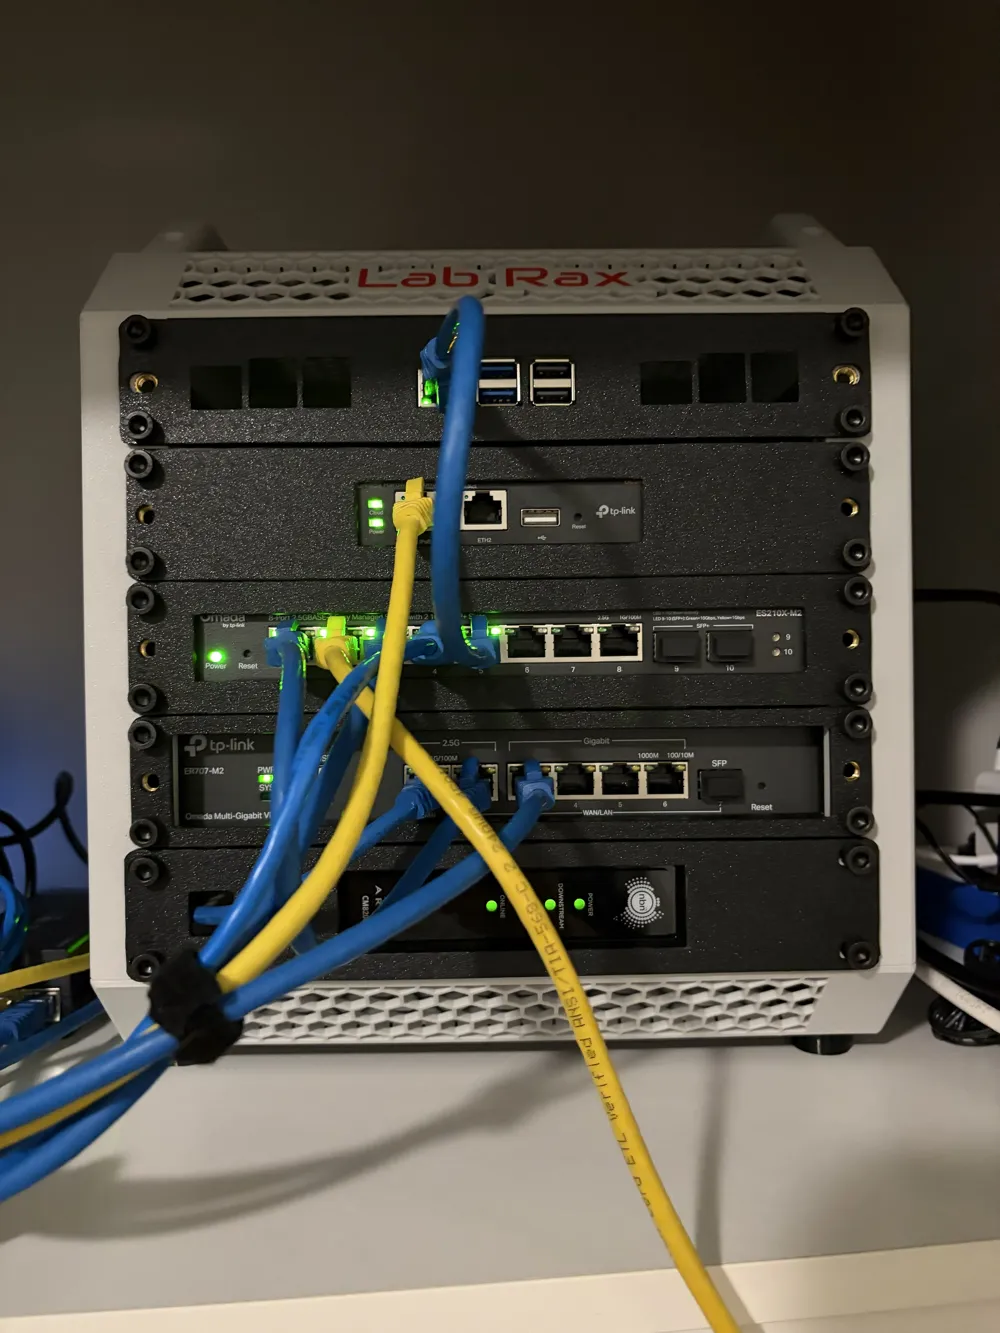
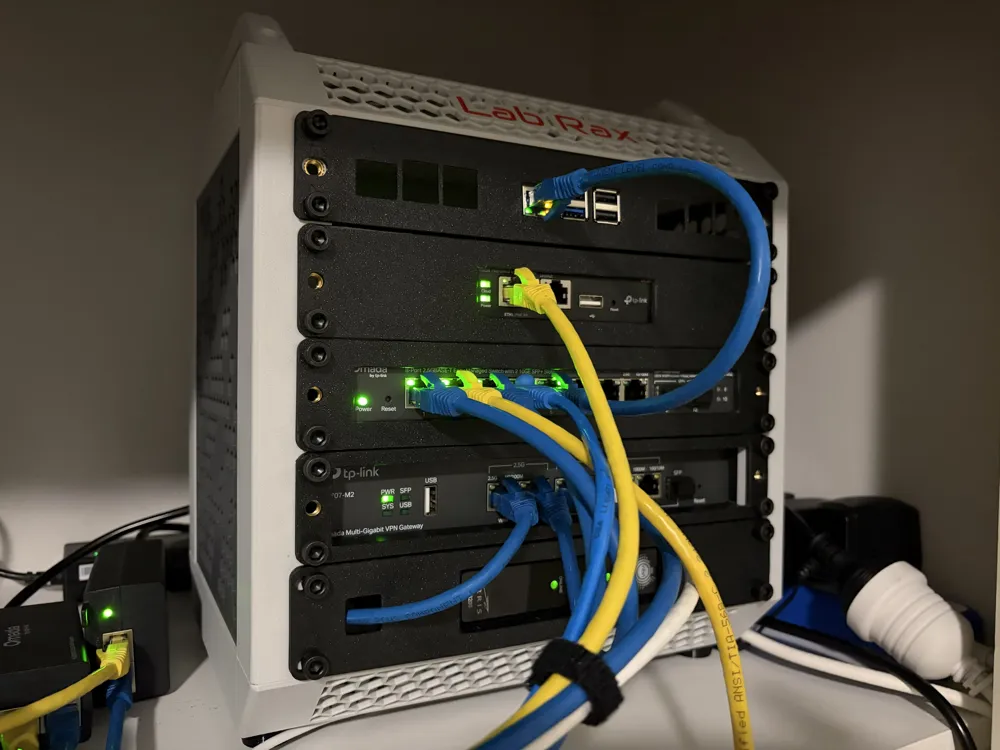
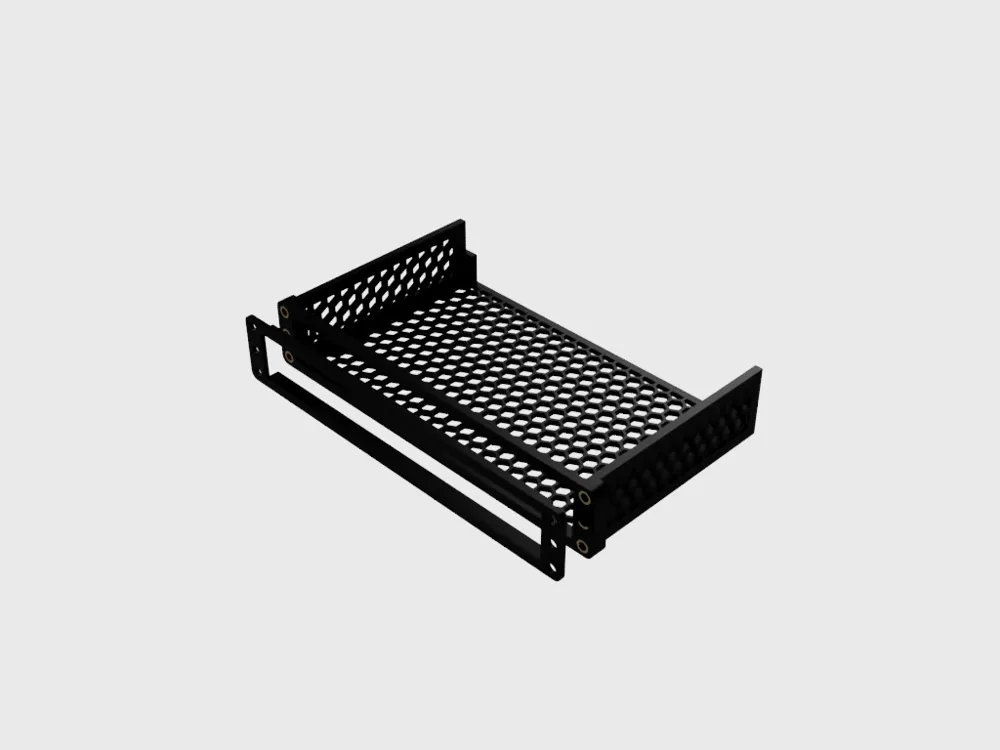
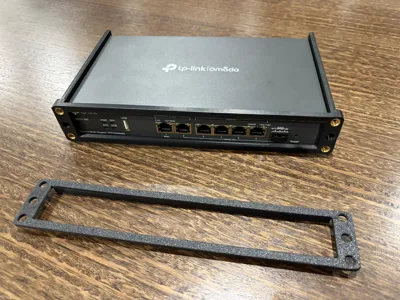
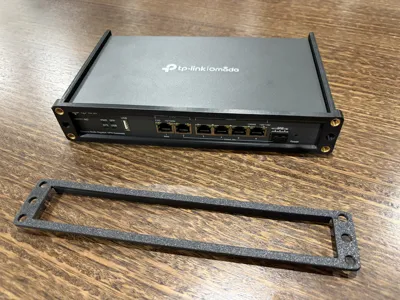
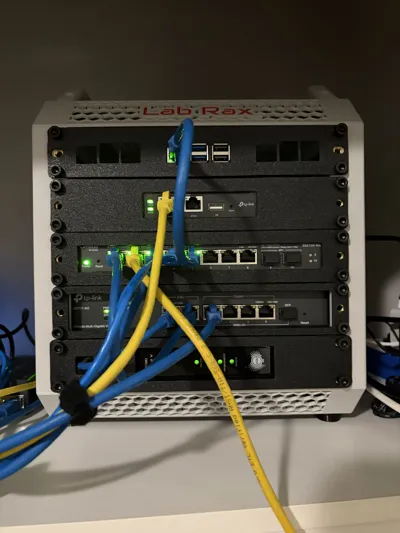
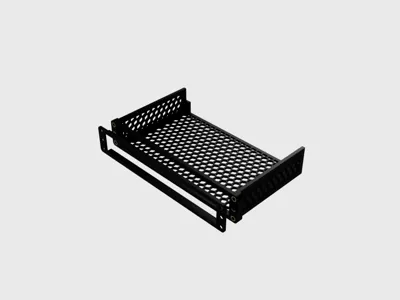
This design works for both the TP-Link Omada ER707-M2 gateway and the ES210XPP-M2 managed switch as they have nearly identical dimensions. With a width of 226 mm these exceed the front opening of the Lab Rax, a multi-part design to gets around this limitation.
Note: this is designed exclusively for the Lab Rax and likely won't fit other 10" racks due to the horizontal separation between the brass inserts.
Omada fanless devices generate a small amount of heat and filaments with a lower melting point like PLA may sag over time. I printed the design using ASA but heat-resistant filaments such as ABS and PETG should also work fine. The hexagonal pattern aims to maximise heat dissipation.
Assembly Instructions
- Once printed - insert four M6 x 5 mm brass inserts into the corner holes at the front of the 'inner rack' component. Take care to insert these straight - when bolted together the tolerances to align the brass inserts in the frame of the Lab Rax and the brass inserts in the ‘inner rack’ are small. If any of the inserts are off by too much of an angle you may have difficulty screwing the parts together.
- Place the ‘front panel’ component on the front of the Lab Rax and screw it in place using M6 x 15 mm screws. When inserting the screws, screw them so they are just slightly proud of the inner face of the Lab Rax frame (enough that you can just feel them with your fingertips). If the screws are too proud, the screw heads will end up flush with the ‘front panel’ before the ‘inner rack’ has been fully pulled against the Lab Rax frame.
- Important: place your device inside the 'inner rack' component. Once the rack is installed, you won't be able to remove the device without disassembling the rack.
- Feed the ‘inner rack’ component in from the back of the Lab Rax (some rotation is required to get it through the gap in the frame) and align it with the screw holes and screws.
- While holding the ‘inner rack’ against the Lab Rax frame screw the screws through the frame of the Lab Rax and through the brass inserts of the ‘inner rack’ until the ‘inner rack’ is held tight and the screw heads are flush with the ‘front panel’. If you got the alignment of the brass inserts within tolerance you should be able to screw everything together without forcing it.
Bill of Materials
- Four M6 x 5 mm brass inserts (the M6 x 4 mm brass inserts used in the construction of the Lab Rax will also work). M6 x 5 mm inserts are much easier to find online.
- Four M6 x 15 mm screws.
License

This user content is licensed under a
Creative Commons Attribution-Noncommercial-Share Alike


Comment & Rating (0)