
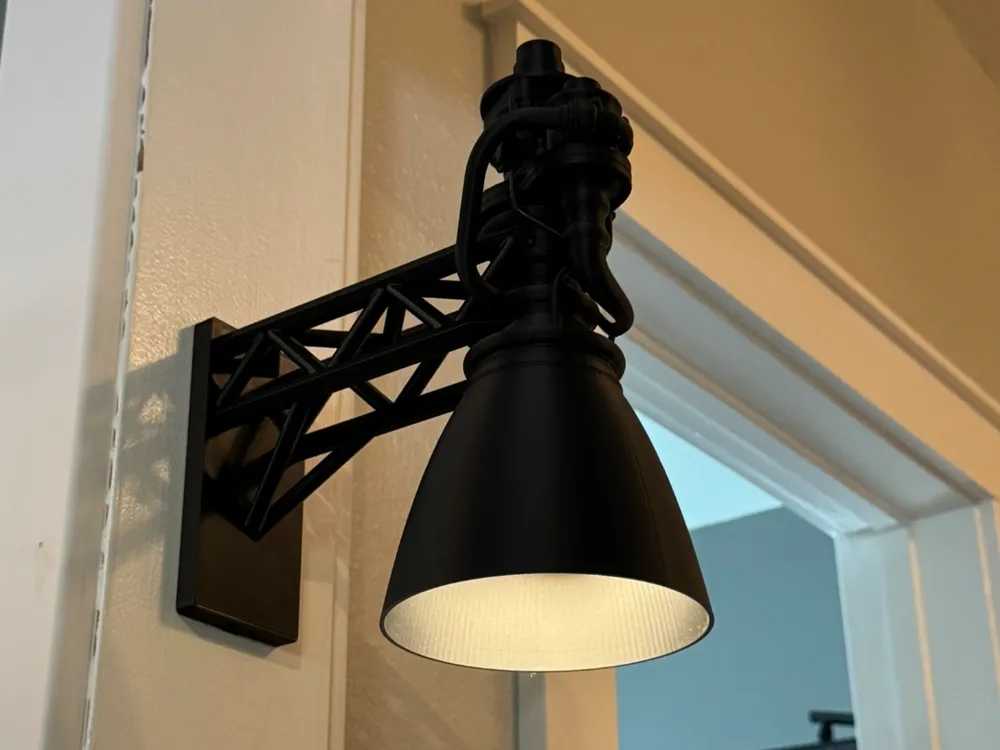
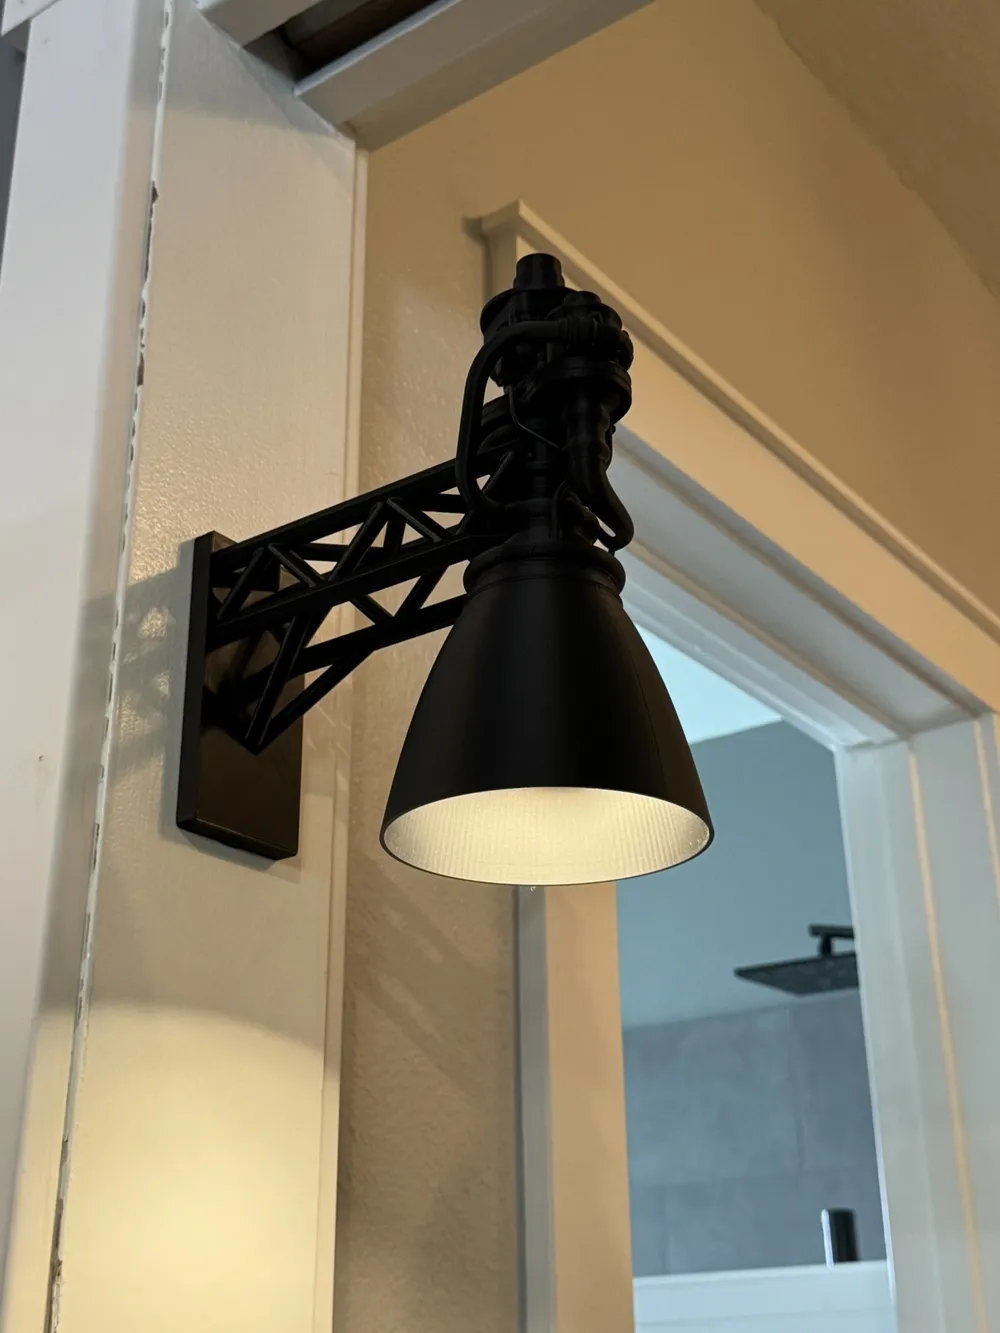
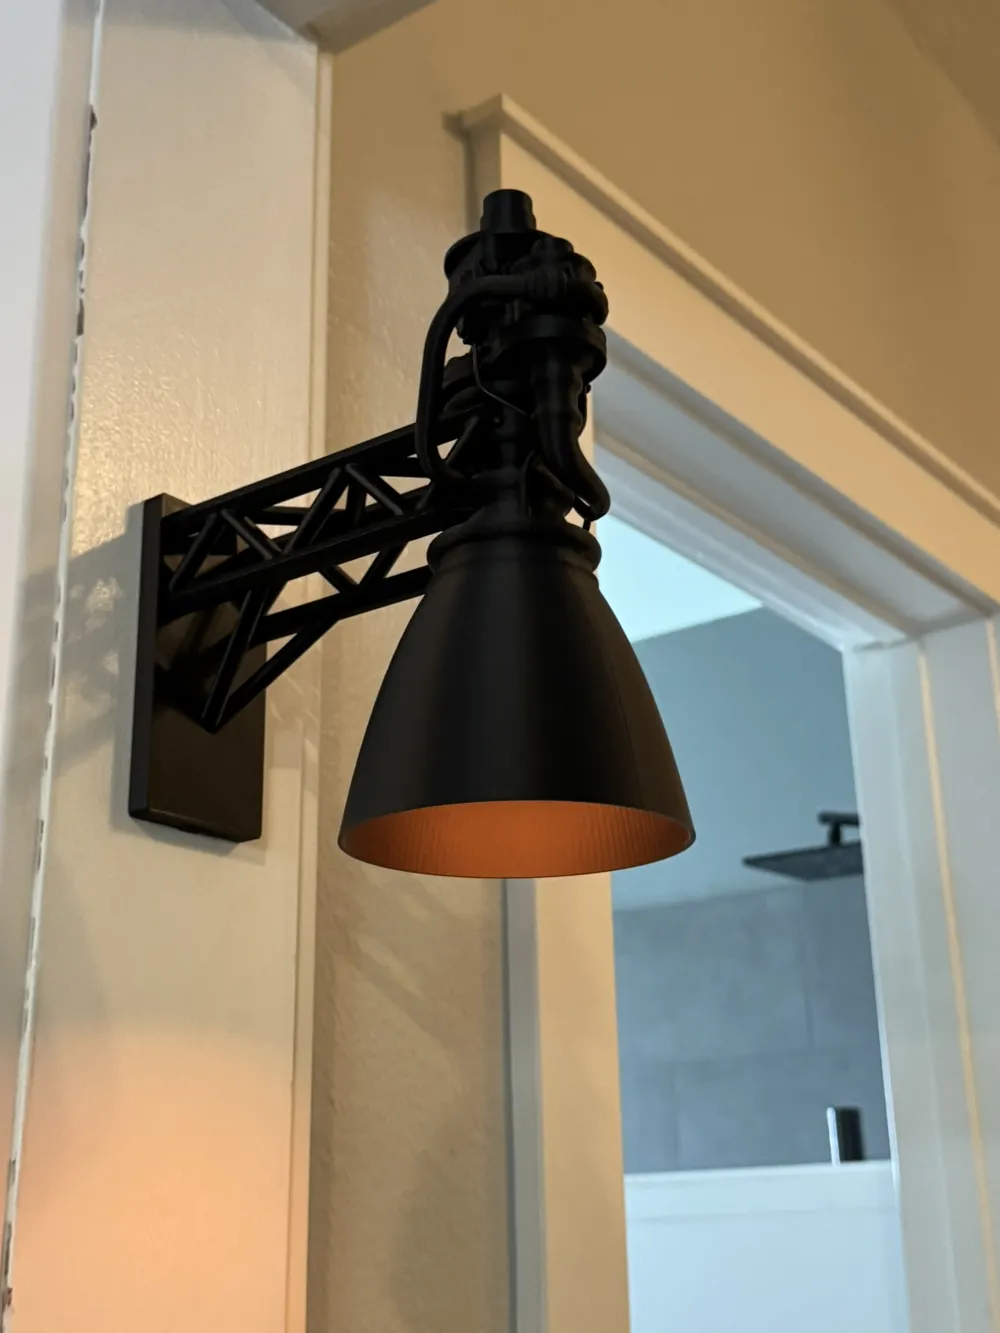
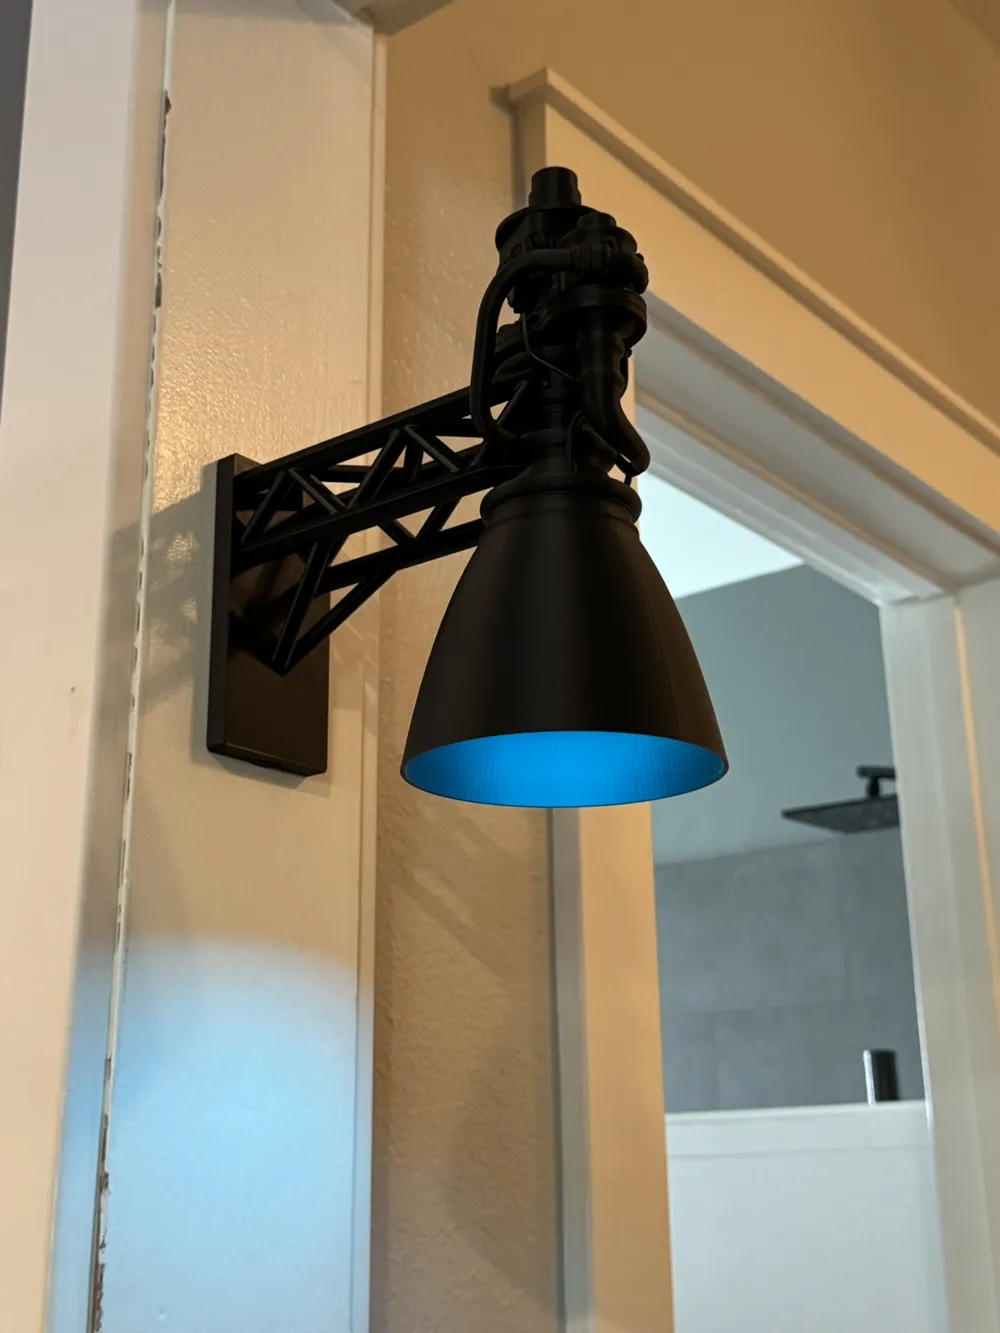
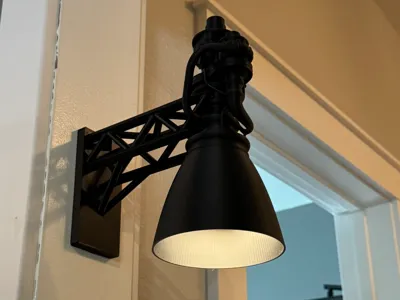
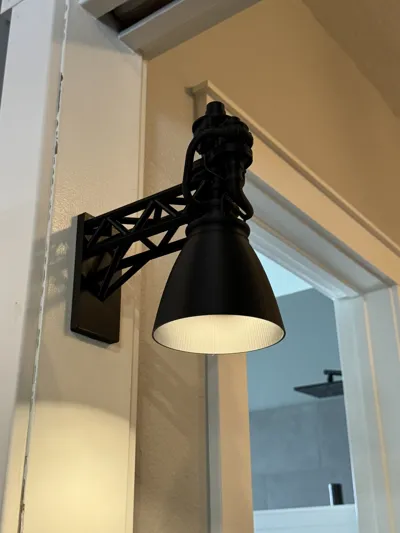
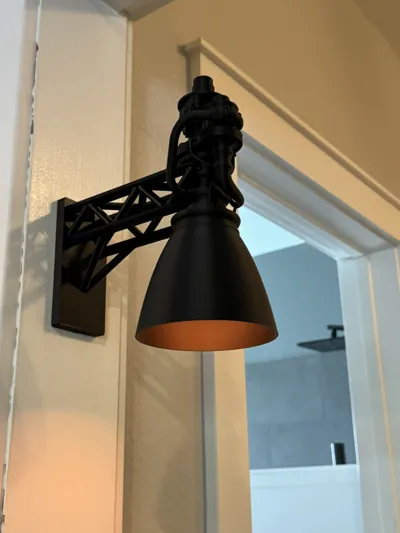
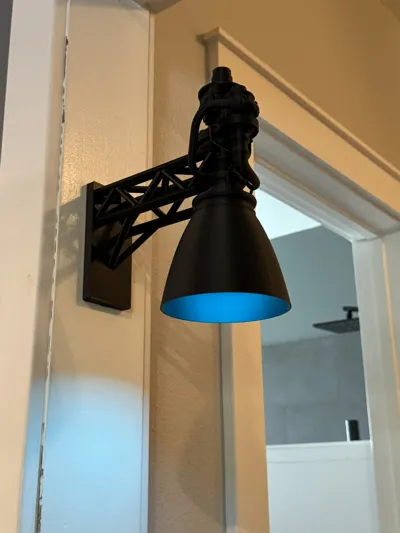
Raptor 3 with Wall Mount
Print Profile(1)
Description
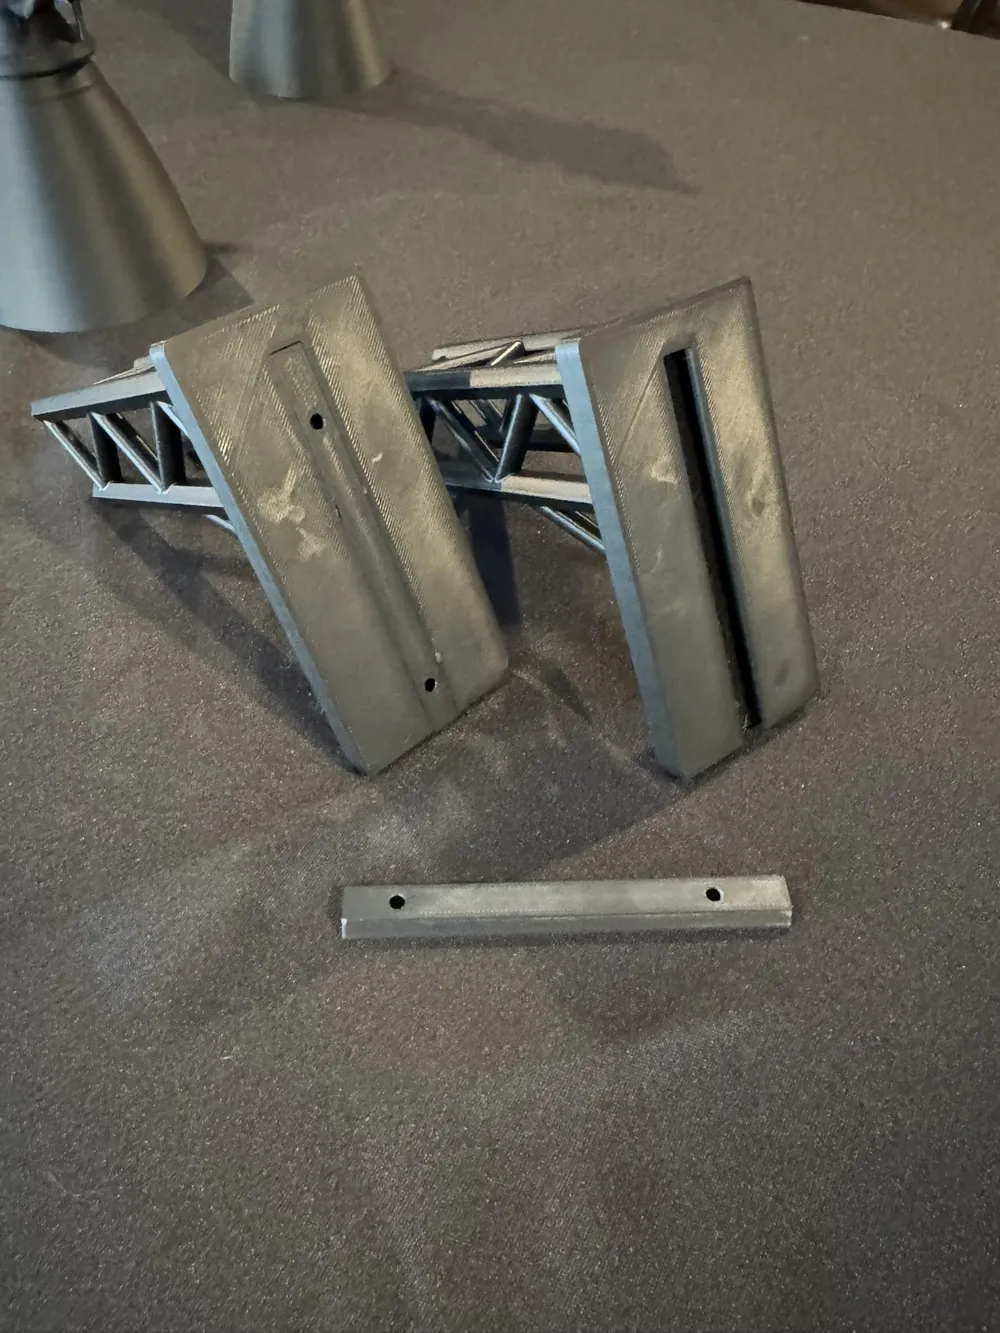
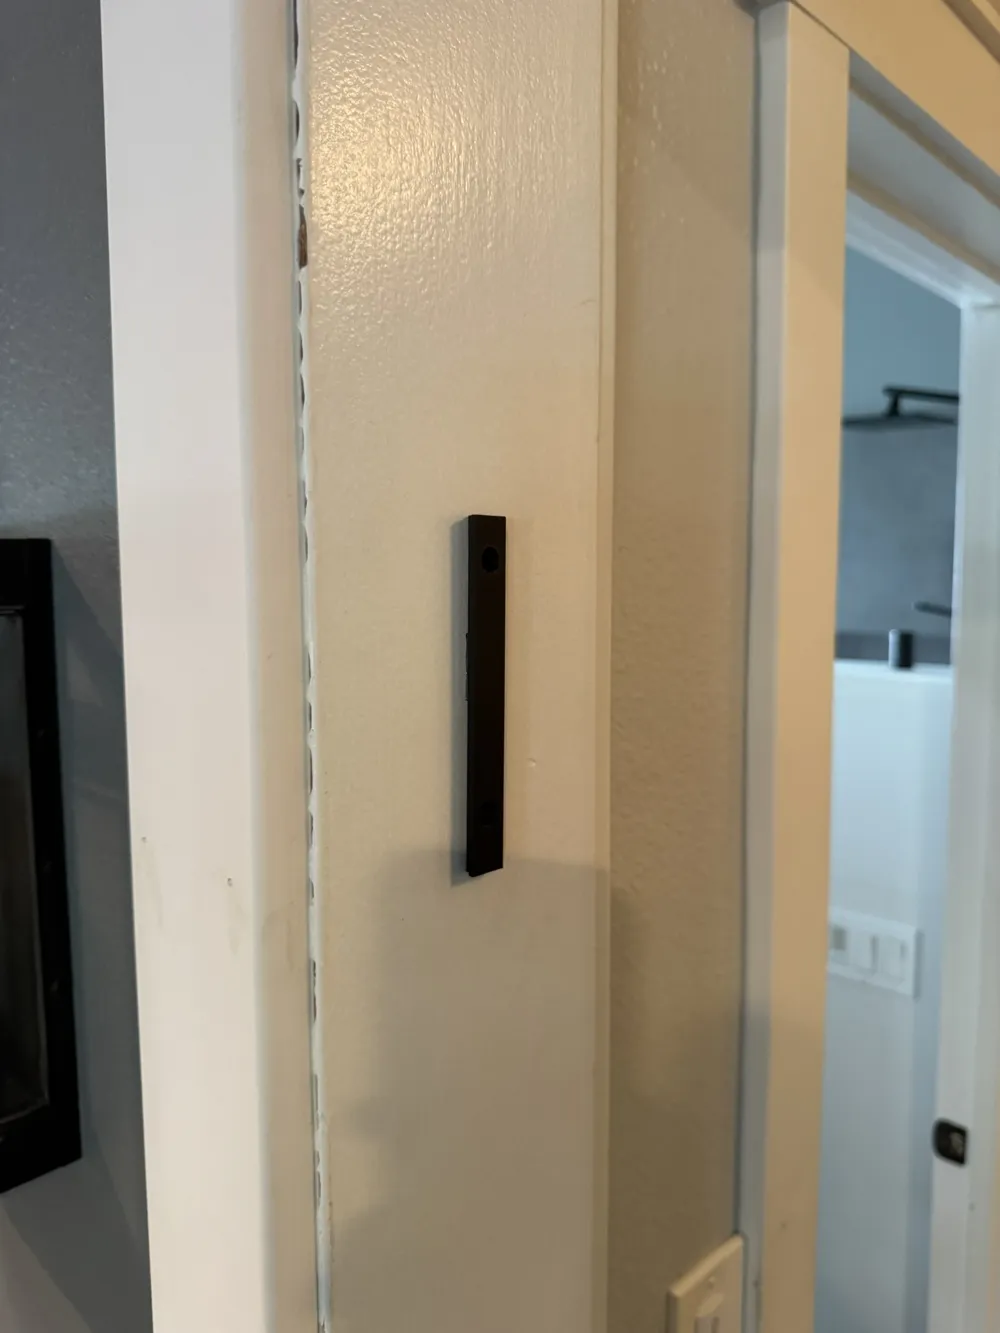
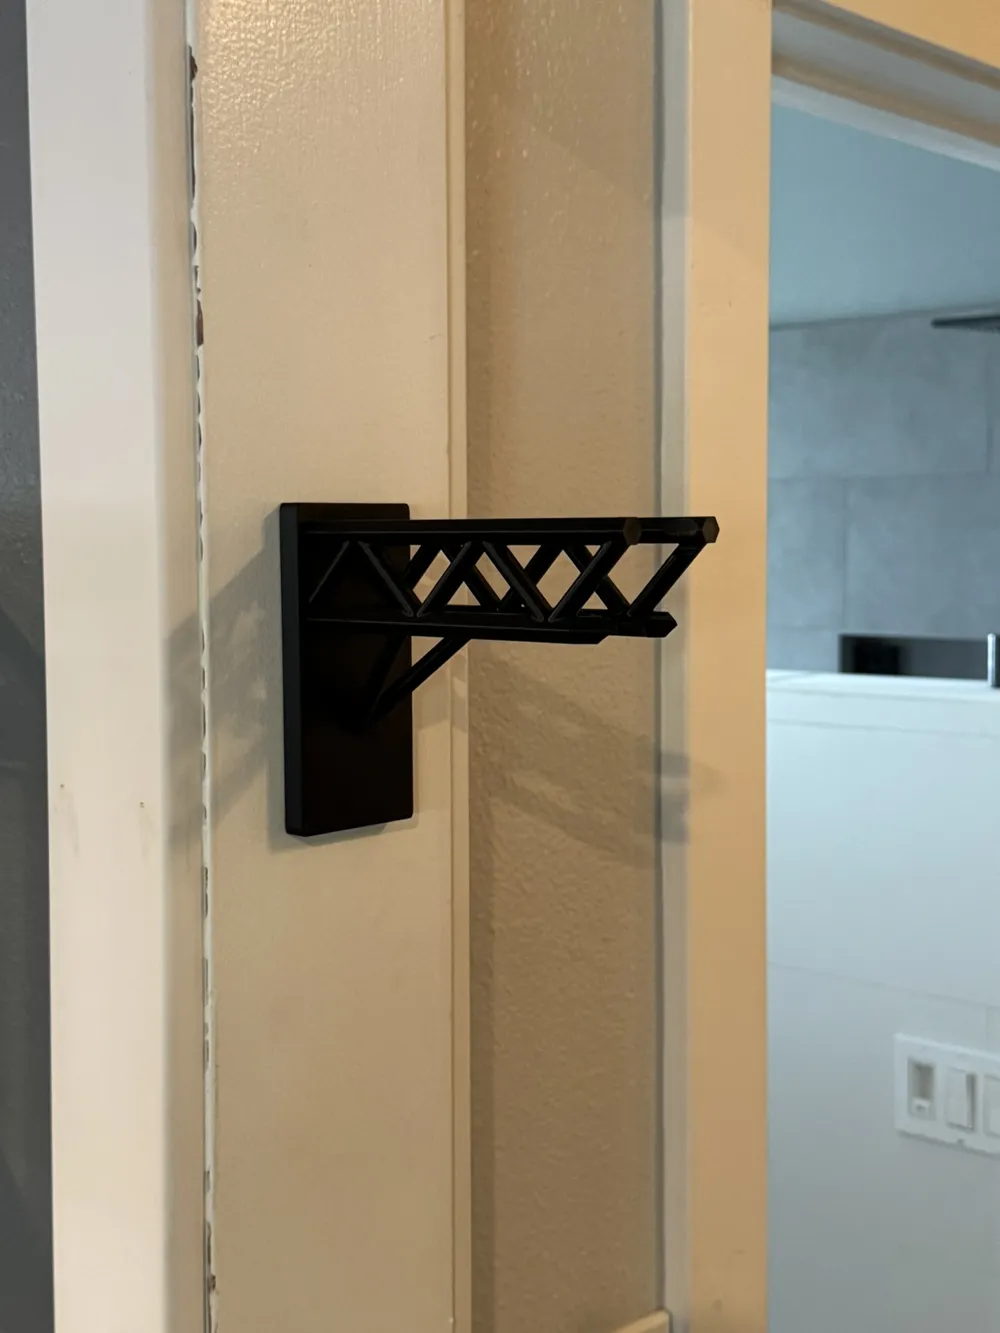
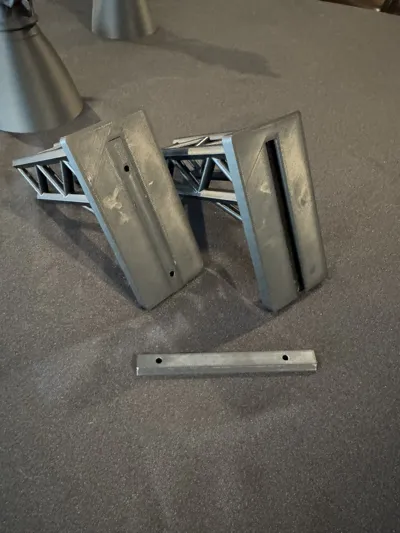
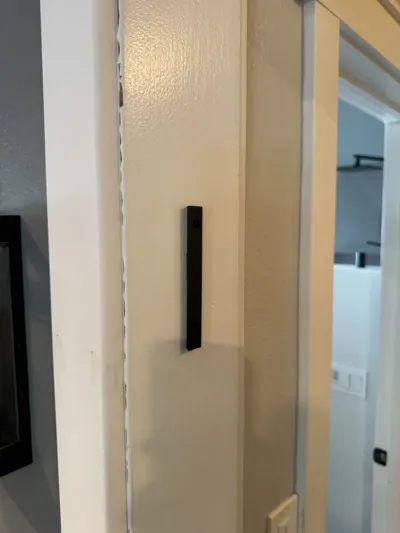
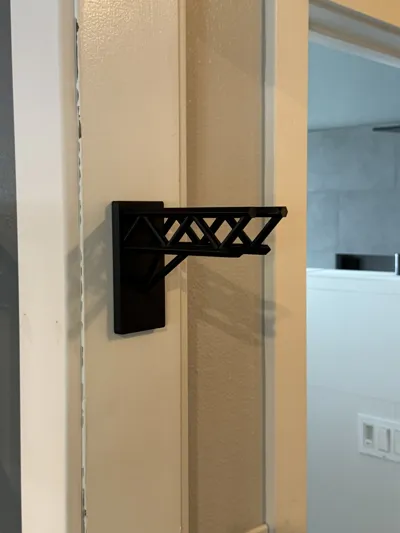
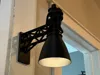
Remodeling my grandson's room with a Tesla / SpaceX theme and decided to turn a Raptor 3 engine into a wall lamp so he has a reading light over his Cybertruck bed I made him. Tweaked this Raptor model https://makerworld.com/en/@user_51598561 to improve on the final print quality and created a custom wall mount with hidden mounting hardware.
The 3MF includes 2 options for the rocket engine
The FIRST one includes the small pipes, but I highly recommend NOT printing this one unless you don't want to try heating a bending a small section of filament for the pipe.
Highly recommend printing the SECOND rocket engine which is on plates 3 and 4.
Using filament for the small pipe
The smaller, thin pipe caused printing failures for me when I tried to print it with the rest of the model, so I separated these parts.
Model parts on plates 3 and 4 now have holes to accomidate standard 1.75mm filament.
Print parts. Cut short piece of filament, heat filament with lighter very quickly and bend into position. Hold until it cools in position. Not quite right? Heat and bend a little more.
Would recommend a tiny dab of CA glue once you are ready for final assembly.
Attaching the Raptor 3 to the mount
I designed this with a small amount of tension, so just twist the Raptor until you see when the arms of the mount will slide out without hitting a pipe, then push them together. Unless you plan to pull them apart later, I'd definitely suggest a little dab of CA glue to permanently attach the Raptor 3 to the mounting arm.
A few notes…
Pay attention to notes on each plate telling you went to use supports. I had best results with tree supports.
You can print everything at a lower infill, file is set to 15%, but I'd increase infill to 50% when you print the mounting strip on the last plate.
For the light
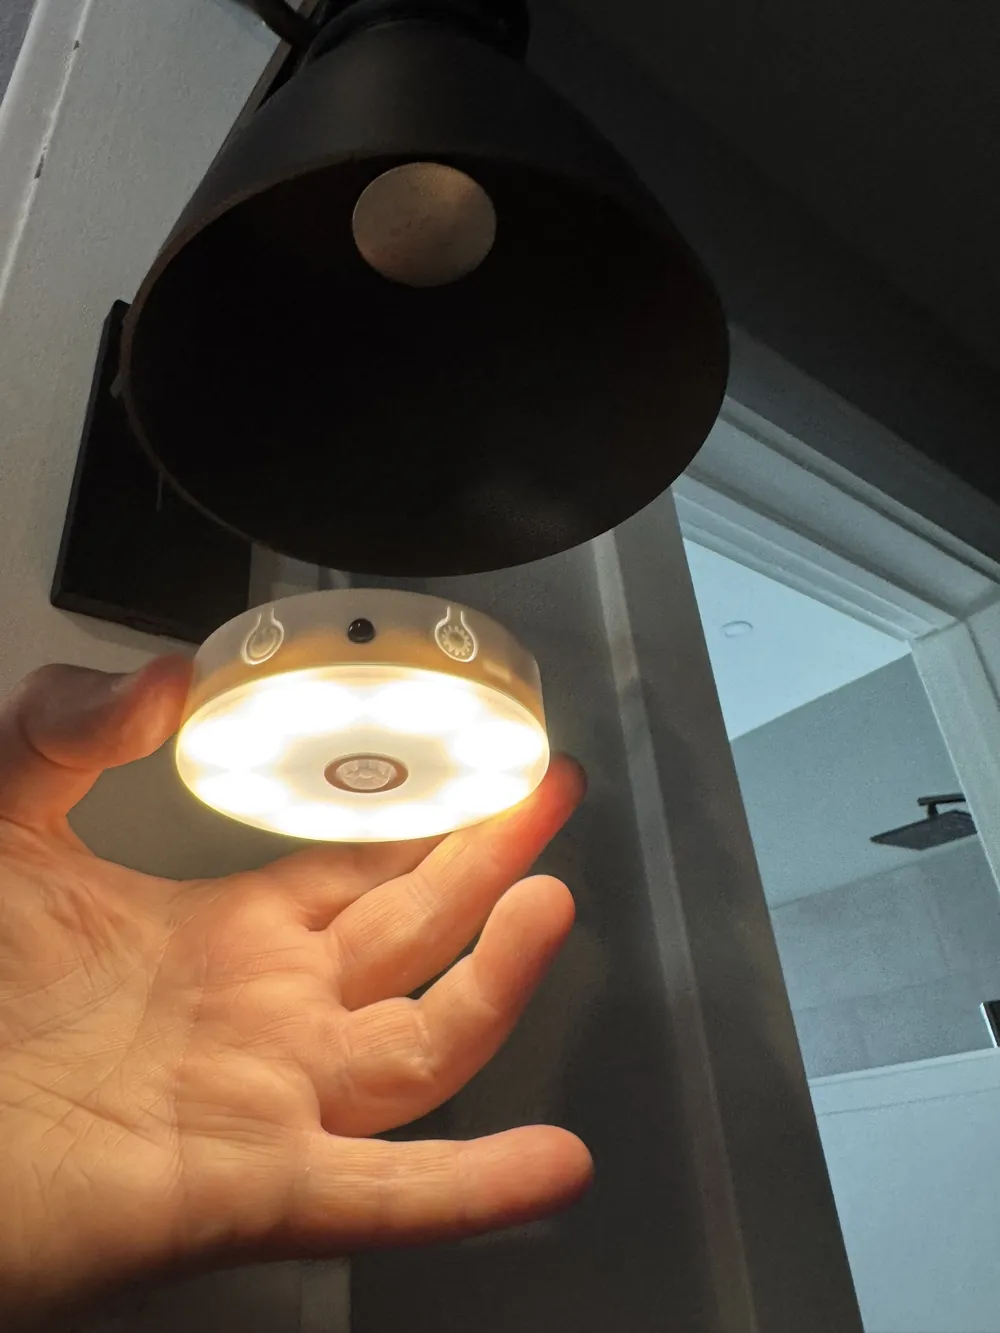
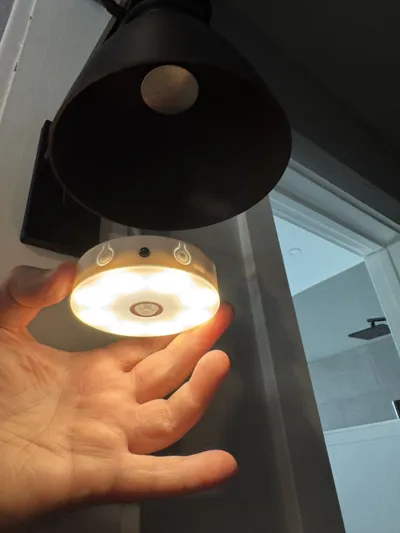
I tried a few different light options and this piece off of Amazon worked perfect for me. Uses a metal plate and magnet so you can easily pull light puck out and charge it and seems to last a heck of a long time when used for short time each night. This is NOT a sponsored link, so feel free to use something else, but the other wireless pucks I tried were'nt bright enough or didnt couldnt easily be pulled off for charging. Here's what I used https://www.amazon.com/dp/B0F4DBPLQ1?ref=ppx_yo2ov_dt_b_fed_asin_title&th=1
Any thought, please let me know. Thanks and Enjoy!
Boost Me (for free)
If you enjoyed this model, please consider a Boost!
Enjoy!
This remix is based on


License



Comment & Rating (0)