
250mm Face Disc Sander / Printed Bench Disc Sander
Print Profile(1)

Bill of Materials



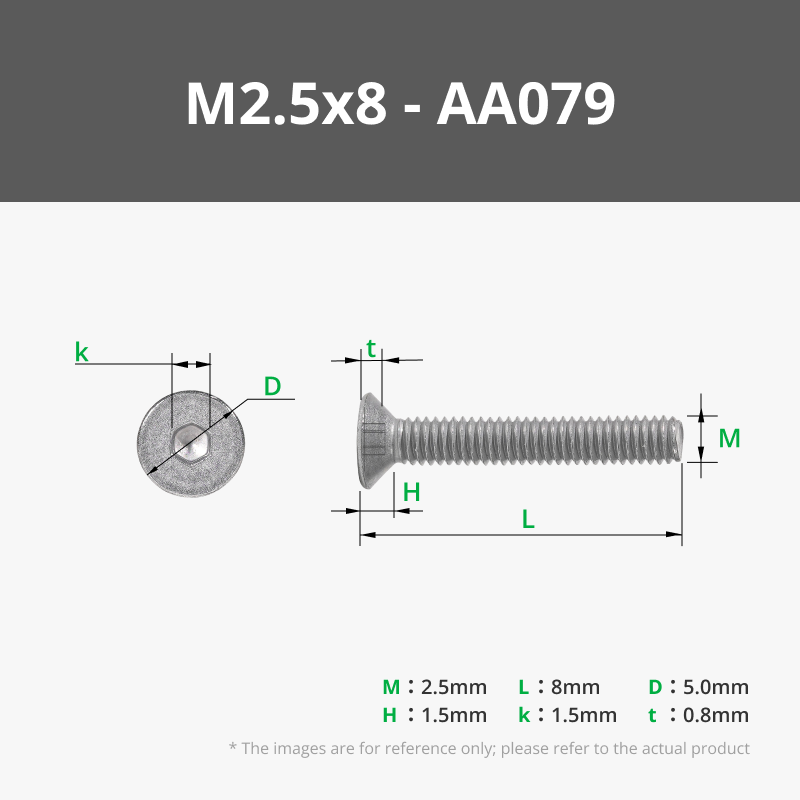


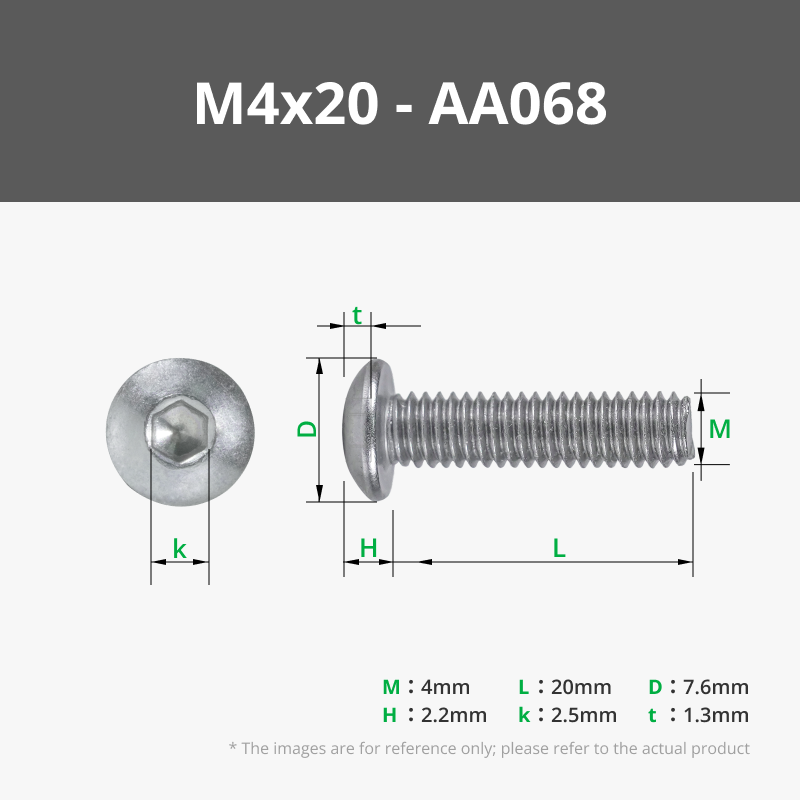








Description
Short description
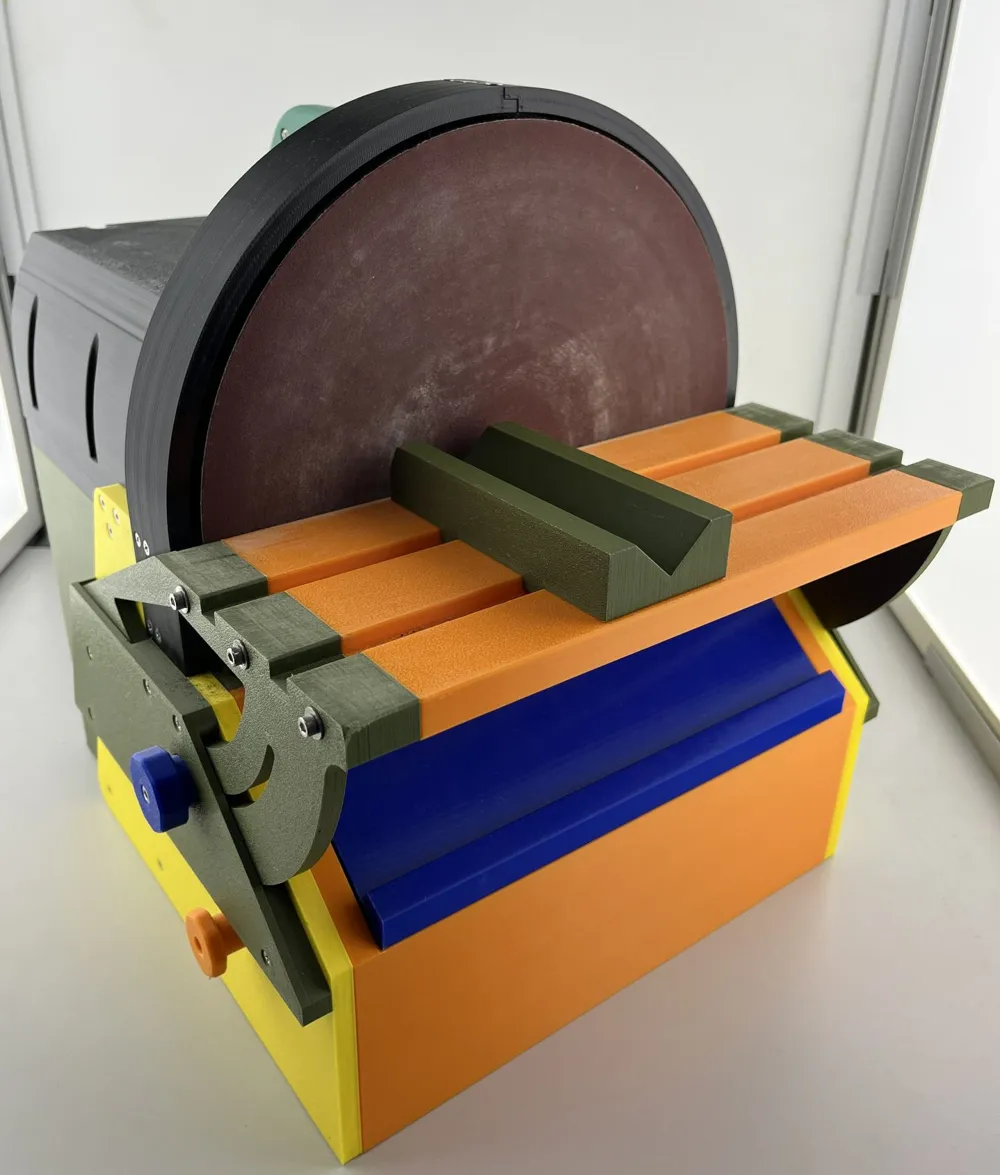
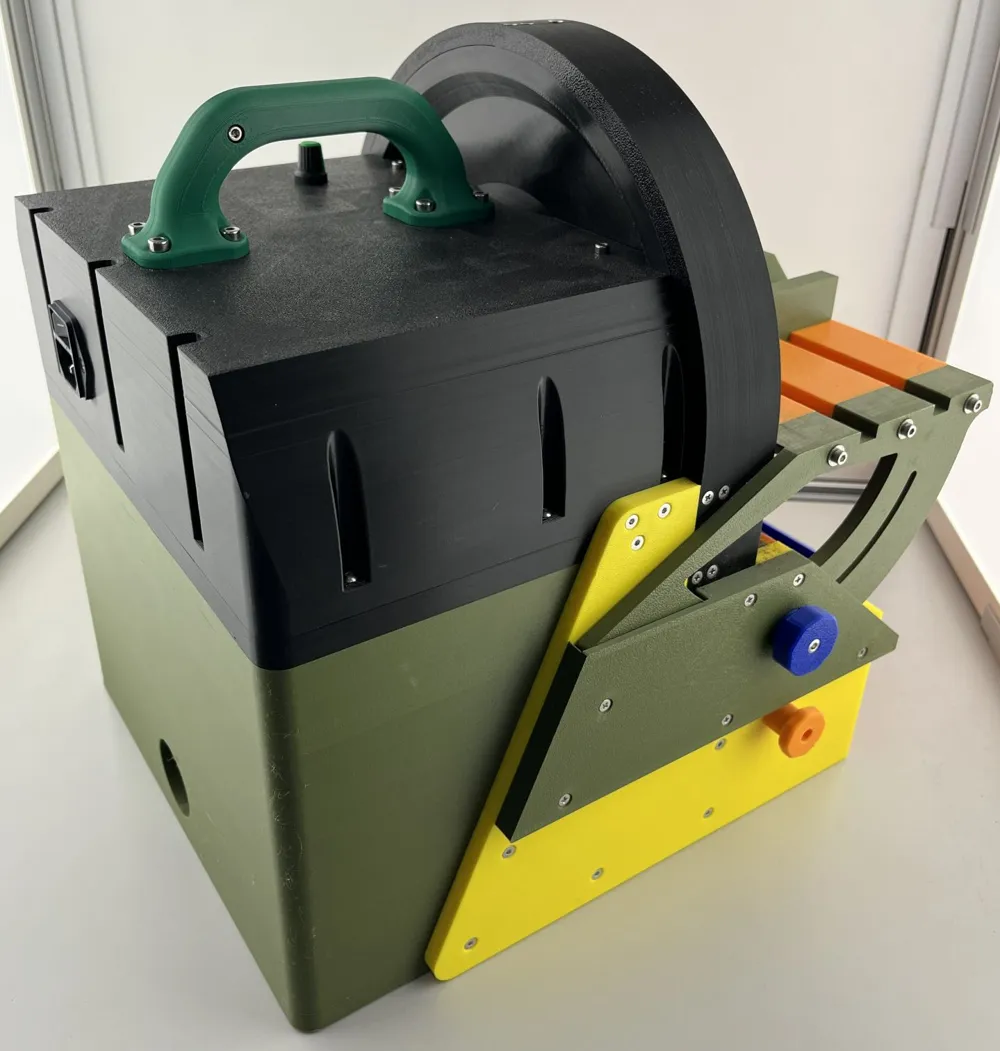
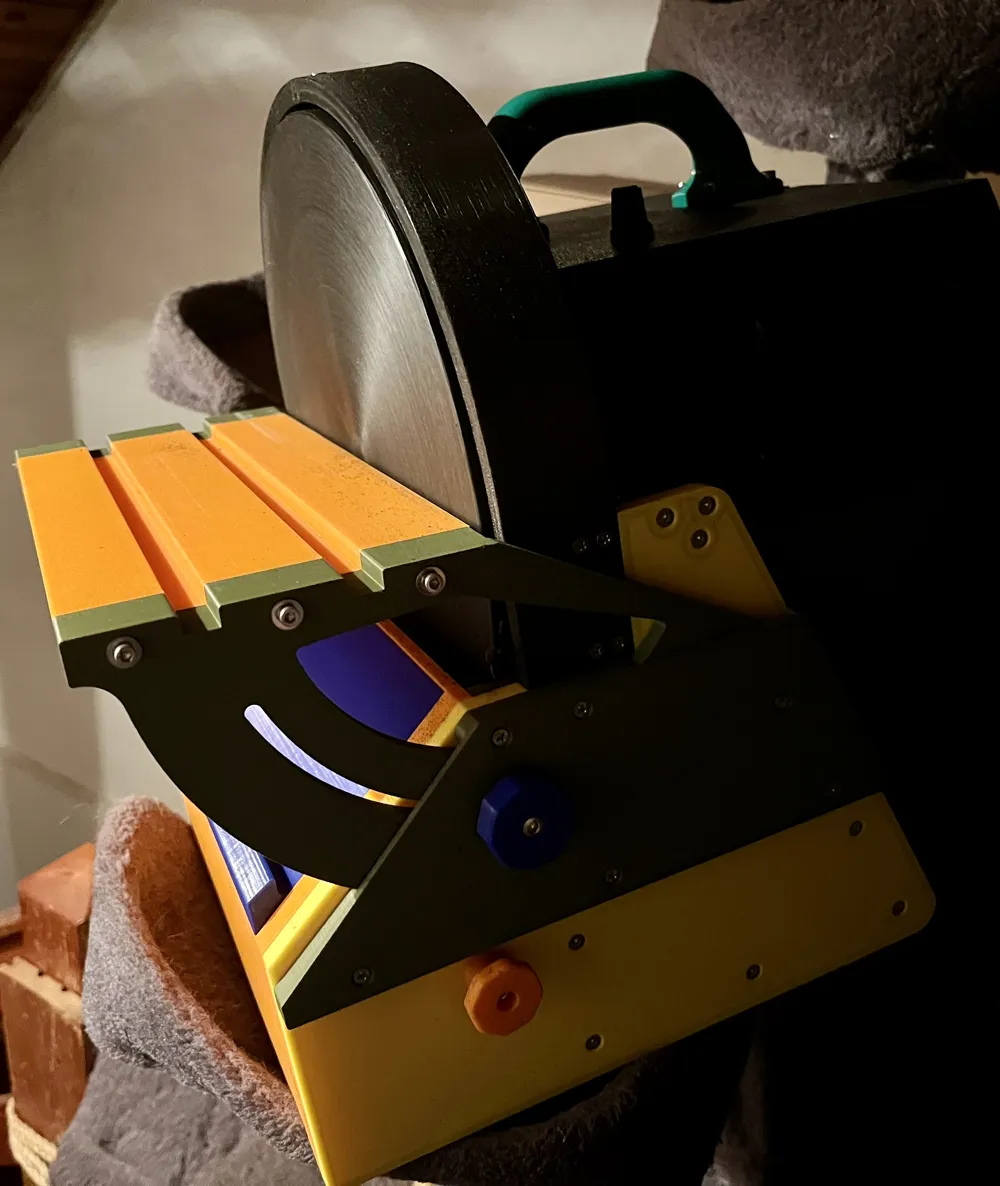
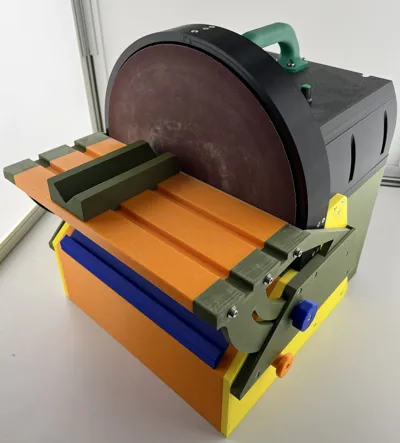
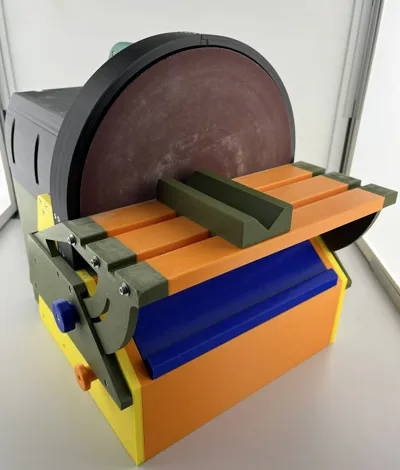
A 3D printed 250 mm face disc sander with an adjustable work table, dust extraction port, weighted base option, and a customizable electronics compartment for different motors, power supplies, and PWM controllers.
Description
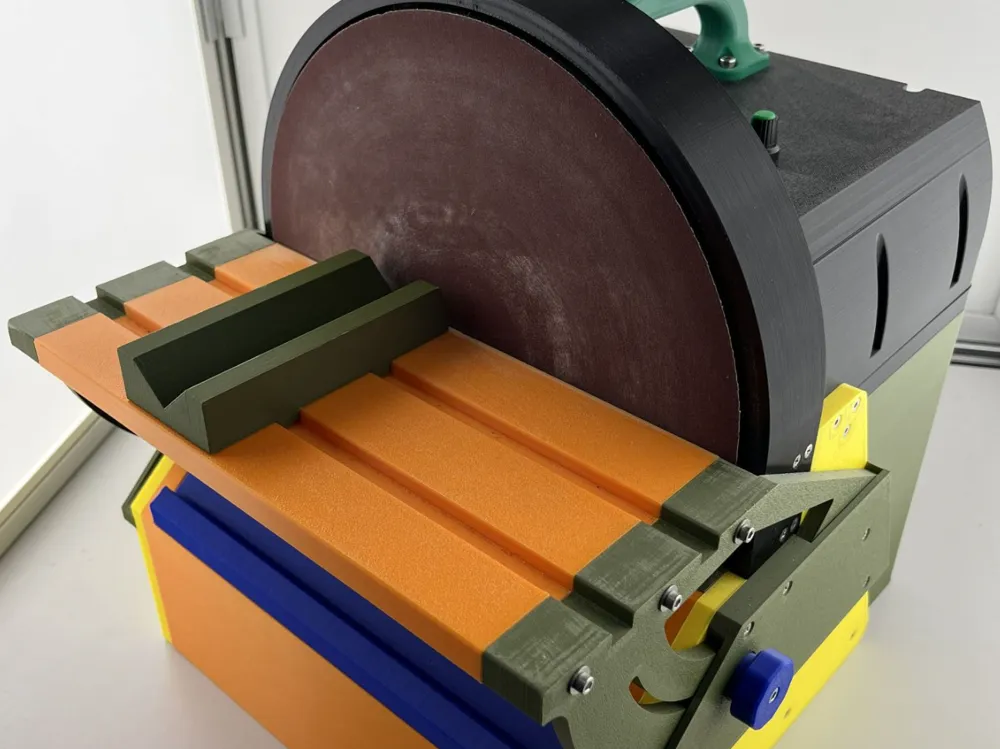
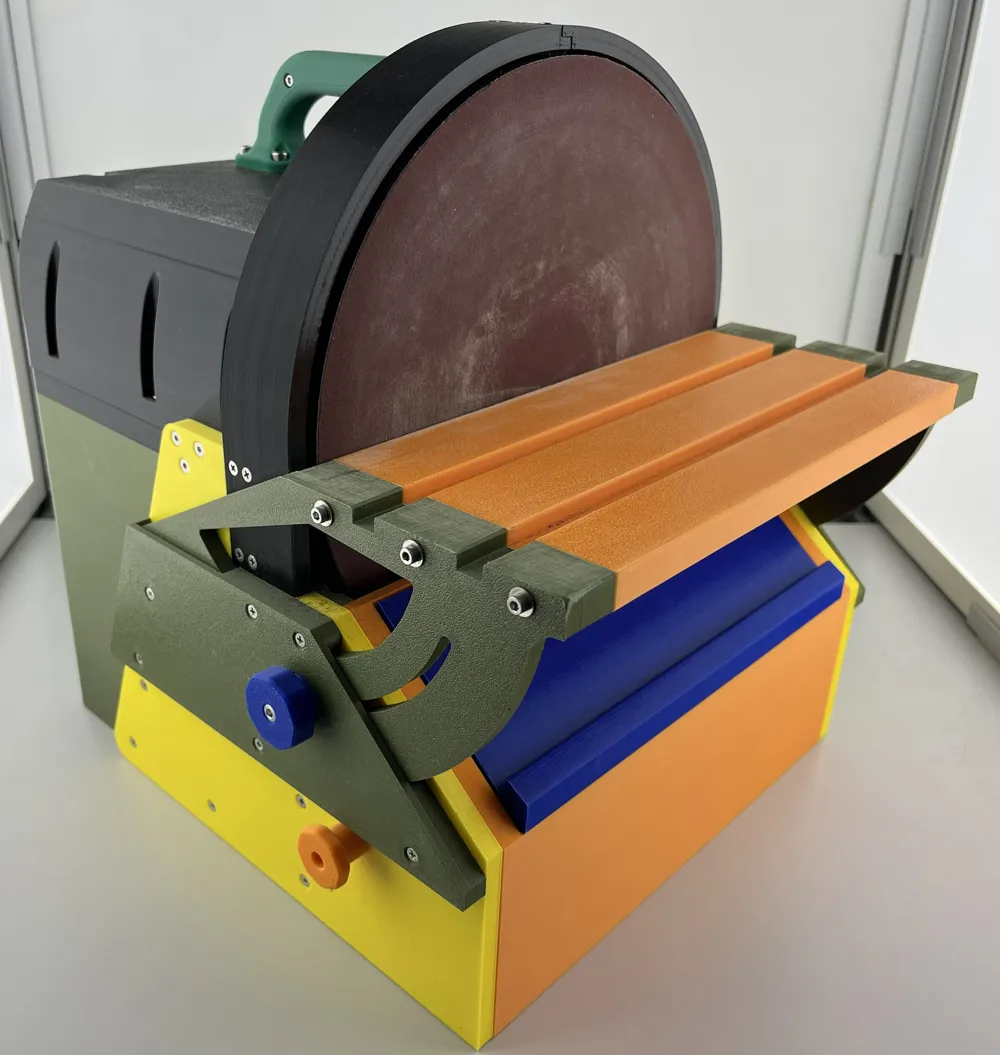
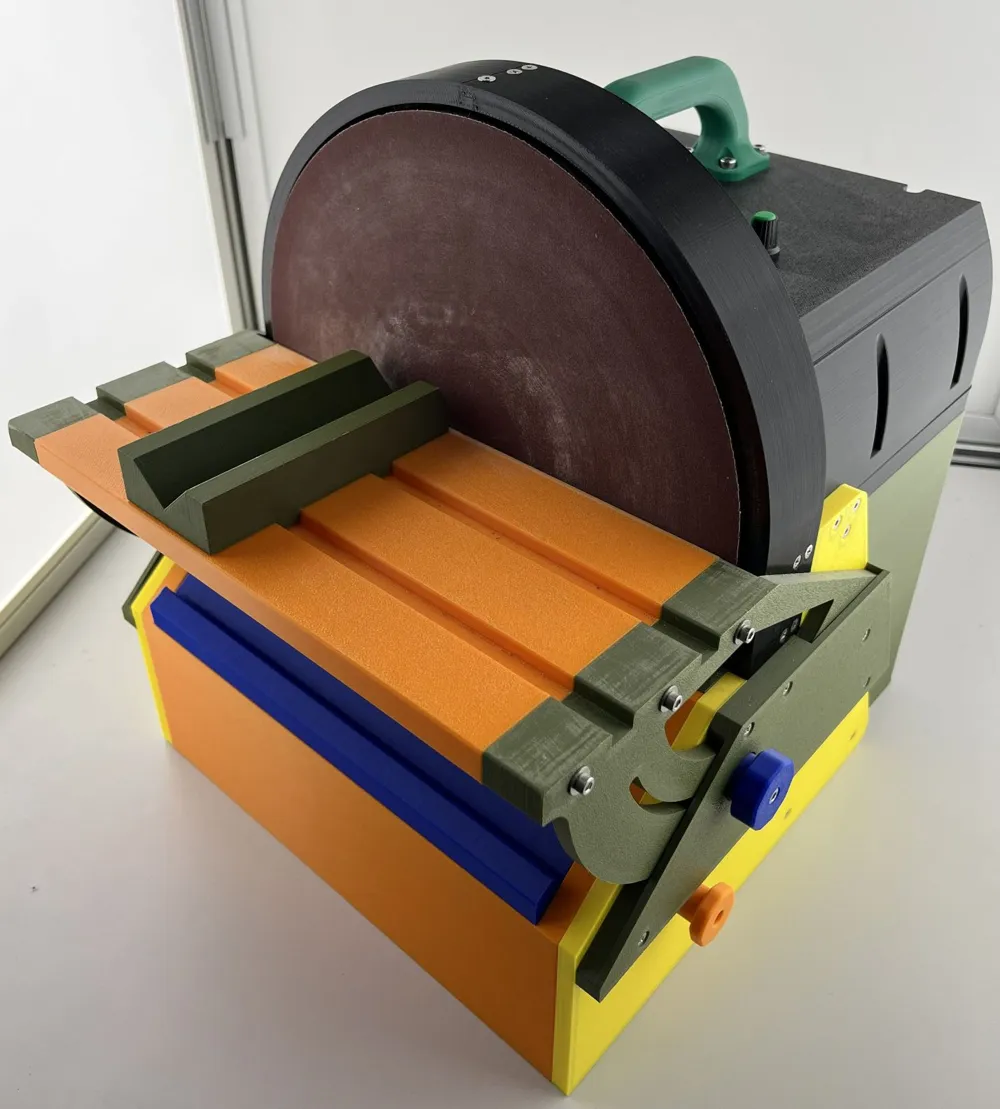
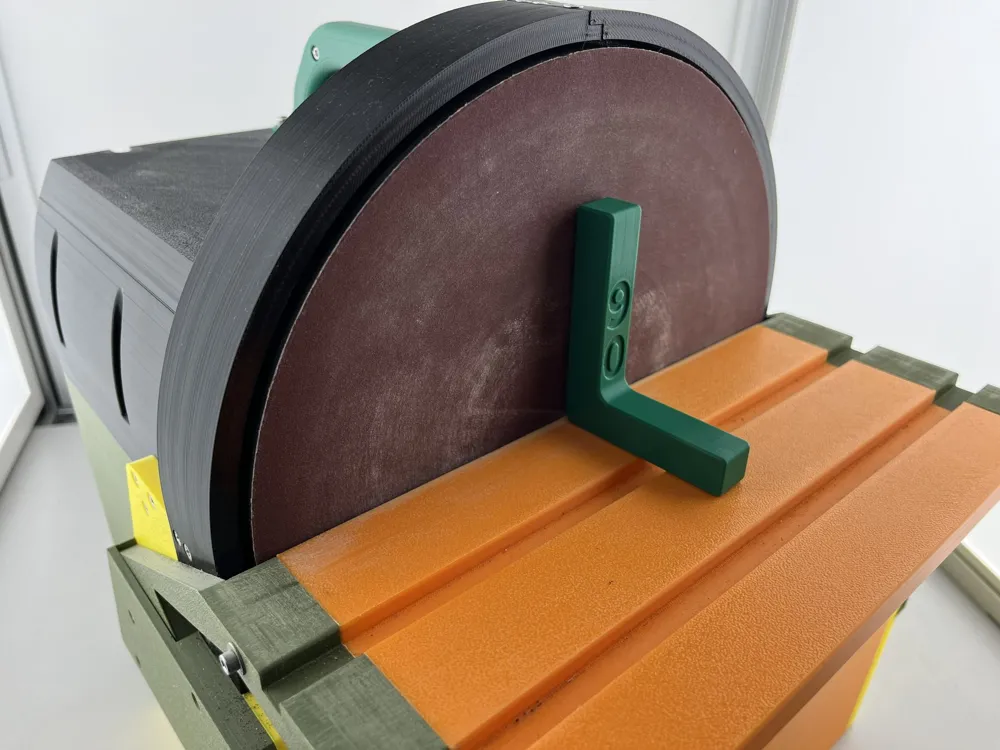
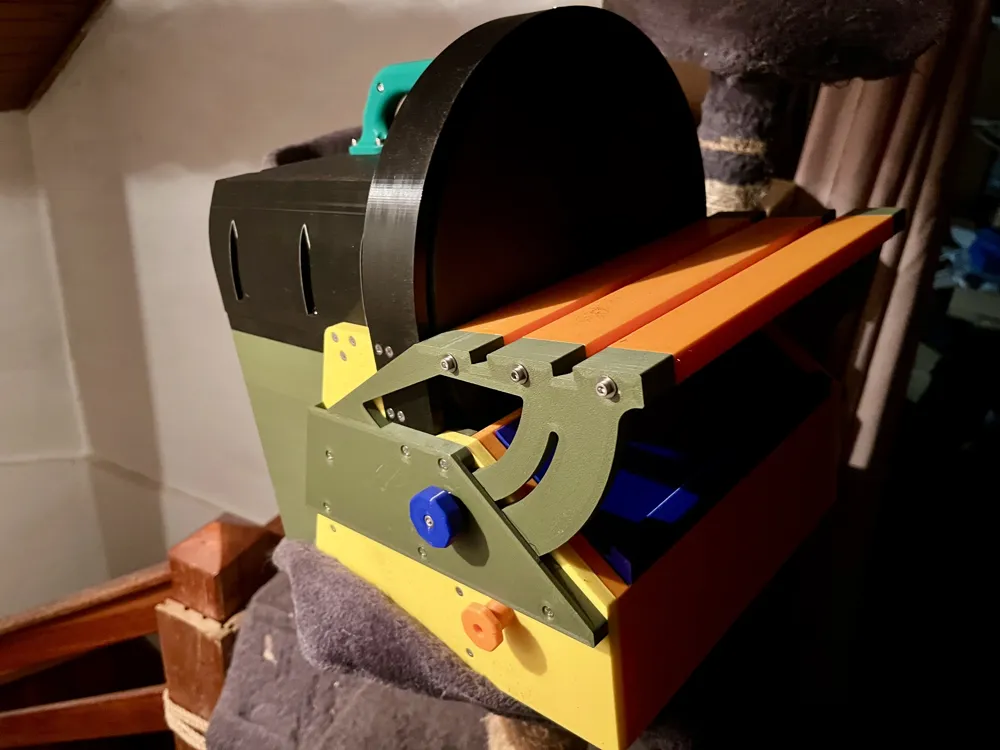
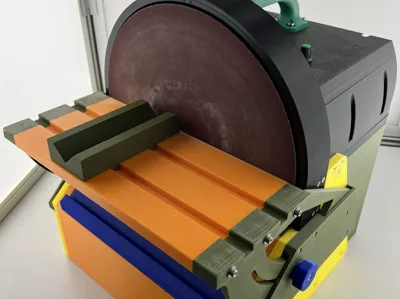
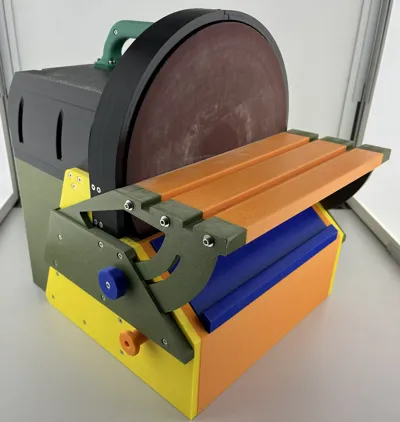
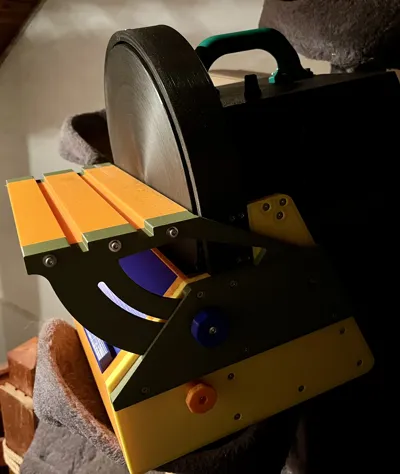
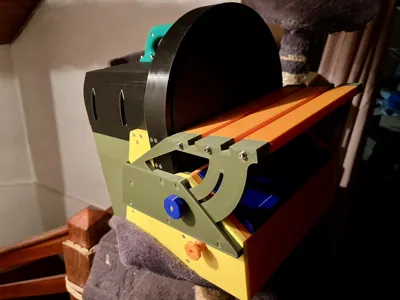
This project is a 250 mm face disc sander, designed as a compact bench-top sanding machine for small workshop tasks, edge sanding, finishing 3D prints, plastics, wood, and similar materials.
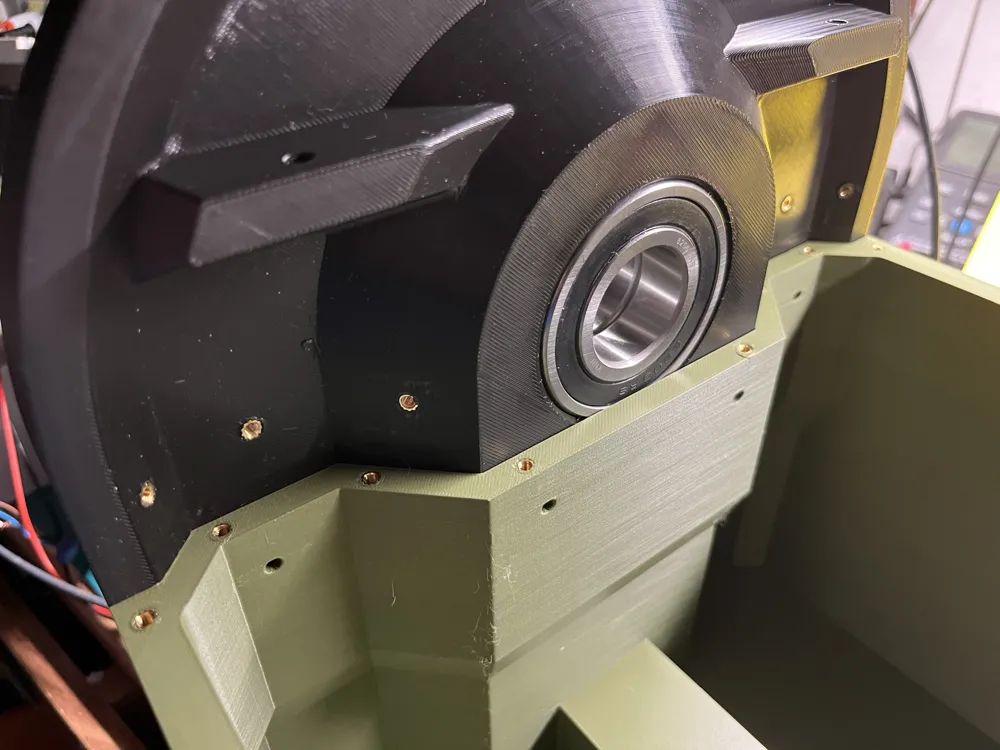
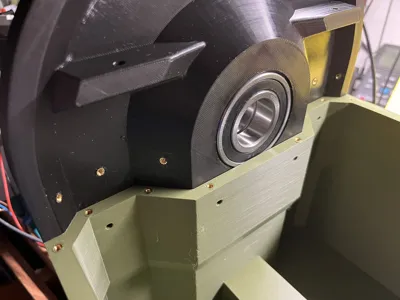
The construction is divided into multiple 3D printed parts that are assembled together using screws. Threaded inserts are used in places where a strong and reusable thread is required.
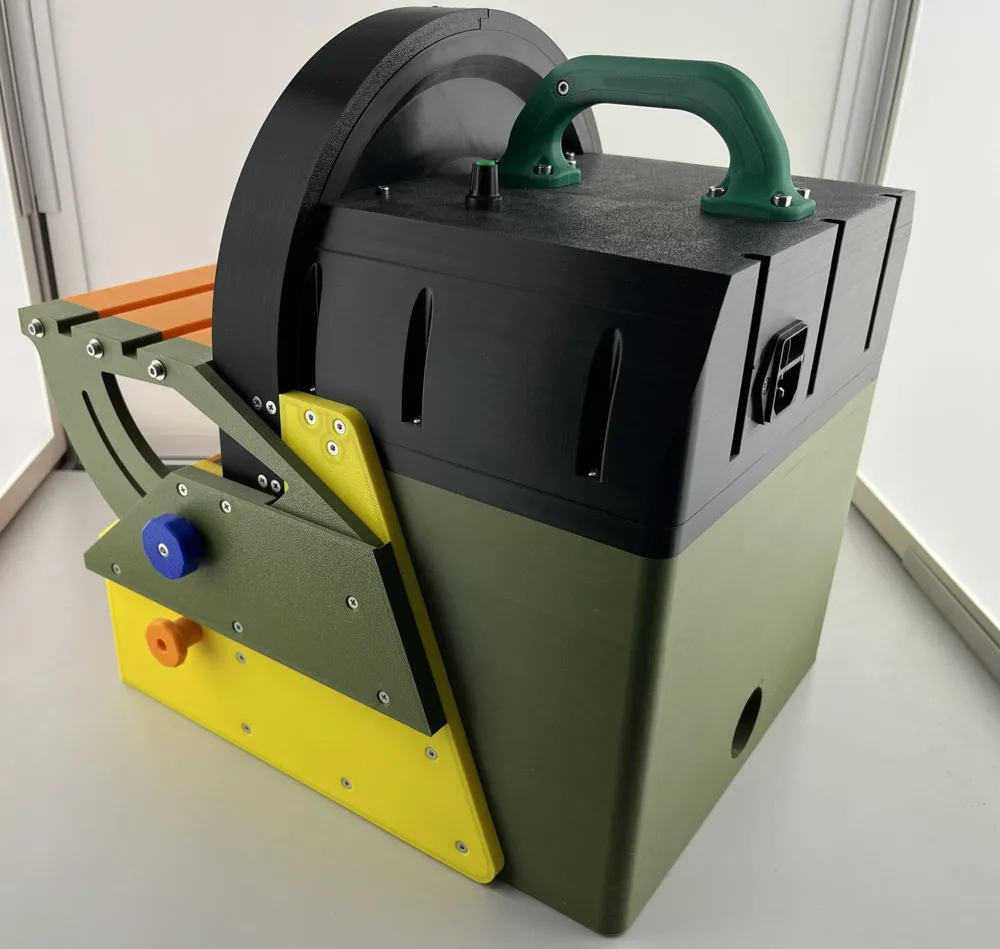
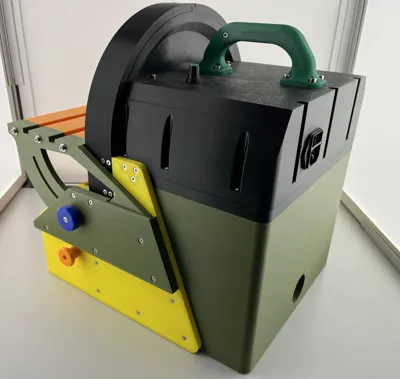
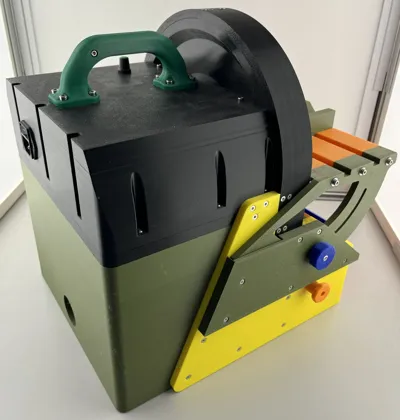
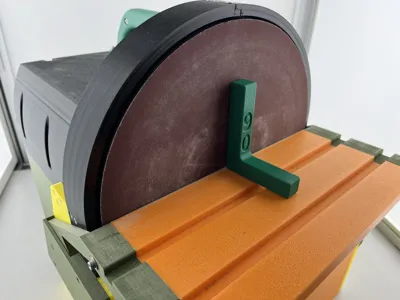
The sander includes an adjustable work table and a rear outlet for connecting a vacuum cleaner for dust extraction. The lower base part is designed so it can be filled with sand or another suitable material to increase the weight and stability of the entire machine.
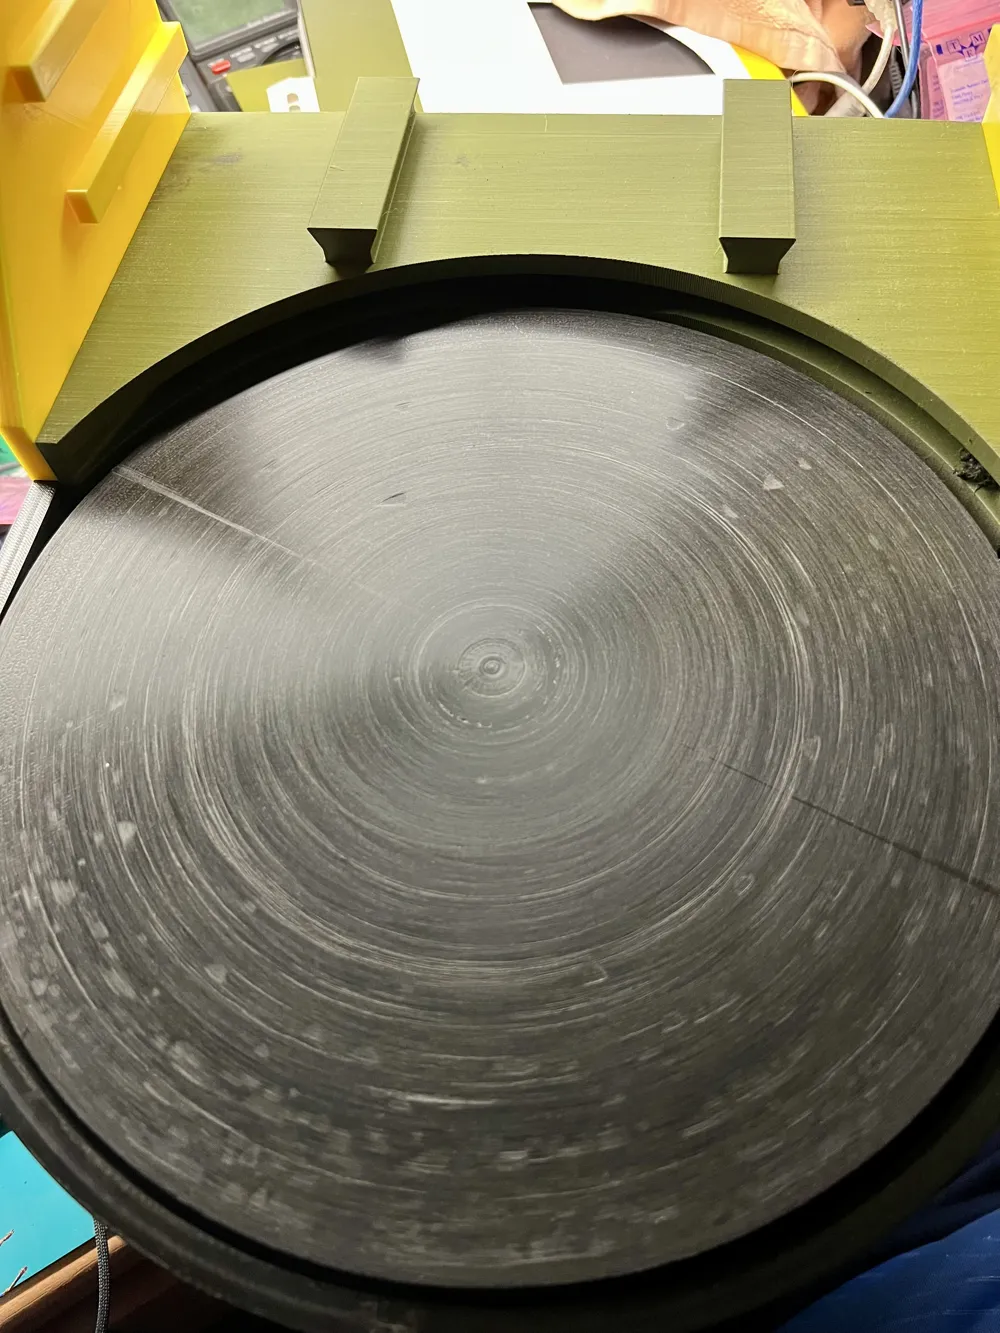
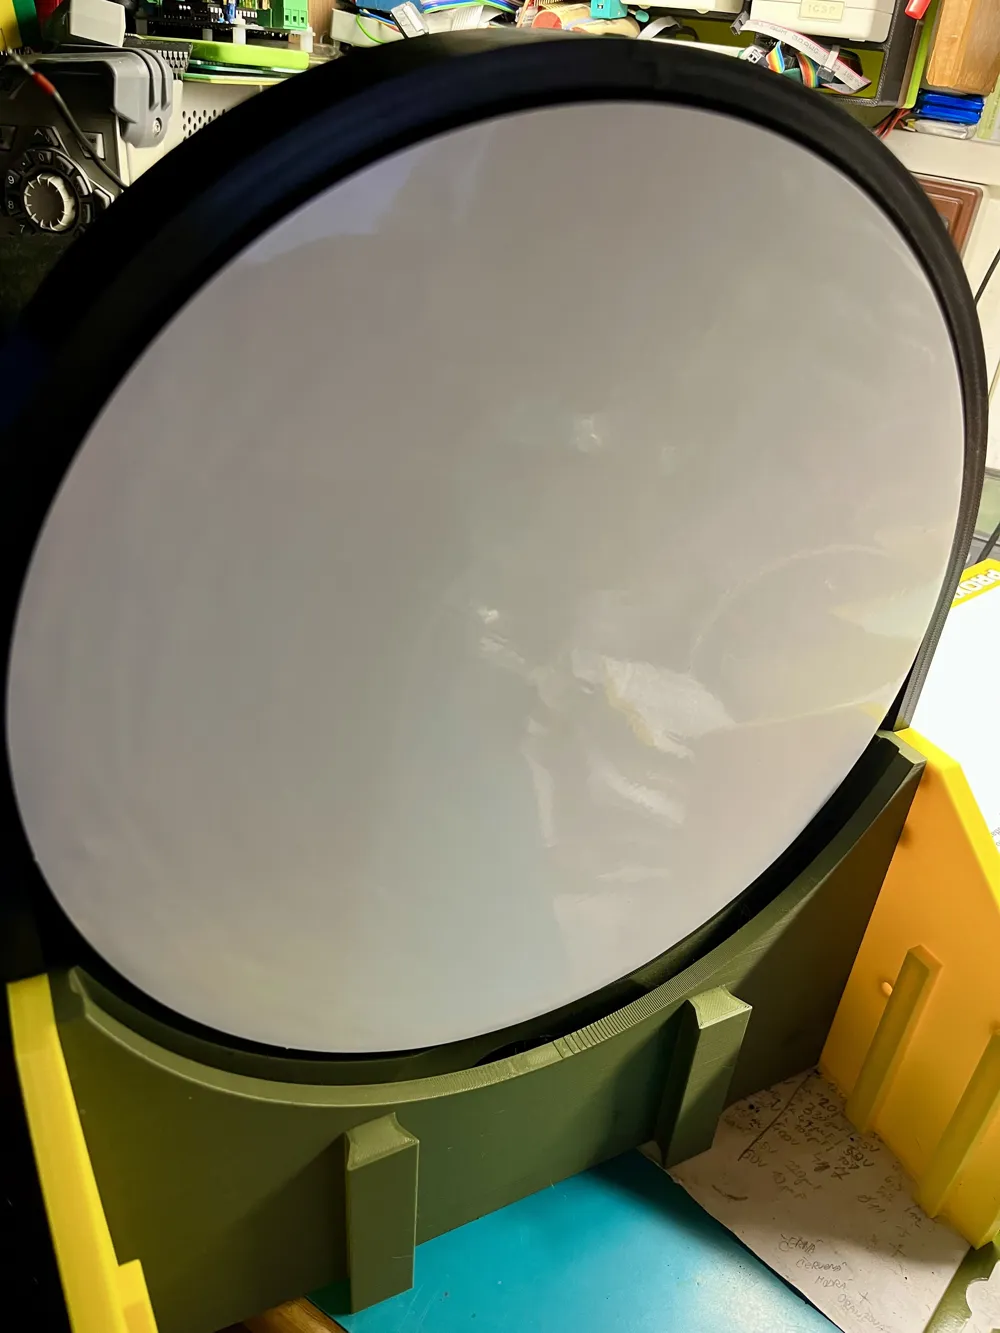
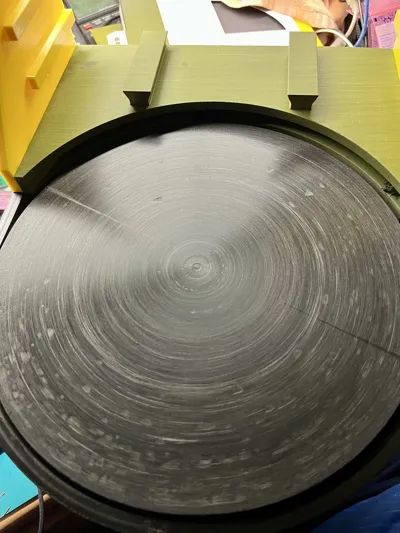
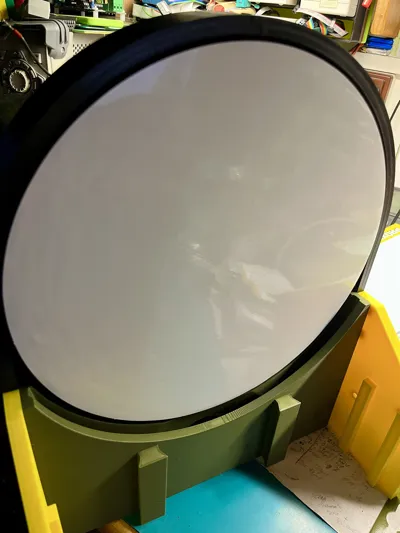
After assembly, the sanding disc should be trued and leveled using sandpaper. I then applied a PROXXON 28968 silicone adhesive film to the disc, which makes it easy to replace individual sanding sheets. Sanding sheets compatible with the PROXXON 28060 TSG 250/E can be used, or any other suitable 250 mm sanding discs.
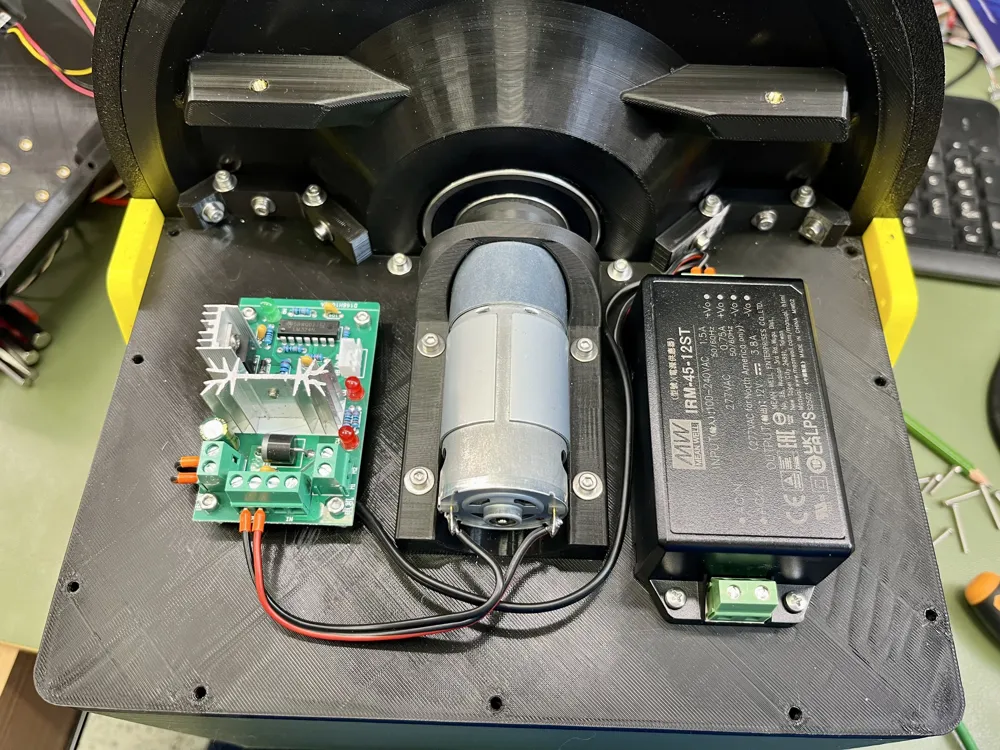
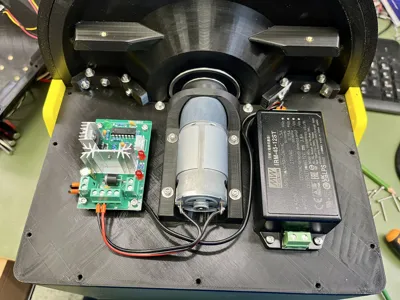
Electronics and motor
In my build I used the following motor:
JGB37-550, 160 rpm, 12 V
The PWM controller I used is this one:
https://www.laskakit.cz/pwm-regulator-otacek-motoru-10a--80w/
The power supply, wiring, and PWM controller must be correctly sized according to the motor you choose. If you use a different motor, make sure to adapt the motor mount, power supply, controller, and wiring accordingly.
To make the project easier to modify, I include two parts as STEP files:
- Bruska - DrzakElektroniky – the lower electronics holder / base where the power supply and PWM controller are mounted,
- Bruska - HorniVicko – the cover with the input connector.
This allows you to easily modify the design for your own power supply, connector, motor, or speed controller.
Important safety warning
This specific version is designed with an internal power supply connected to 230 V AC mains voltage. 230 V AC is dangerous and potentially lethal.
If you do not have the required electrical qualification, certification, or sufficient experience working with mains voltage equipment, do not use 230 V AC inside this sander.
In that case, I strongly recommend modifying the project for a safer external 12 V or 24 V DC power supply, depending on the motor used. For example, you can use an external power adapter and bring only low-voltage DC power into the sander.
Building, modifying, and using this machine is entirely at your own risk. The author accepts no responsibility for damage, injury, fire, electric shock, or any other consequences resulting from building, modifying, or using this sander.
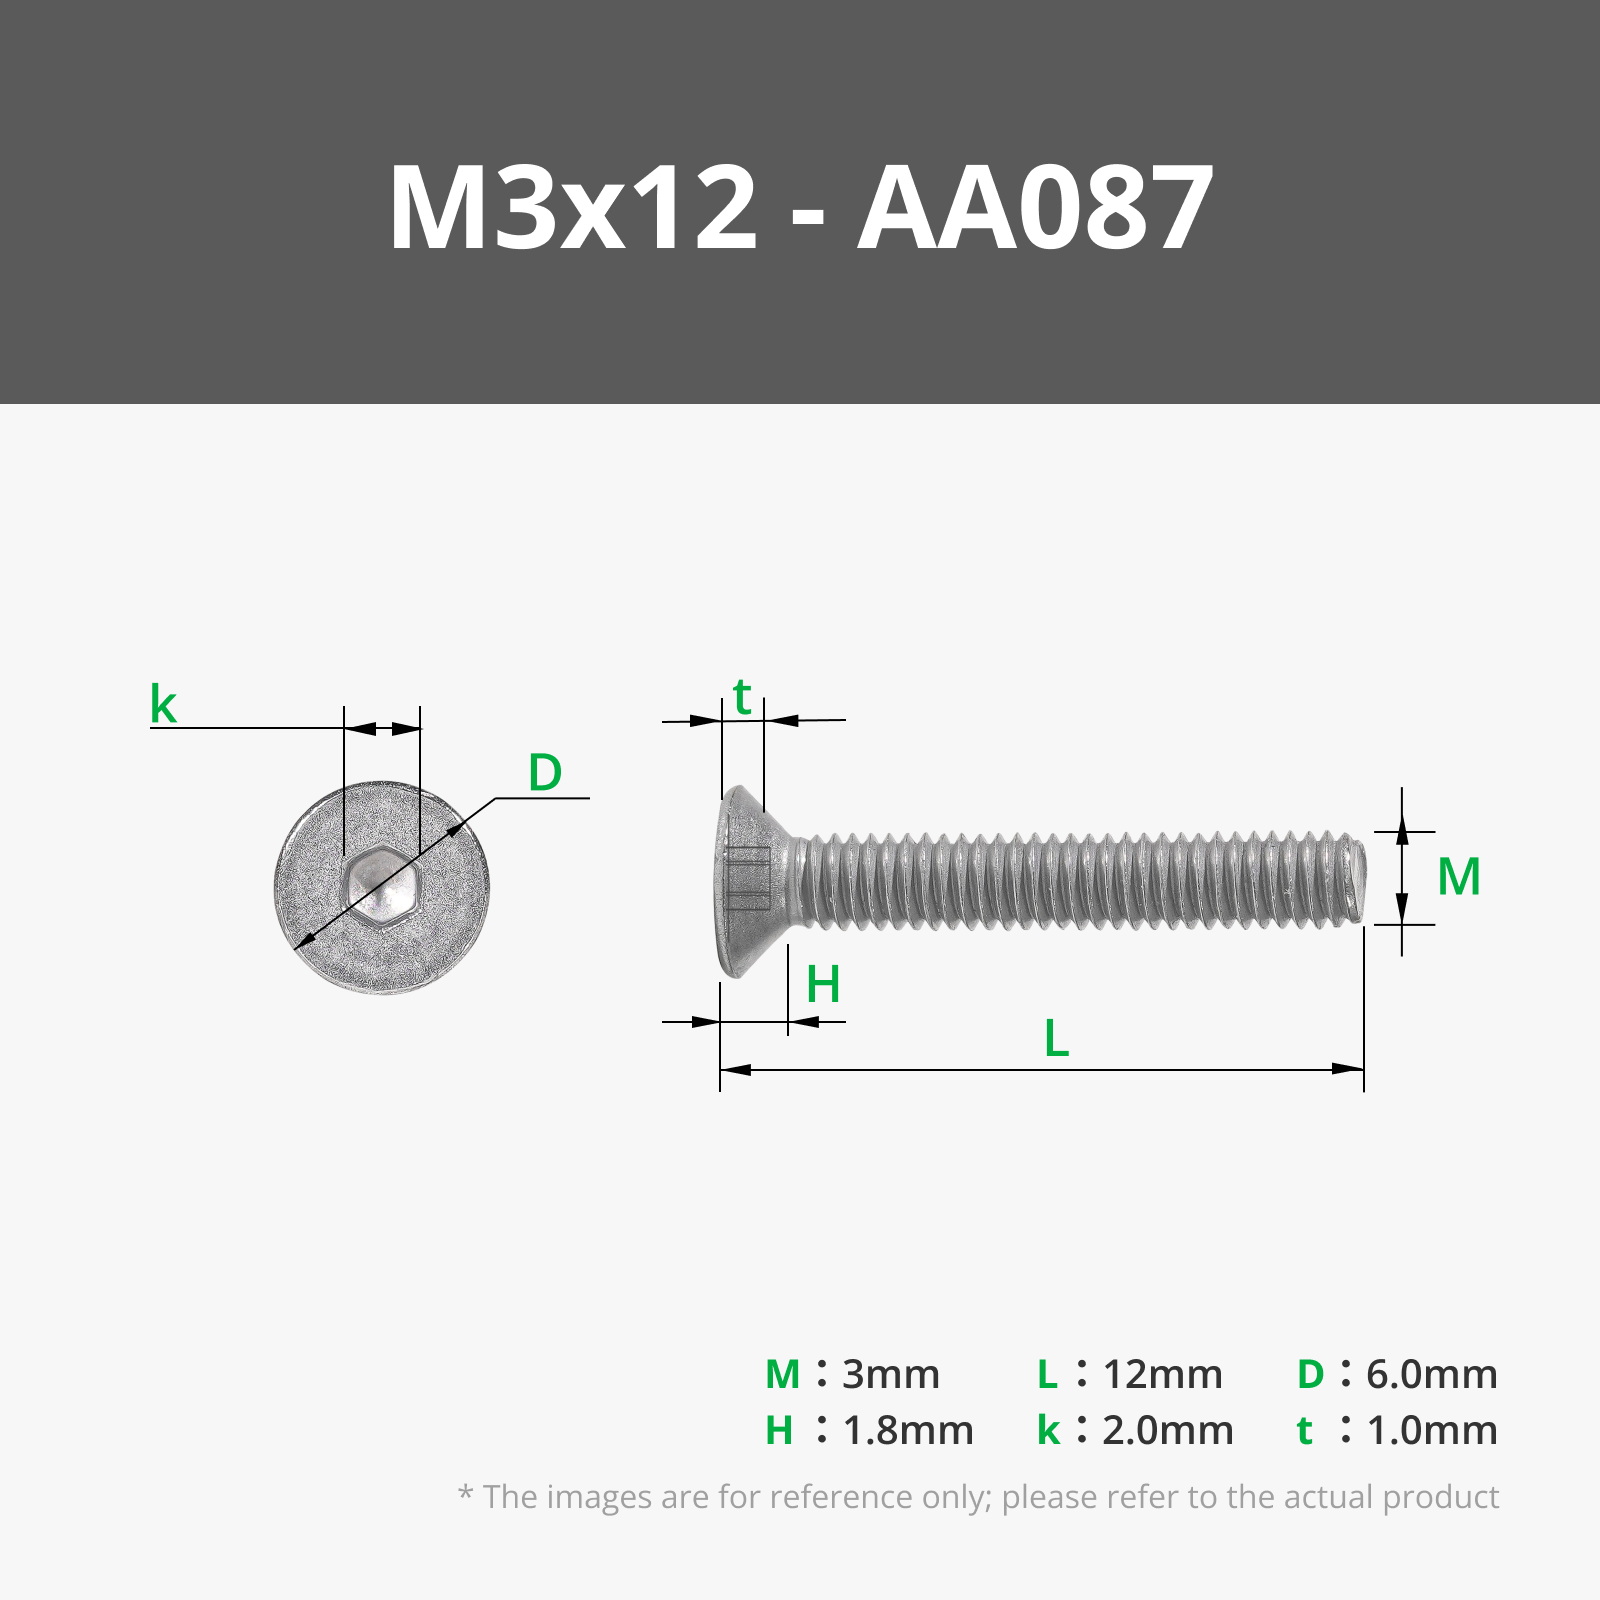
hreaded inserts used
The project uses the following threaded inserts:
M3 standard:
https://www.prusa3d.com/cs/produkt/zavitove-vlozky-m3-standard-100-kusu/
M4 standard:
https://www.prusa3d.com/cs/produkt/zavitove-vlozky-m4-standard-50-kusu/
M4 short:
https://www.prusa3d.com/cs/produkt/zavitove-vlozky-m4-kratke-50-kusu/
Sanding disc and sanding sheets
The sanding disc diameter is 250 mm. After assembly, I recommend truing and leveling the disc using sandpaper.
A silicone adhesive film can be applied to the disc:
PROXXON 28968
This makes it easy to replace individual sanding sheets. Sanding sheets made for the following machine can be used:
PROXXON 28060 TSG 250/E
Other suitable sanding sheets with the correct diameter may also be used.
Features
- 250 mm face sanding disc,
- adjustable work table,
- rear vacuum port for dust extraction,
- base can be filled with sand or another material for extra weight and stability,
- replaceable sanding sheets using silicone adhesive film,
- assembled using screws,
- threaded inserts for strong and reusable threads,
- STEP files Bruska - DrzakElektroniky and Bruska - HorniVicko included for easy modification of the electronics compartment and connector cover,
- adaptable for different motors, power supplies, and PWM controllers.
Printing notes
For the Bruska - PredniKapsa part, a print pause is required to insert 2 magnets with a diameter of 8 mm and a height of 3 mm. The magnets are inserted directly into the prepared holes during printing.
For the Bruska - VickoPredniKapsy part, another 2 magnets of the same size — 8 mm diameter and 3 mm height — are glued in after printing.
Before inserting or gluing the magnets, check their polarity so that the front pocket cover is attracted correctly to the Bruska - PredniKapsa part.
All parts of this version are printed from PLA.
I recommend using a sufficient number of walls/perimeters and appropriate infill to give the parts enough strength. After printing, check the flatness of the mating surfaces, hole accuracy, and proper installation of the threaded inserts.
Parts that carry higher loads or contain threaded inserts should be printed carefully, preferably at a slower speed, so the holes are accurate and the inserts can be pressed in properly.
Modification note
The project is designed so it can be modified according to your own needs. In particular, the power supply section, input connector, PWM controller, and motor may be different depending on what components you have available.
Selected STEP files Bruska - DrzakElektroniky and Bruska - HorniVicko are included so the lower electronics holder and the connector cover can be easily modified.
Boost Me (for free)
Thank you :)
Documentation (1)
License



Comment & Rating (1)