
UniFi U6 Lite Desk Edge Mount
Print Profile(1)
Description
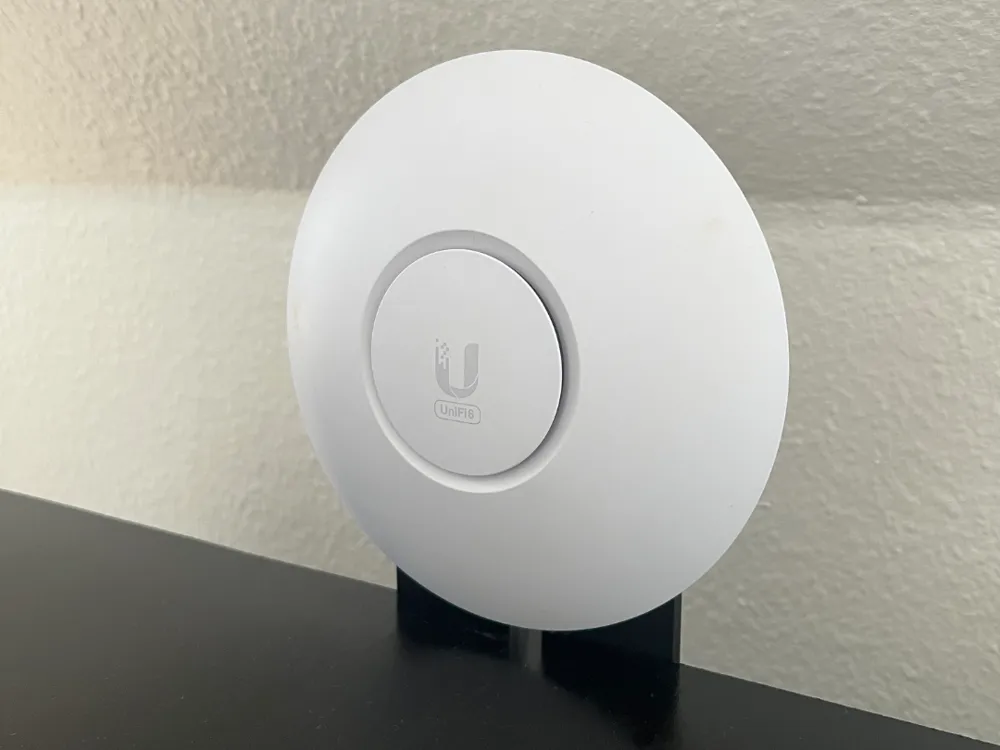
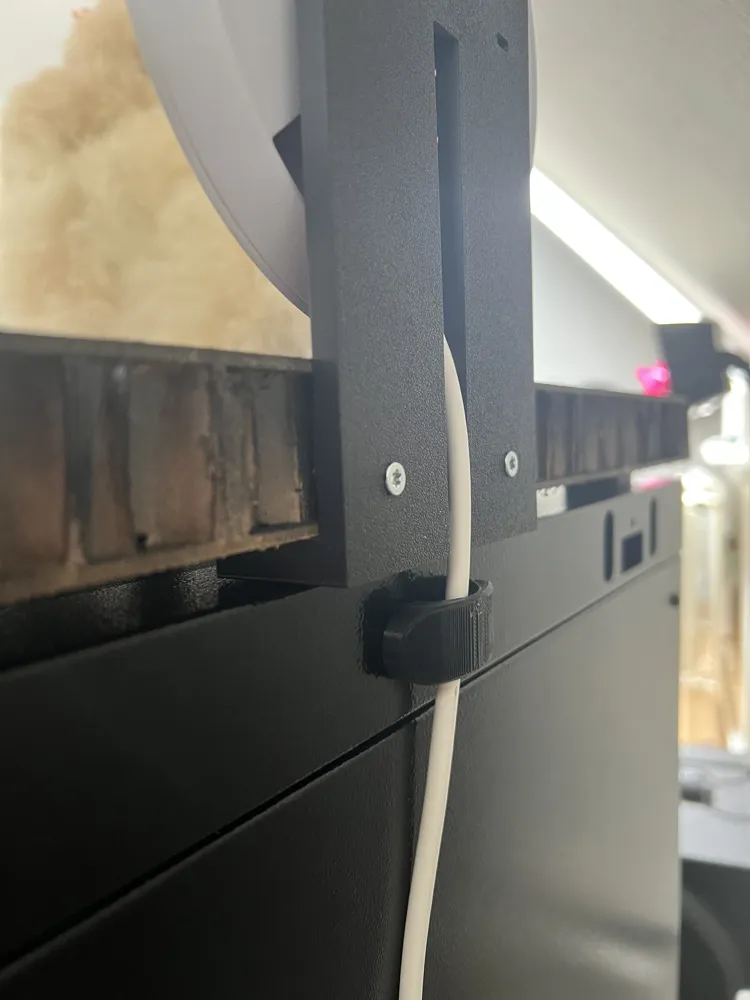
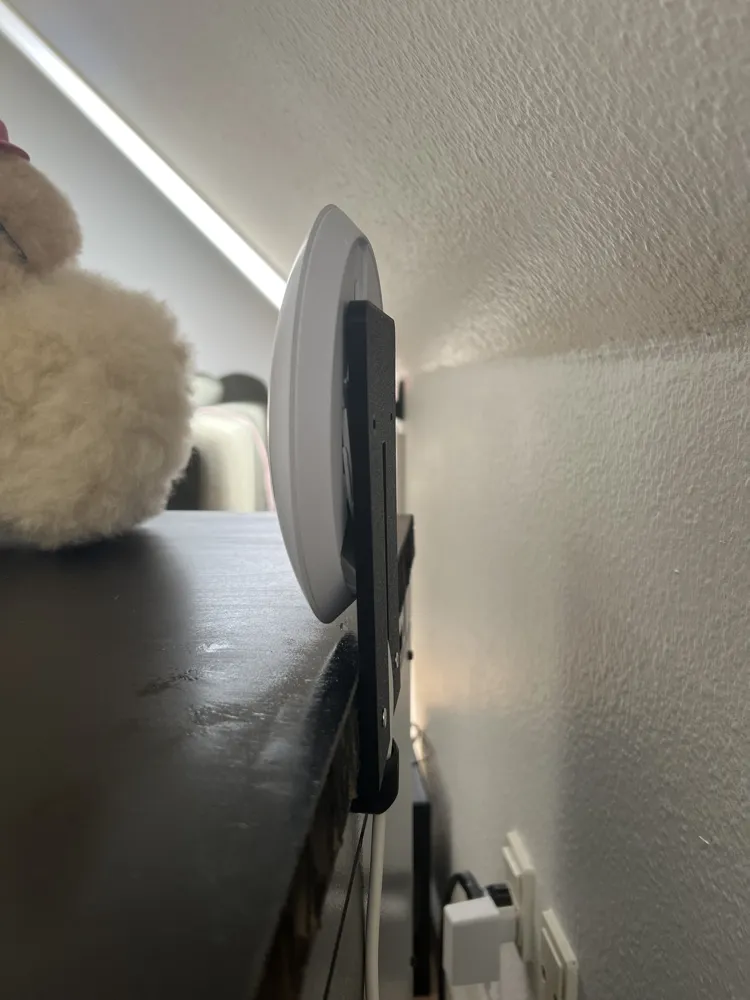
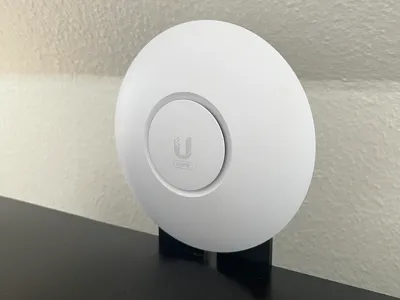
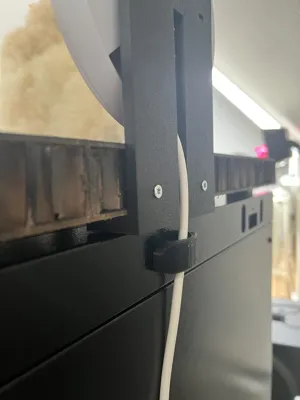
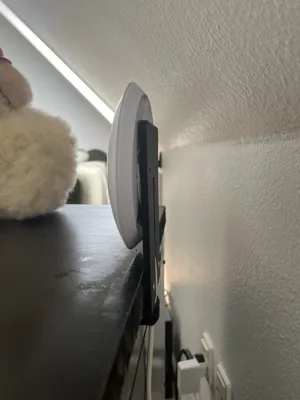
A vertical edge-clamp stand that puts a UniFi U6 Lite upright above a desktop, clamped to the front edge. It uses the original twist-lock bracket that ships with the AP, so no fragile printed bayonet. Cable routes behind the AP, down through the plate and out the bottom into the gap under the desktop overhang (for example down into a rack or cabinet).
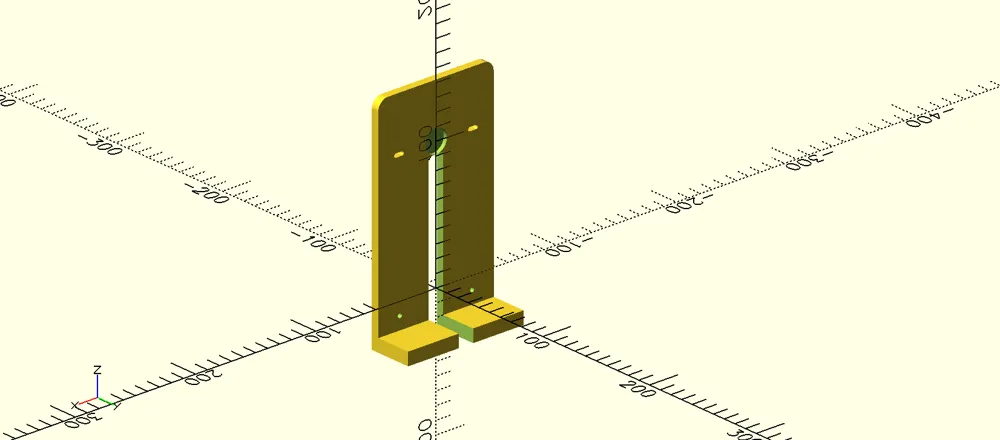
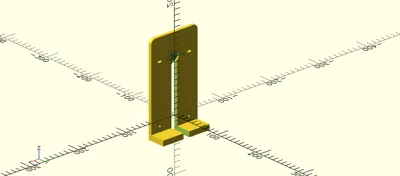
Designed in OpenSCAD and fully parametric. The SCAD file is included so you can match your own desktop thickness, overhang and bracket hole spacing.
What you need
- UniFi U6 Lite (also fits U6+ / nanoHD, same 160 mm body and same bracket)
- The factory mounting bracket that came with the AP
- 2x M3 screws (bracket to plate)
- 2x M3 wood screws (plate to desktop edge)
Specs (default values)
- Overall: 96 x 34 x 172 mm (W x D x H)
- Plate: 96 mm wide, 6 mm thick, rounded top
- Cable feed hole: 18 mm (Ubiquiti ethernet feed spec, RJ45 passes through)
- Cable slot: 12 mm wide, full height
- Bracket holes: slotted, 61.5 mm center-to-center, M3 (use M3x8 so they don't poke into the cable slot)
- Edge screws: 2x M3, 60 mm apart, countersunk for the heads
- Edge clamp: tuned for a 20 mm worktop with a 34.56 mm front overhang; foot reaches 28 mm under and is 10 mm thick
Make it fit your desk (edit in the SCAD)
- desk_thick = your desktop thickness
- overhang = how far the top overhangs the cabinet/rack below (keep foot_depth smaller than this)
- bracket_hole_spacing = measure your bracket's two screw holes; the slotted holes give a few mm tolerance
- bracket_center_z = raise/lower the whole AP. AP bottom edge sits bracket_center_z - 80 mm above the desktop
Print settings
- Material: PLA (use PETG if the surface below gets warm, e.g. rack exhaust)
- Layer height: 0.2 mm
- Walls/perimeters: 3 (the perimeters carry the clamp load)
- Infill: 15%
Assembly
1. Slide the mount onto the front edge of the desktop so the foot tucks into the gap under the overhang and the plate sits flush against the front edge.
2. Drive 2x M3 wood screws horizontally through the plate into the front edge of the desktop (pre-drill ~2.5 mm). Tighten firmly - these provide the clamp force.
3. Screw the factory bracket to the front of the plate with 2x M3x8 in the slotted holes. Rotate the bracket so the holes line up; the cable feed stays centered either way.
4. Twist-lock the AP onto the bracket.
5. Plug in the ethernet cable, feed the plug through the 18 mm hole to the back, and push the cable down the vertical slot. It exits at the bottom into the gap under the overhang.
License



Comment & Rating (0)