
Print Profile(4)


Description
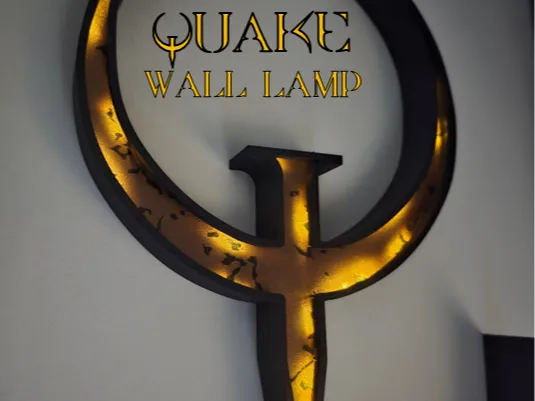
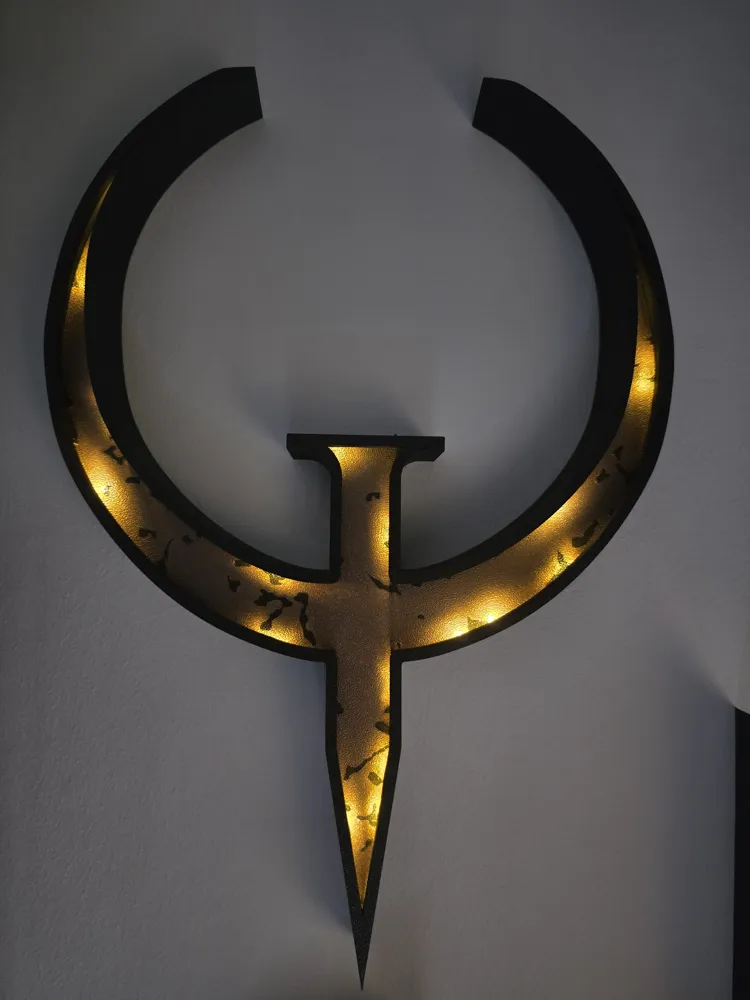
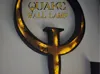
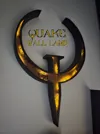
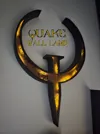
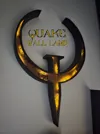
⚔️ Quake Logo Wall Lamp – Metallic Edition - 2 sizes (M/L)
Pay tribute to the game that helped define the first-person shooter genre with this Quake-inspired wall lamp, featuring a striking metallic-style finish that gives the iconic logo the appearance of worn-out rusted forged steel.
Designed as both a decorative piece and a functional wall light, this model captures the dark, industrial aesthetic of the original game. Whether displayed in a gaming room, office, or workshop, it makes an eye-catching centerpiece for any Quake fan.
🔧 Key Features
- Inspired by the legendary Quake logo
- Printed using metallic-effect filament for a premium appearance
- Designed to accommodate an internal LED light source
- Clean wall-mounted construction with minimal visual clutter
- Lightweight, durable, and easy to print
💡 Lighting Compatibility
The lamp is compatible with slim LED lights (2.3 mm) on string wire. To be assembled into the designed track.
🖨️ Printing Recommendations
- Material: Metallic-effect PLA recommended (otherwise basic brown PLA)
- Layer Height: 0.16–0.2 mm
- Supports: Not required
- Infill: 10–15%
- Walls: 1 perimeter
Assemble the insert with the main part accordingly. Optional: Insert a LED light source into the rear housing section and route the switch or battery pack as desired. Mount the lamp to the wall using adhesive strips, screws, or wall-safe mounting solutions depending on your setup.
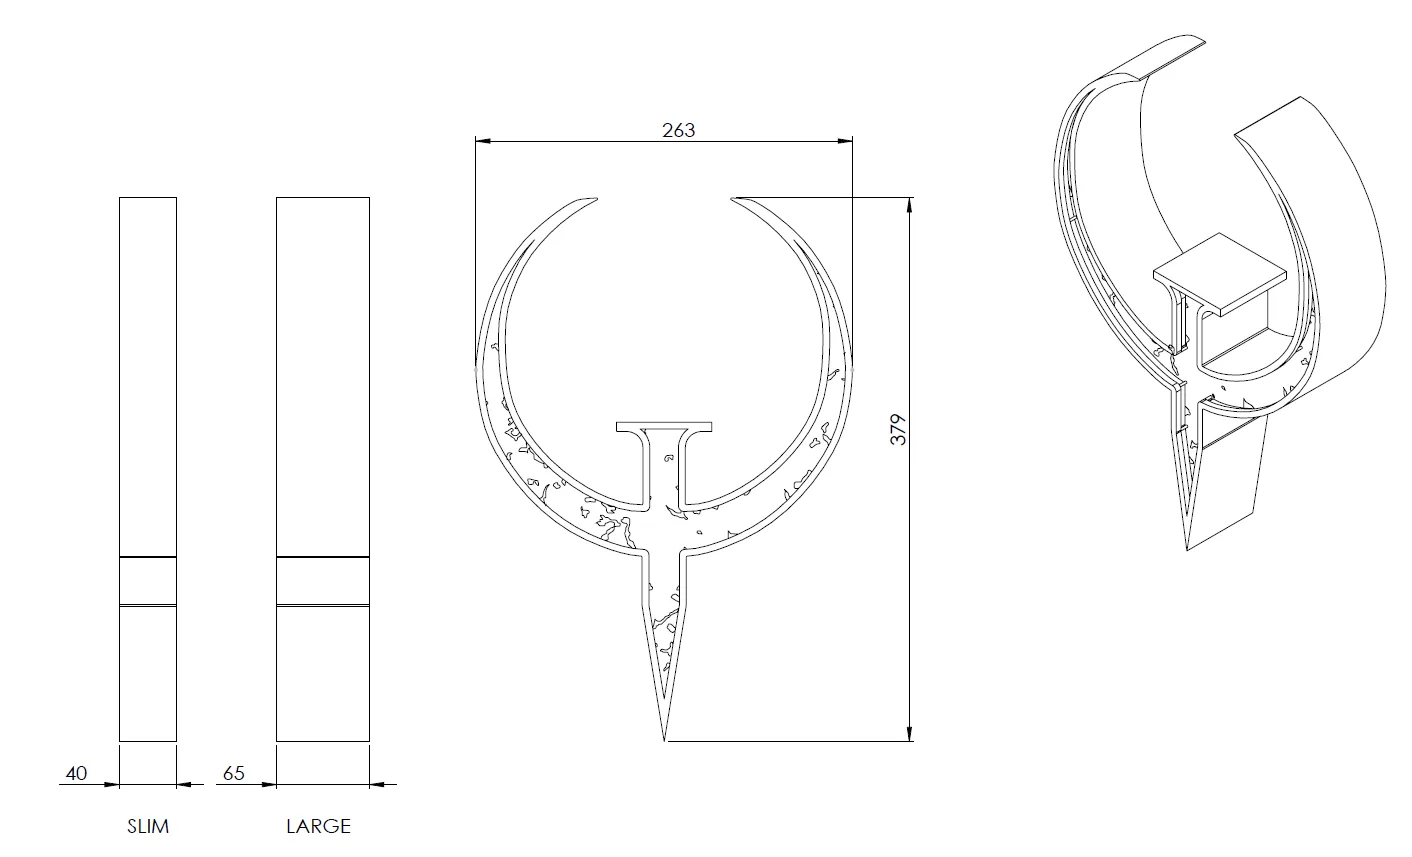
Attention: Originally designed for printing with H2S. Scale everything accordingly if parts don't fit print-plate.
Drawing below contains dimensions for original H2S model.
!!!ALL DIMENSIONS IN MM!!!
License

You may create derivative works based on this object, provided that all such derivative works are published exclusively on the MakerWorld platform and include proper attribution to the original creator. You may not share, upload, host, distribute, or publish this object—or any derivative work of this object—on any other digital platform, marketplace, or distribution channel. Commercial use of this object and any derivative works is strictly prohibited. This includes, but is not limited to, selling, renting, sublicensing, or using the object in any context in which you receive monetary compensation or other financial benefits.


Comment & Rating (2)