
Design speakers 6.5 inch 16.5 cm
Print Profile(4)


Description
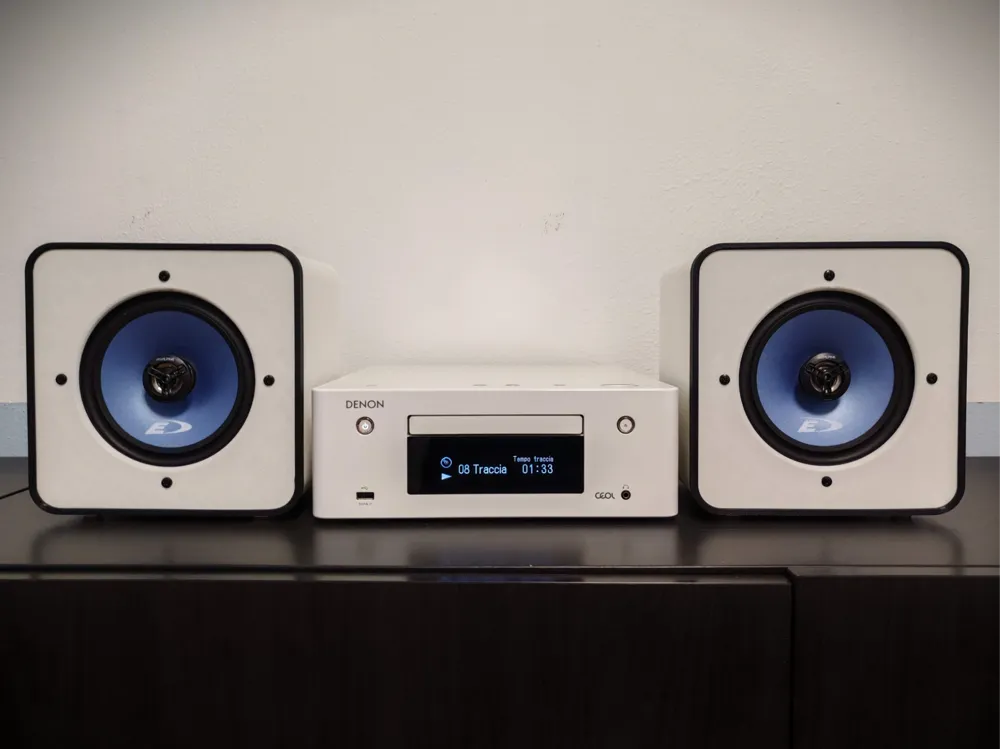
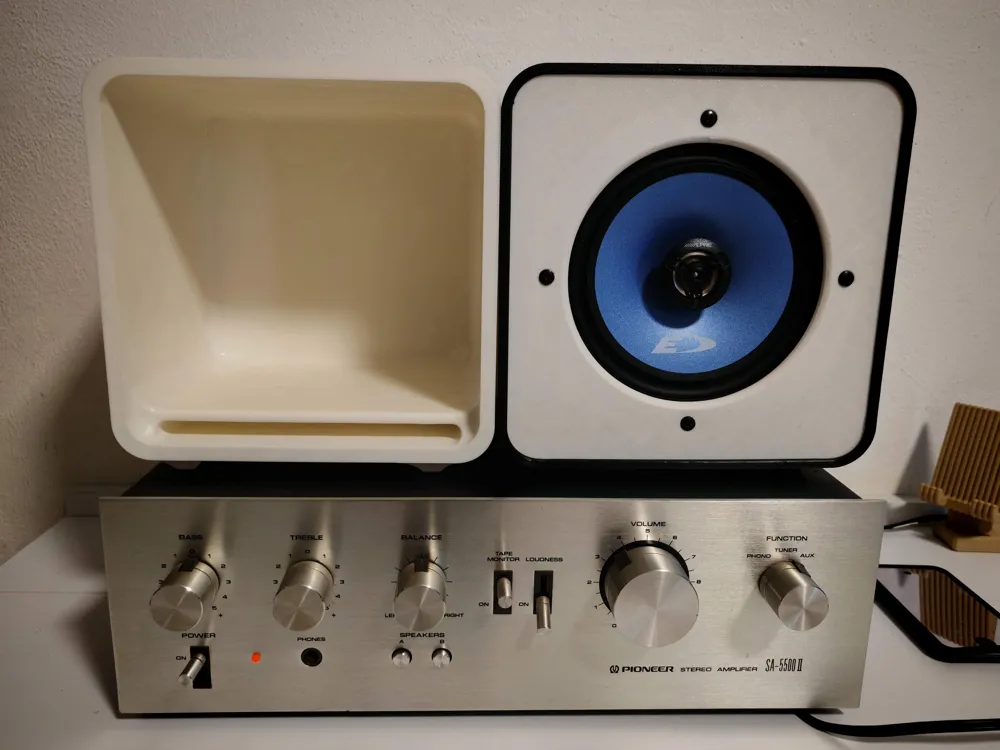
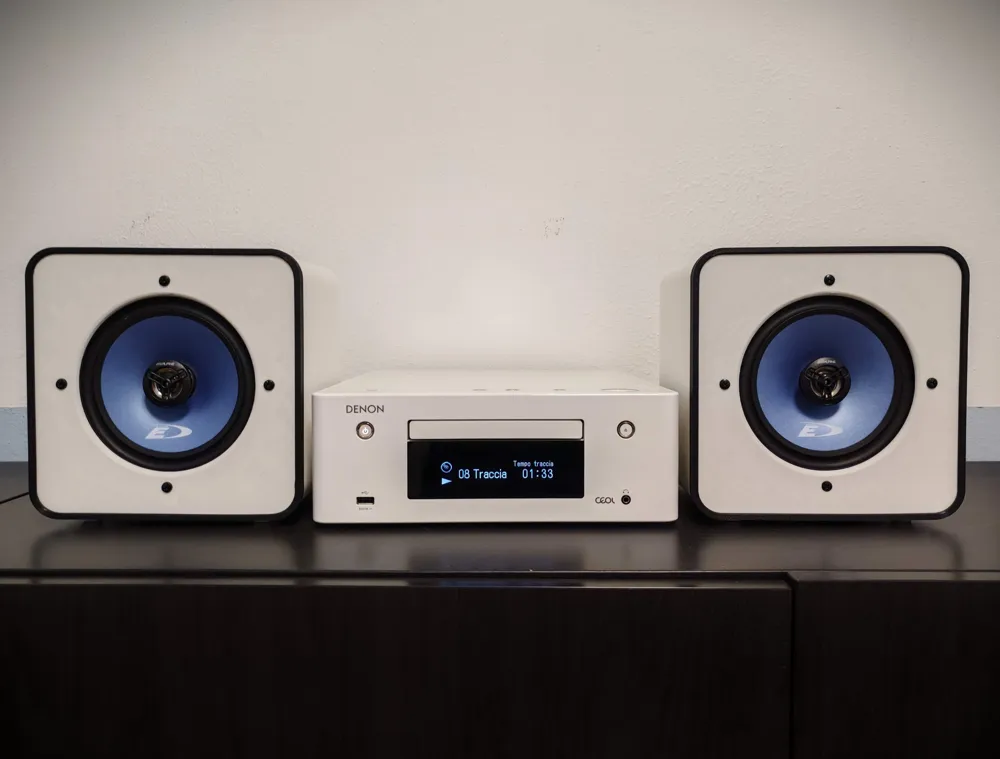
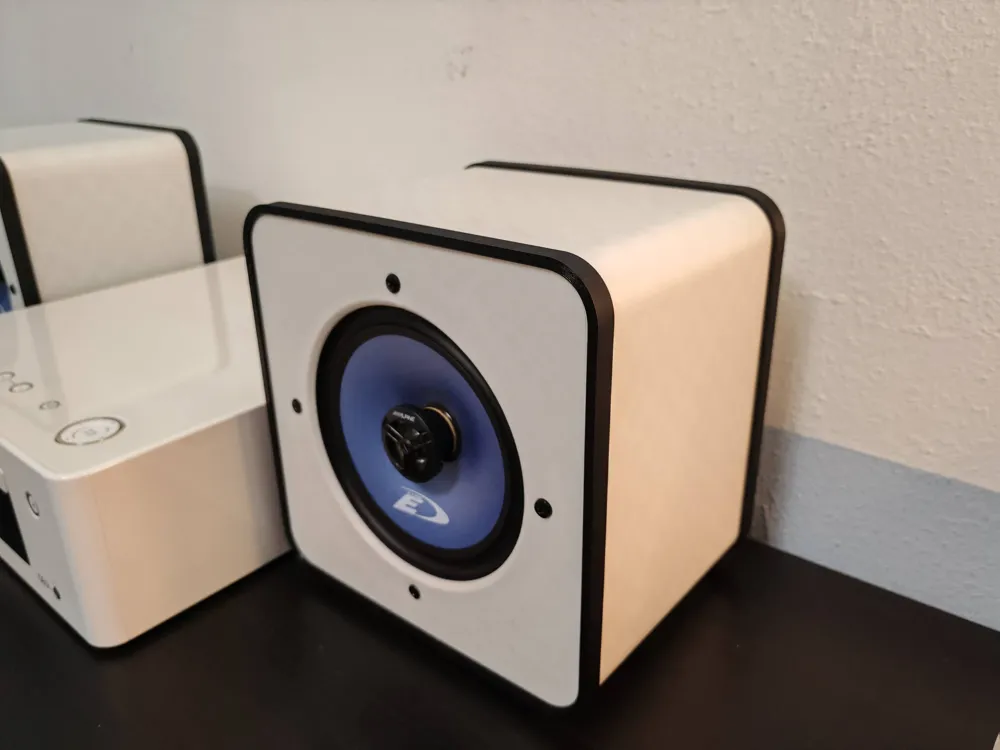
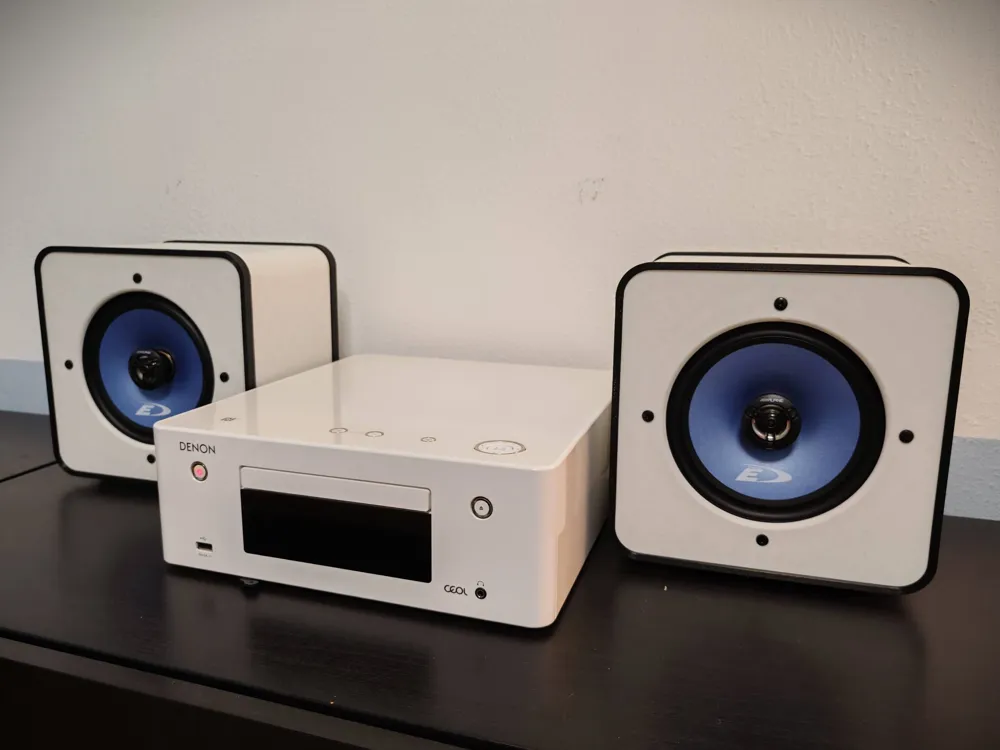
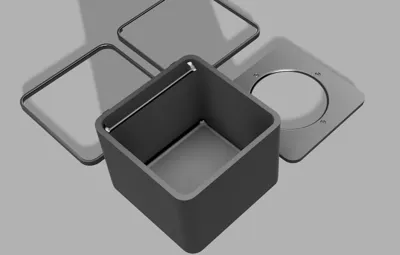
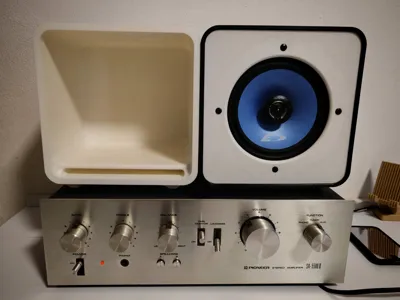
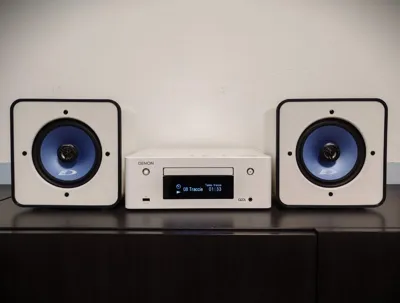
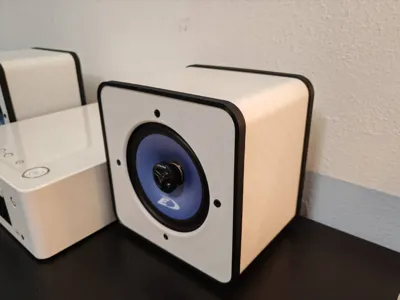
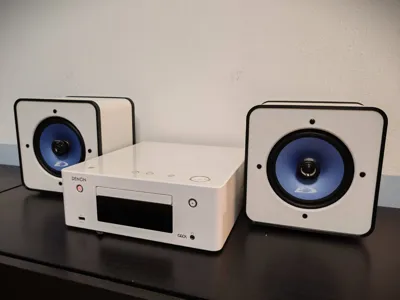
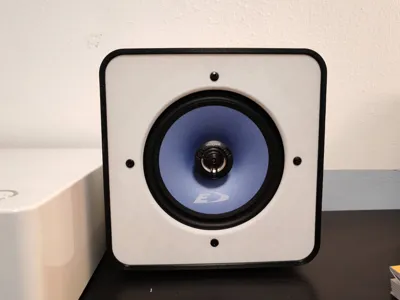
I created these 16 cm speakers for my Denon Amplifier to match its simple but elegant design!!!
They produce an absolutely immersive sound with truly incredible fidelity considering their size!
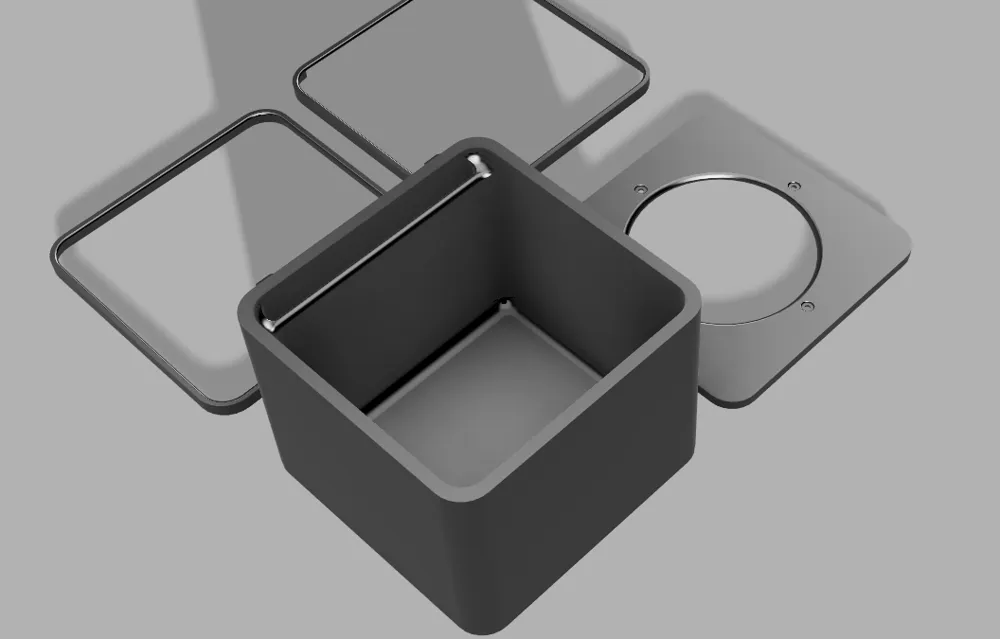
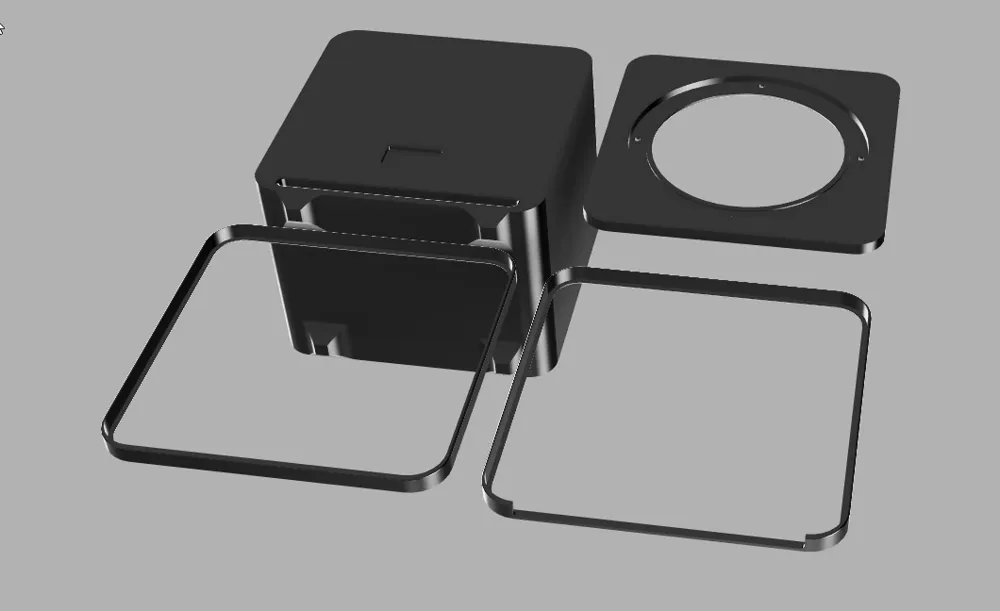
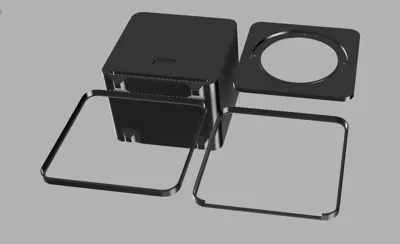
They are quite simple to assemble, as they consist only of bodies, and below I will provide all the accessories I used!
Required items to purchase:
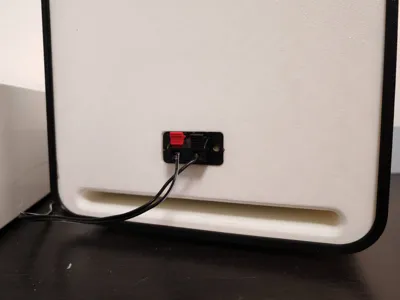
Connectors: https://www.amazon.it/dp/B0F6LD9BV8?ref=ppx_yo2ov_dt_b_fed_asin_title
ASSEMBLY INSTRUCTIONS:
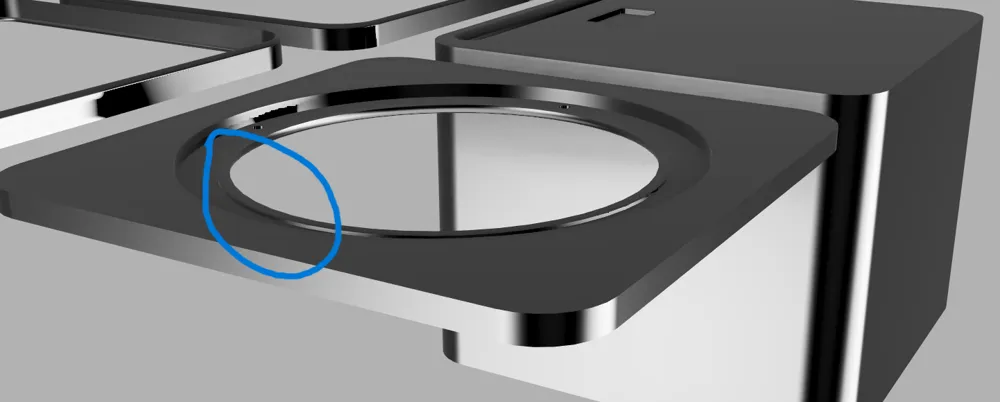
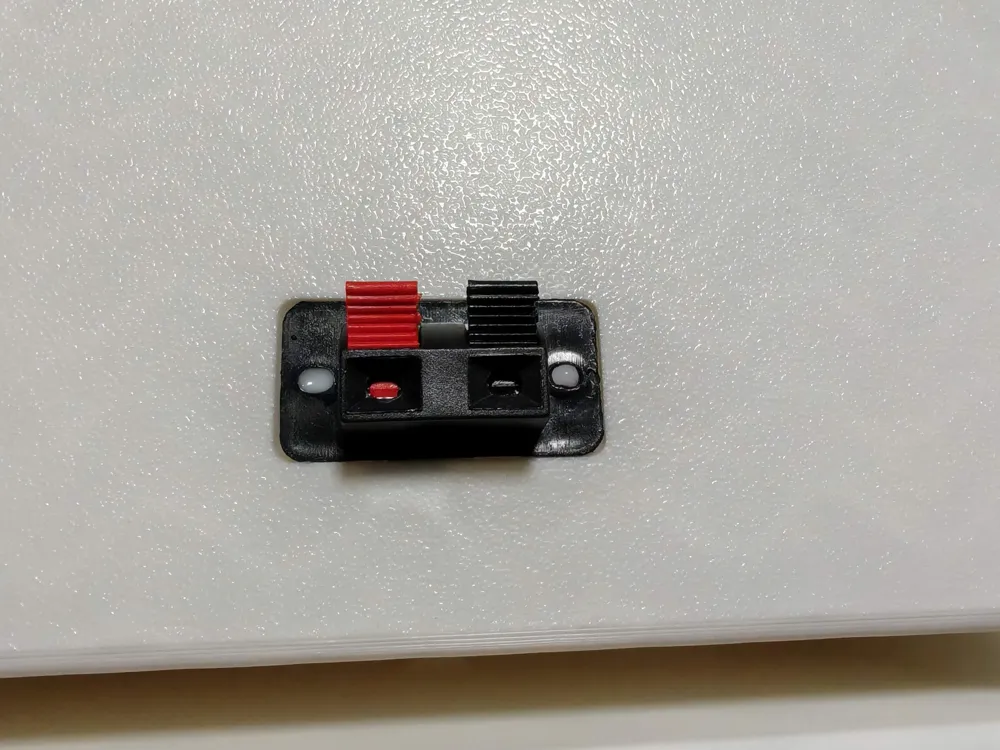
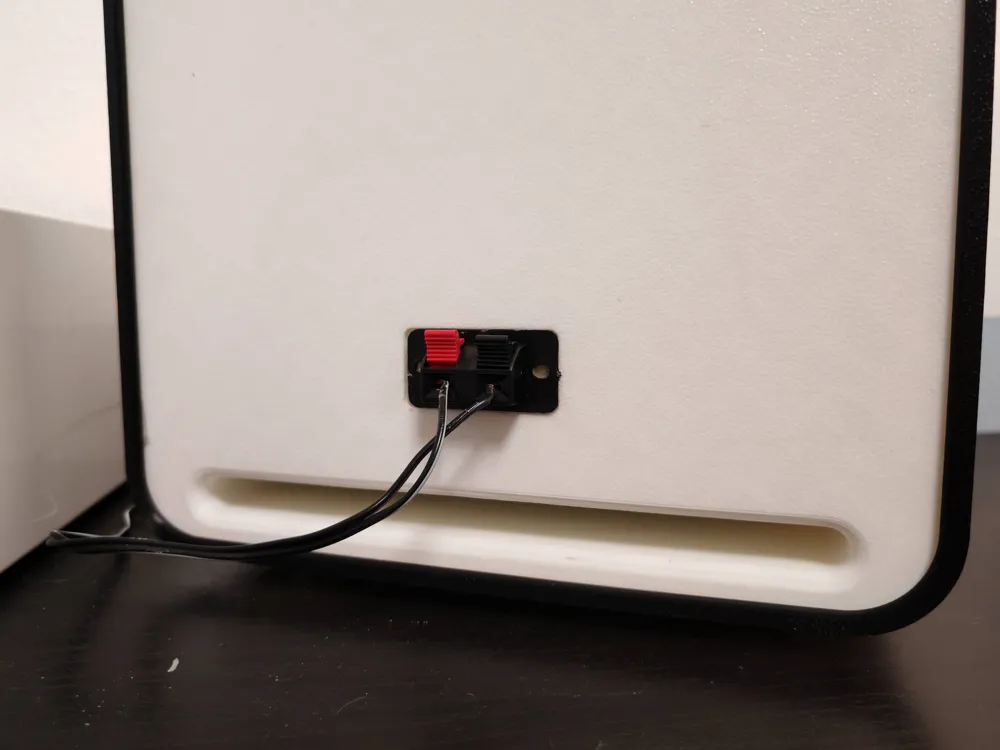
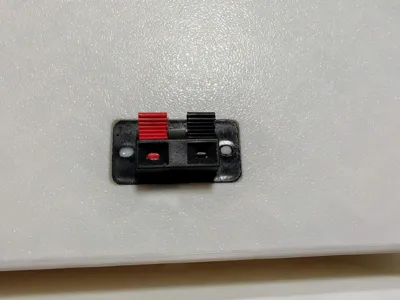
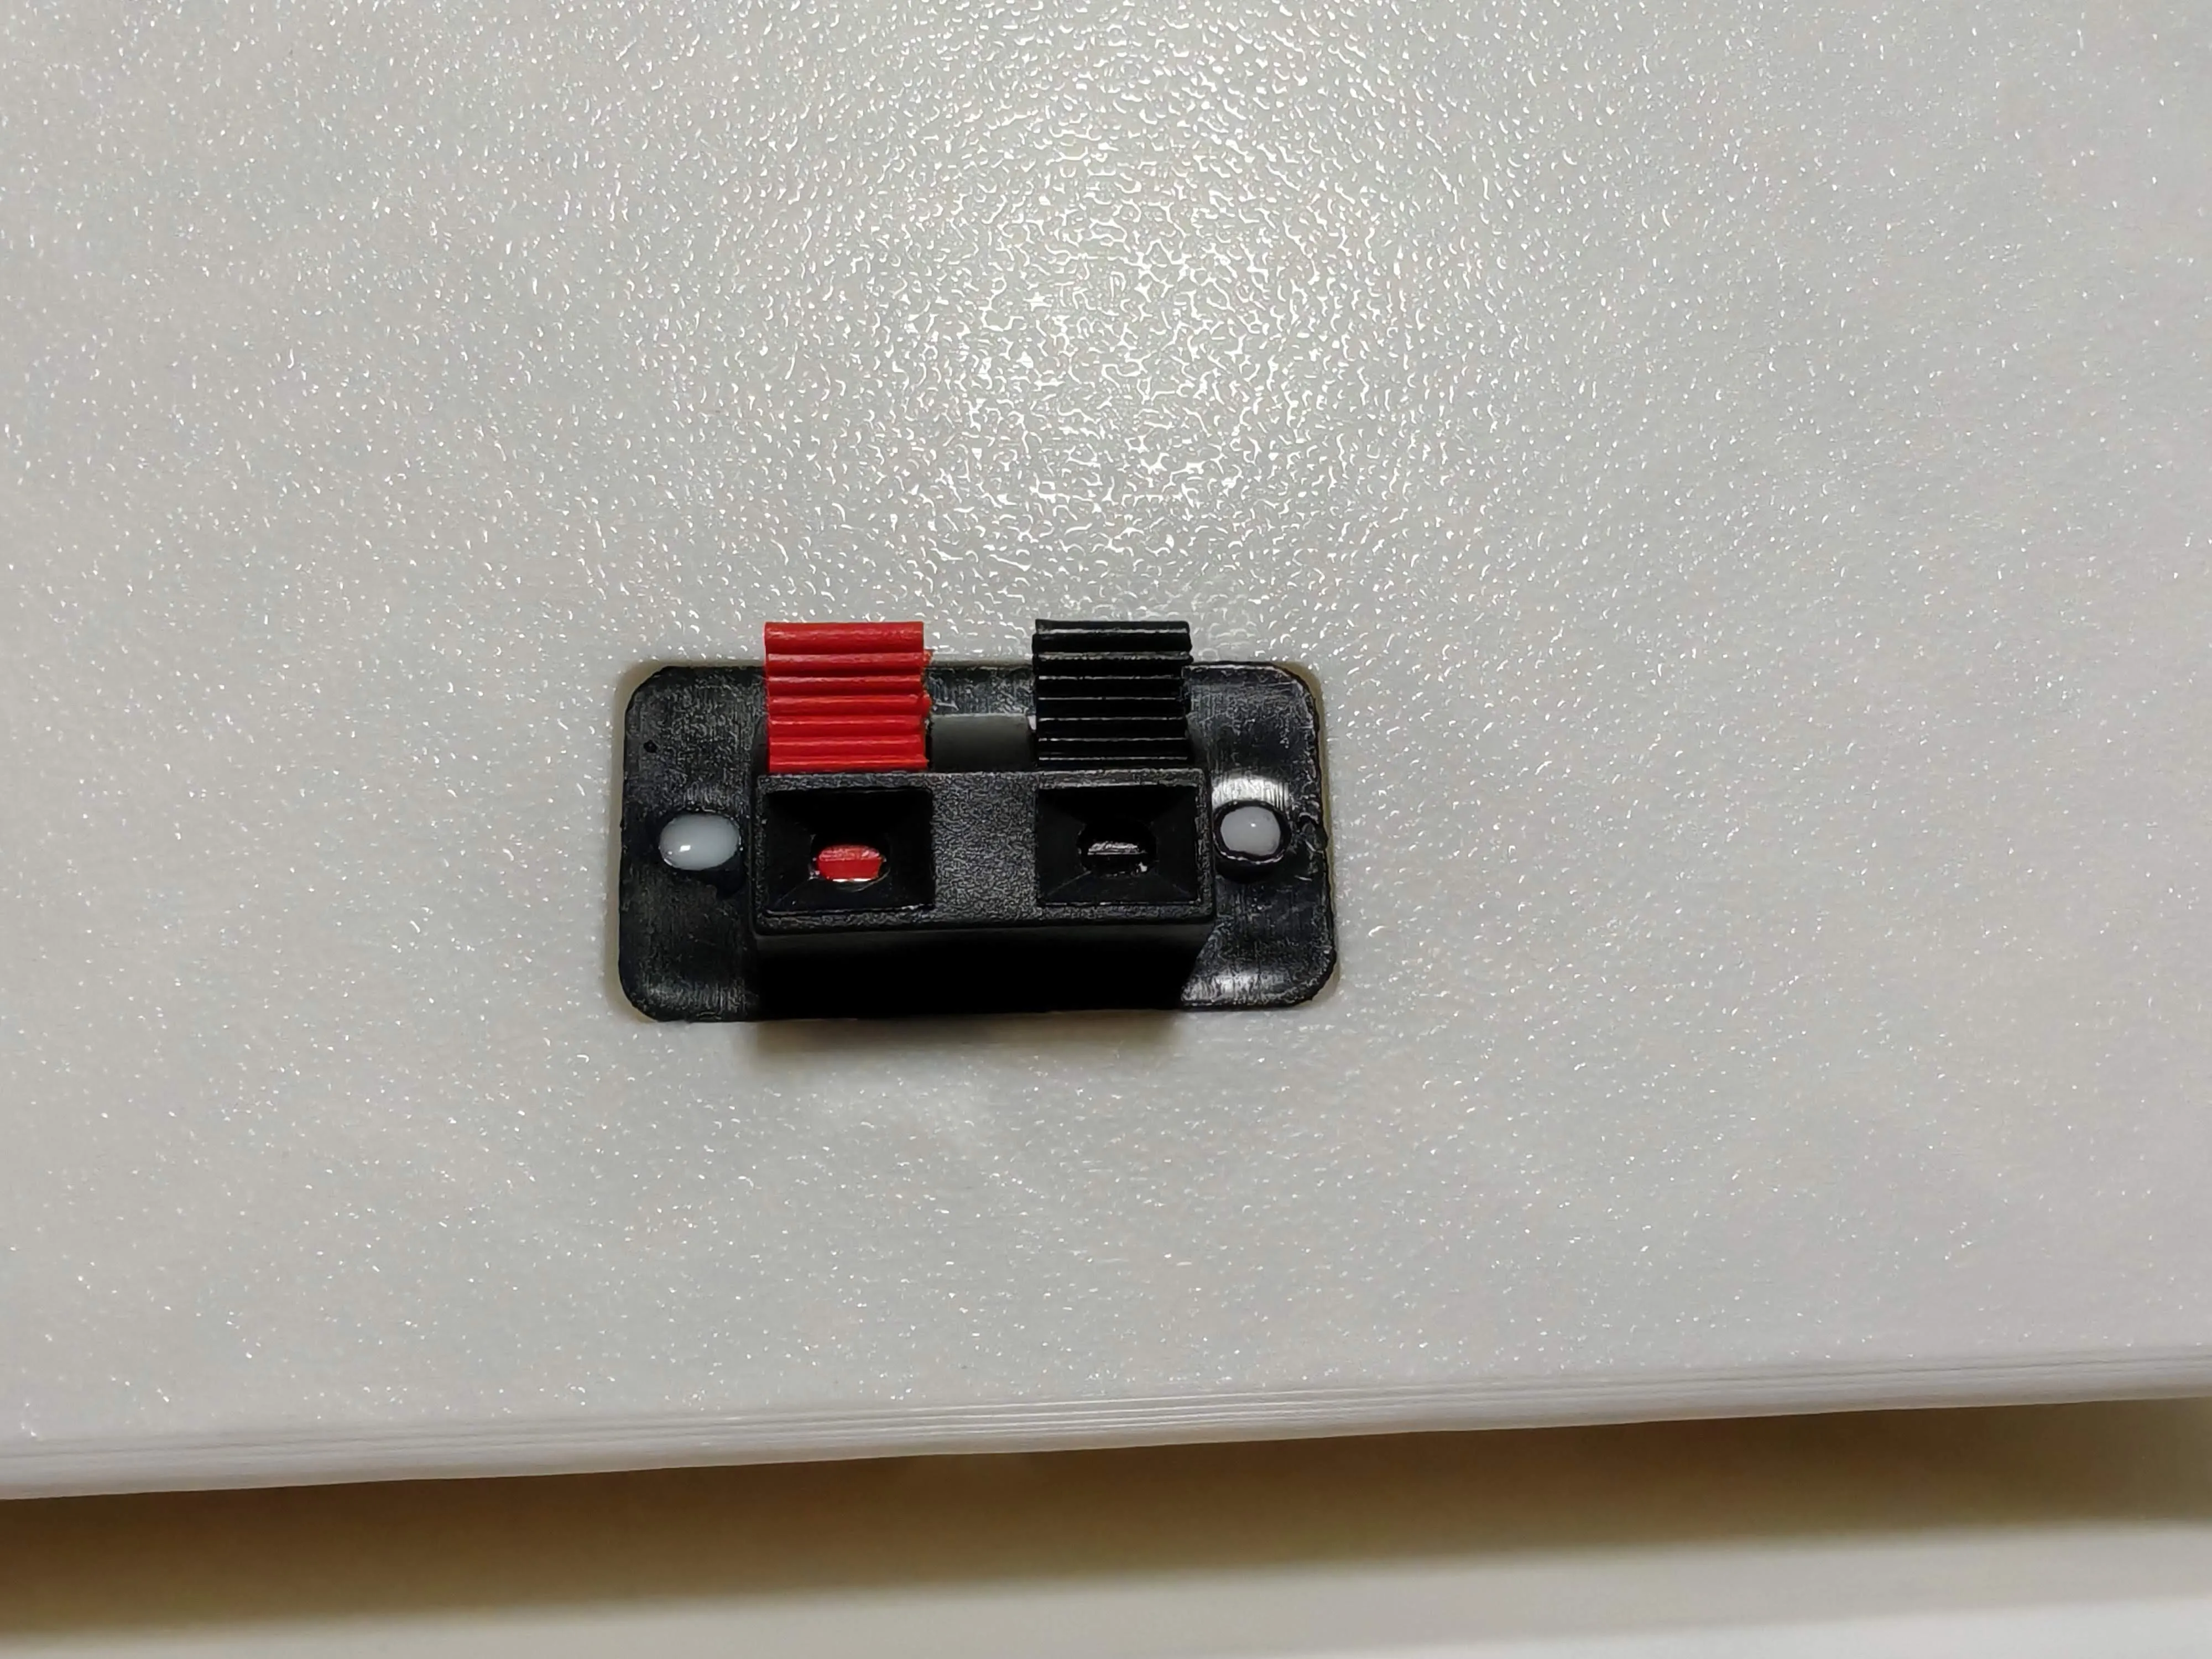
Once the objects are printed, the first step is to make the holes for the connectors. I INTENTIONALLY left the holes in the back "closed" as some might use different connectors than mine. Therefore, I recommend manually drilling with a simple drill to pass the cables through. If you use my connectors as in the link above, once glued, they must be SEALED with hot glue or wood glue to prevent air from escaping:
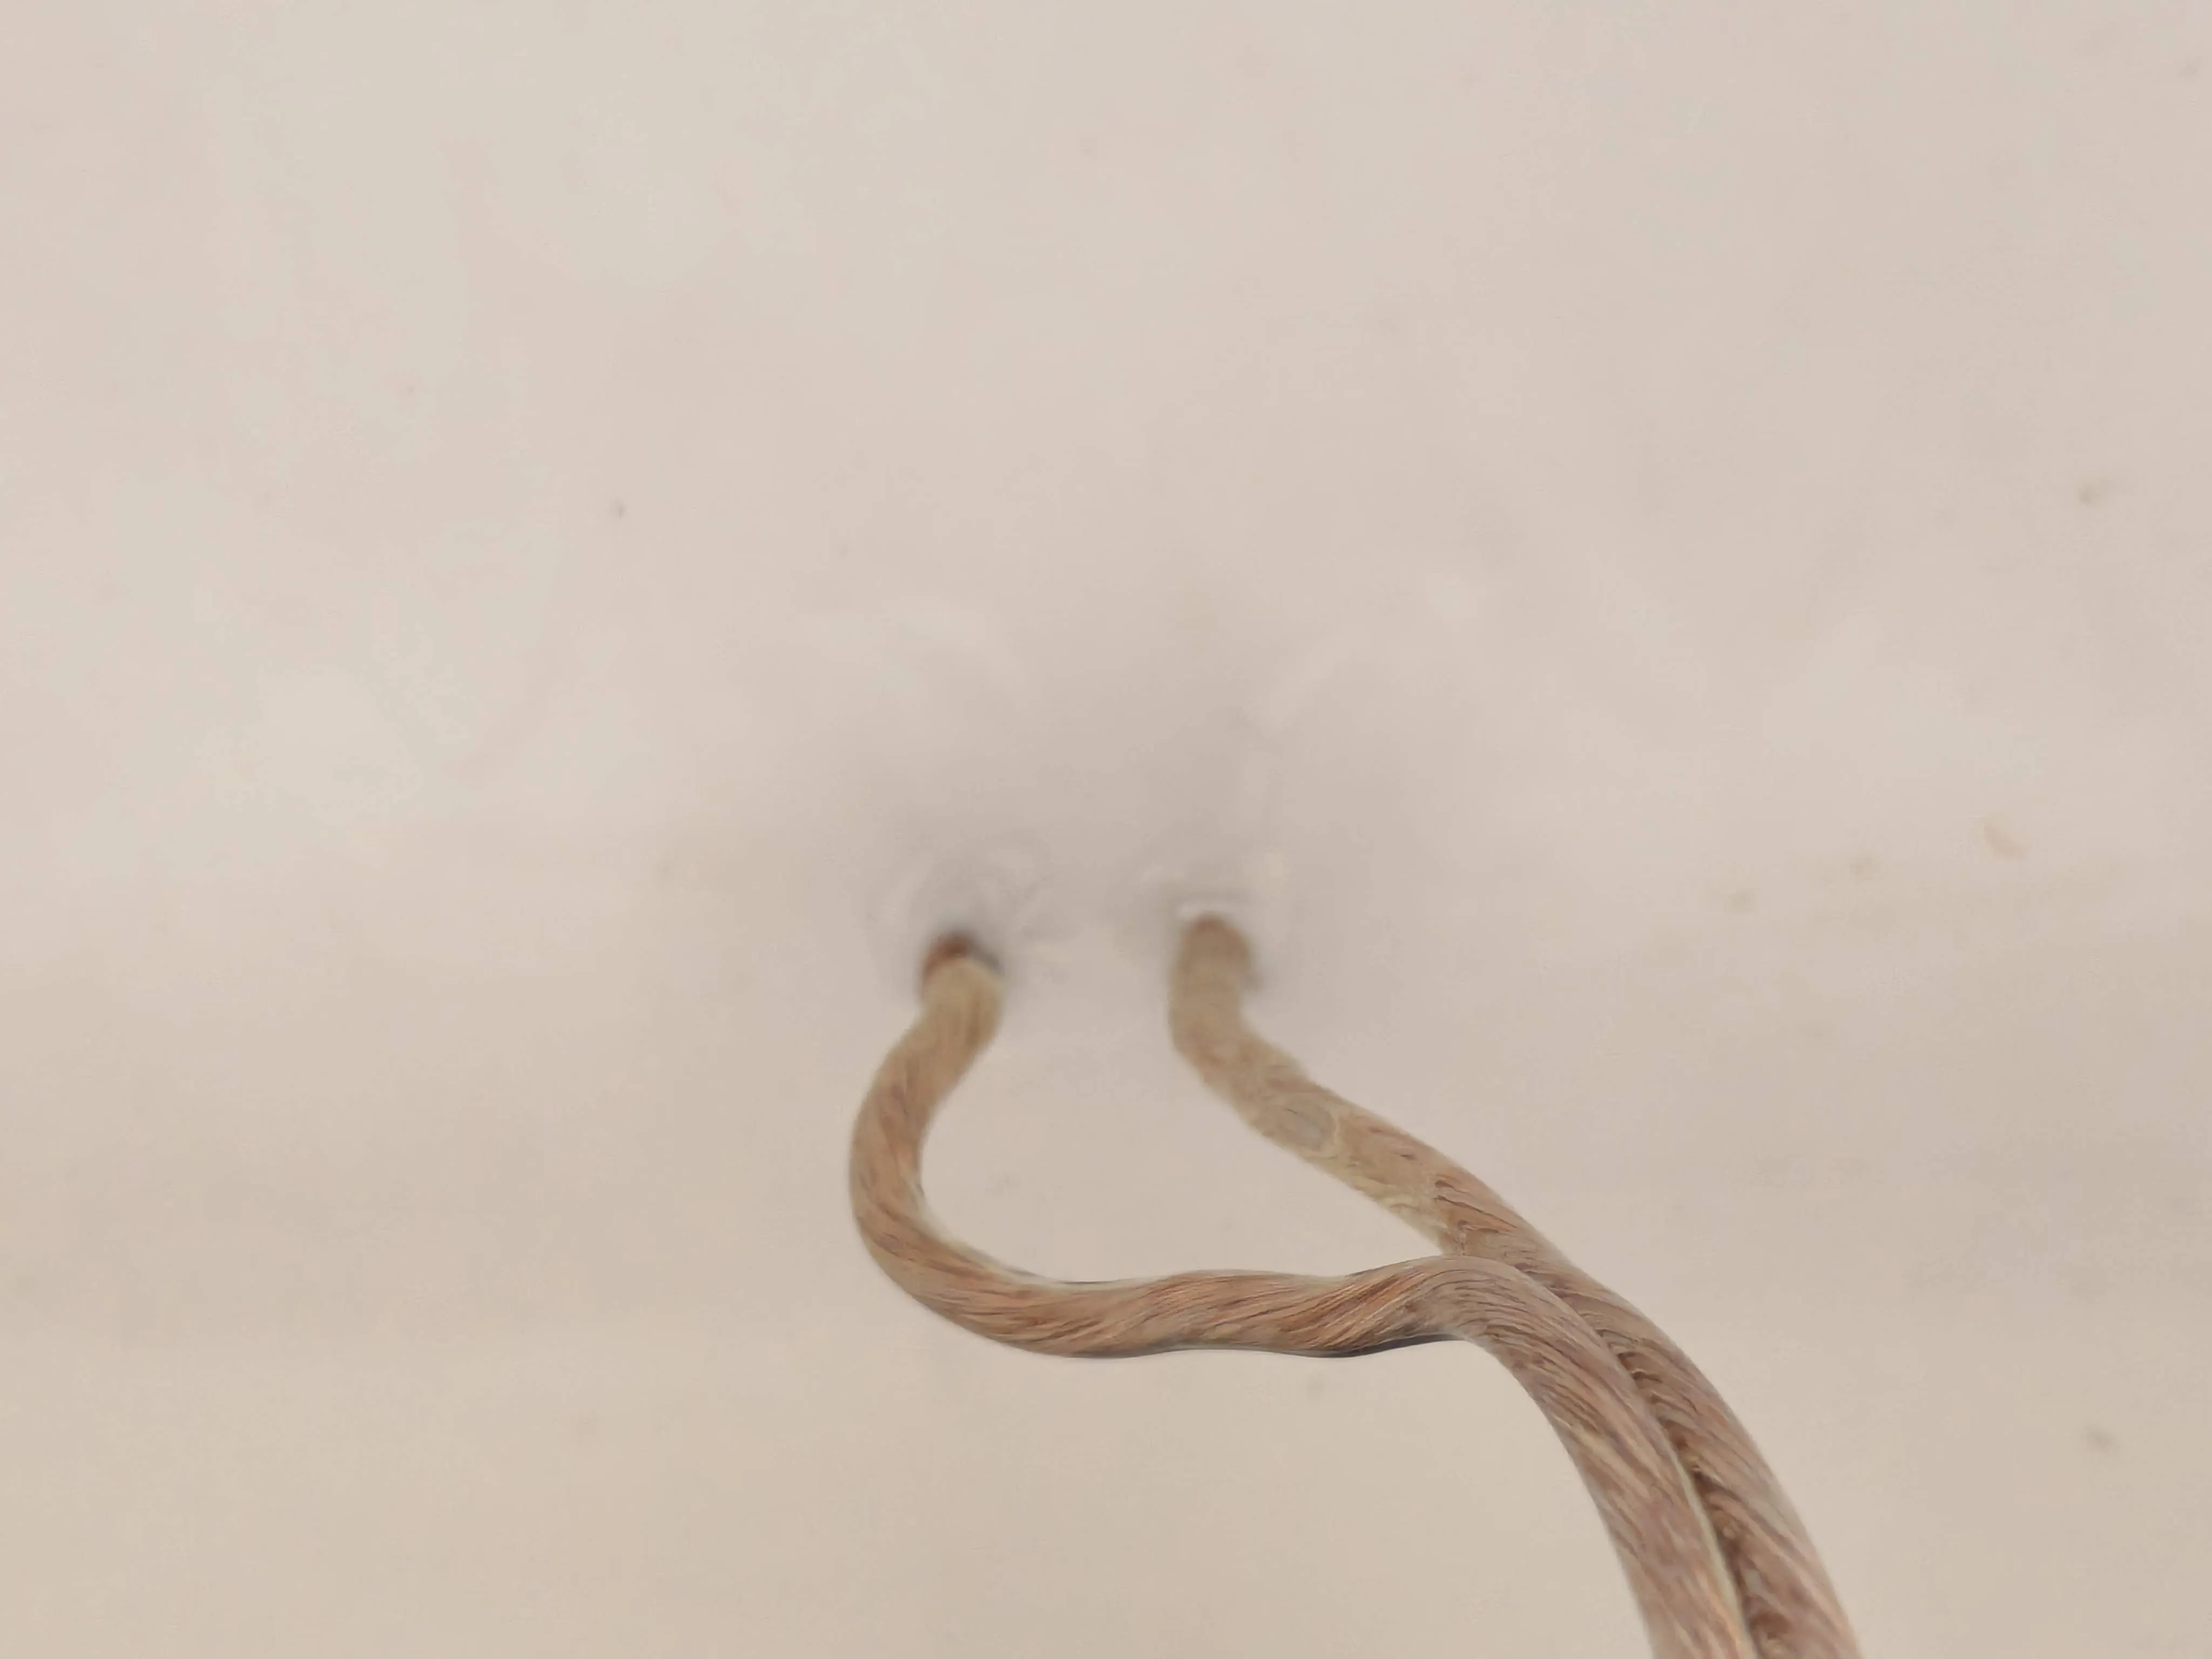
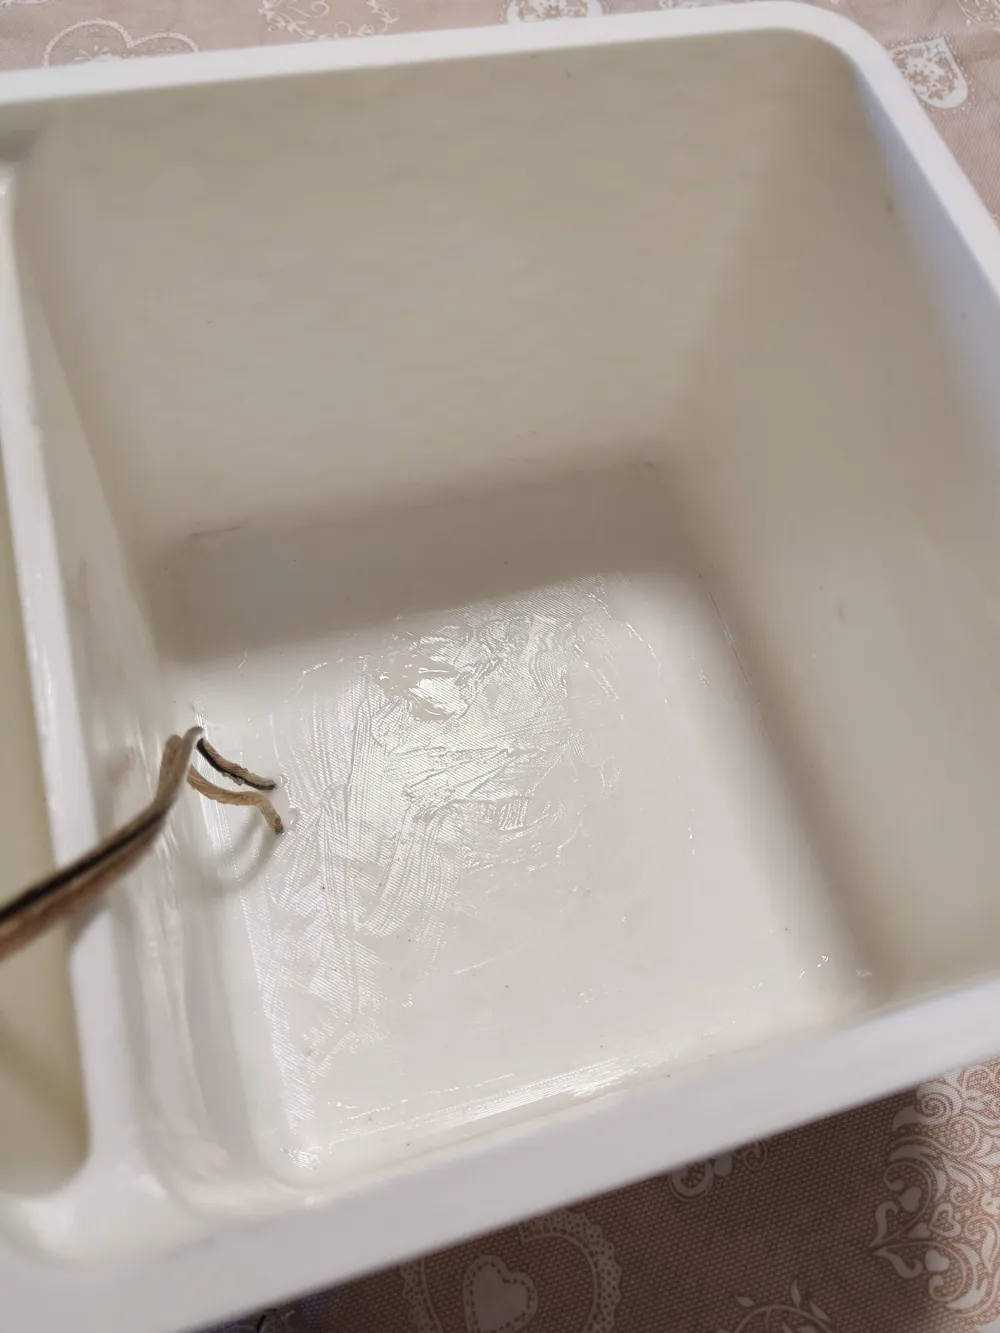
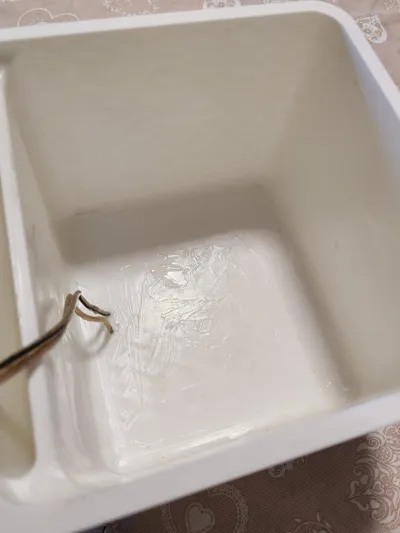
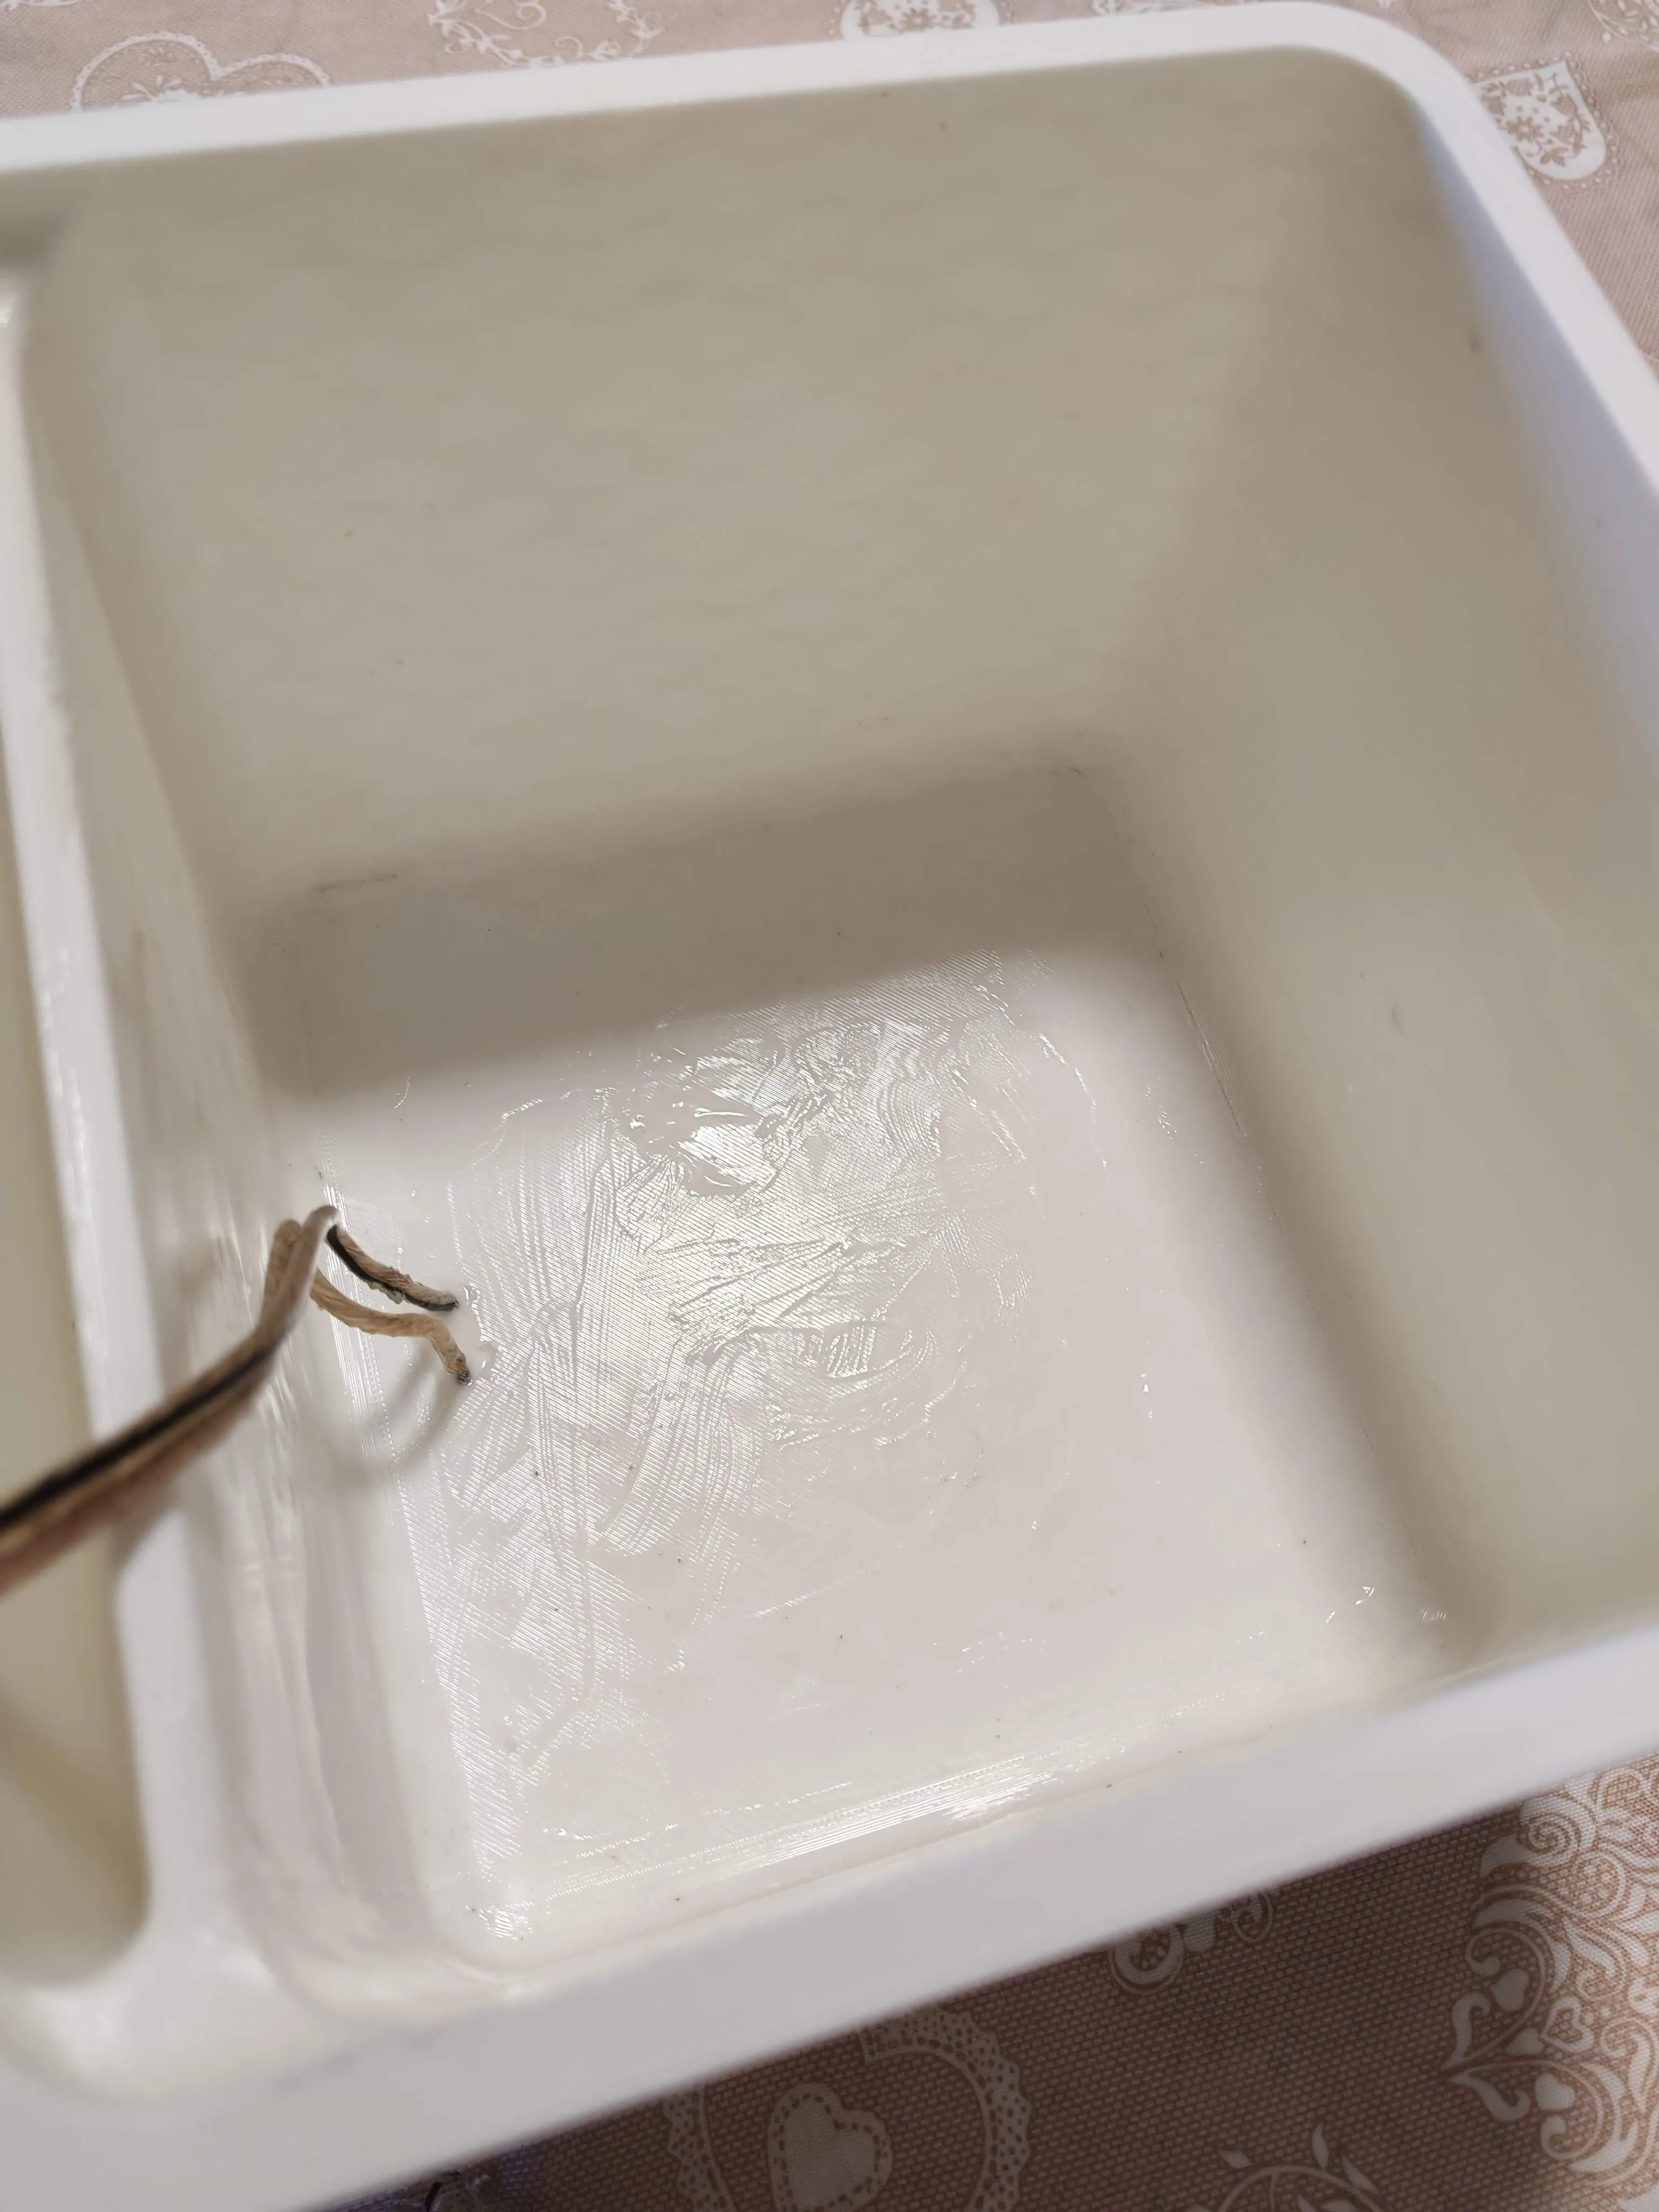
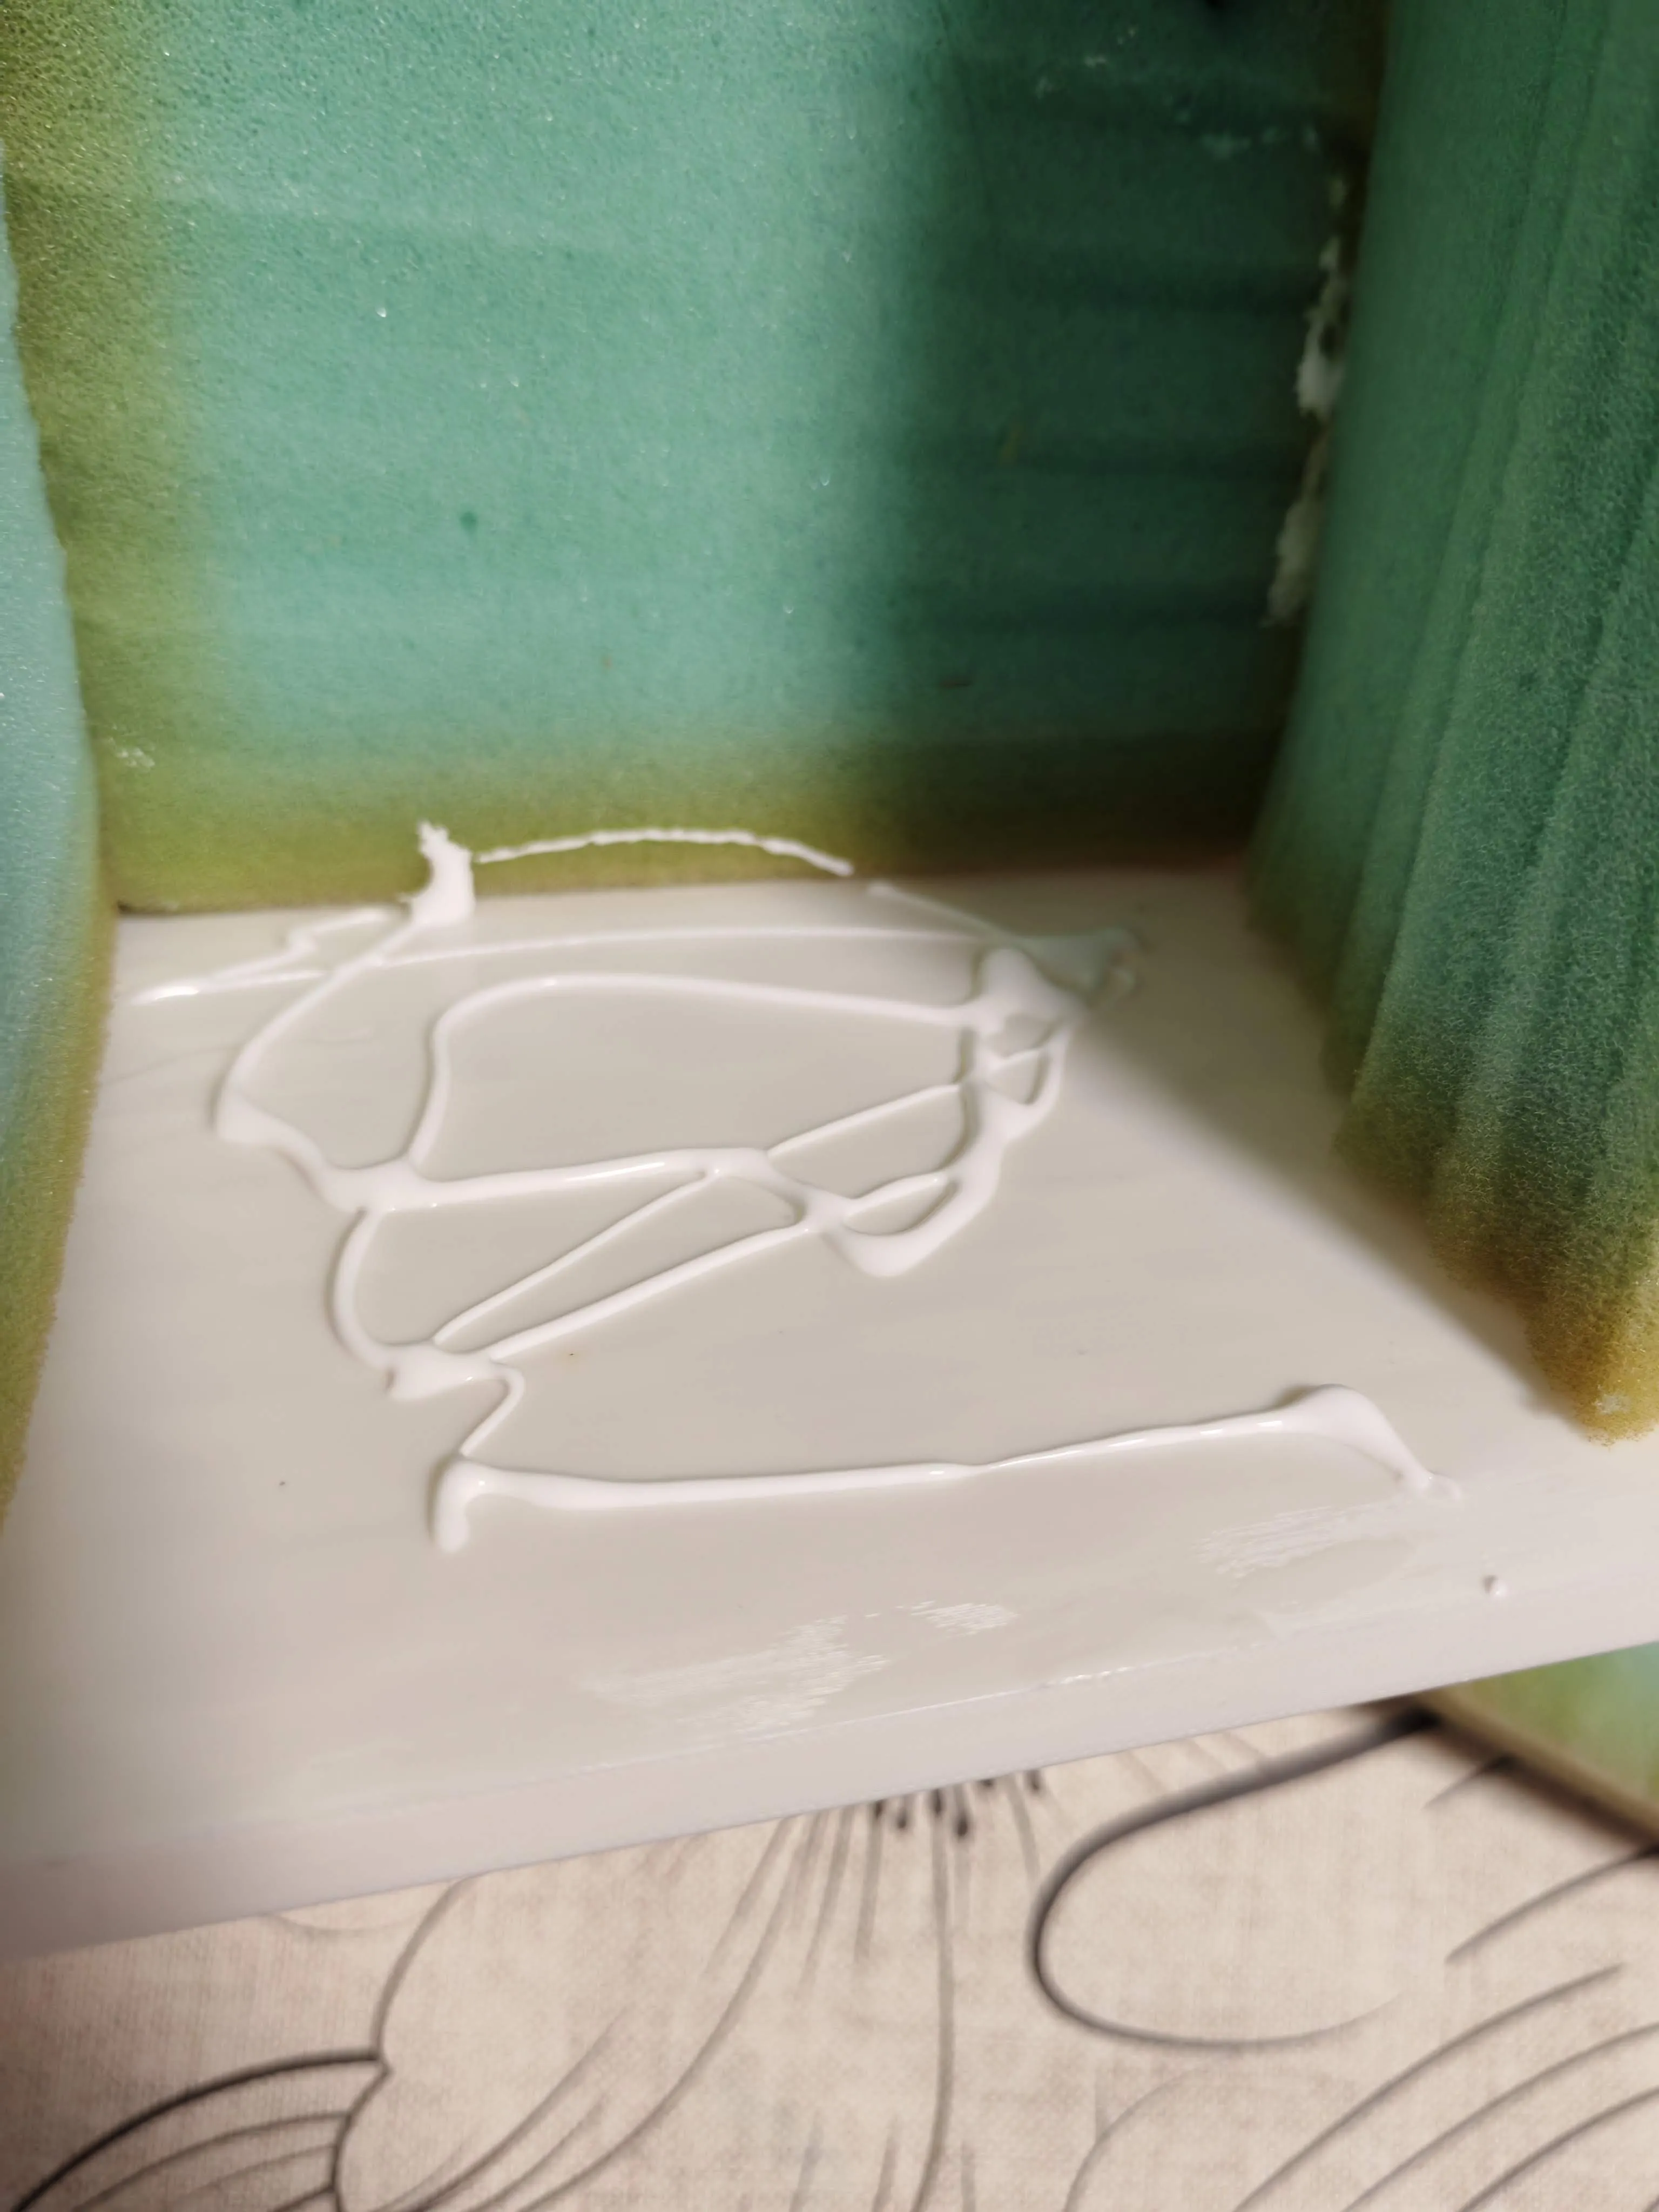
After securing the connector, apply a thin layer of wood glue to the entire inner surface of the enclosure to perfectly seal the interior, as the printing process does not hermetically seal the enclosure, leading to significant sound dispersion:
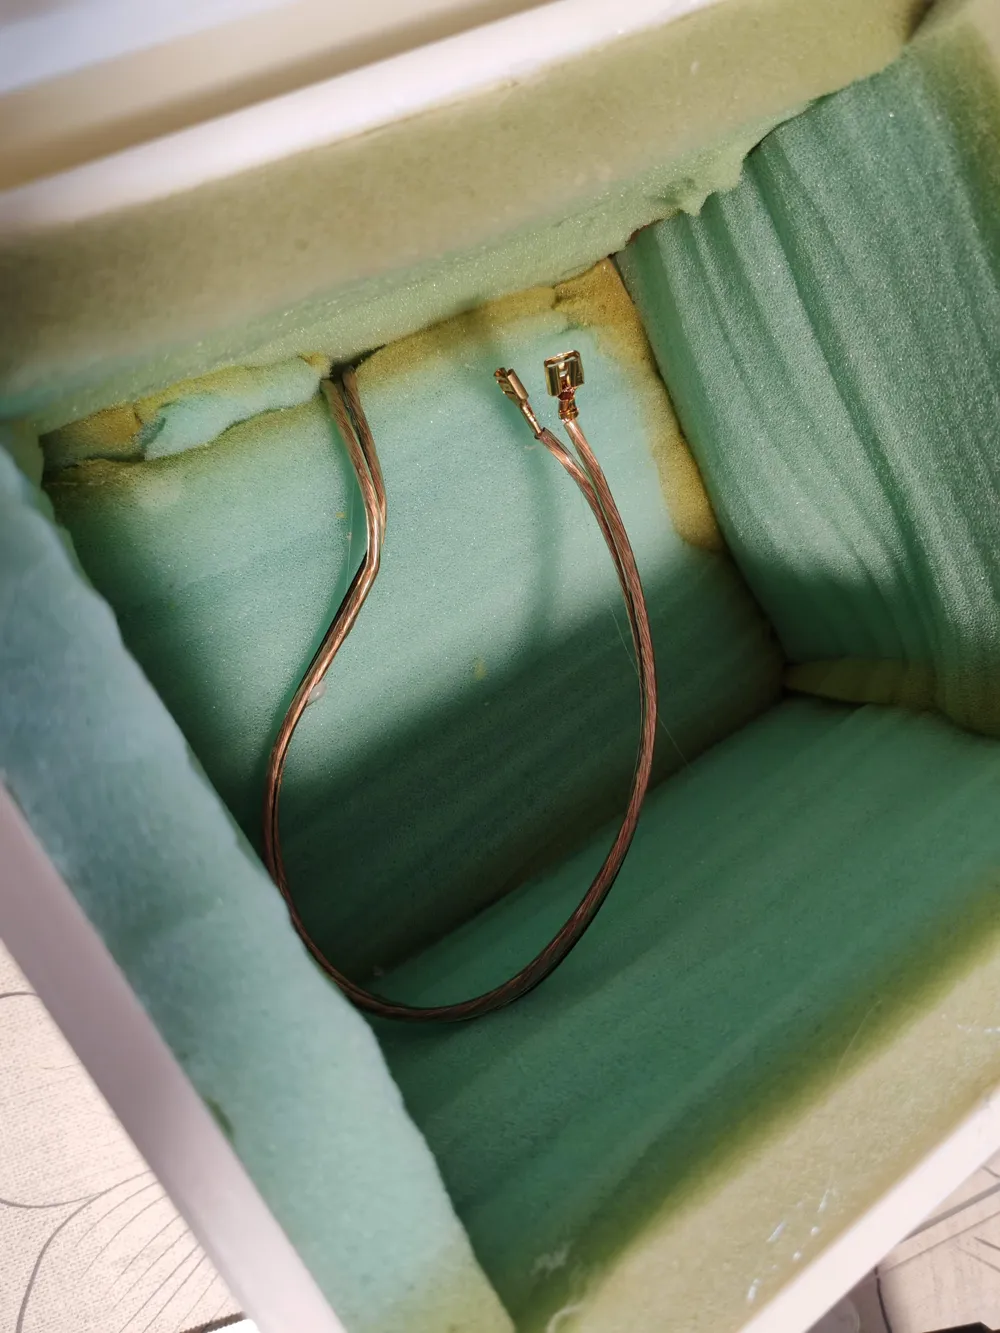
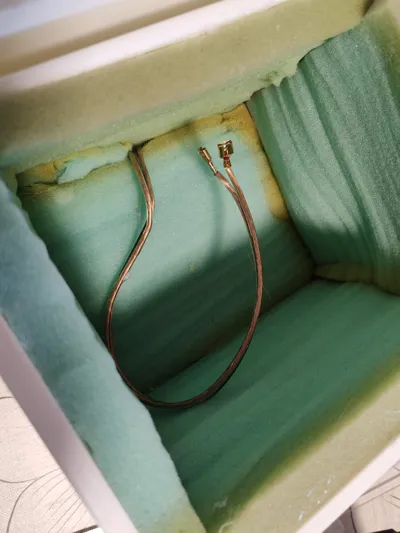
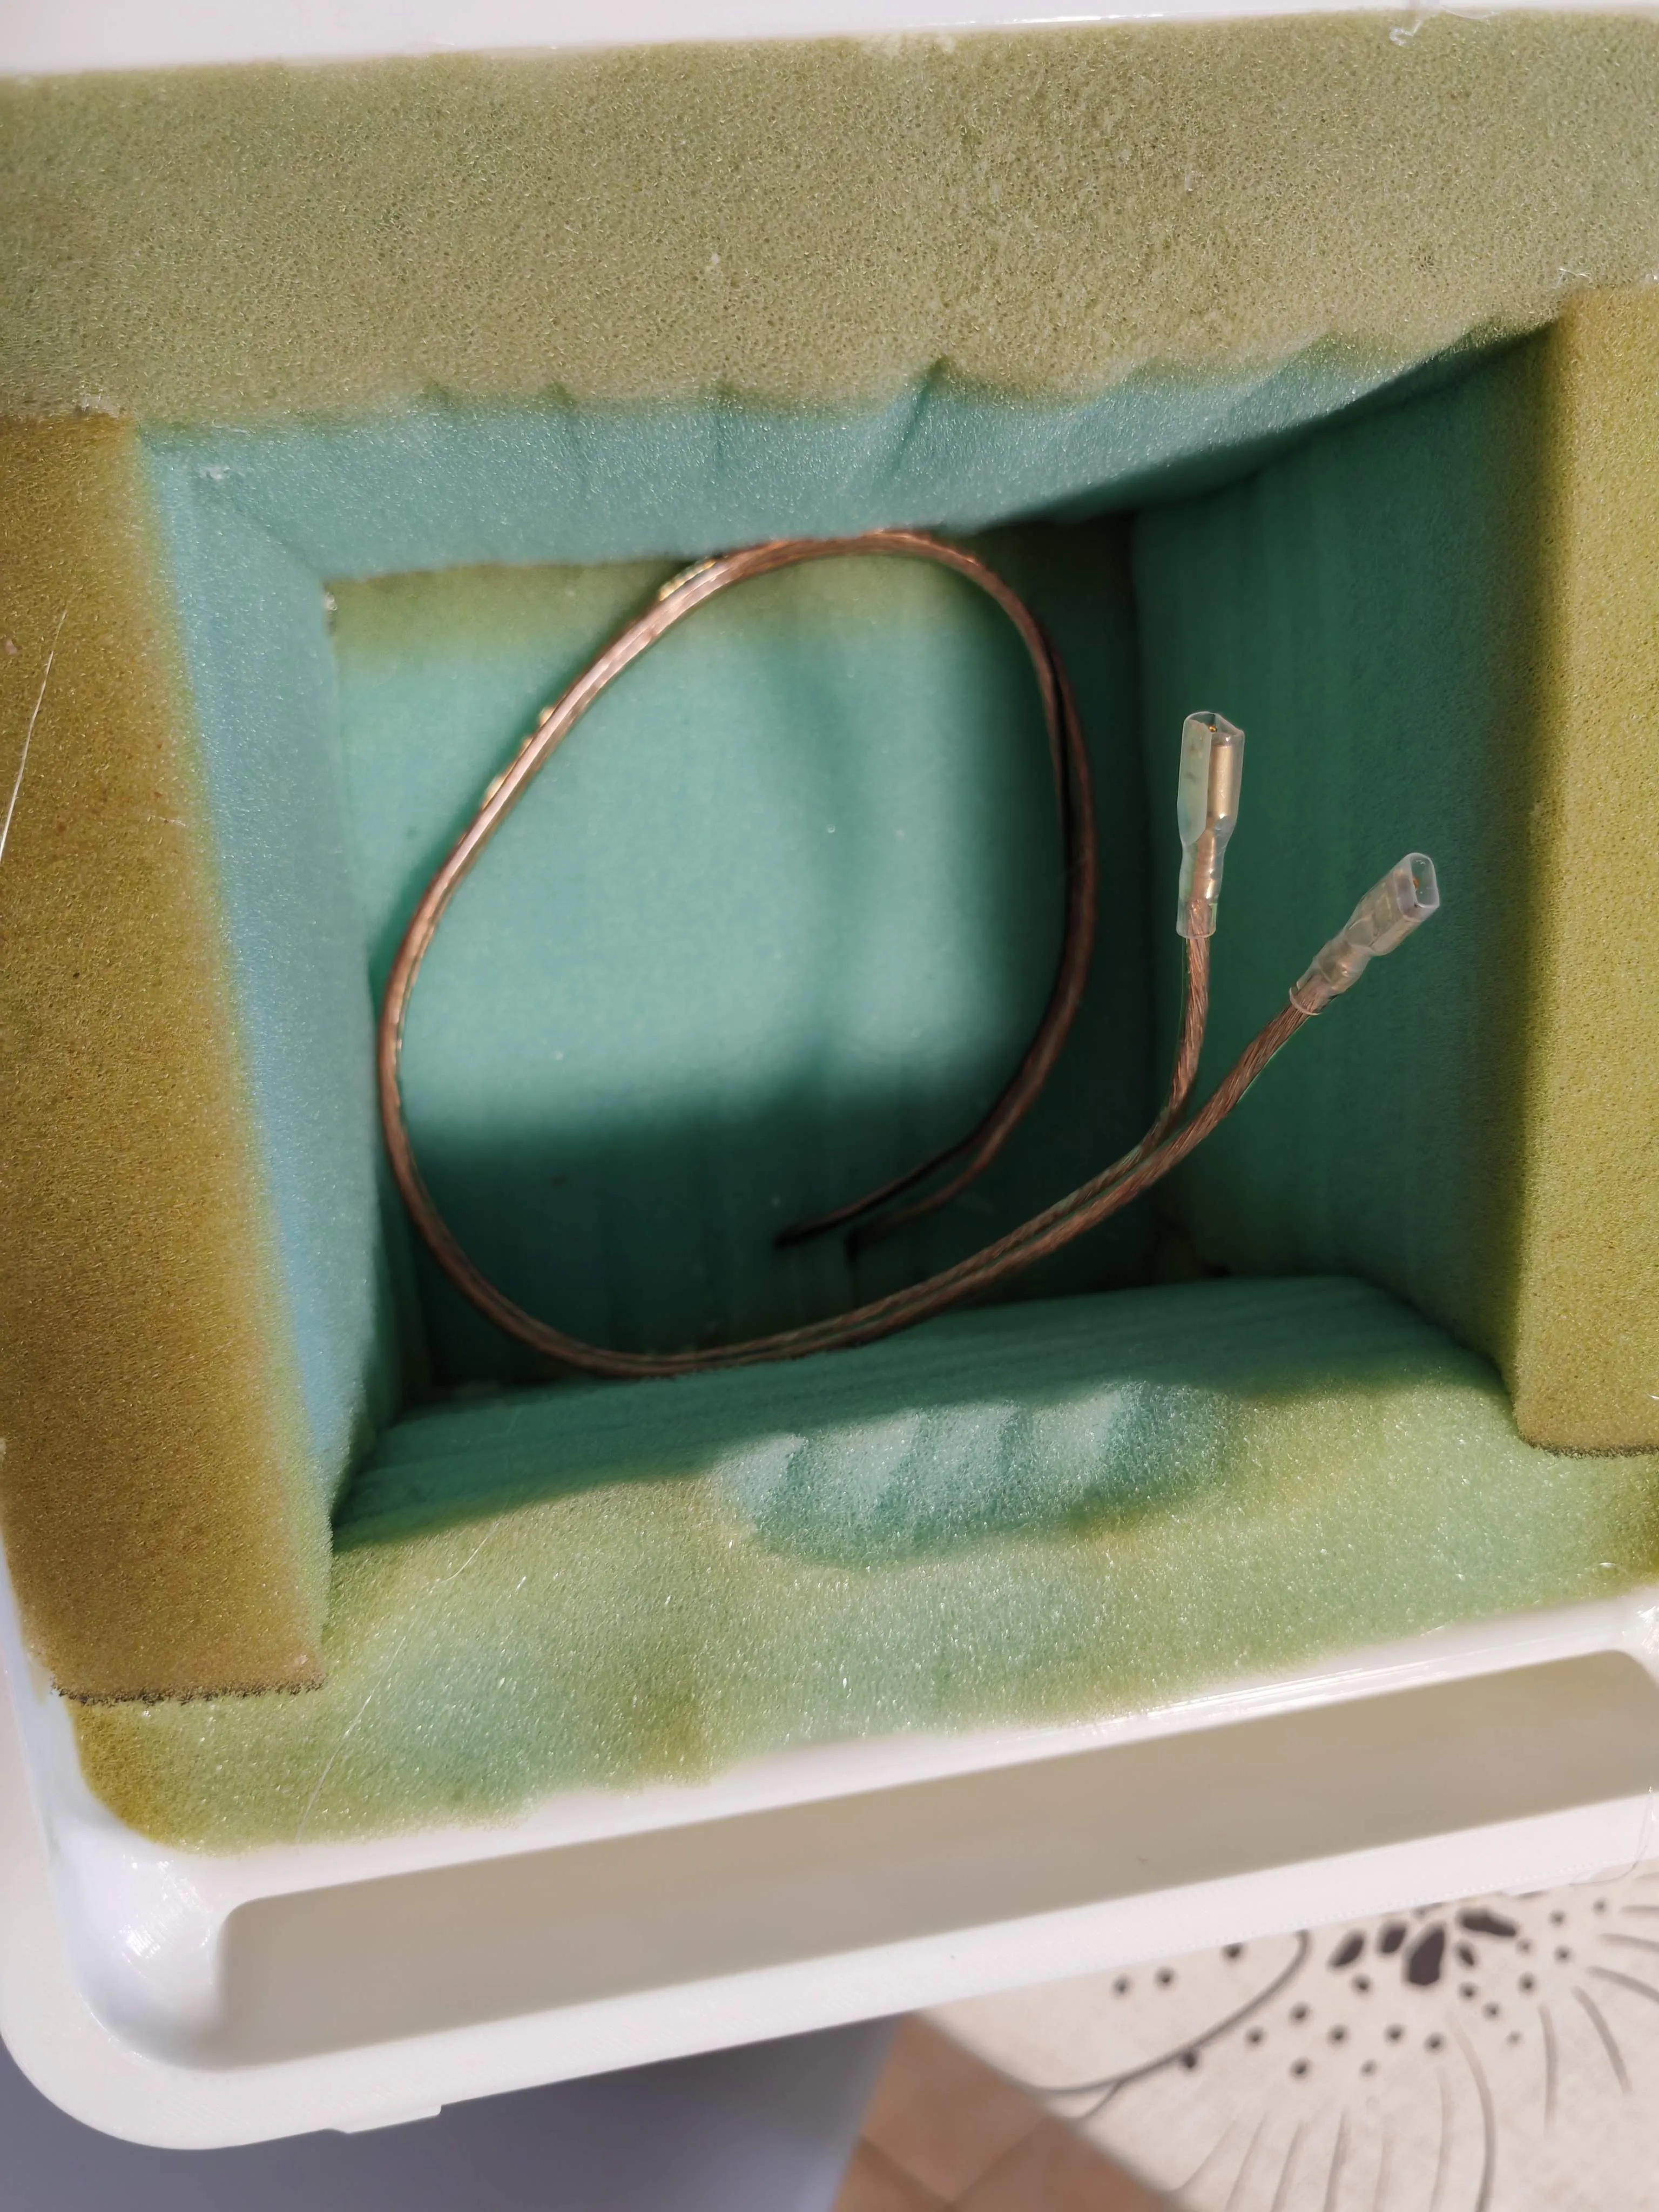
Wait for it to dry completely, then insert the insulation to eliminate any leakage from the box and avoid dry sound distortions produced by the plastic, obviously being careful not to block the reflex port's vent:
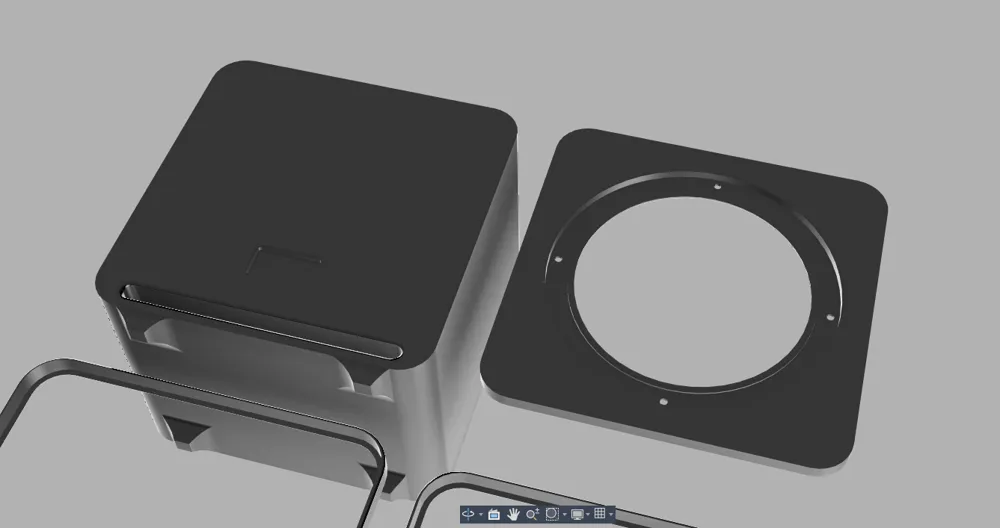
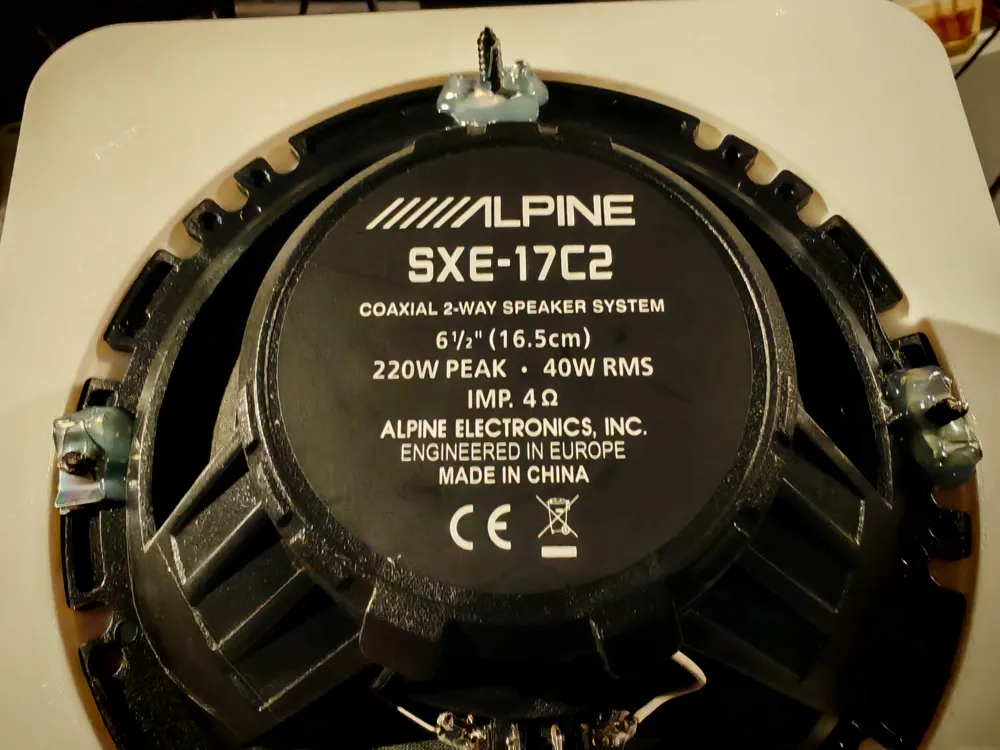
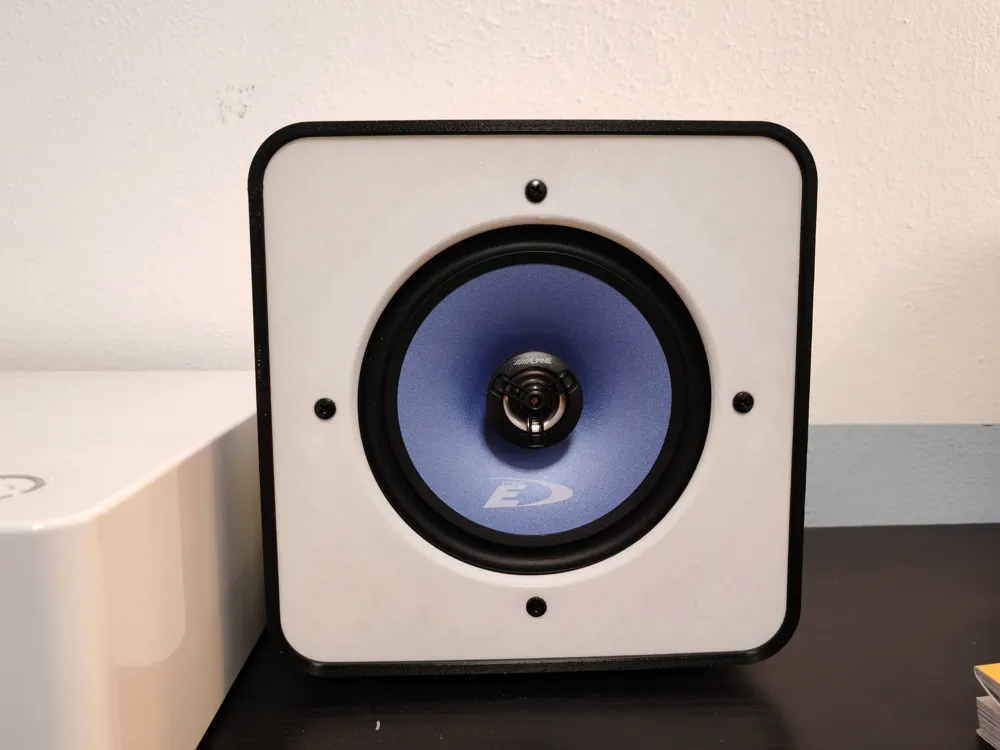
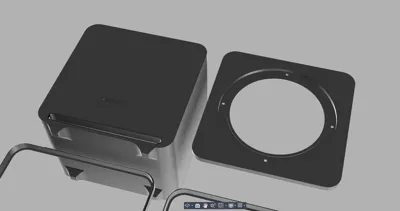
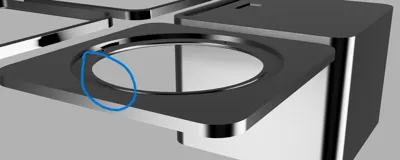
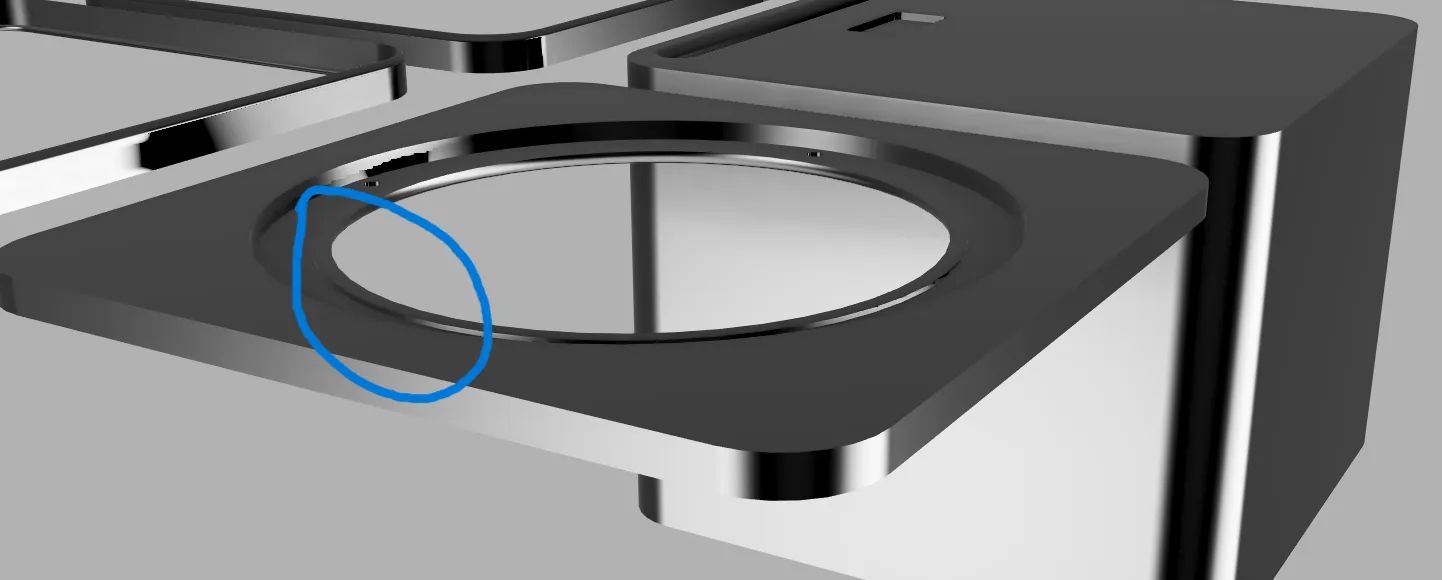
Next, secure the speaker to the "cover." You can use the provided screws. I created a specific housing for these speakers, so no sealant is needed, as the membrane seals perfectly to the cover without any air leakage:
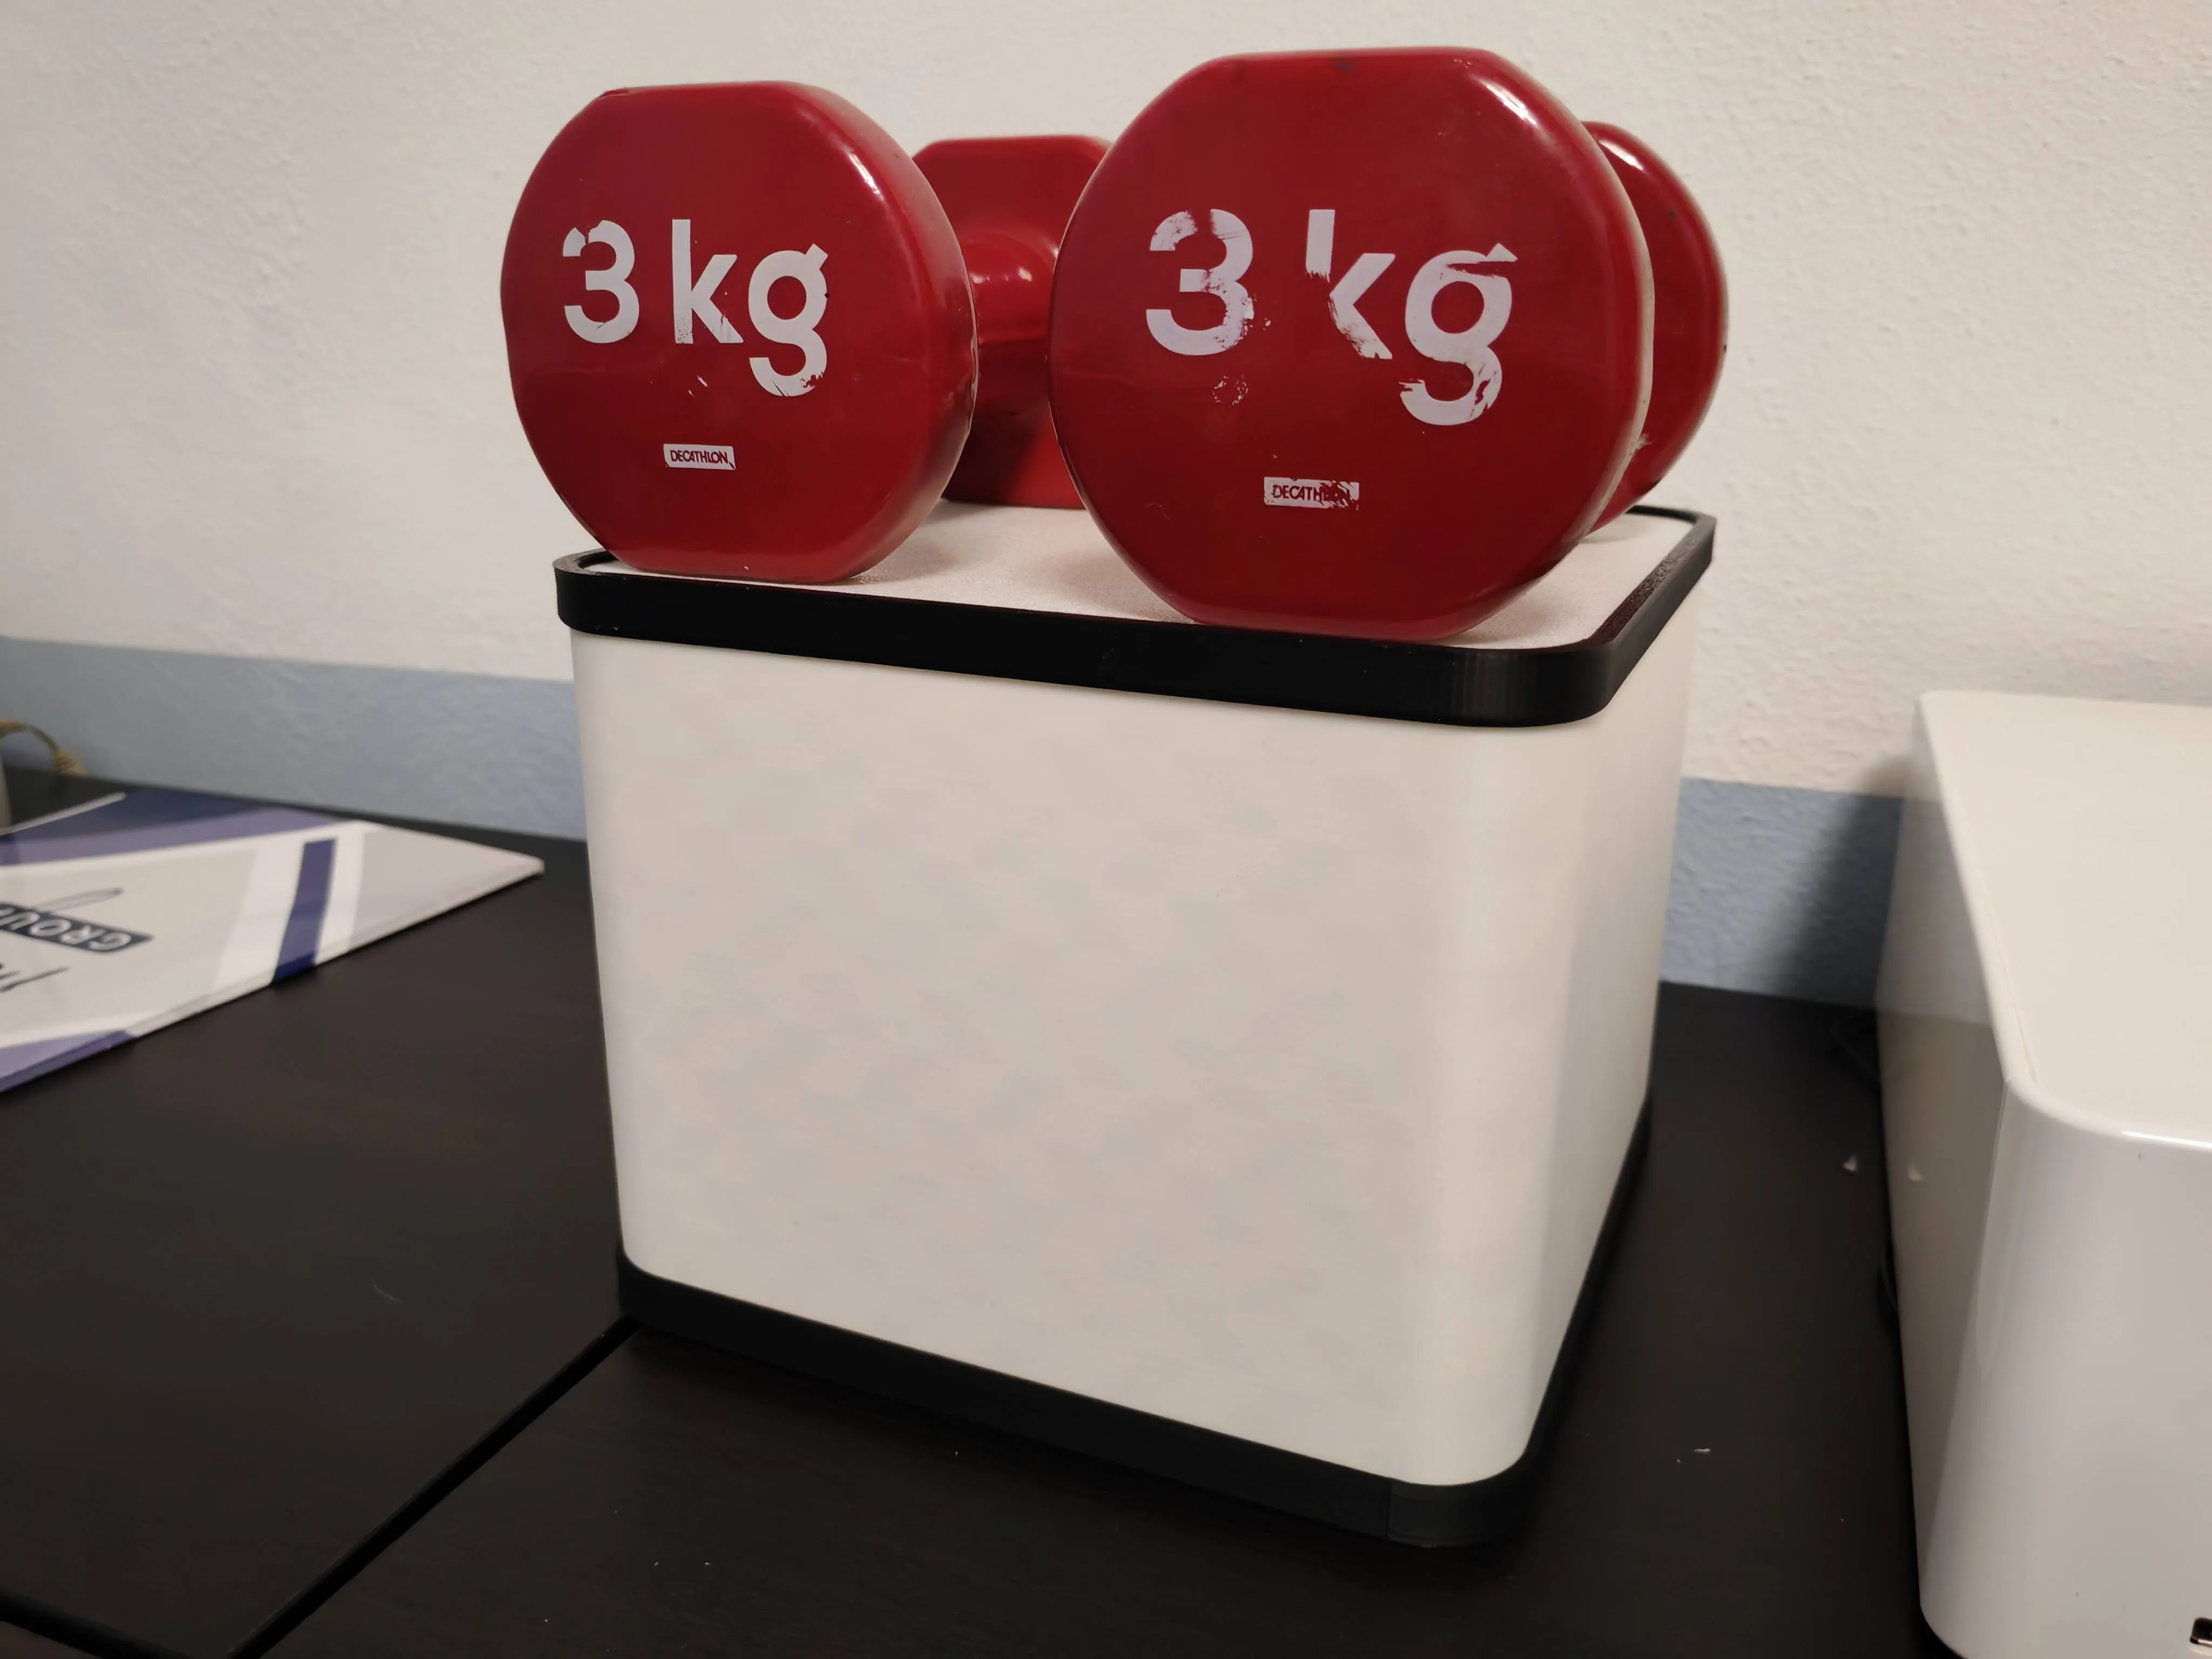
Once everything is secured and the wires are connected from the connector to the speaker, you can seal the entire assembly. The best way, without using any screws or other fasteners, is to use wood glue, which is an incredible sealant! Apply the glue to the upper surface of the enclosure and place the cover with the speaker on top. Put some good weights on top to keep everything compressed, being careful to clean up any excess glue runoff to avoid aesthetic defects. I also recommend printing the front frame immediately and placing it before gluing, so it seals together!
Wait at least 8 to 10 hours before removing the weights, to allow everything to dry properly!!
Once everything is dry, also glue the rear frame, and if needed, place anti-slip / anti-vibration material under the enclosure's feet for perfection and no vibrations!!
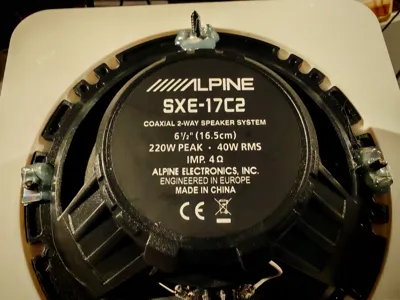
Of course, it is also possible to use other speakers, as long as they are of the same size!!
HAPPY LISTENING EVERYONE, and if you need any information or help, feel free to write to me!!! Thank you!!!
License

You shall not share, sub-license, sell, rent, host, transfer, or distribute in any way the digital or 3D printed versions of this object, nor any other derivative work of this object in its digital or physical format (including - but not limited to - remixes of this object, and hosting on other digital platforms). The objects may not be used without permission in any way whatsoever in which you charge money, or collect fees.


Comment & Rating (0)