
Custom 3D Letter Lamps – Print Your Own Glow
Print Profile(4)


Bill of Materials





Description
Boost Me (for free)
If you like my model, I’d be really happy about a like, a photo of your print, or a boost. 🚀📸✨ Your pictures and support help me a lot and motivate me to keep creating and sharing new designs. Thank you for your support, and happy printing! 🧡🖨️
Take a look at my other models too — maybe there’s another little favorite waiting for you. 🧡✨
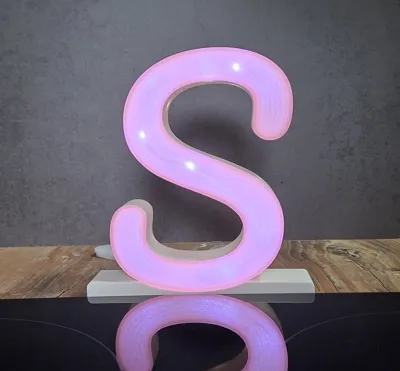
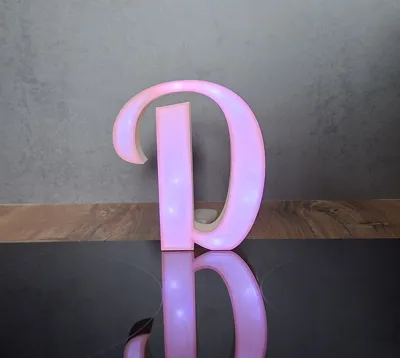
3D Letter Lamp with Integrated Stand and Front Cover
Welcome.
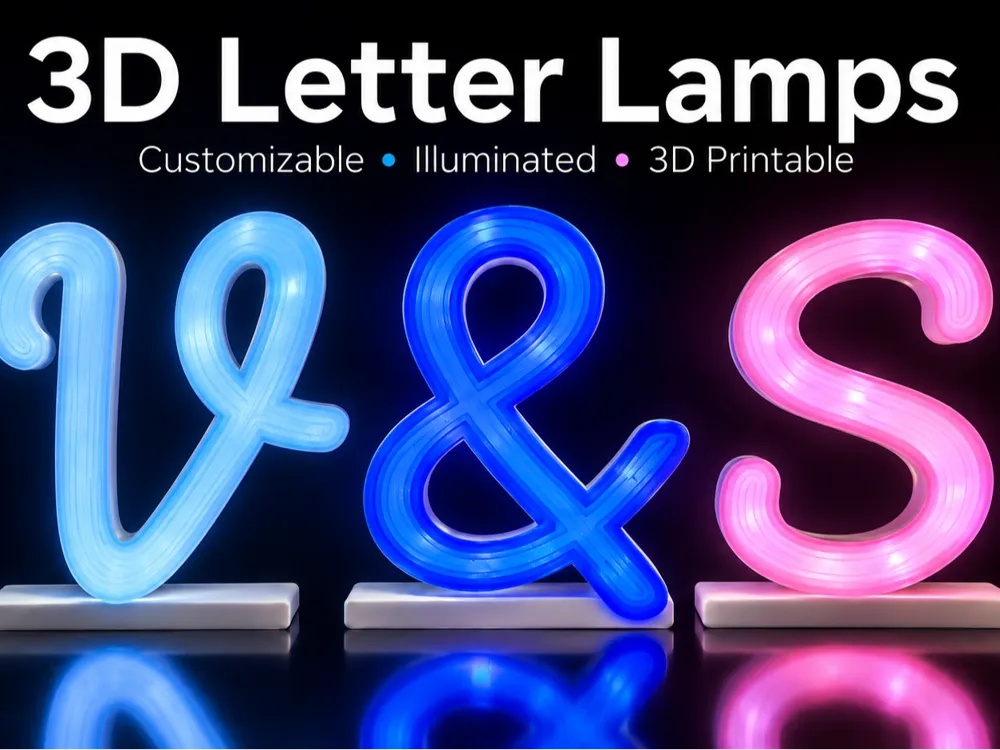
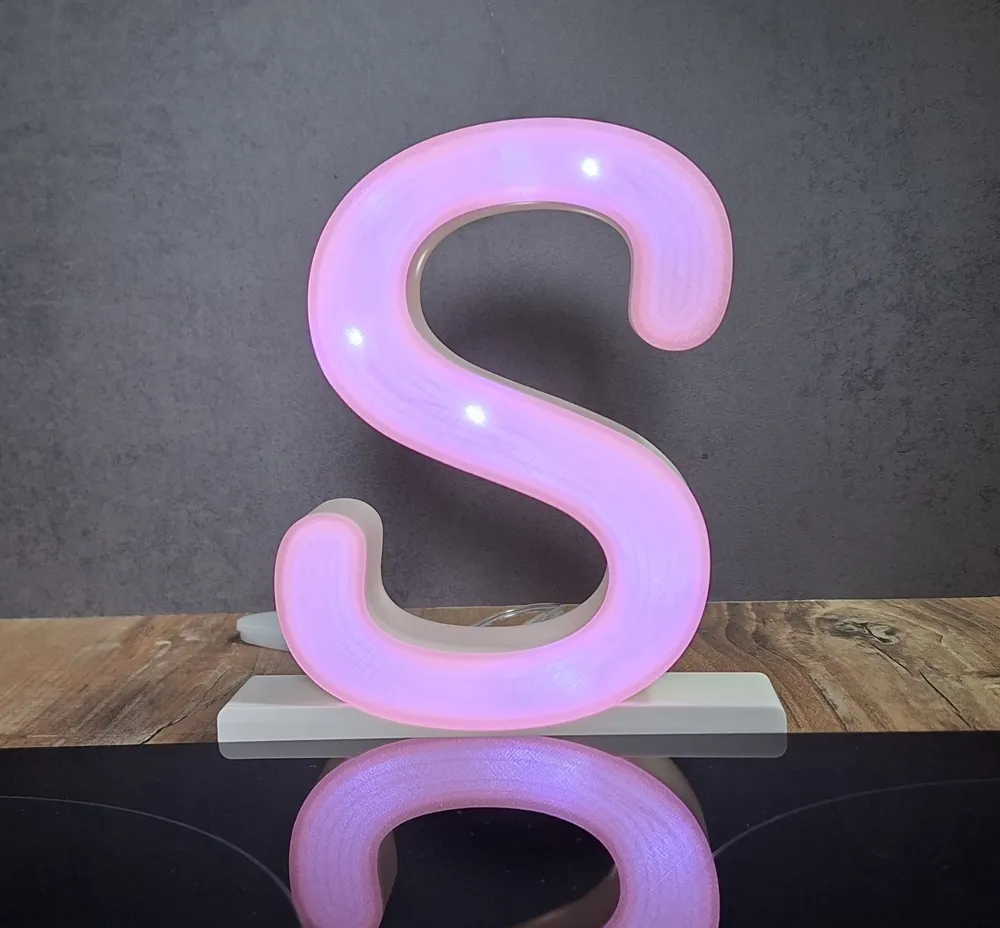
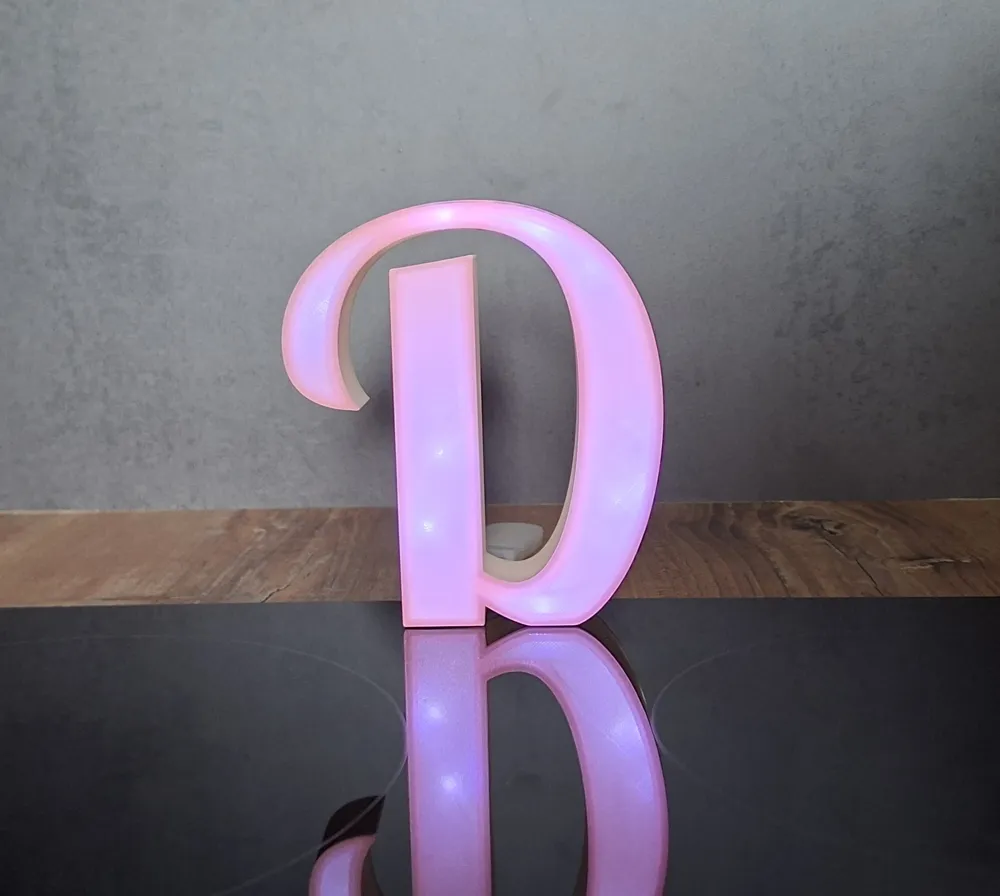
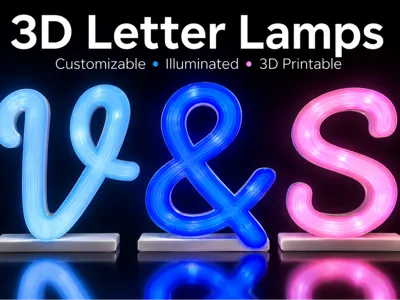
With this generator, you can create custom 3D letter lamps. A selected letter or symbol is automatically turned into a printable model. The model consists of a housing and a matching front cover. Optionally, an integrated stand and an LED hole can be enabled.
The generator is prepared for 3D printing and can be adjusted directly in MakerWorld or a compatible customizer. No programming knowledge is required. Simply adjust the values, check the preview, and export the print files.
1. Select a Letter or Symbol
Letter
Here you choose which letter or symbol should be created.
Available characters:
- A–Z
- @
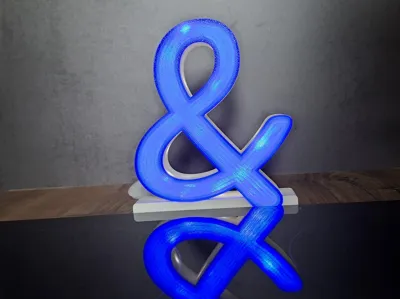
- &
- §
Examples:
- A creates a lamp in the shape of the letter A
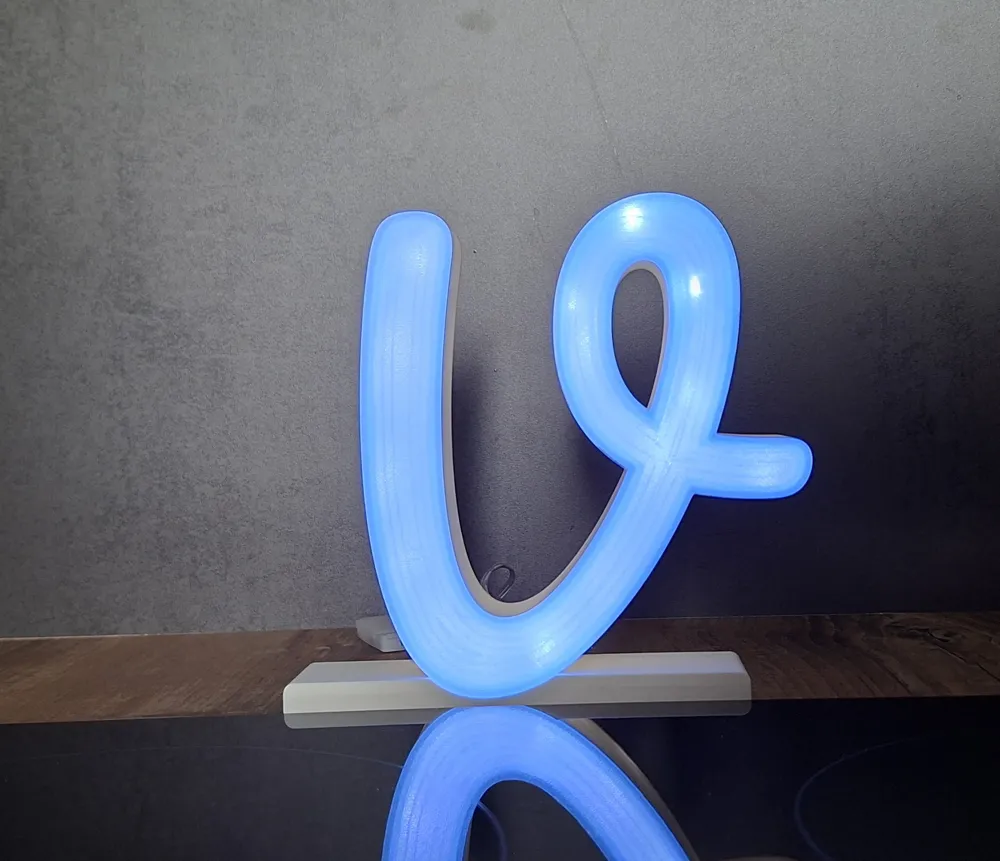
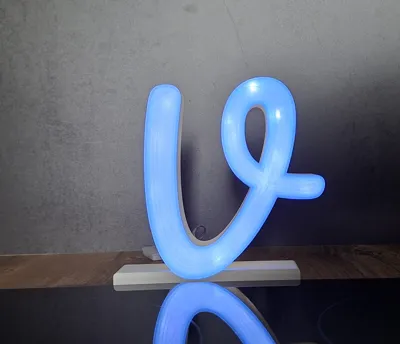
- V creates a lamp in the shape of the letter V
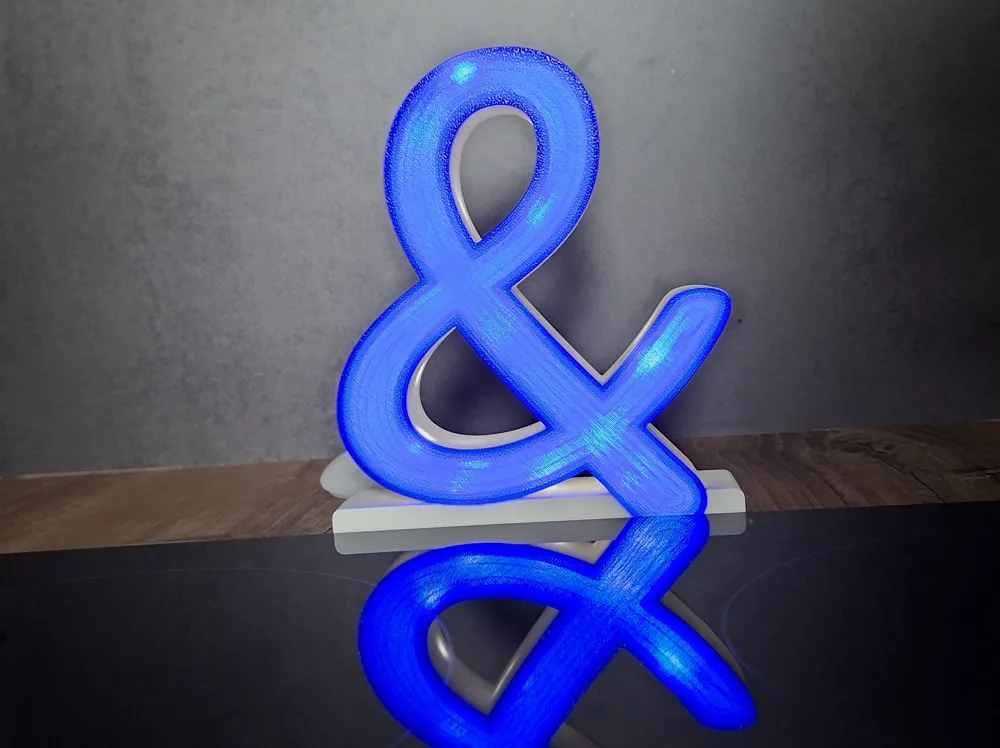
- @ creates a lamp in the shape of the @ symbol
The final shape depends strongly on the selected character and font.
2. Font Settings
Font Source
Here you choose which font source should be used.
Available options:
Own Fonts
Uses the fonts built into the generator.
MakerWorld Fonts
Allows the use of additional MakerWorld fonts.
Font
Choose the desired font.
Examples:
- Roboto
- Pacifico
- Montserrat
- Oswald
- Anton
- Poppins
- Raleway
- Playfair Display
- Bebas Neue
- Nunito
The shape of the letter changes significantly depending on the selected font. Wide and stable fonts are usually better suited for 3D printing. Very thin or highly decorative fonts should always be checked carefully in the preview.
Font Size
The font size determines the overall size of the letter.
Recommendations:
| Size | Recommended Value |
|---|---|
| Small | 80–100 |
| Medium | 100–150 |
| Large | 150–250 |
With very small font sizes, thin areas may occur. In that case, reduce the wall thickness or choose a more stable font.
3. Housing Settings
The housing is the main body of the letter lamp. It is generated as a hollow letter so there is space inside for lighting.
Housing Depth
The housing depth determines how deep the letter extends backward.
More depth means:
- more internal space
- more stability
- more material usage
- longer print time
Less depth means:
- lighter model
- shorter print time
- less space for lighting
Recommendation:
25–35 mm
Wall Thickness
The wall thickness determines the strength of the outer wall of the letter.
Recommendation:
2–3 mm
A higher wall thickness makes the model stronger, but it may cause issues with thin or narrow font shapes. If parts of the letter become too narrow, reduce the wall thickness or increase the font size.
Back Wall Thickness
The back wall thickness determines the thickness of the rear surface of the housing.
Recommendation:
2 mm
The back wall provides stability and closes the housing at the rear. If enabled, the LED hole is cut through this back wall.
4. Front Cover Settings
The front cover is printed separately and inserted into the housing later. It consists of a visible front surface and an insert lip that fits into the housing.
Cover Thickness
The cover thickness determines the thickness of the visible front surface.
Recommendation:
2 mm
A thicker cover is more stable but lets less light pass through when using translucent material. A thinner cover may appear brighter but is more delicate.
Cover Lip Depth
The cover lip depth determines how far the insert lip extends into the housing.
More depth means:
- better hold
- more stable fit
- possibly harder insertion
Less depth means:
- easier insertion
- less guidance inside the housing
Cover Lip Width
The cover lip width determines how wide the inner insert lip of the cover is.
A wider lip provides better hold. For very thin letter shapes, this value should not be set too high.
Cover Tolerance
The cover tolerance is one of the most important settings.
It determines how much clearance there is between the cover and the housing.
If the cover is too tight:
Increase the cover tolerance
If the cover is too loose:
Decrease the cover tolerance
Reference values:
| Value | Effect |
|---|---|
| 0.15 | Standard |
| 0.25 | Looser fit |
| 0.35 | Very loose fit |
The correct tolerance depends on your printer, material, slicer profile, and print accuracy. For a first test, 0.15 is a good starting value.
5. LED Hole Settings
The LED hole is optional and should only be enabled if lighting will be installed.
LED Hole
Here you can turn the LED hole on or off.
| Setting | Meaning |
|---|---|
| Off | No LED hole |
| On | LED hole is cut into the back wall |
LED Hole Diameter
This value determines the diameter of the hole.
Examples:
| Use | Possible Value |
|---|---|
| Thin cable | 4–5 mm |
| Standard opening | 6 mm |
| Larger connector | 8–10 mm |
LED Left / Right
This value moves the LED hole horizontally.
- negative value: moves left
- positive value: moves right
- 0: centered
LED Down / Up
This value moves the LED hole vertically.
- negative value: moves down
- positive value: moves up
Important: Always check the position of the LED hole in the preview. Depending on the letter, the hole may otherwise be outside the body or in an unsuitable area.
6. Integrated Stand
The stand can be enabled optionally. When enabled, it is directly connected to the housing and printed together with it.
Stand
| Setting | Meaning |
|---|---|
| Off | No stand |
| On | Stand is generated |
When the stand is enabled, the letter can stand more securely on a flat surface.
Size
There are two size modes for the stand.
Auto
The generator automatically calculates the width of the stand based on the font size and additional margin values.
This setting is recommended for most cases.
Manual
You can define the width and height of the stand yourself.
This is useful if the automatic stand does not fit visually or functionally.
Stand Height
The stand height determines how tall the stand will be.
More height means:
- more stability
- stronger connection to the letter
- more visible stand
Less height means:
- more subtle stand
- smaller model
- possibly less stability
Manual Stand Width
This value is only relevant when the size mode is set to Manual.
A wider stand improves stability but requires more space and material.
Manual Stand Height
This value is also only relevant in manual mode.
It determines the height of the manually defined stand.
Extra Left / Right Margin
These values are used in automatic mode.
They add extra width to the left or right side of the stand.
This is useful if a letter appears visually off-center or if its center of gravity is not well balanced.
Stand Left / Right
This value moves the entire stand horizontally.
Use this setting if the letter appears visually tilted or if the center of gravity is not positioned well above the stand.
Body Height Offset
The body height offset moves the letter relative to the stand.
If the letter sits too low:
Increase the value
If the connection to the stand is too small:
Decrease the value
This setting is important to ensure that the letter and stand are properly connected.
Corner Radius
The corner radius determines the rounding of the stand corners.
A higher value creates more rounded corners. A lower value creates sharper, more rectangular edges.
7. Cut Edge
The cut edge trims the lower area of the letter in a straight line.
Normally, this function should remain disabled.
Important Note
The cut edge should not be used together with the stand.
The generator is designed so that either the stand or the cut edge can be active. Both are not intended to be used at the same time, because this could create conflicting geometry.
Use of the cut edge:
- useful if the letter should have a flat lower edge
- not recommended when using the integrated stand
8. Quality
The quality setting determines the resolution of curves and circles in the model.
Recommendation:
96
Lower values:
- faster calculation
- rougher curves
Higher values:
- smoother curves
- longer calculation time
For normal prints, 96 is a good balance between quality and speed.
9. Check the Preview
Always check the preview before exporting.
Pay special attention to:
- Is the letter complete?
- Are thin areas stable enough?
- Is the LED hole in the correct position?
- Does the stand fit the letter visually?
- Is the cover aligned correctly?
- Are there very narrow or problematic areas in the font shape?
For highly decorative fonts or very small sizes, it may be useful to increase the font size or choose a more stable font.
10. Printing
The generator currently creates two relevant print parts.
Plate 1
Plate 1 contains:
- the housing
- the integrated stand, if enabled
This plate must always be printed.
Plate 2
Plate 2 contains:
- the front cover
This plate must also always be printed.
Plate 3
Plate 3 is currently not used.
11. Recommended Starting Values
For a first test print, the following values are recommended:
| Setting | Recommendation |
|---|---|
| Font size | 120 |
| Housing depth | 28 mm |
| Wall thickness | 2 mm |
| Back wall thickness | 2 mm |
| Cover thickness | 2 mm |
| Cover tolerance | 0.15 |
| LED hole | As needed |
| LED hole diameter | 6 mm |
| Stand | As needed |
| Quality | 96 |
These values are a good starting point. Depending on your printer, filament, and selected font, small adjustments may be necessary.
12. Troubleshooting
The cover does not fit in
Increase the cover tolerance.
Example:
0.15 → 0.25
The cover is too loose
Decrease the cover tolerance.
Example:
0.25 → 0.15
The letter seems unstable
Possible solutions:
- increase the font size
- increase the wall thickness
- choose a more stable font
- enable the stand
The stand tips over or looks too small
Possible solutions:
- increase the stand height
- increase the stand width
- increase the extra left/right margin
- move the stand left/right
The LED hole is in the wrong position
Adjust the position using:
- LED Left/Right
- LED Down/Up
Then check the preview again.
The font creates faulty or very thin areas
Possible solutions:
- choose a different font
- increase the font size
- reduce the wall thickness
- avoid highly decorative fonts
13. Material Notes
Standard 3D printing materials such as PLA or PETG are suitable for the housing.
For the front cover, translucent or milky filament can be used if light should shine through.
Recommendation:
- Housing: PLA or PETG
- Cover: white, milky, or translucent PLA/PETG
The actual lighting effect depends on the filament, cover thickness, and installed LED lighting.
14. Summary
This generator creates a custom 3D letter lamp from a selected letter or symbol.
The model consists of:
- a hollow housing
- a back wall
- a separate front cover
- optional LED hole
- optional integrated stand
- optional cut edge
Currently, two print parts are used:
Plate 1: Housing, optionally with integrated stand
Plate 2: Front cover
Always check the preview before printing, especially when using new fonts, small sizes, LED hole positioning, or the integrated stand.
Boost Me (for free)
If you like my model, I’d be really happy about a like, a photo of your print, or a boost. 🚀📸✨ Your pictures and support help me a lot and motivate me to keep creating and sharing new designs. Thank you for your support, and happy printing! 🧡🖨️
License

You shall not share, sub-license, sell, rent, host, transfer, or distribute in any way the digital or 3D printed versions of this object, nor any other derivative work of this object in its digital or physical format (including - but not limited to - remixes of this object, and hosting on other digital platforms). The objects may not be used without permission in any way whatsoever in which you charge money, or collect fees.


Comment & Rating (0)