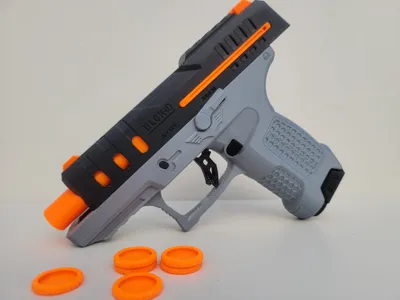
BLCK-9 Disc Launcher


Print Profile(2)

Bill of Materials


Description
Boost Me (for free)
IF YOU LIKE THE DESIGN, HELP ME WITH A BOOST IT HELPS ME STAY MOTIVATED CREATING DESIGNS. I PLAN TO UPLOAD DIFFERENT AND NEW DESIGNS IN THE FUTURE
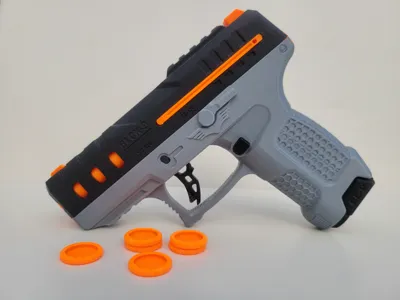
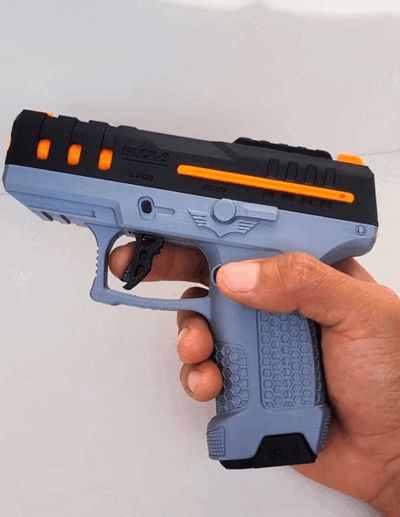
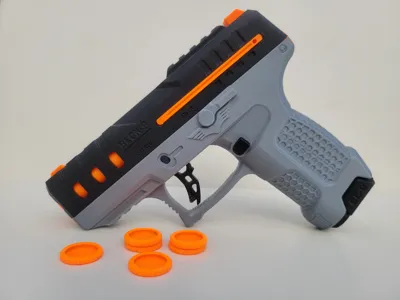
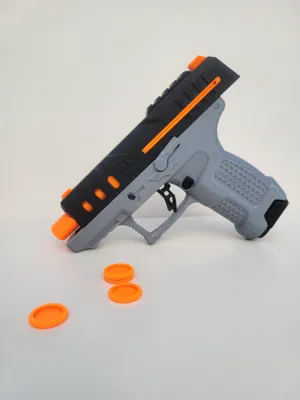
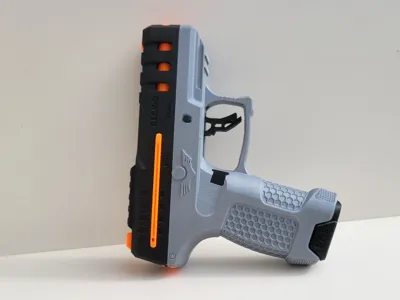
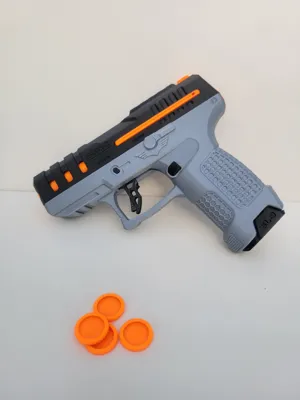
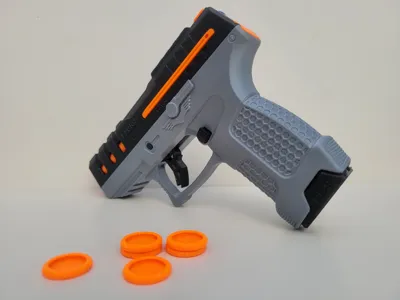
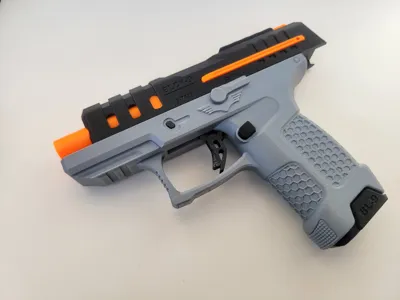
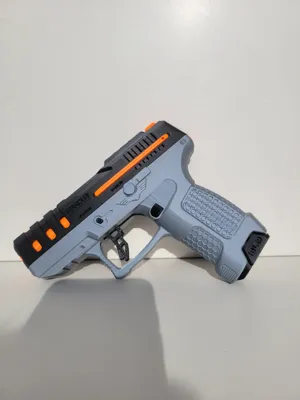
Introducing the new BLCK-9
After hours of design and testing, it's finally ready! The BLCK-9 is the new disc launcher I'm bringing to the community. A completely revamped model, with a much more robust, aggressive aesthetic
This design comes with significant aesthetic and functional improvements compared to its predecessor, the AXIS-9
- More power and stability: Optimized firing mechanism for a more powerful, stable, and precise shot
- Tighter tolerances: Adjustments in each part for a clean assembly
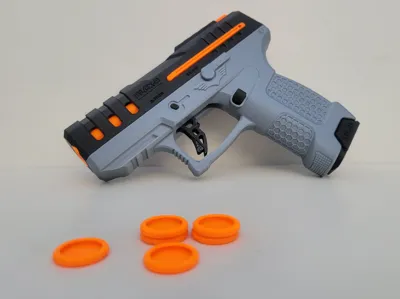
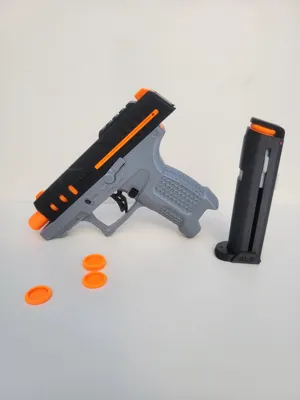
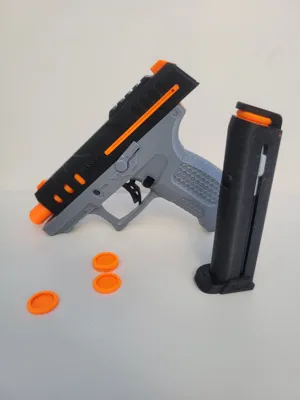
- Native multicolor design: Strategically designed by parts so you can print it in different colors without the need for multicolor systems (like the AMS)
- Functional tactical rails: I have added a rail on the top and bottom inspired by the Picatinny style. Although they are modified for 3D Printed (they do not have the exact measurements of the original), they are fully functional for adding sights or aesthetic accessories and giving it an even more realistic look
Ultimately, it's a design created to be enjoyed both during the assembly process and when playing. I hope you have a lot of fun with it!
Printing and Supply Guide
Recommended Parameters and Materials:
- General Material: It is recommended to use PETG for most parts to ensure maximum mechanical resistance
- Pushing clamp: Attention here! For the clamp that generates the disk's thrust, it is recommended to use PLA with 4 or 5 walls. This gives it greater rigidity, which directly translates into more firing power
- Layer heights
- 0.16 mm: For most small parts, ensuring maximum detail and a more precise fit
- 0.20 mm: For the grip and main body. This profile worked perfectly for me, but feel free to adjust it to what works best for your machine
Key tip: Print with great patience and make sure to clean the print bed very well before starting to prevent small parts from detaching
Additional Required Material (Supplies):
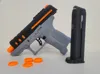
- 2 elastic bands: One 16 mm and one 40 mm
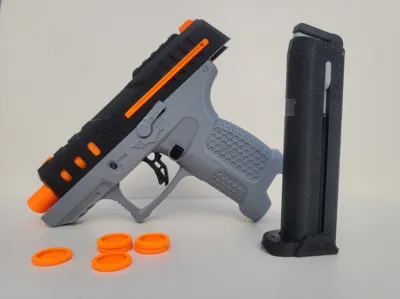
- 1 pen spring: Necessary for the proper functioning of the magazine lock
Do not forget to remove the integrated support in the magazine if it is not perceptible to the naked eye

Share your creation! If you print it, upload your photo. I want to see what color combinations you use!
License
You shall not share, sub-license, sell, rent, host, transfer, or distribute in any way the digital or 3D printed versions of this object, nor any other derivative work of this object in its digital or physical format (including - but not limited to - remixes of this object, and hosting on other digital platforms). The objects may not be used without permission in any way whatsoever in which you charge money, or collect fees.
Comment & Rating (29)