
Smart Solar Vent Control (Matter / Home Assistant)
Print Profile(1)
Description
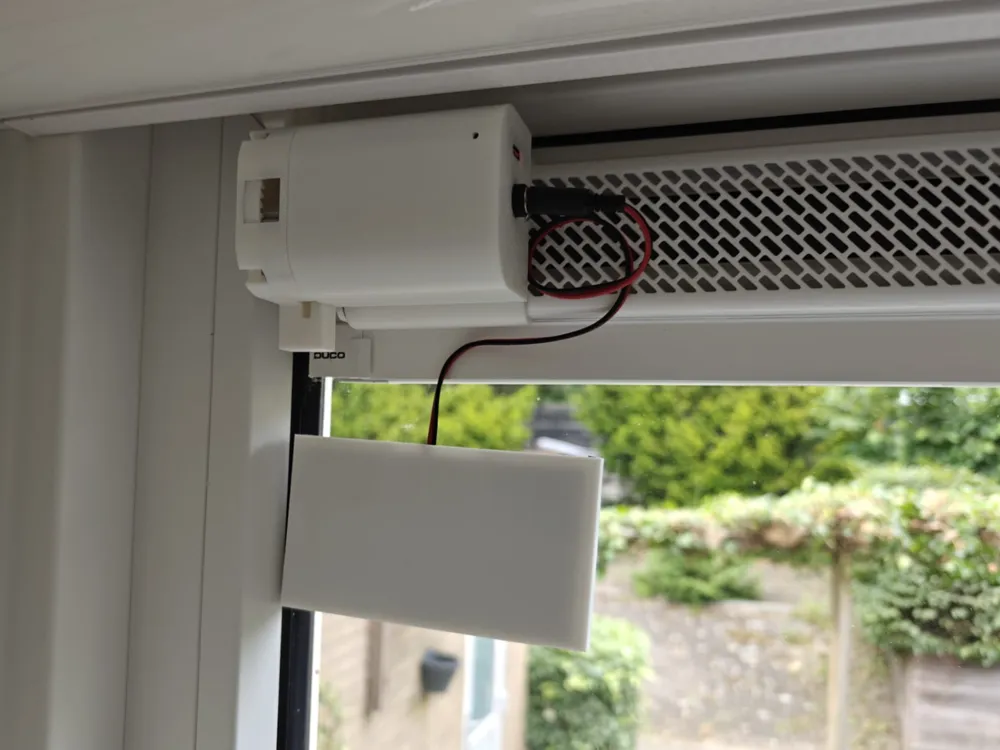
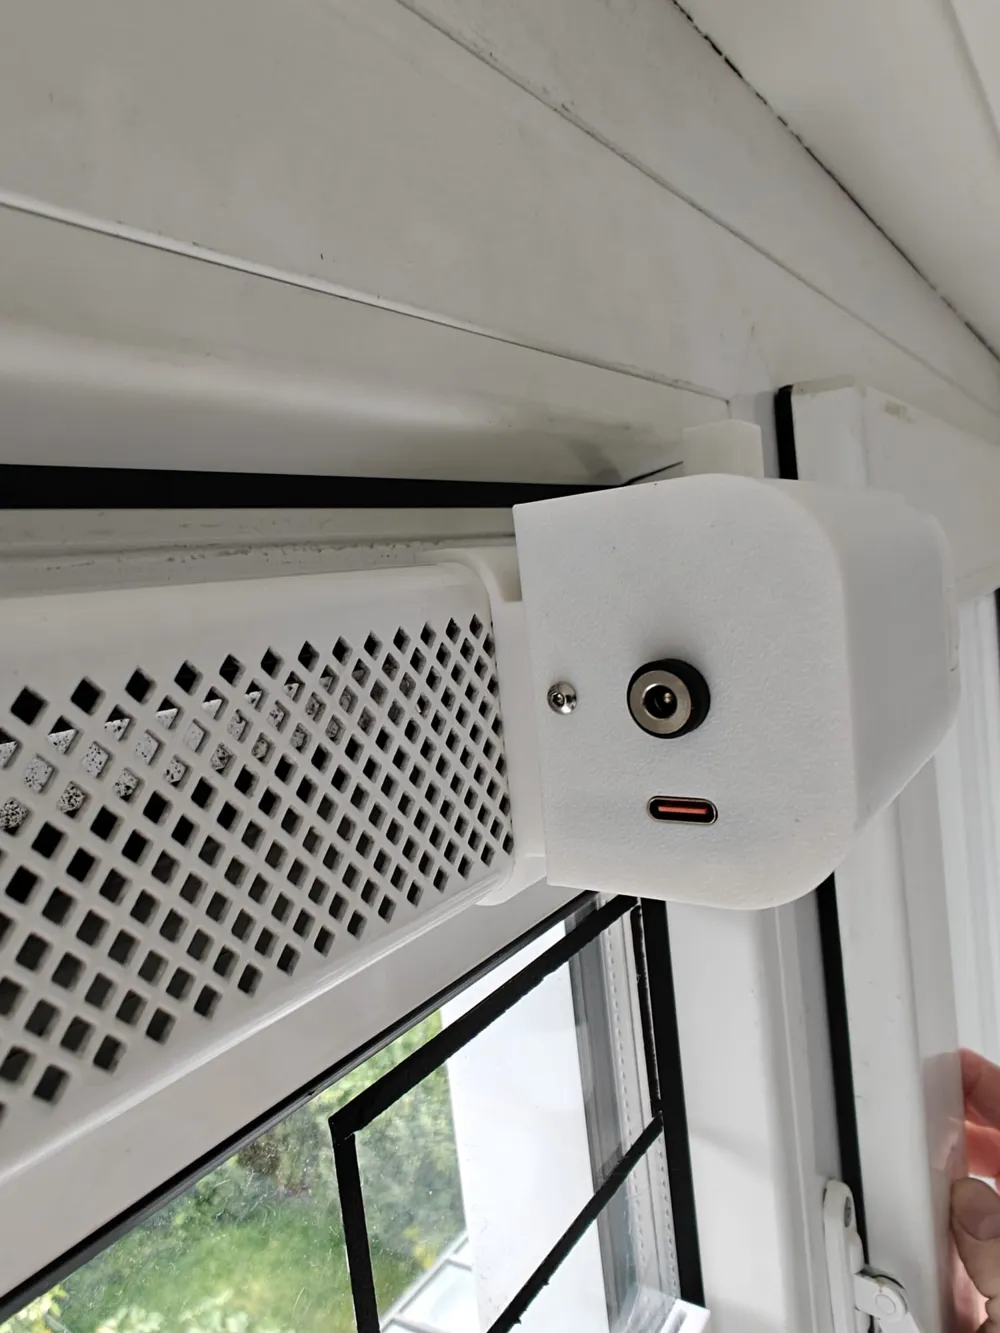
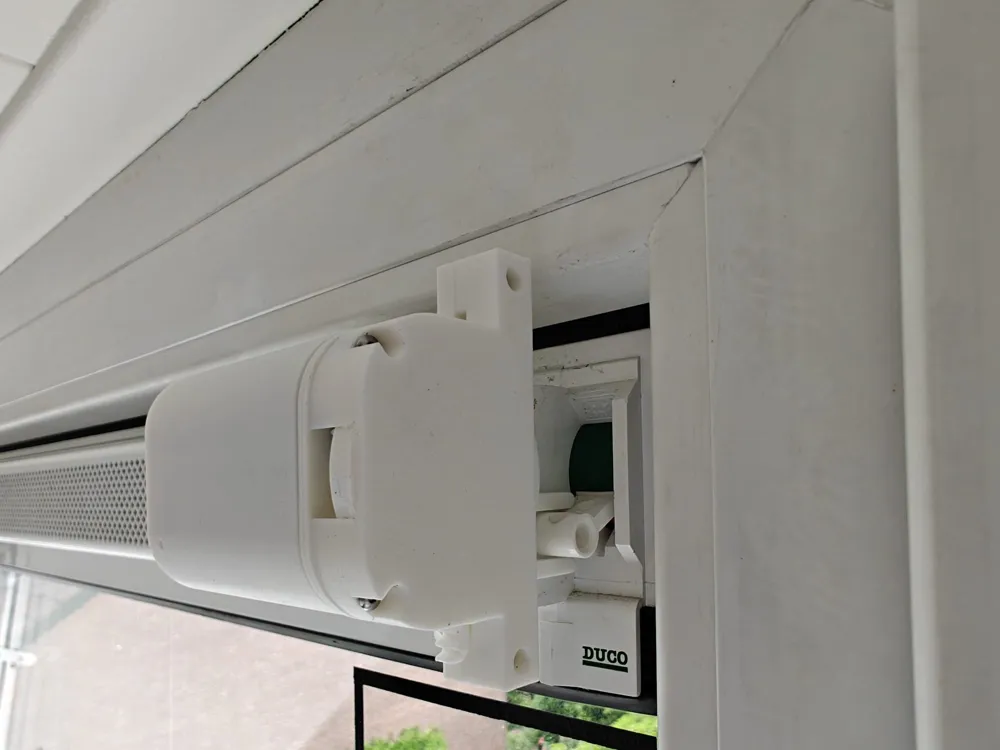
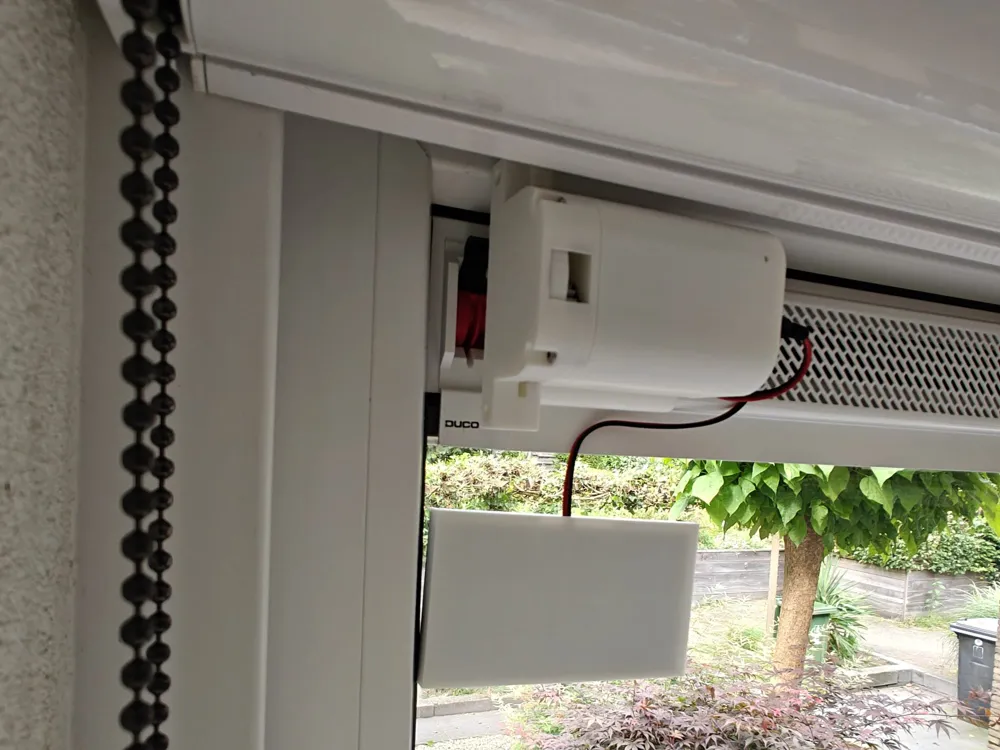
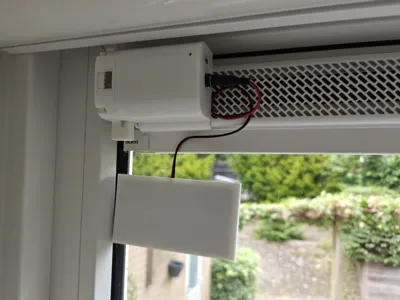
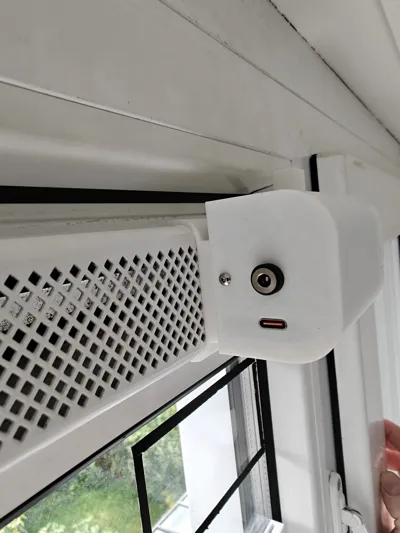
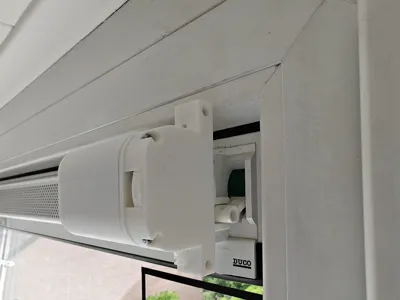
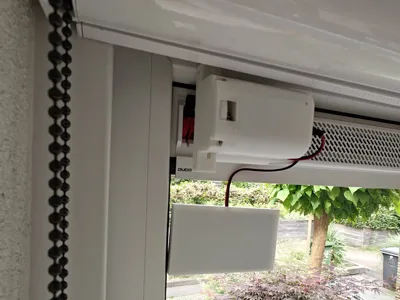
Convert your DUCO home ventilation grill or window register into a smart, energy-independent ventilation system! This 3D-printed project mounts a servo motor to your ventilation control and uses a super energy-efficient ESP32-C6 (FireBeetle 2) to operate automatically via Home Assistant (Matter/Thread or WiFi).
Thanks to advanced deep sleep optimization, this project can run entirely on a small LiPo battery topped up by a tiny solar panel!
✨ Features
- Smart Home Integration: Works natively with Home Assistant and Matter via ESPHome.
- Extreme Battery Life: The controller stays in ultra-low-power Deep Sleep, waking up every 20 minutes to sync and check for new commands. No massive battery needed!
- Zero Latency "Queuing": Uses a Home Assistant Helper (input_select). You can change the desired position at any time in your dashboard; the device picks it up instantly the moment it wakes up.
- Smart Memory: The servo only moves if the requested position has actually changed, saving tons of mechanical wear and battery power.
- Solar Ready: Designed around the DFRobot FireBeetle 2 form factor for easy solar charging integration.
🖨️ 3D Printing Settings
- Filament: PETG or ASA is highly recommended if the mount is placed in direct sunlight or near warm ventilation shafts. PLA can warp over time.
- Infill: 20% to 25% (Grid or Gyroid) for optimal structural strength around the servo mount.
- Walls/Perimeters: 3 to 4 walls to ensure the screw holes and tension joints are durable.
- Supports: Supports are enabled for some of the parts in the print profile.
- Extra plate: Some DUCO vents have different clip. On plate 2, there's the default DUCO clip to use with the vent.
🔌 Hardware & Electronics Component List
To build this project, you will need:
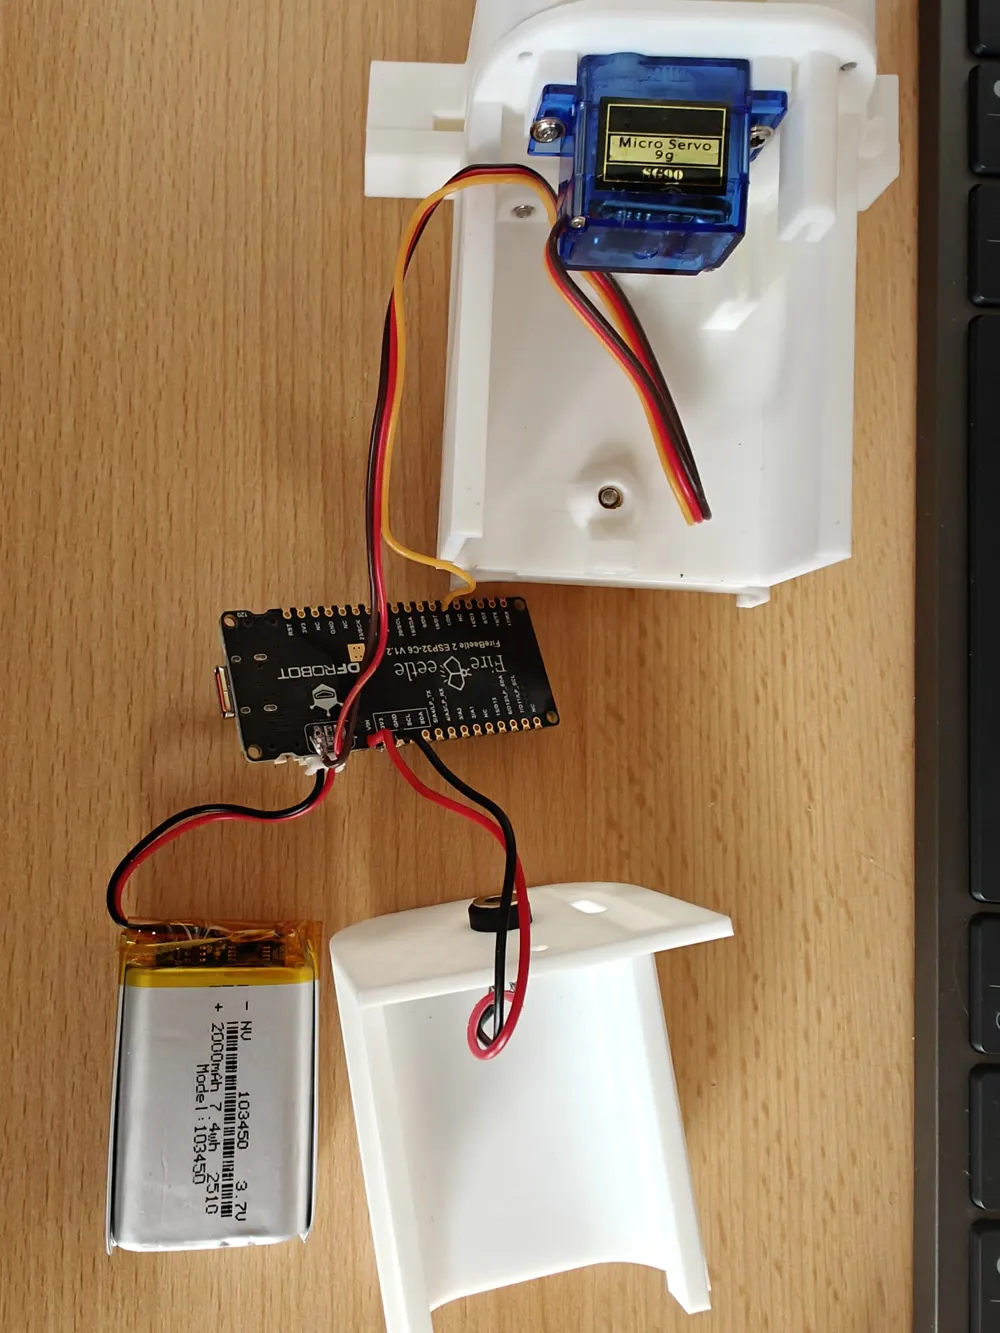
- Microcontroller: DFRobot FireBeetle 2 ESP32-C6 (Great for low-power and Matter support).
- Servo Motor: Standard 5V Servo (e.g., MG90S or similar, depending on your 3D design).
- Battery: 103450 3.7V 2000mAh LiPo battery with jst 2.0 connector.
- Solar Panel: Small 110x60mm 1W 5V solar panel. 6V panel can be used if you use the diode otherwise there's a chance you'll blowup your controller!
- Diode: Place a Schottky diode (like 1N5817 or 1N5819) between the Solar Panel Positive (+) and the FireBeetle VIN (battery) pin. This prevents the battery from draining back into the solar panel at night and protects the board against voltage spikes!
- Brass Hot Melt Insert Nuts: M3 4pcs
- Screws Hex machinescrew: M2.5x10 4pcs & M2.5x6 1pcs
- Screws Hex countersunk: M3x8 2pcs & M3x16 2pcs
- Grease: Just use a bit of you bambu printer grease to lubricate the gears
- Doublesided tape: 5mm doublesided tape to stick the solarpanel to the window.
🔌Connection diagram
| Component | Component Pin | FireBeetle 2 ESP32-C6 Pin | Notes |
|---|---|---|---|
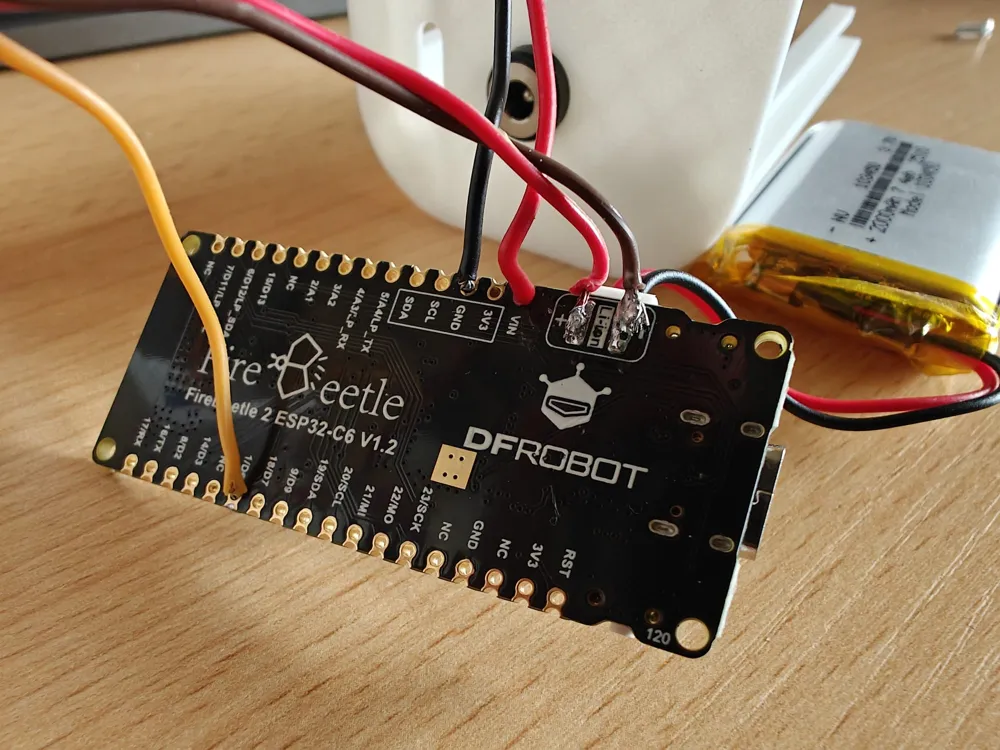
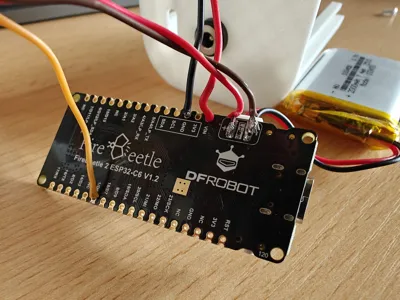
| Servo Motor | GND (Brown) | GND | Use the battery solder pad at the back of the board. |
| Servo Motor | VCC (Red) | VBUS (Battery + pin) | Use the battery solder pad at the back of the board. |
| Servo Motor | PWM Signal (Yellow) | GPIO1 (or your chosen PWM pin) | Controls the servo position |
| Solar Panel | Negative (-) | GND | Ground share |
| Solar Panel | Positive (+) | Anode (+) of Diode → VIN | Connect via Diode! NOTE: Diode not yet applied in pictures! |
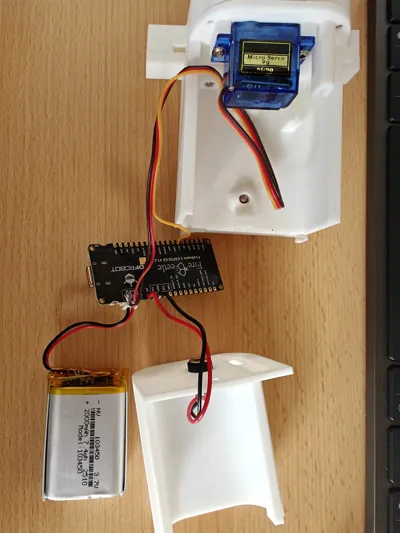
| LiPo Battery | JST-PH Connector | Battery Port | Dedicated onboard PH2.0 plug IMPORTANT! Check if polarity of jst matches the firebeetle connector! |
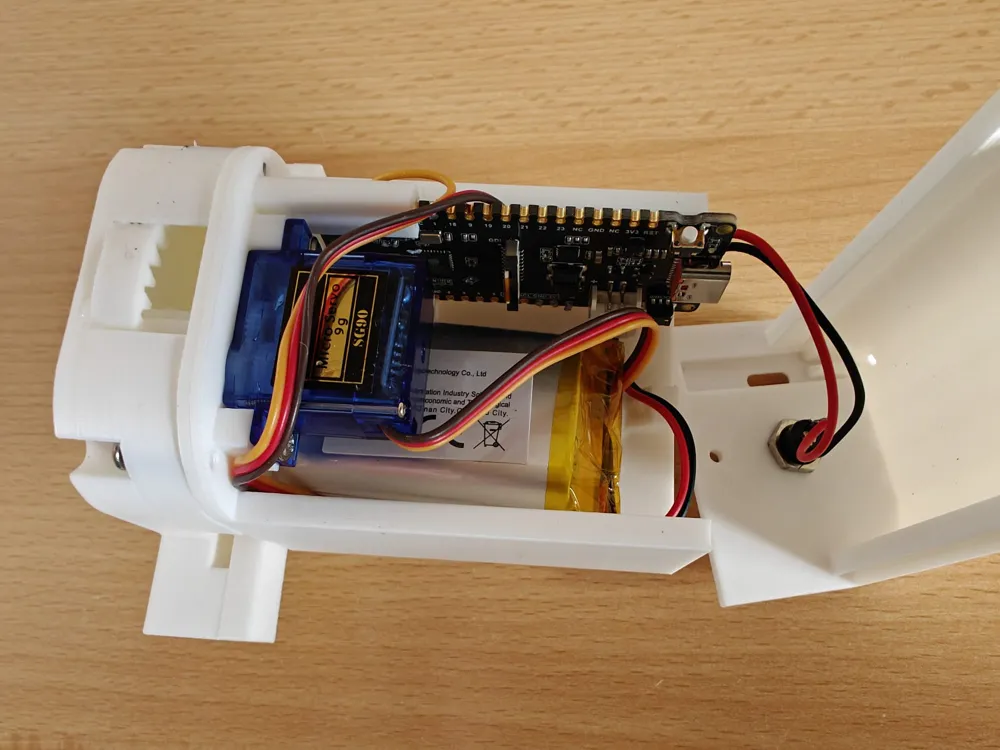
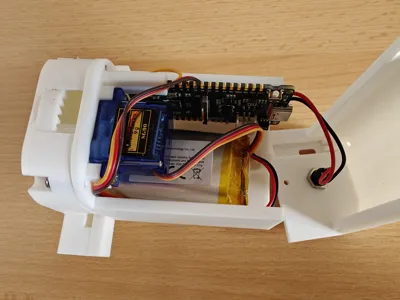
- See pictures fot detailed wiring
💻 ESPHome Configuration Yaml
- Get the code on Github.
🚀 How to Setup in Home Assistant
- Get your thread tlv code: Settings > Thread
- Click on the exclamation mark in the right upper corner.
Copy the “Active dataset TLVs” value and paste it in your Yaml tlv substitution.
- In Home Assistant, go to Settings > Devices & Services > Helpers.
- Create a new Dropdown (Input Select) called vent_<room> (or matching your substitution name).
- Add the options: Open and Close.
Add this helper to your dashboard. You can now toggle the vent anytime, and the hardware will execute it seamlessly on its next wake-up cycle.
- Create a new project in ESP-Home.
- Upload the yaml code into the Firebeetle.
- After flasing, Home Asistant will detect a new device automatically.
- Add this device to Home Assisant.
Final Toughts:
This is an ongoing project still in development. If you have issues or improvements, please feel free to let me know so we can make this an awesome project together!
Please keep this in mind when rating and/or boosting this project. Good ratings and boosts wil help me to build more projects like this!
Thank you!
-----------------
If you like my work please like this model and follow me
This helps me to receive points and make more models!
Boost Me (for free)
It's free! Thank you!
License

You shall not share, sub-license, sell, rent, host, transfer, or distribute in any way the digital or 3D printed versions of this object, nor any other derivative work of this object in its digital or physical format (including - but not limited to - remixes of this object, and hosting on other digital platforms). The objects may not be used without permission in any way whatsoever in which you charge money, or collect fees.


Comment & Rating (2)