
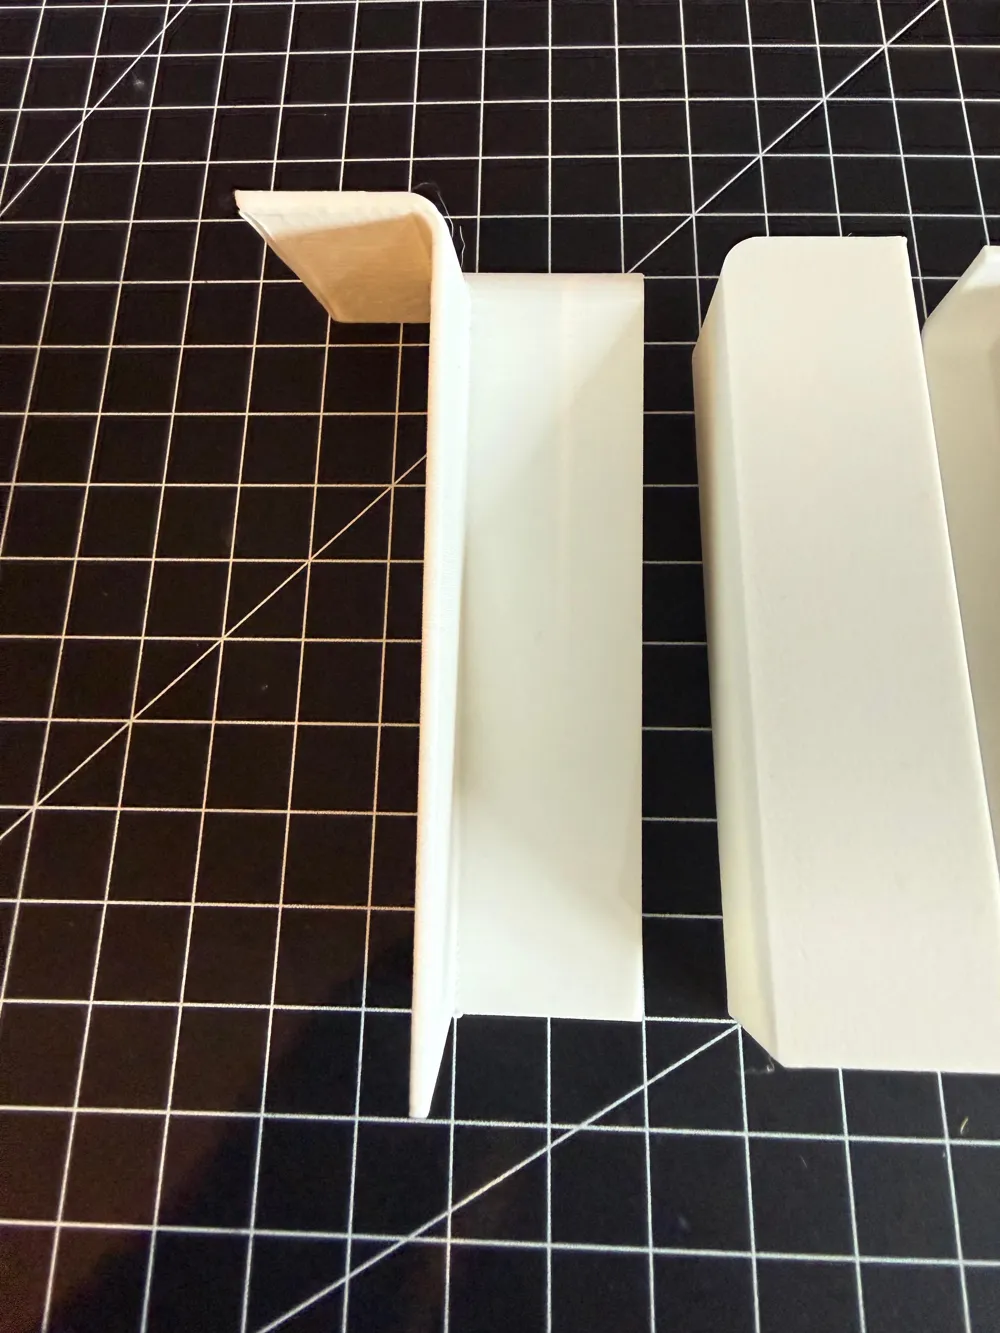
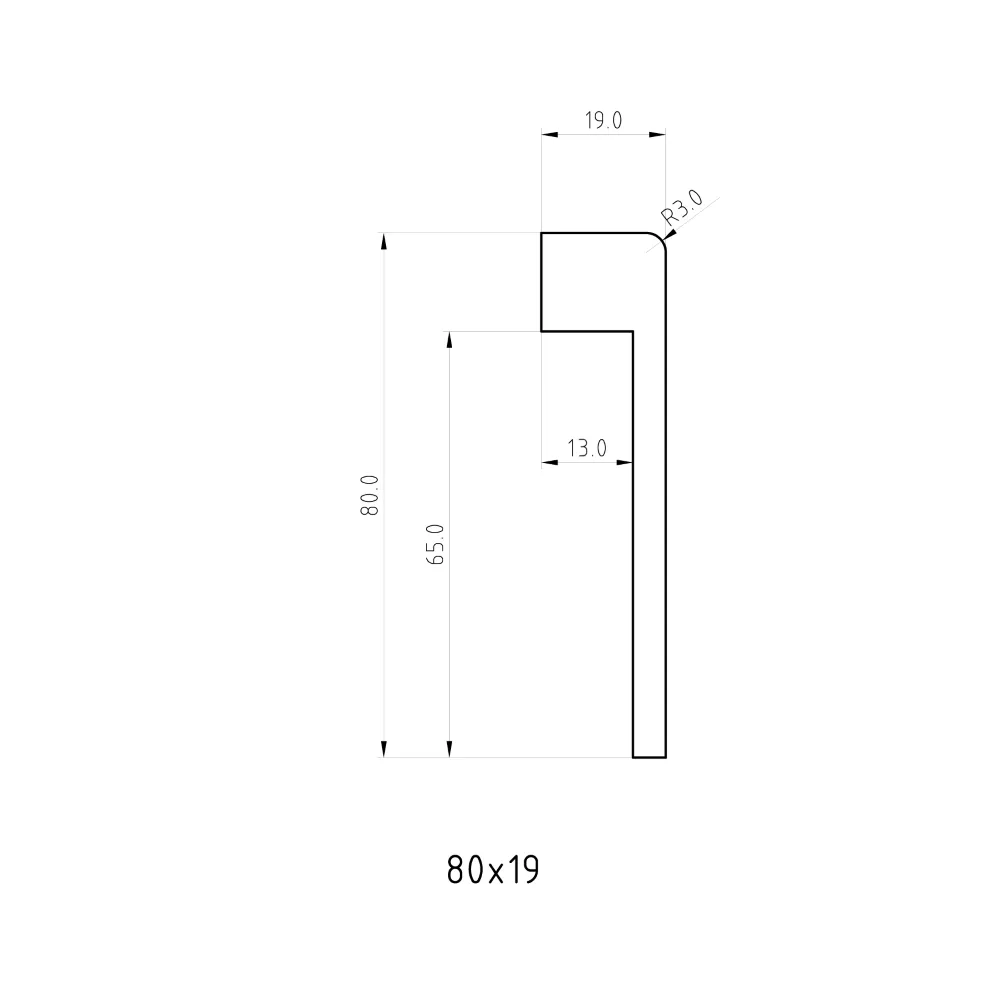
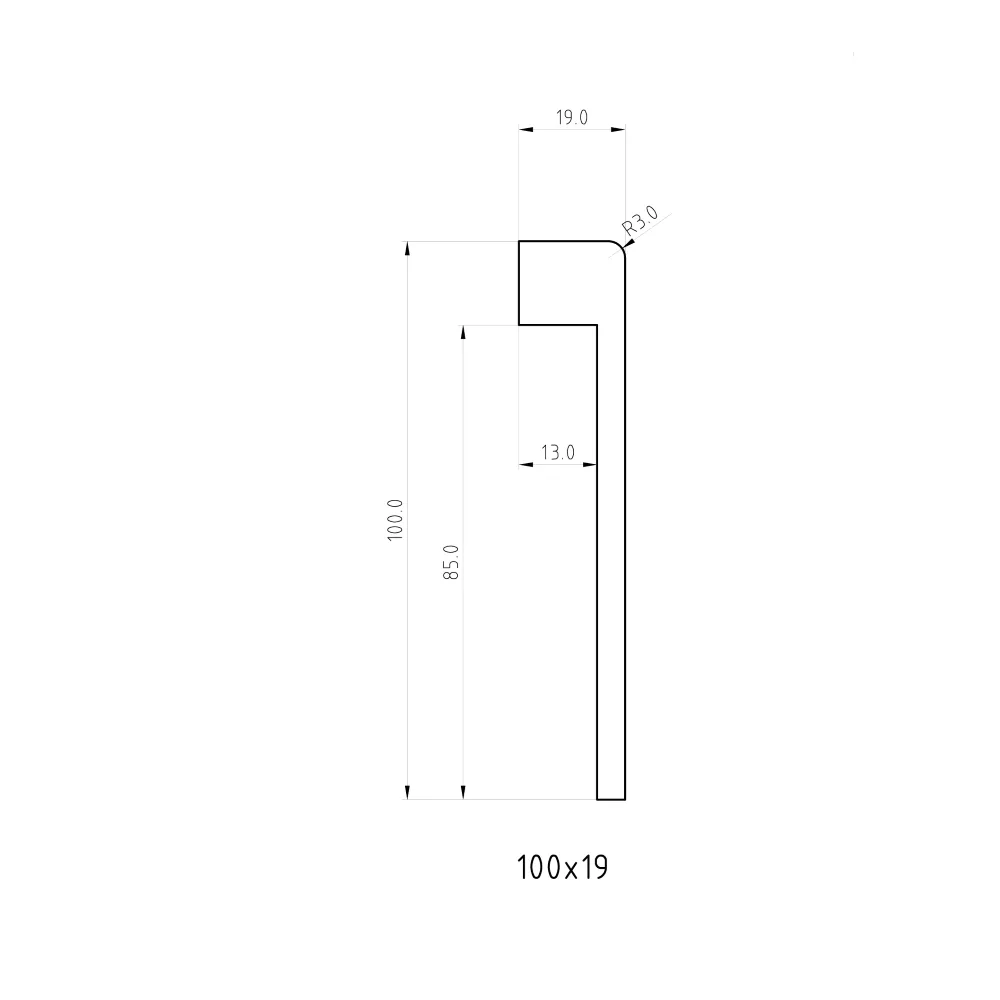
Print Profile(4)
Bill of Materials
- 3M Doppelseitiges GPT PET-Klebeband 9mm x 1: https://amzn.eu/d/03BcfB1p
Description
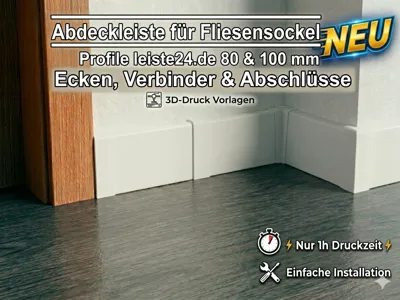
💡 The Professional Solution for Perfect Skirting Board Corners
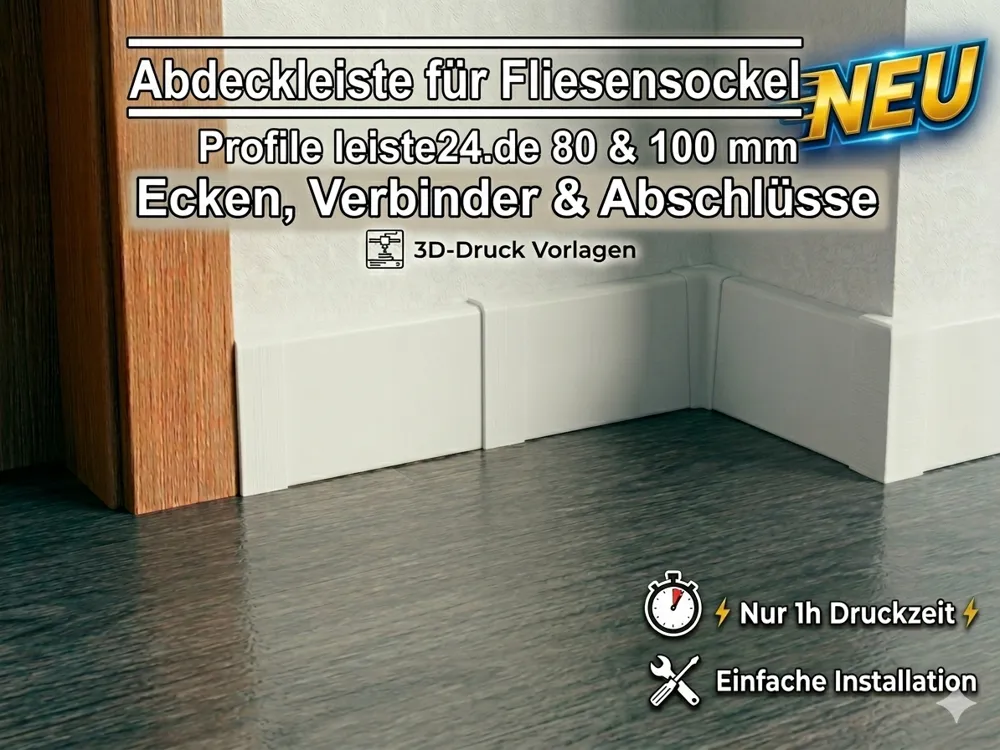
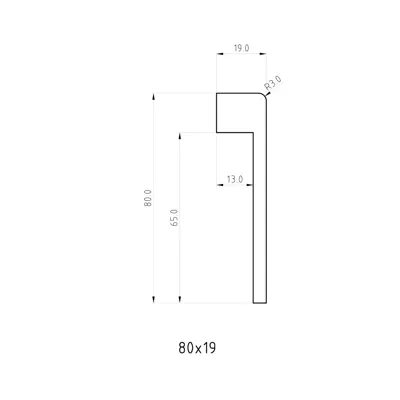
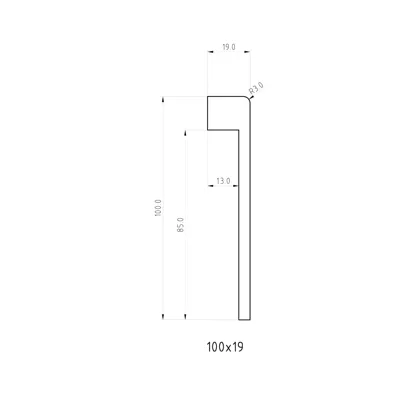
Have you installed cover strips for tile skirting from leiste24.de with the 80mm profile and 100mm profile and are you annoyed by messy miter cuts, open corners, or unprotected ends? This set of precisely engineered 3D printed covers is the ultimate solution for a professional, seamless finish.
More than just aesthetics: By completely enclosing corners and edges, these covers also serve as effective protection against moisture penetration (e.g., when wiping or from vacuum cleaner scratches), which significantly extends the lifespan of your skirting boards.
Whether it's an inner or outer corner, end, or transition – this system covers all common installation scenarios.
📦 What's included?
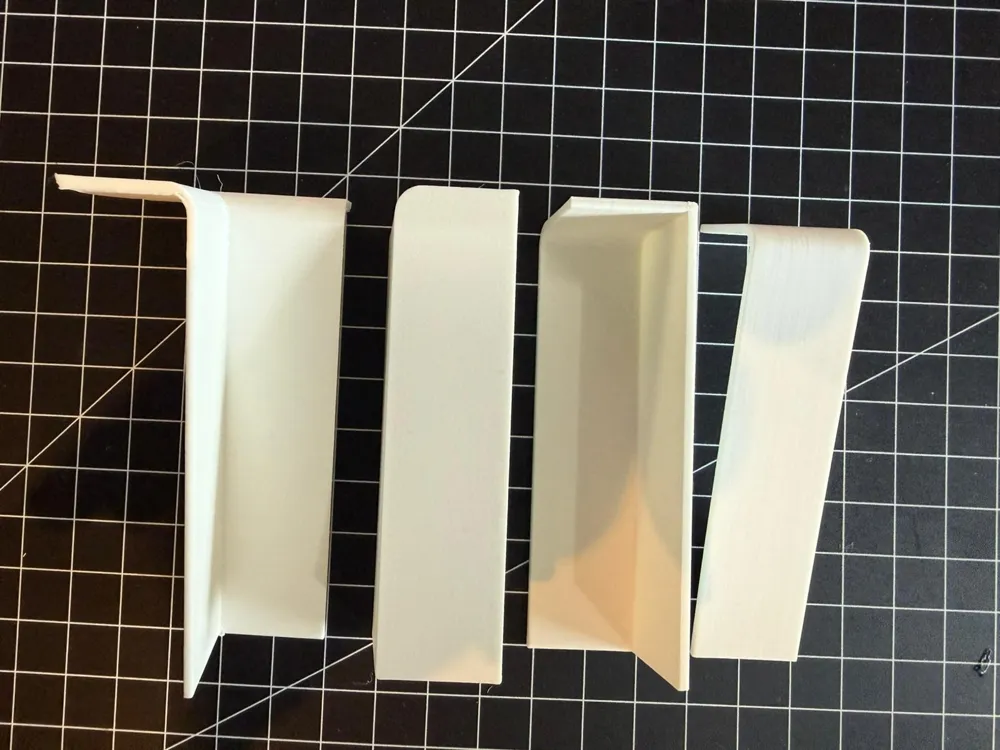
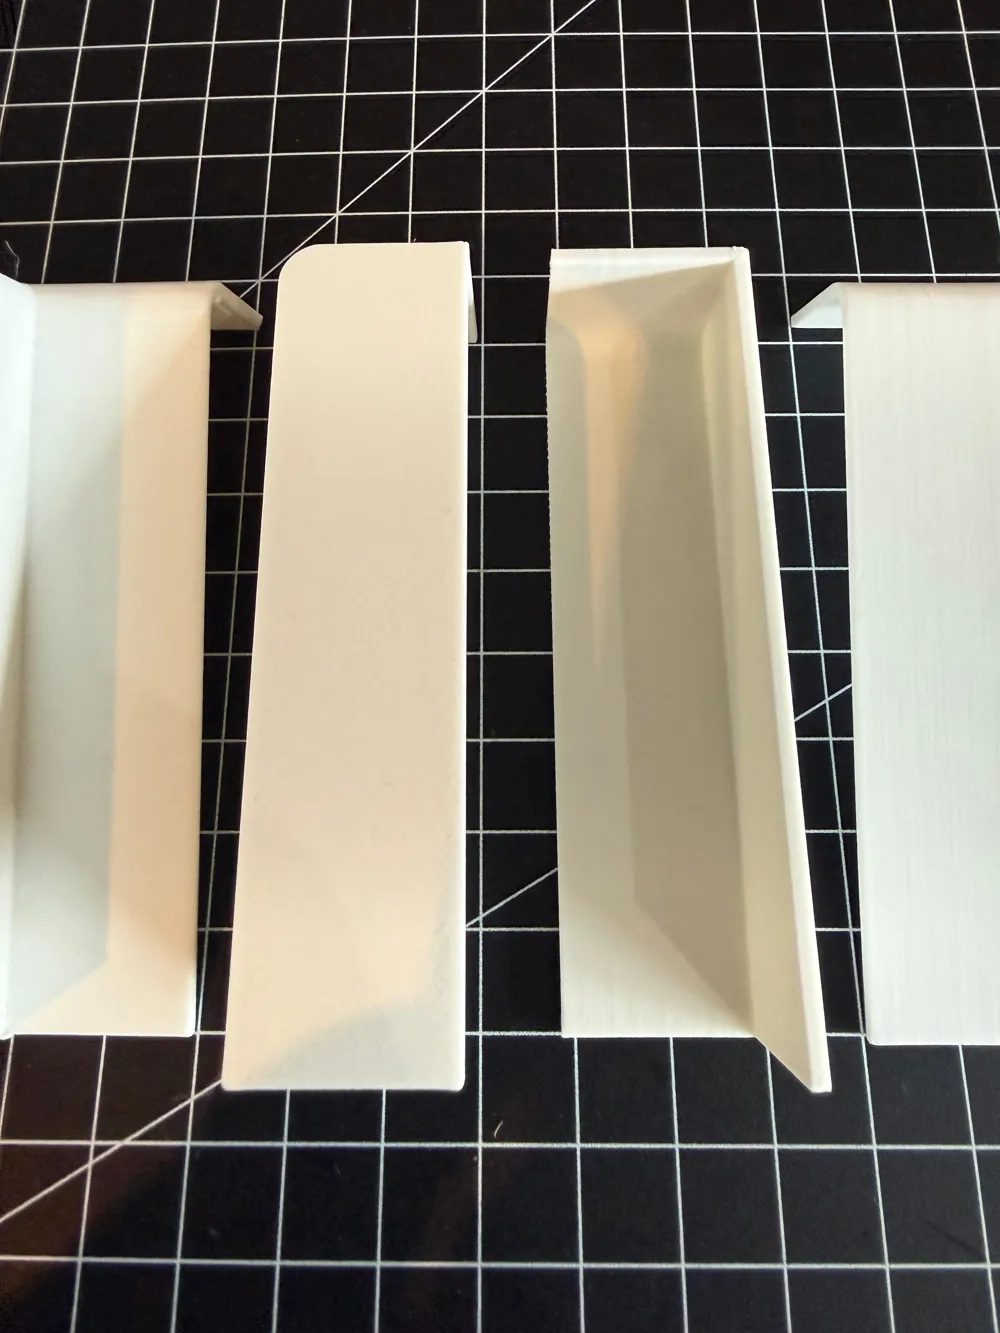
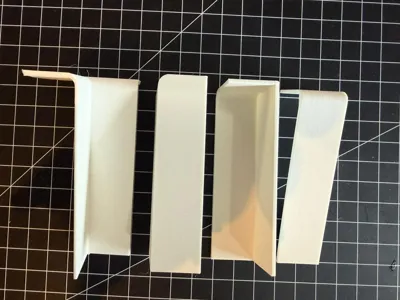
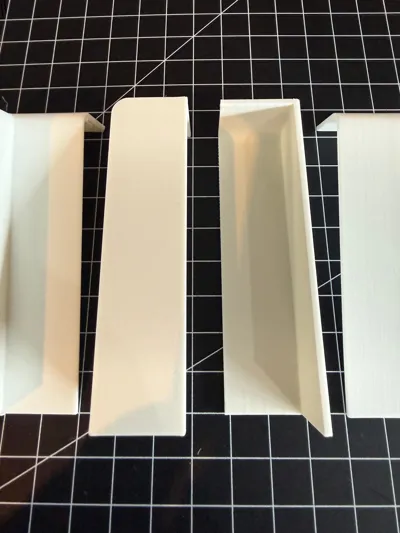
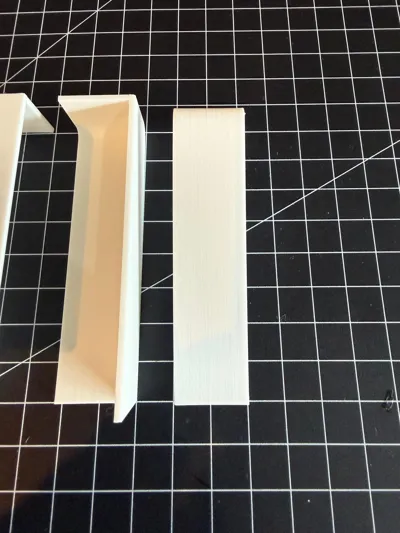
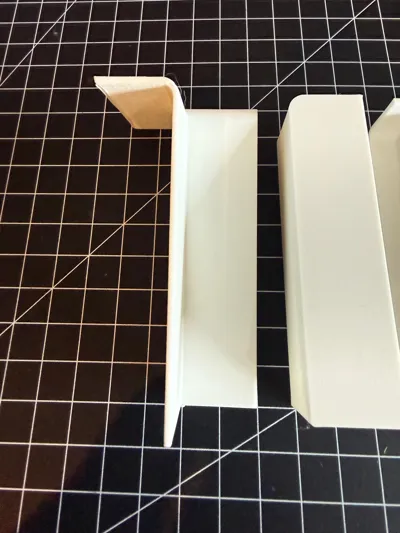
Optimized components, suitable for the cover strips for tile skirting profiles 80 & 100 mm from leiste24.de:
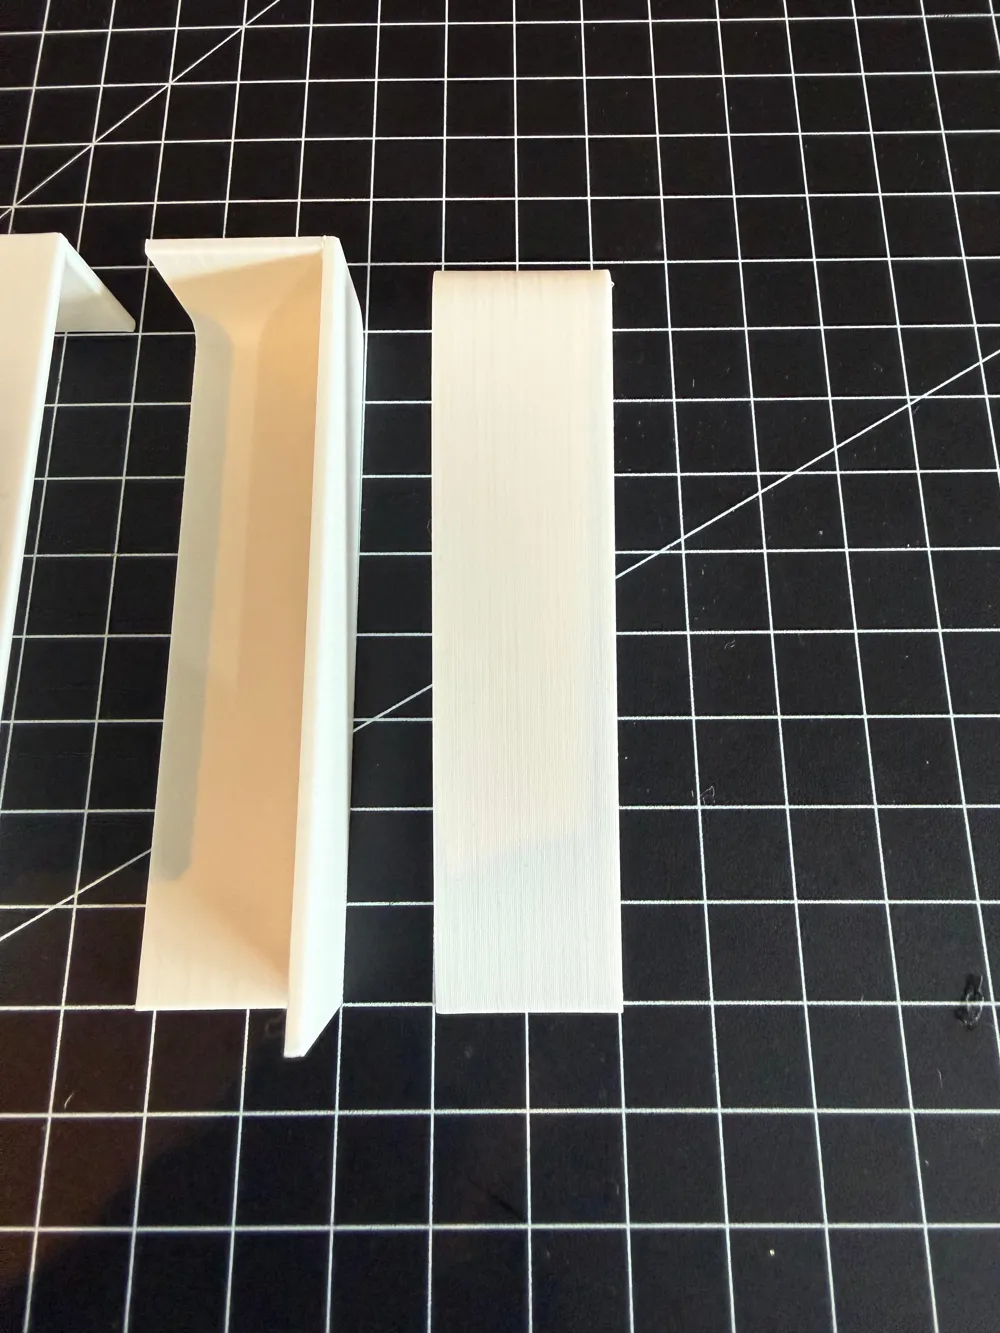
- Outer Corner – Includes moisture protection
- Inner Corner – Includes moisture protection
- Connector / Joint Cover
- End Cap Left
- End Cap Right
(Tip: Use the detailed images to identify the different components.)
🛠️ Installation & Required Materials
This system is designed for a very simple, tool-free installation. The covers are simply glued onto the installed skirting boards.
🔥 Required Material for Fastening:
To permanently, securely, and flushly attach the covers, you will need a high-quality and thin double-sided adhesive tape that adheres specifically to difficult surfaces.
I strongly recommend using:
👉 3M Double-Sided GPT PET Adhesive Tape 9mm
The PET backing material of this tape ensures extremely high immediate adhesion and is ideal for securely fixing the printed plastic parts to wood or plastic trims. The 9 mm width fits perfectly without protruding.
Step-by-Step Installation:
- Print the required parts.
- Clean the skirting boards and the inner surfaces of the printed covers (dust/degrease).
- Apply the 3M GPT 9mm adhesive tape to the contact surfaces on the inside of the cover.
- Peel off the protective film and firmly press the cover over the corner/joint/end.
Done! A clean, protected result in a few seconds.
💬 Notes & Feedback
I developed this system to simplify the installation of my own cover strips and to make them more durable at the same time. I hope it helps you too!
Should you have any questions or require a customized design, please leave a comment or send me a message. I look forward to your feedback and your printed results (please post a photo!).
Happy printing, protecting, and renovating!
Boost Me (for free)
🚀 I would be very happy about one or two boosts from you.
Disclaimer:
As the creator of this design, I am not affiliated with 3M. The recommendation of the specific adhesive tape is based on personal experience for the best durability.
License



Comment & Rating (2)