The Brush Washer Version 2 (V2)


Print Profile(1)
Bill of Materials


Description
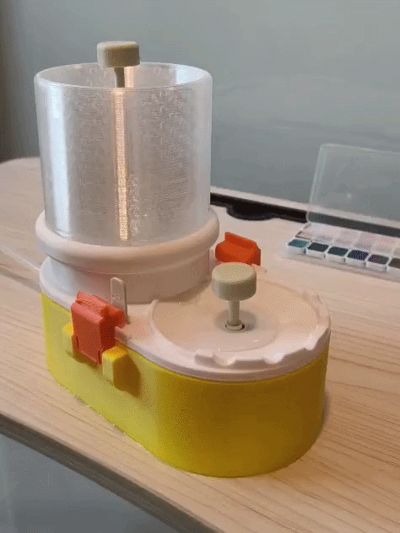
THE BRUSH WASHER VERSION 2 (V2)
Boost Me (for free)
Appreciate a BOOST if you like the improved model!
Thanks to YOUR feedback and support, here comes the enhanced and improved V2!
These are the latest enhancements:
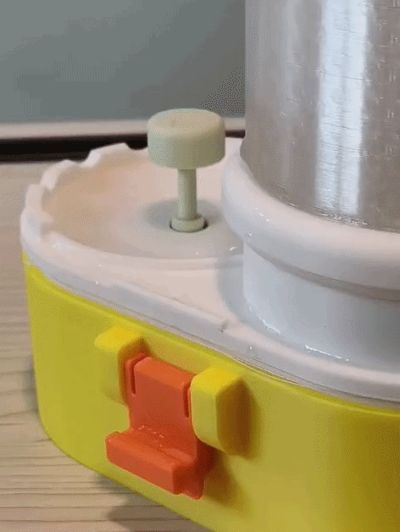
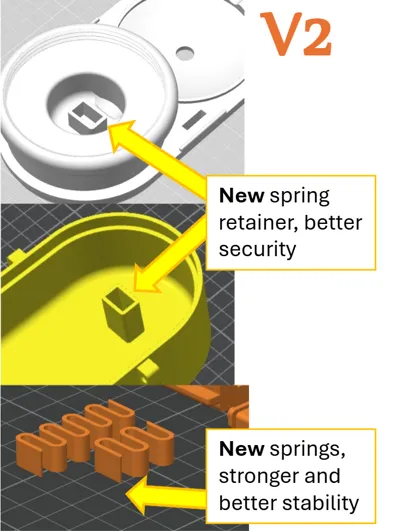
- New spring and spring seat - for better spring retaining and more even pressure and secure across button. Newer spring is wider and stronger too.
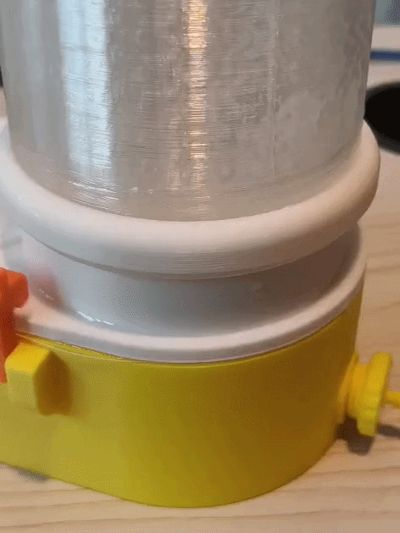
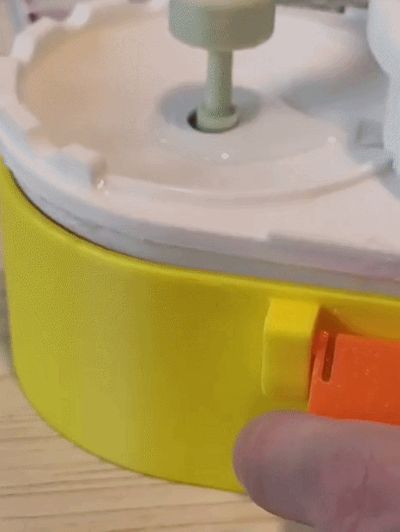
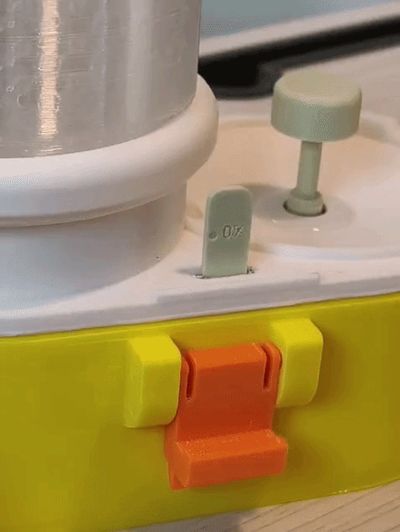
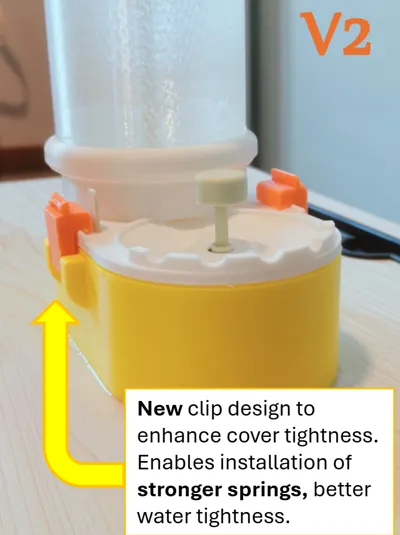
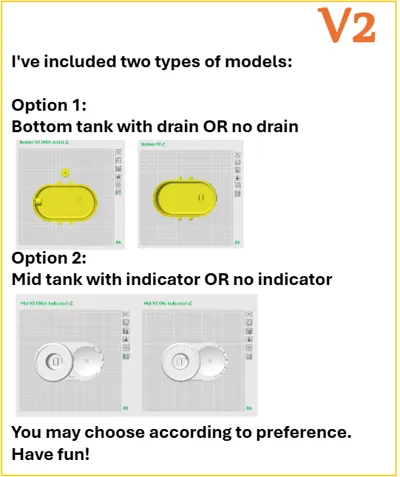
- New clip design - secure the middle and bottom tank better, allowing the use of stronger springs. Also prevent leaks.
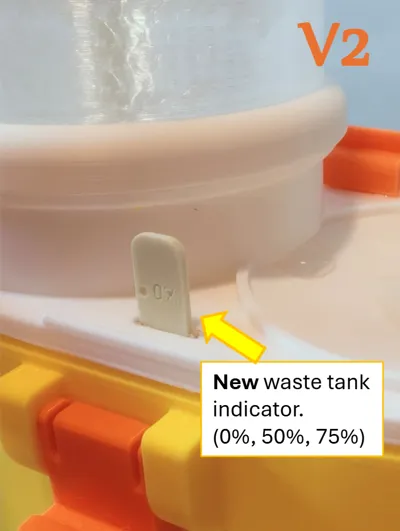
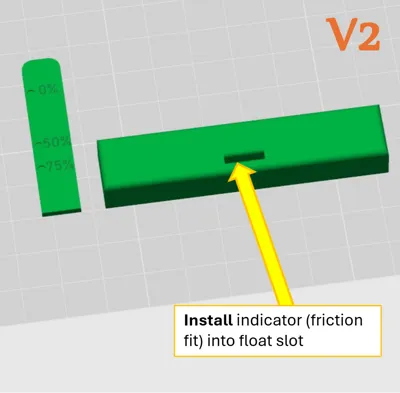
- New waste tank indicator - shows how full the waste tank is, 0%, 50%, 75%. The float pushes the indicator, showing water level.
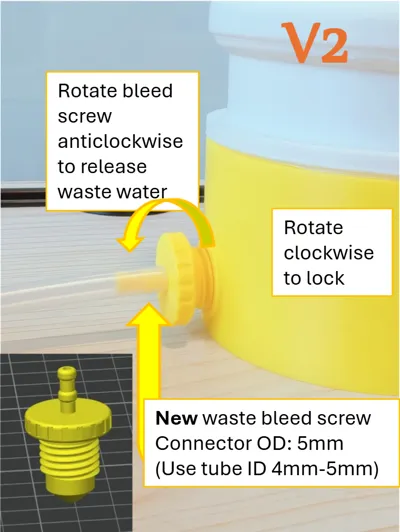
- New bleed screw - One of the community driven feedback - a convenience to attach a pipe and drain the waste water instantly! You may use pipe of ID 4mm-5mm for plugging the bleed outlet.
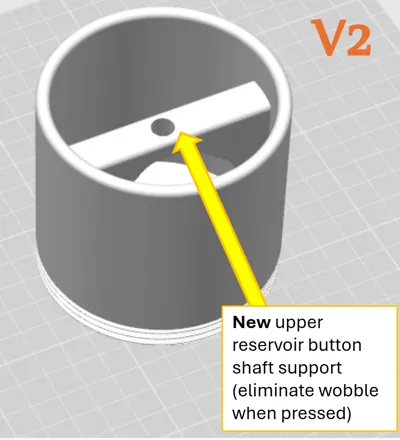
- New upper reservoir support - provides better stability for the shaft at the upper reservoir
For simple assembly, I've provided the instructions in Version 1 (V1) in this link:
https://makerworld.com/en/models/1623016-the-brush-washer#profileId-1713546
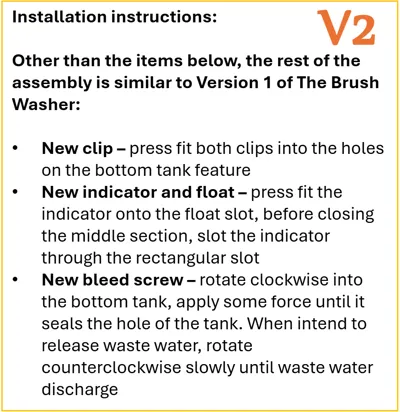
New items assembly are as such:
- New clip – press fit both clips into the holes on the bottom tank feature
- New indicator and float – press fit the indicator onto the float slot, before closing the middle section, slot the indicator through the rectangular slot
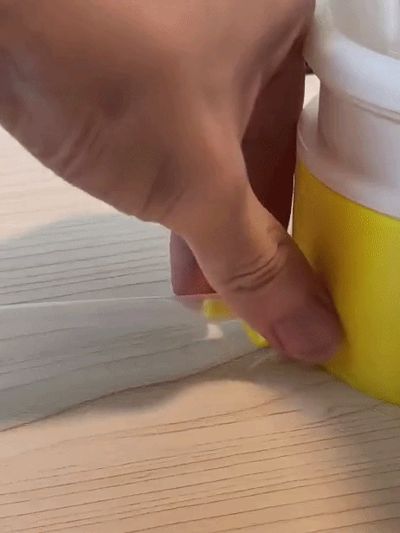
- New bleed screw – rotate clockwise into the bottom tank, apply some force until it seals the hole of the tank. When intend to release waste water, rotate counterclockwise slowly until waste water discharge.
Note:
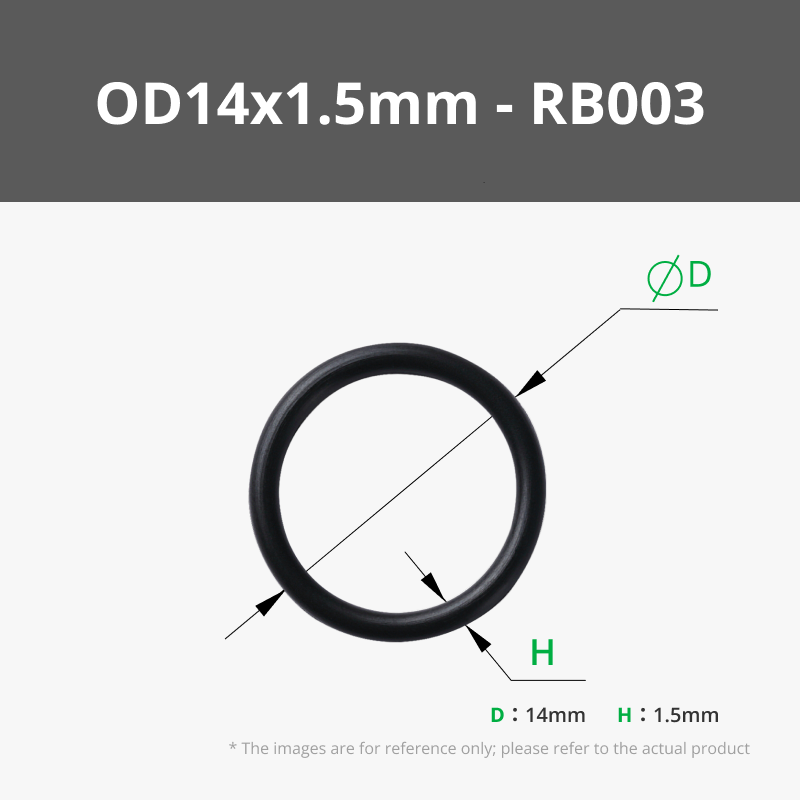
- O-ring needs to sit properly to ensure better seal (recommended OD 14mm x 1.5)
- Ideally, use a smooth plate to print on, especially for the top reservoir and mid section (where O-ring interfaces)
Print on a non-textured plate to achieve best seal
ENJOY!
License
You shall not share, sub-license, sell, rent, host, transfer, or distribute in any way the digital or 3D printed versions of this object, nor any other derivative work of this object in its digital or physical format (including - but not limited to - remixes of this object, and hosting on other digital platforms). The objects may not be used without permission in any way whatsoever in which you charge money, or collect fees.
Comment & Rating (10)