
Print Profile(1)
Bill of Materials
- superglue x 1:
Description
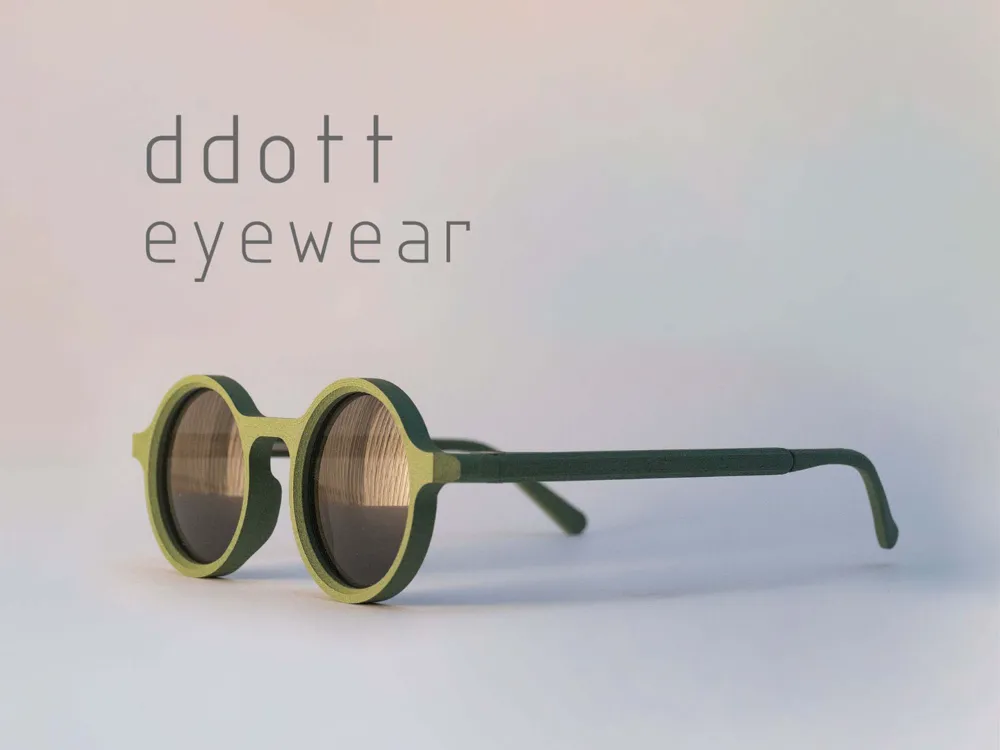
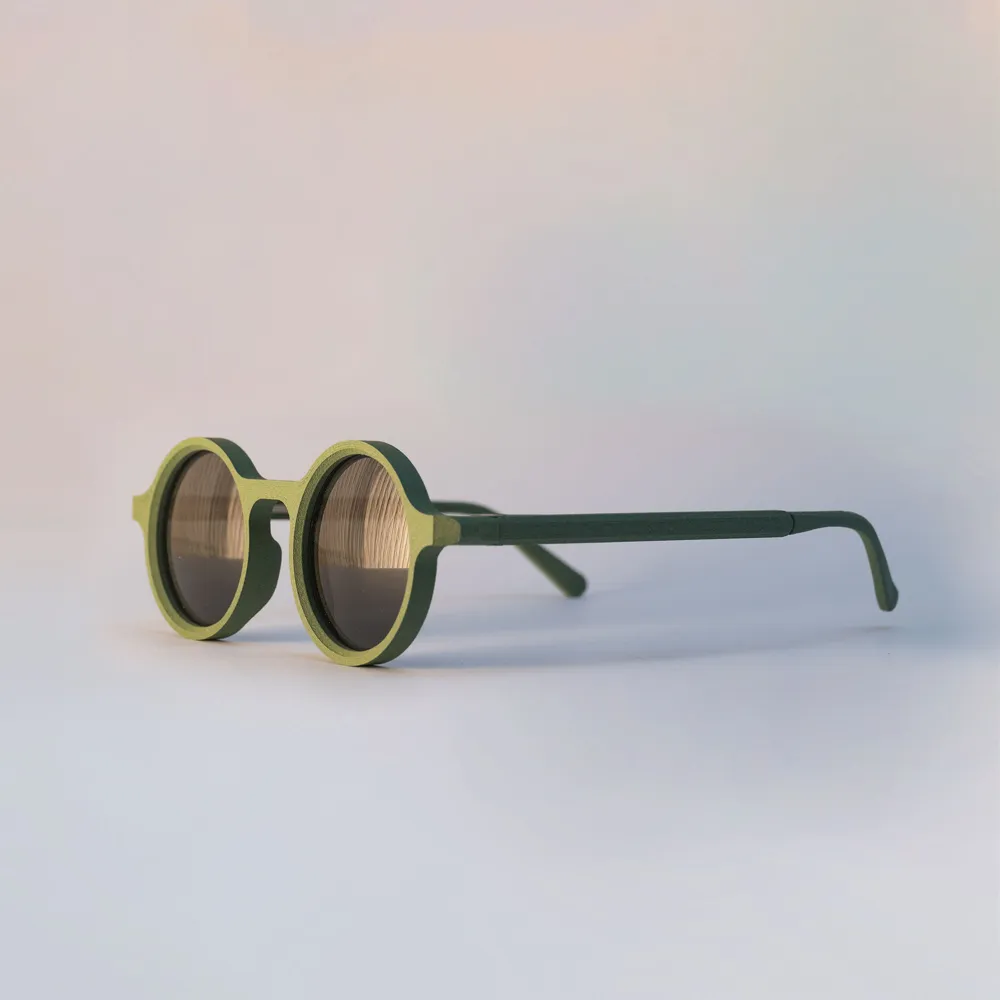
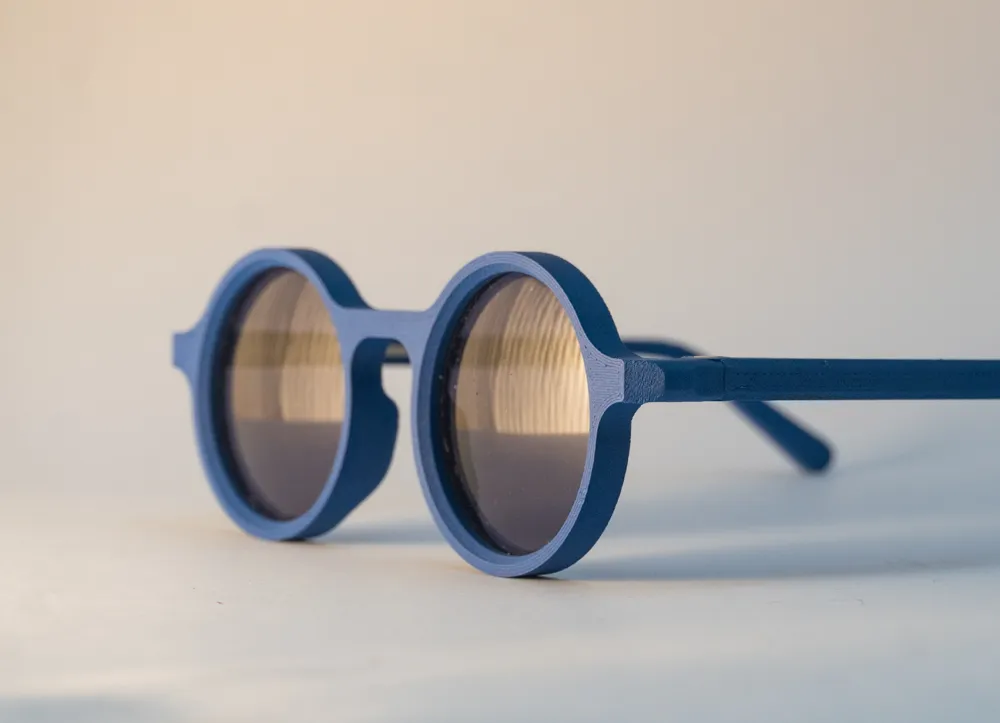
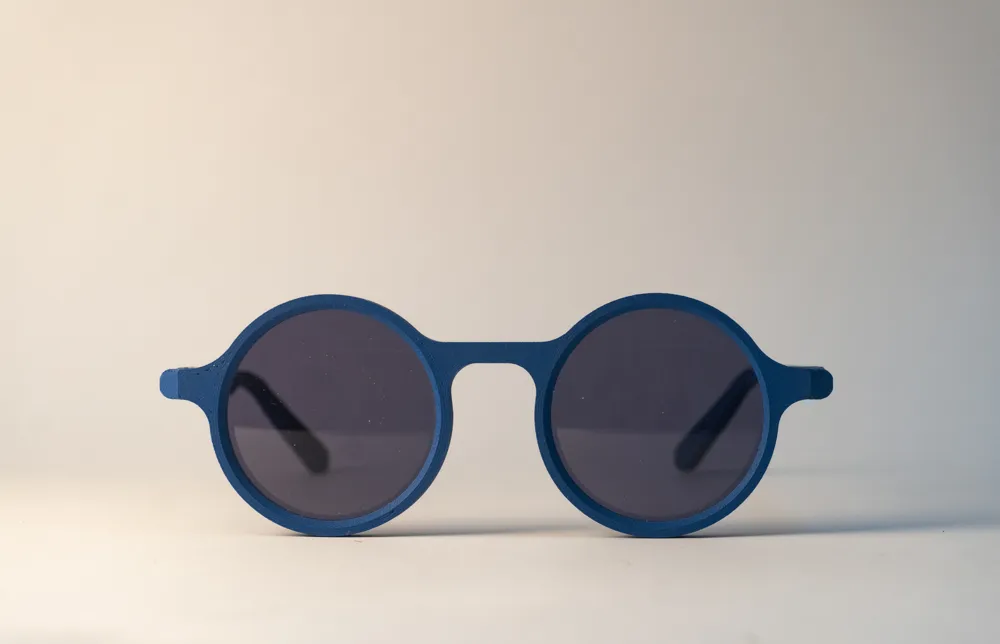
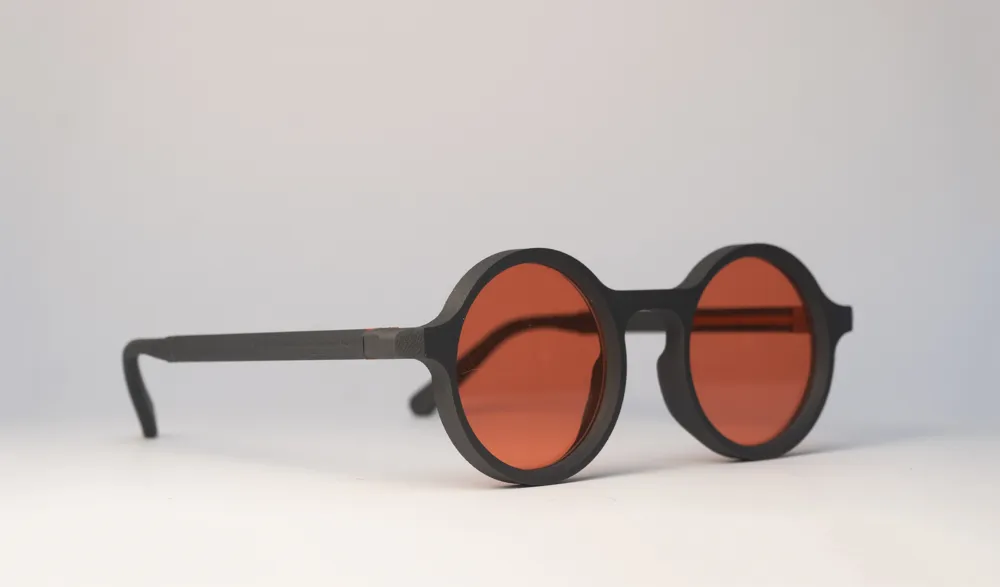
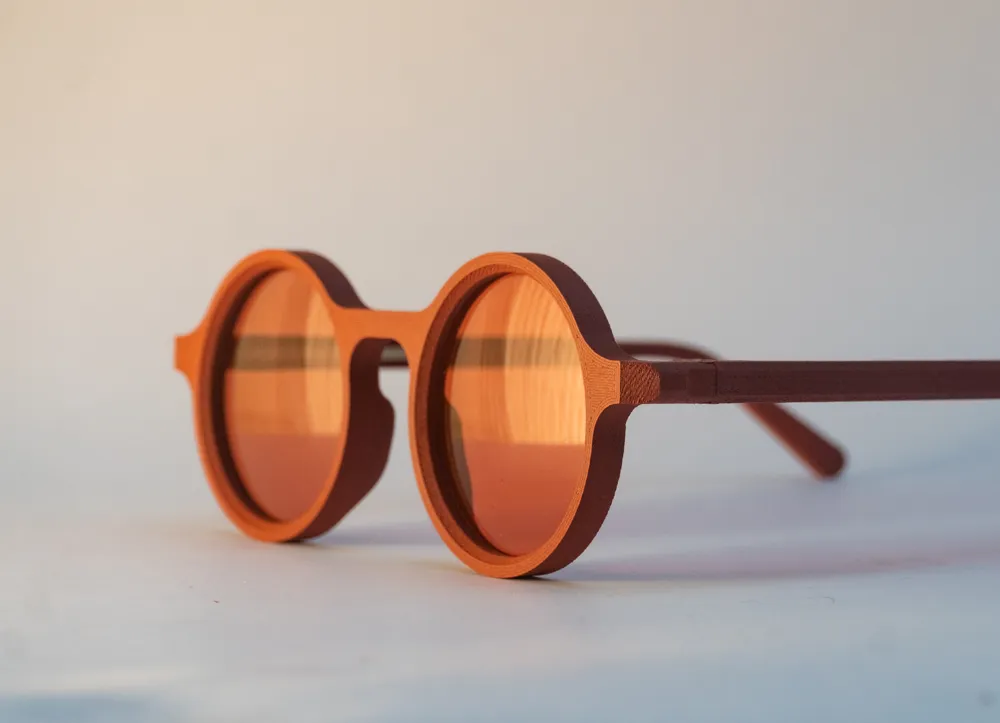
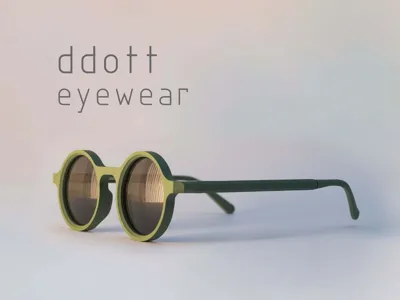
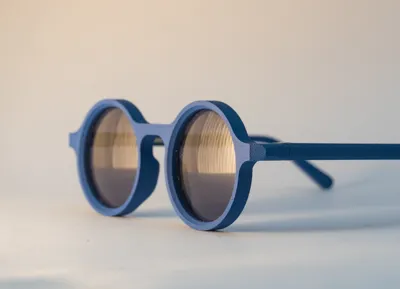
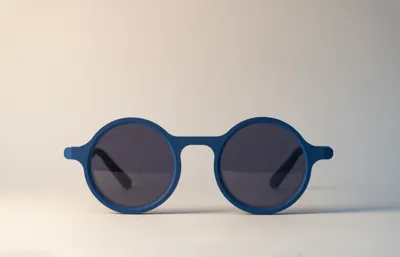
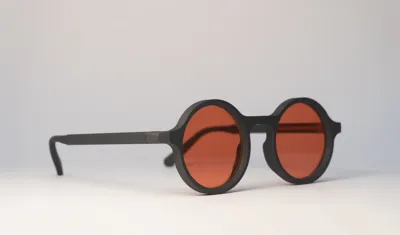
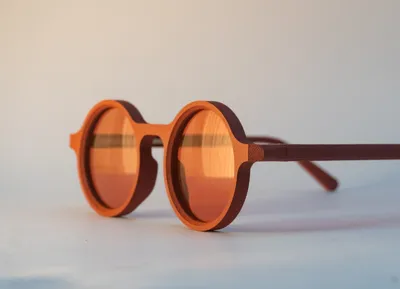
*** Images are actual photographed Prints.
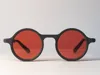
This is a fully 3D-printable eyewear design that you can print, finish, and assemble entirely at home. It requires no screws, hinges, or extra hardware—all you need is some super glue and a bit of post-processing to get a clean, functional pair of glasses.
This model is designed to support standard and prescription lenses, making it both a stylish accessory and a practical daily wear option.
For ordering lenses in the EU: I found Lens4Glasses to be an affordable option that ships across the EU.
Important: Please ask your optician not to heat the frame when fitting the lenses. The frame is designed to fit the lenses without heating—and yes, they will deform your eyewear and send it back! 🙂
Key Features
- Two Sizes Included: Comes in two different sizes to help ensure a proper fit for different face shapes.
- Lens-Ready: Designed to accommodate both standard non-prescription lenses and prescription lenses.
- 100% Hardware-Free: No need to source tiny screws or specialized hinges.
- Easy Assembly: Simple joint design secured with a small amount of super glue.
Recommended Print Settings
To ensure the best surface finish and structural strength, the following settings are recommended:
- Layer Height: 0.10mm to 0.15mm (highly recommended for smoother curves and easier sanding)
- Infill: 40% – 50%
- Supports: Required. You will need to enable supports for the curved sections of the temples (the arms that go behind the ears).
Material Compatibility
This model has been tested with several filaments, and you can print it using almost any standard material:
- Bambu PLA-CF: Highly recommended. The carbon fiber texture provides a premium matte finish and excellent structural rigidity.
- Wood PLA: Gives a unique, organic aesthetic. It looks great but will require extra sanding and finishing to get a smooth feel.
- Standard PLA/PETG: Works well and offers a wide range of color choices.
Assembly & Post-Processing
- Sanding: To achieve a comfortable fit and clean look, thoroughly sand the frames and temples. Start with a coarser grit (like 220) to smooth out print lines, and finish with a wet sand (400 to 1000 grit) for a smooth surface.
- Dry Fit: Test-fit the temples into the frame joints before applying any glue to ensure they align properly.
- Gluing: Apply a very small drop of super glue (cyanoacrylate) to the connection points. Hold the pieces firmly in place
Lens Installation
- How to install: Standard scanned or custom-cut lenses can be snapped directly into the frame from the inside.
- Important Note: Do not apply heat (such as hot water or a hairdryer) to the frame during installation. Heating the plastic can cause the printed frame to warp or lose its shape. The lenses are designed to snap into place easily at room temperature.
License

You shall not share, sub-license, sell, rent, host, transfer, or distribute in any way the digital or 3D printed versions of this object, nor any other derivative work of this object in its digital or physical format (including, but not limited to, publishing derivative works outside the Makerworld platform or hosting on other digital platforms). The objects may not be used without permission in any way whatsoever in which you charge money or collect fees. Subject to the above restrictions, derivative works may be published only within the Makerworld platform, and all such derivative works must be licensed under the same SDFL‑C license, without modification or additional terms. You may download the digital versions of this object, 3D print it, and display images, videos, or usage demonstrations of 3D printed versions of the object on personal social media platforms or Makerworld official channels, provided that no digital versions of the object are shared or distributed.


Comment & Rating (16)