xTool M2 Magnetic Alignment Jig


Print Profile(1)

Description
Tired of fighting with the stock xTool M2 hold-down feet every time you need to remove and reposition a project?
This magnetic alignment jig was designed to provide repeatable material registration for the xTool M2 laser cutter.
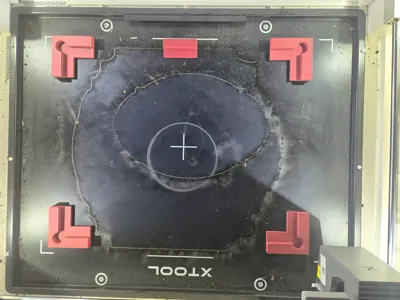
The jig uses magnetic corner fixtures that reference the plywood edges rather than the corner itself. A built-in corner relief allows chipped, rounded, or imperfect plywood corners to sit correctly against the locating surfaces without affecting alignment.
This makes it ideal for projects that require multiple operations, such as paint filling, resin filling, sanding, staining, or multi-pass engraving.
The design was created as a fully parametric Onshape model, allowing dimensions such as material size, wall thickness, magnet size, and corner relief dimensions to be easily customized for your own workflow.
Why I Made This
I originally designed this because I got tired of fighting with the stock xTool M2 hold-down feet.
The factory feet work fine for keeping material from moving, but they don't provide reliable registration. If you remove a project for painting, resin filling, sanding, or inspection, you often have to spend time getting everything lined back up.
This jig solves that problem.
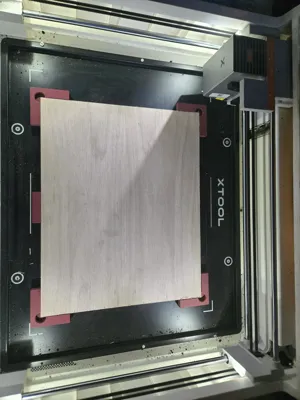
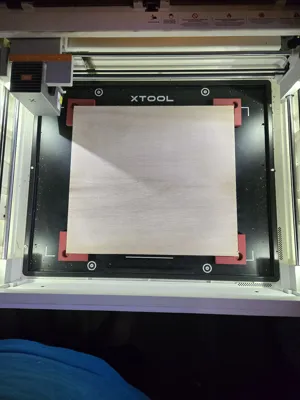
Place your material against the locating faces, remove it when needed, and drop it back into the exact same position later.
Features
- Magnetic mounting system
- Repeatable material registration
- Edge-referenced positioning
- Corner relief for imperfect corners
- Embedded magnet pockets
- Easy customization through Onshape
- will work with any Laser engraver that has a metal bed.
Embedded Magnet Installation
The magnet pockets are designed to capture magnets during the print.
Add a pause in your slicer at the layer immediately before the magnet cavities are covered.
When the printer pauses:
- Insert the magnets into the cavities.
- Verify the polarity is correct.
- Resume printing.
The remaining layers will seal the magnets inside the part.
No glue required.
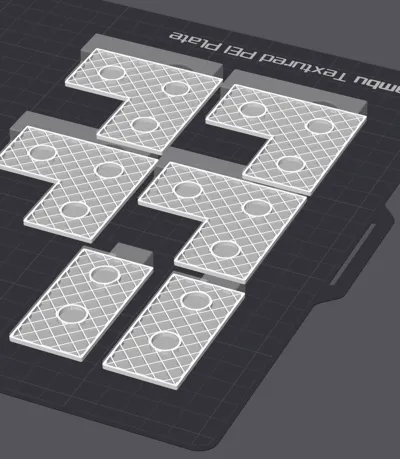
Included Files
- Corner fixture STL files
- Side retaining strip STL files
- Print-ready files
- Fully parametric Onshape source model
Onshape Source
Want to customize it?
The full parametric design is available here:
The model can be modified for:
- Material size
- Wall thickness
- Wall height
- Magnet diameter
- Magnet depth
- Corner relief size
- Custom workholding applications
Recommended Print Settings
- Layer Height: 0.20 mm
- Walls: 3–4
- Infill: 20% or greater
- Supports: Not Required
- Material: PLA, PLA+, PETG, ASA, or similar
Hardware Required
Corner Fixtures
- Three 10mm × 2mm neodymium magnets per corner fixture
Side Retaining Strips
- Two 10mm × 2mm neodymium magnets per retaining strip
(Magnet sizes can be modified in the Onshape model if desired.)
Perfect For
- Sign making
- Multi-pass engraving
- Paint-filled engravings
- Resin-filled engravings
- Material registration
- Repositioning workpieces
- Laser engraving workflows
- Laser cutting workflows
Comment & Rating (5)