
Print Profile(1)
Bill of Materials
.jpg)

.jpg)
Description
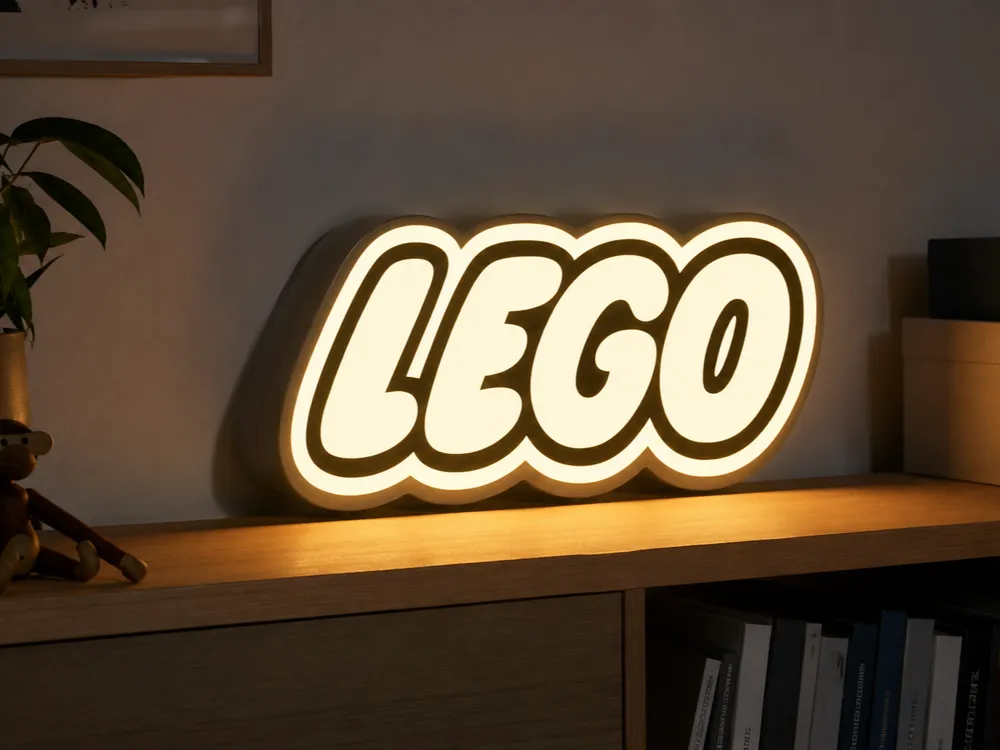
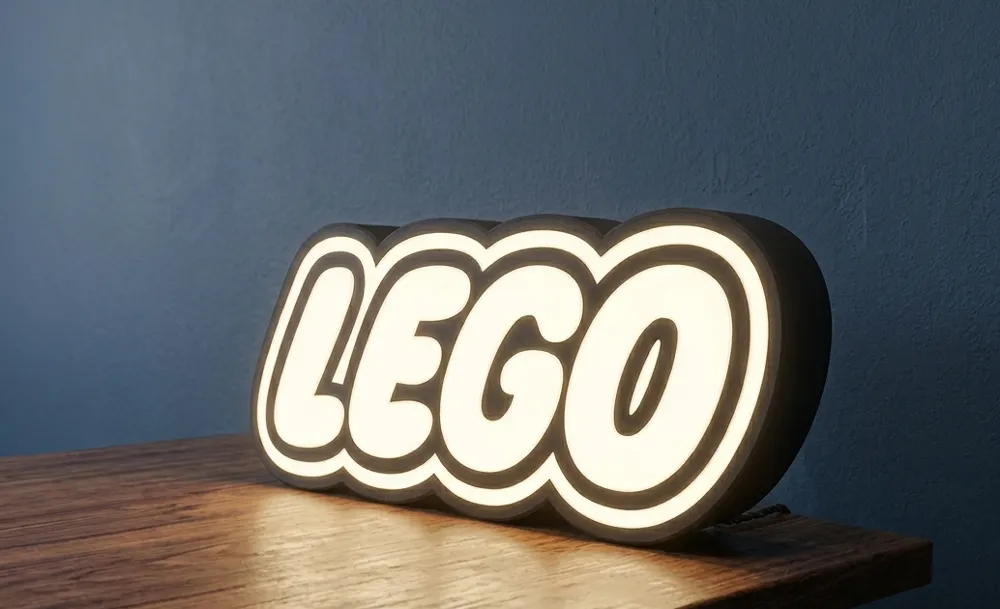
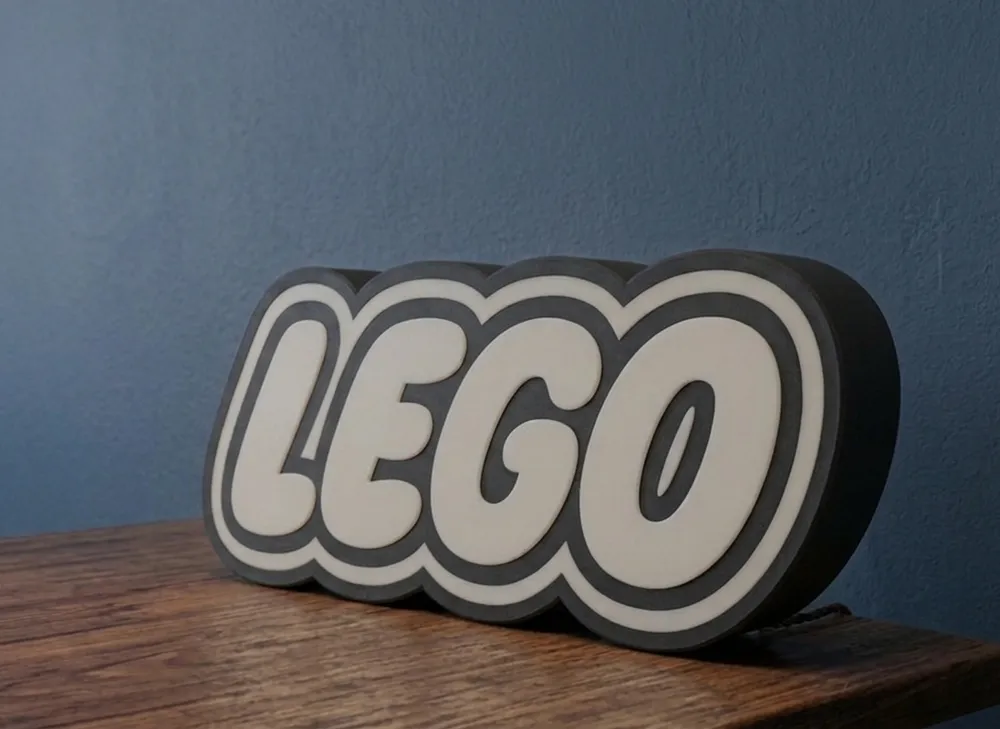
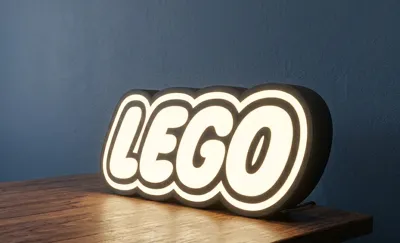
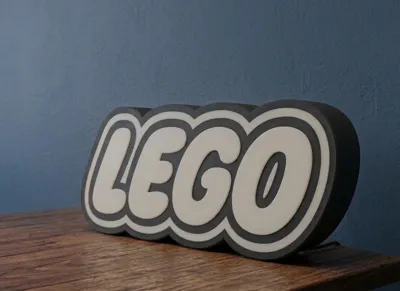
Bring the iconic look into your room, workshop, or studio with this clean, classic Brick-inspired lightbox! Designed to look great whether it is turned on or off, this model is a perfect addition for any brick enthusiast, hobbyist, or maker space.
It features a sleek, seamless design with the power cable routing neatly through the back to keep your desk or shelf clutter-free.
🛠️ Features
- Clean Aesthetics: Designed to hide internal wiring with a dedicated back-exit for the power cord.
- Two-Tone Contrast: Looks sharp as a standalone decor piece during the day and transforms into a vibrant sign when illuminated.
- Easy Assembly: Snap-fit or screw-in backplate (depending on your choice of LED strips/pucks).
🖨️ Recommended Print Profile & Settings
To achieve the best diffusion and structural strength, please use the following settings:
- Printer: Optimized for Bambu Lab Series (A1, P1, X1).
- Filament Suggestions:
- Frame/Body: Black or Dark Grey PLA (for zero light bleed).
- Front Face/Letters: White or Milky/Diffusive PLA (helps smooth out the LED hotspots).
- Layer Height: 0.2mm for the body, 0.16mm or 0.2mm for the front face to ensure clean curves.
- Infill: 15% - 20% (Gyroid recommended for the body).
- Wall Loops: 3 or 4 walls for the body to prevent any light from leaking through the sides.
- Top/Bottom Layers: 4-5 layers for the front face to create an even, solid diffusion layer.
- Supports: Not required if printed flat on the bed.
💡 Assembly & Hardware Notes
- Print the front diffuser face down on a textured or smooth PEI plate for your preferred finish texture.
- Line the inside of the backplate/body with 5V or 12V LED strips (White or Warm White work best).
- Pass the cable through the pre-designed rear hole and snap the back cover into place.
If you like this design, please leave a ⭐⭐⭐⭐⭐ rating and share your makes! It helps a lot!
License

You shall not share, sub-license, sell, rent, host, transfer, or distribute in any way the digital or 3D printed versions of this object, nor any other derivative work of this object in its digital or physical format (including - but not limited to - remixes of this object, and hosting on other digital platforms). The objects may not be used without permission in any way whatsoever in which you charge money, or collect fees.


Comment & Rating (0)