
Dust Extraction Manifold Felder KF700
Print Profile(5)
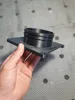
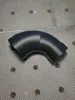
Description
Where wood is worked... not only chips but also dust are produced!
Dust in particular endangers our health and should therefore be combated as soon as it is generated
Extraction is the solution for this... It's really important!!
I want to try to keep this brief and simply explain what actually led me to design this dust extraction accessory
In my workshop, space utilization is an important topic...
There is a panel saw/router combination... a Felder KF700 with a table extension... which I value greatly!
In any case, it takes up a lot of space by itself! Space that is lost/no longer exists because of it
And exactly under this table extension is such a "dead space" that I absolutely want to revive!
Here is a picture of the situation:
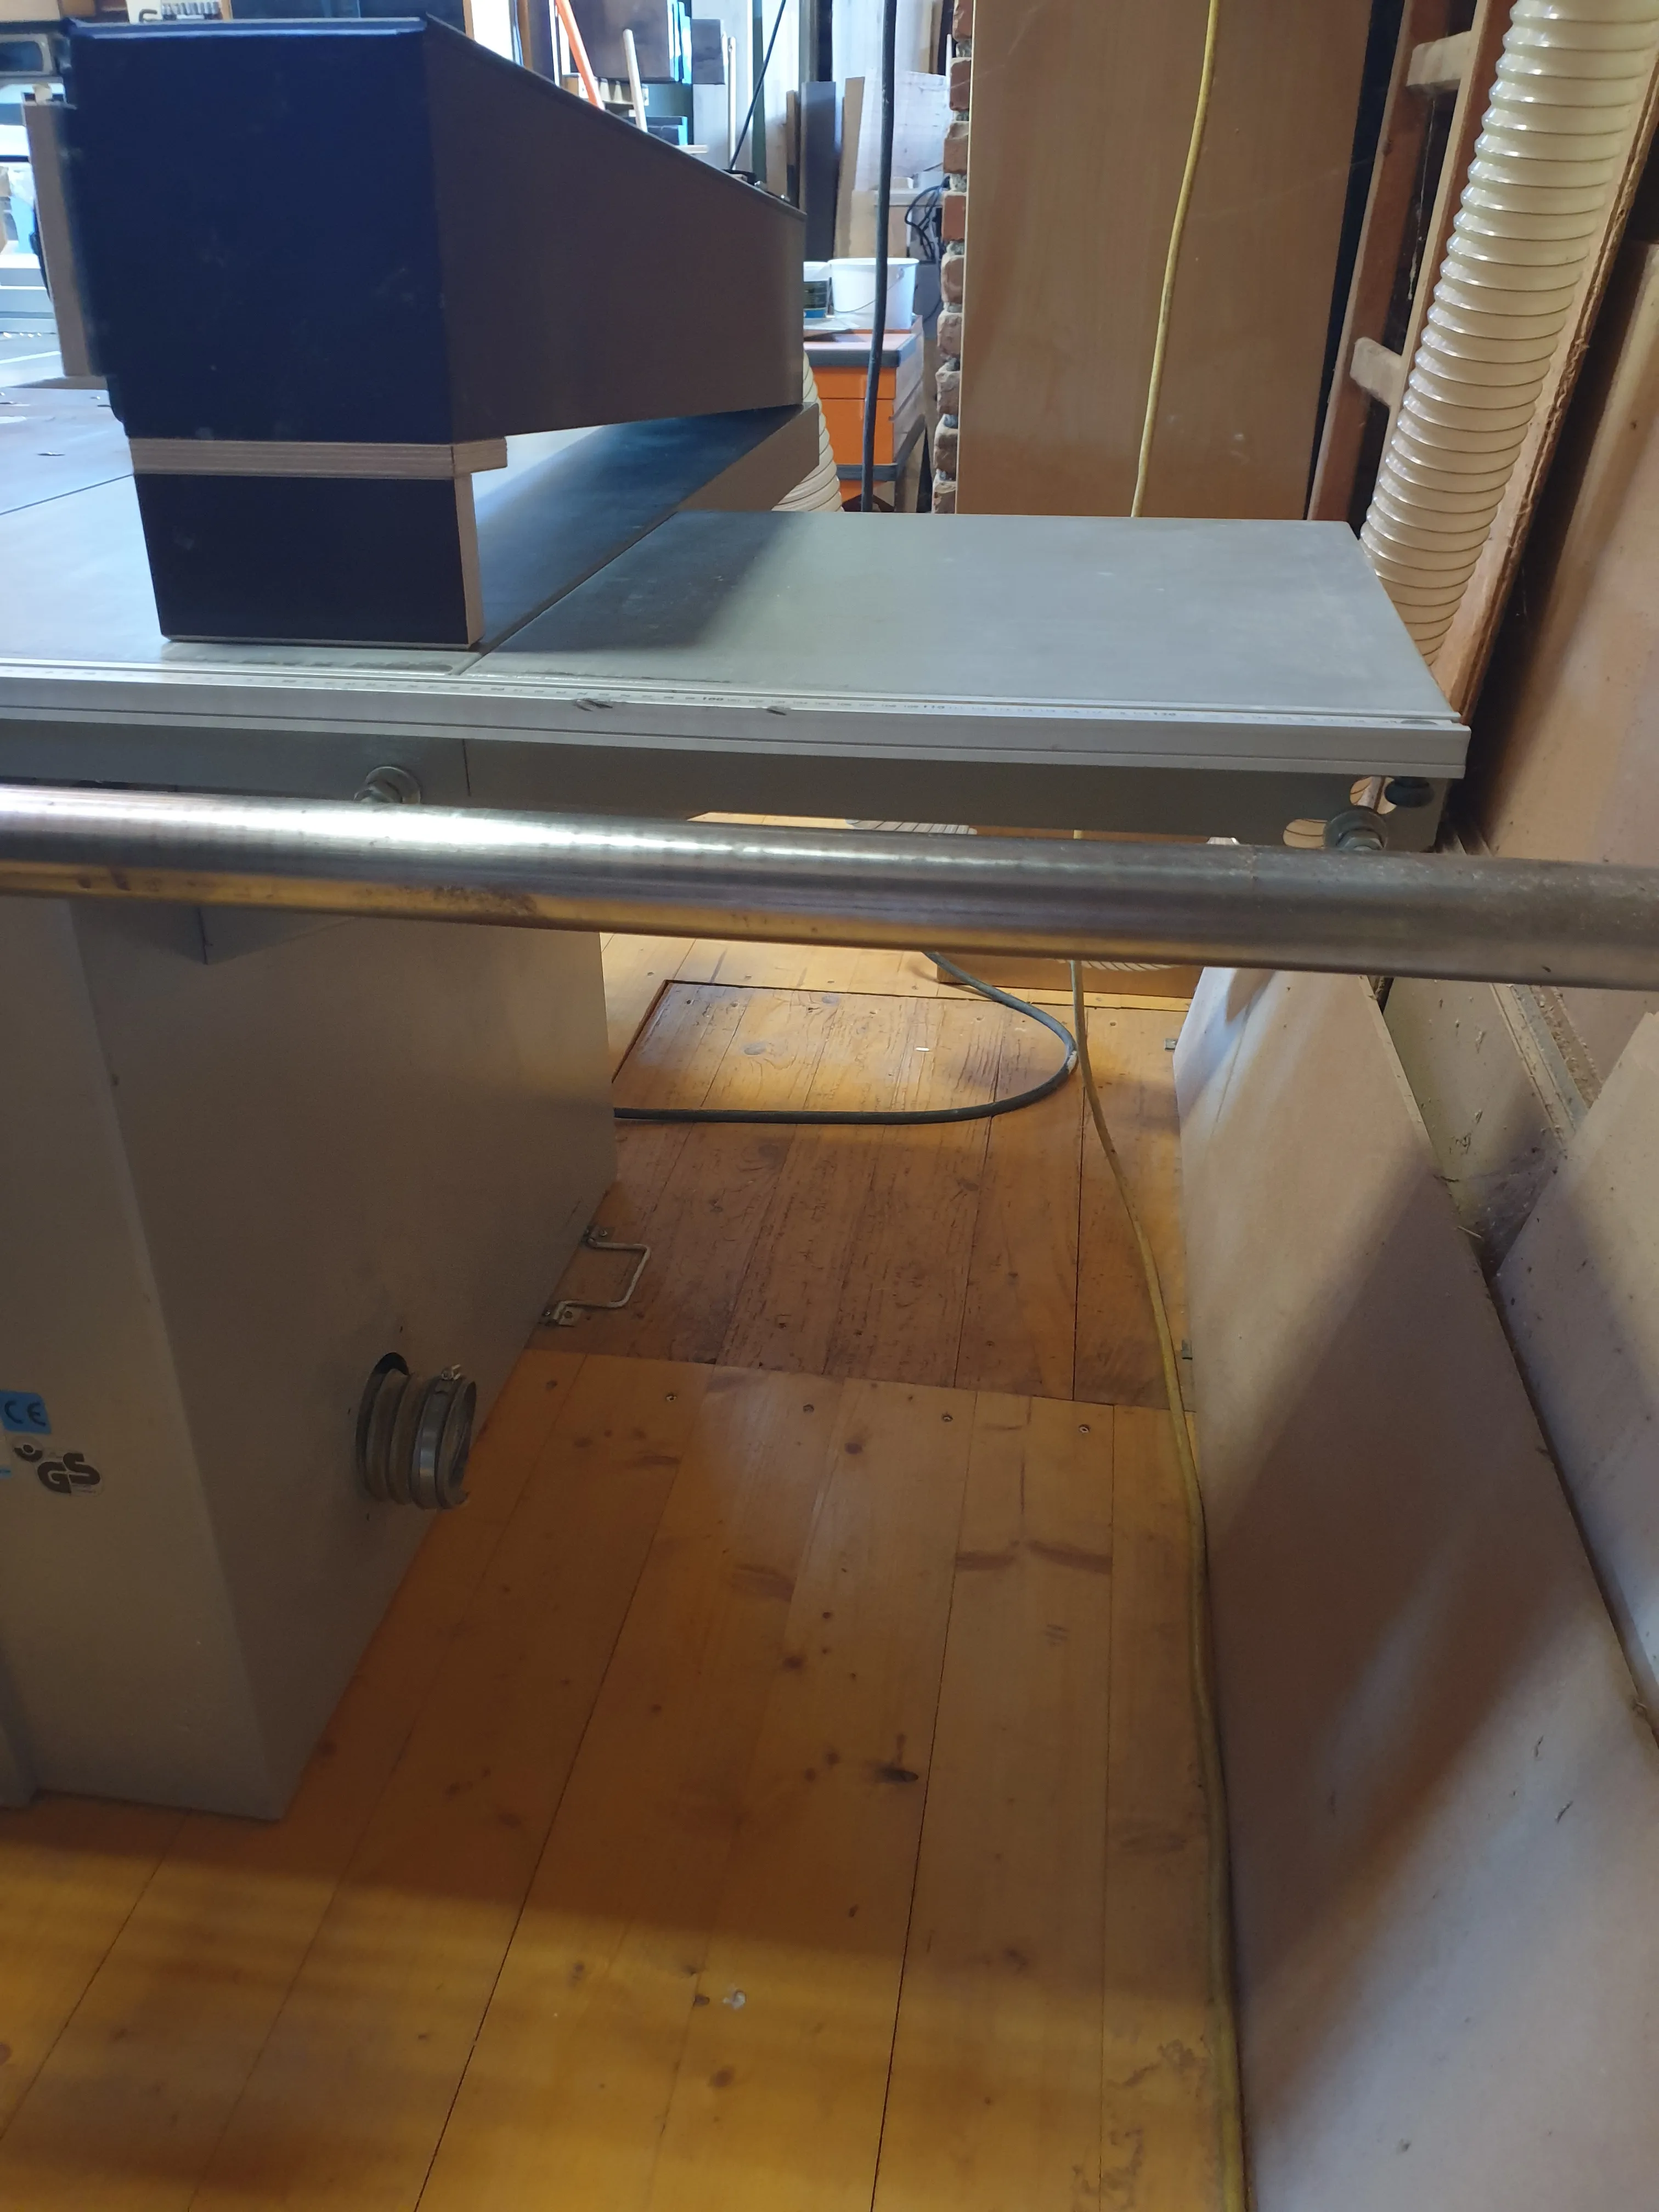
In this picture, you can see the floor/space I am talking about. Only hoses and the router fence (very heavy) were always lying here
What I would like to do with this space is to have a mobile cabinet/organizer for the machine's accessories, such as the heavy router fence
To make this possible, I needed a space-saving solution for all the machine's dust extraction ports and hoses
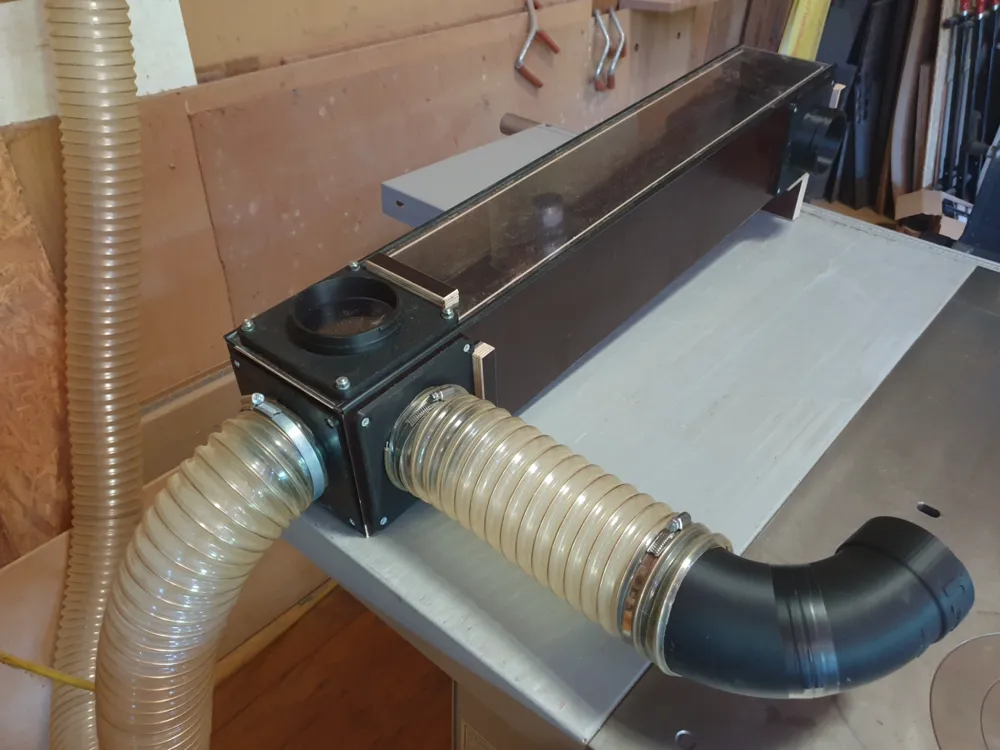
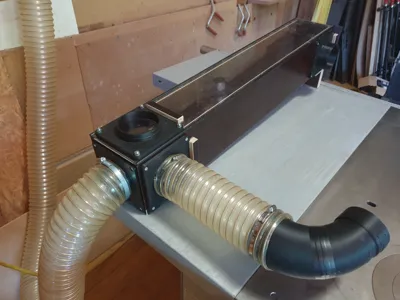
Here is a picture of my solution for it:
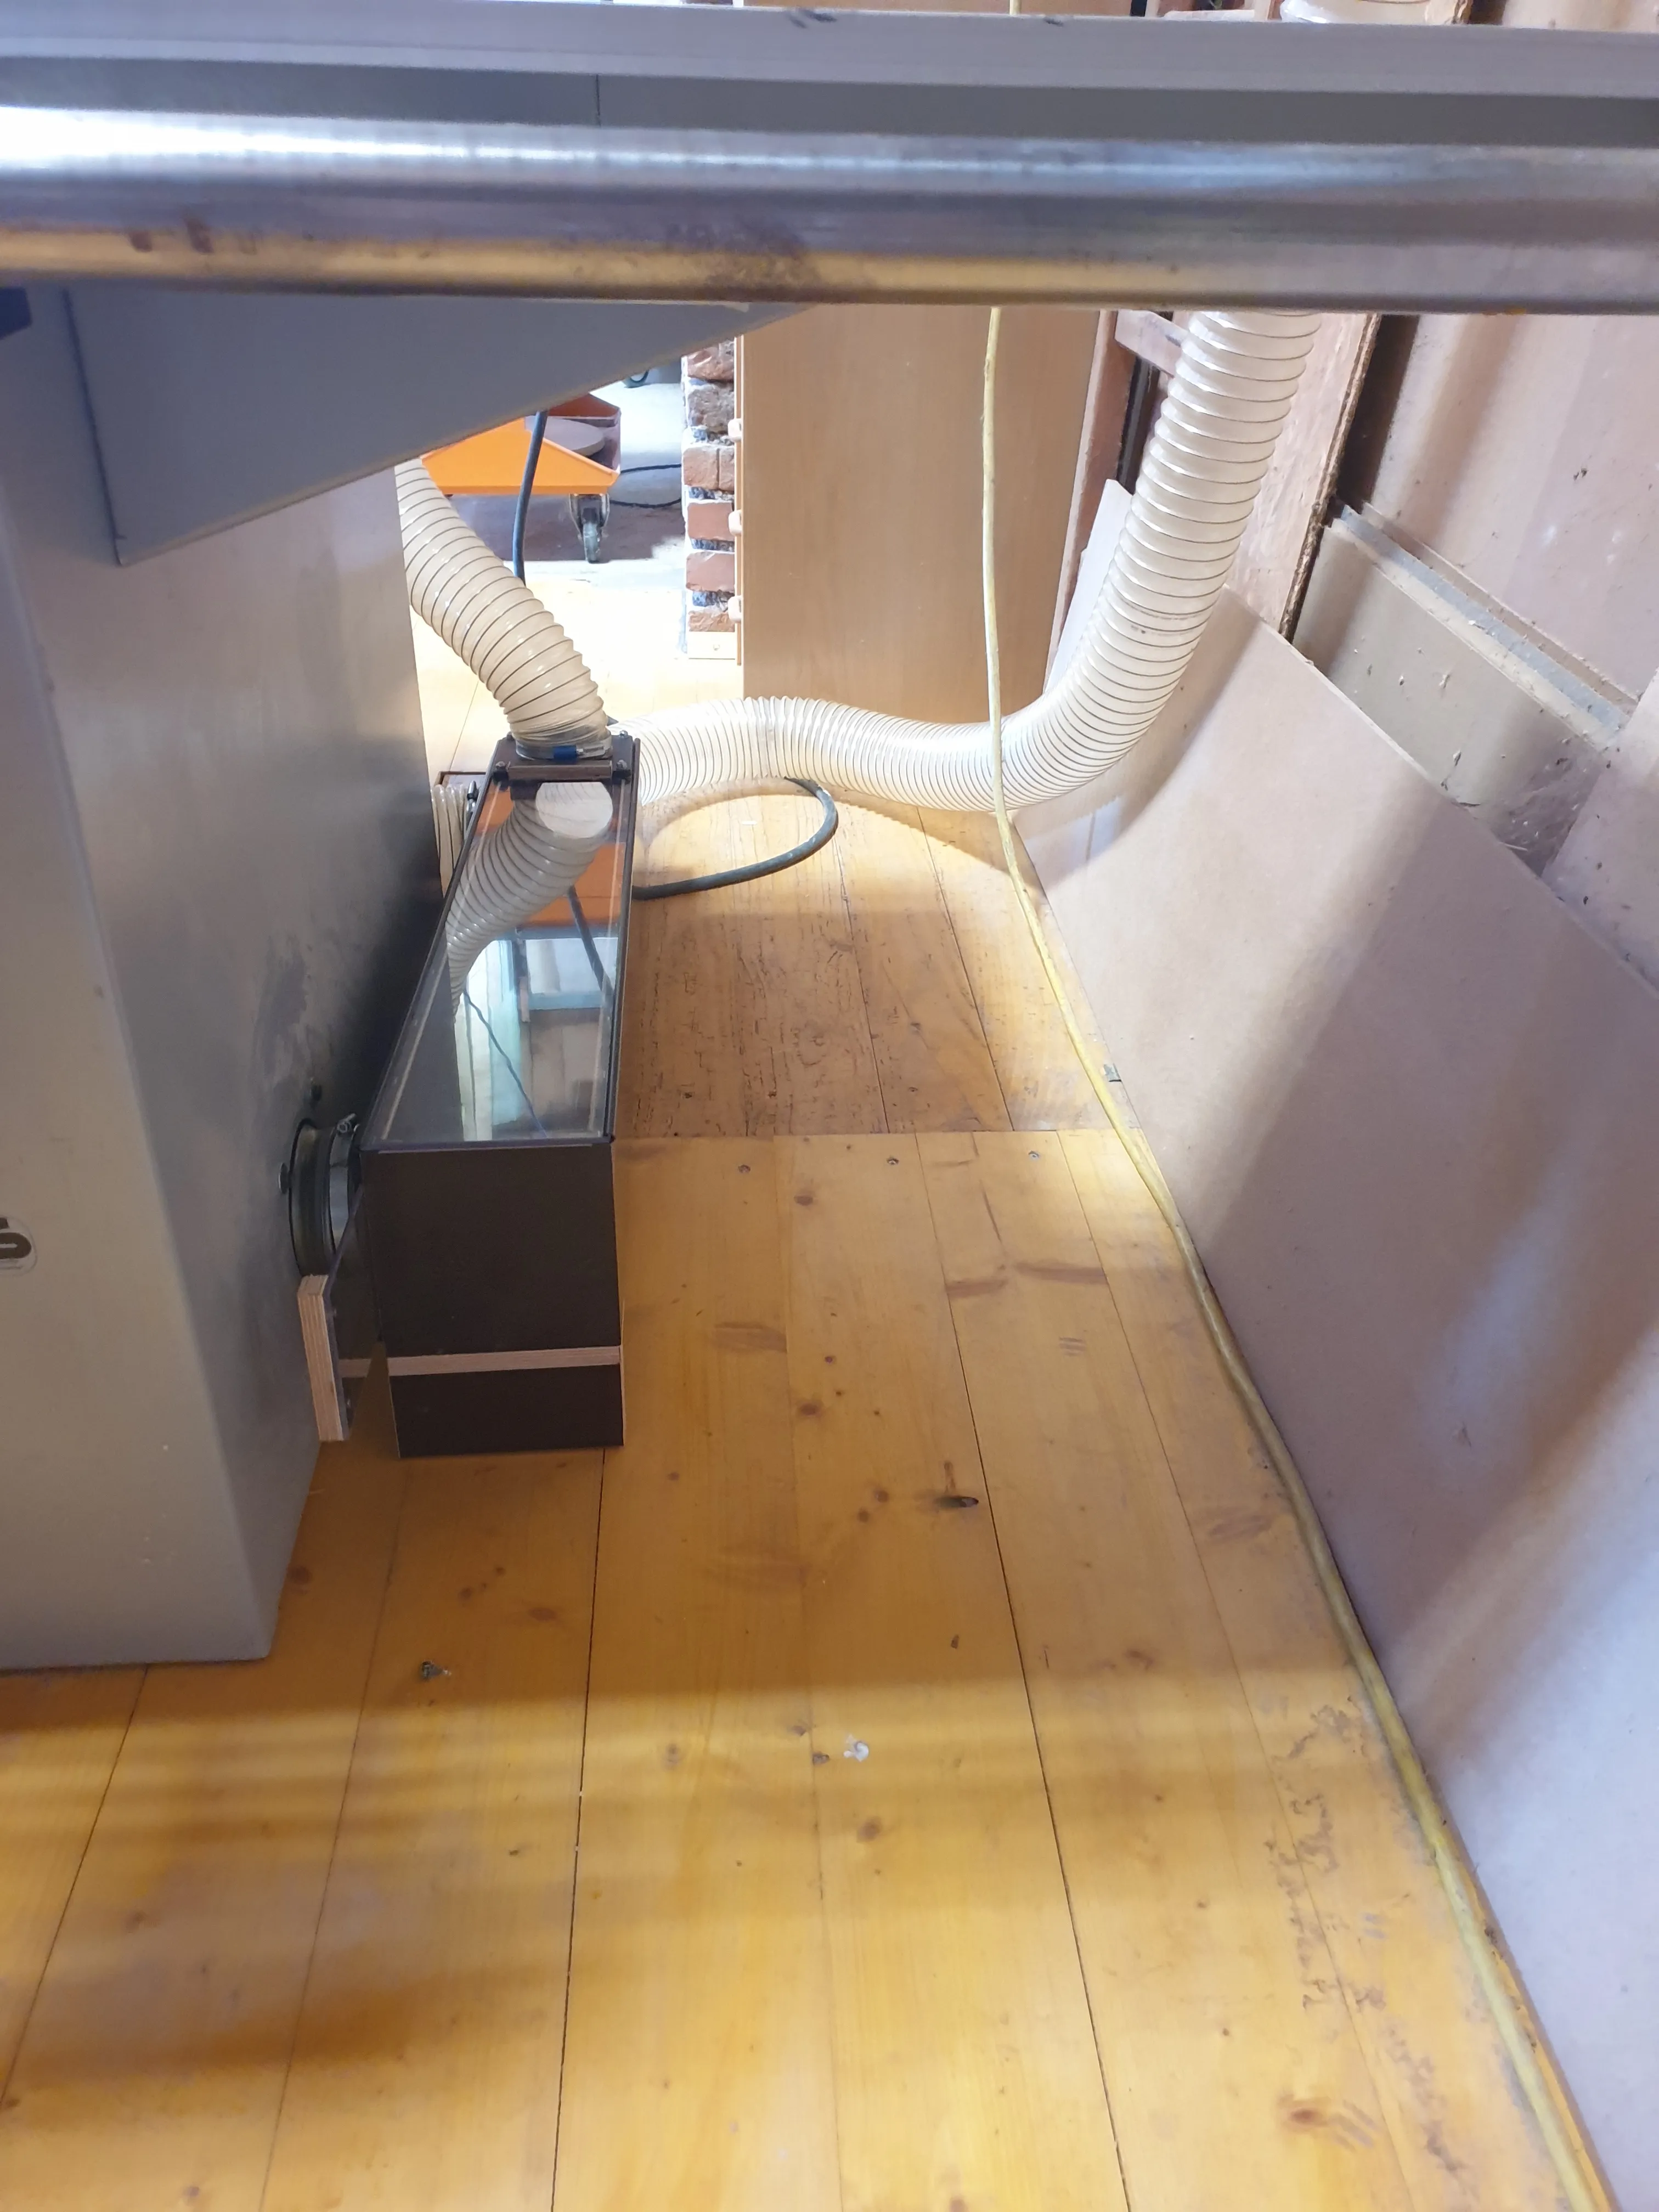
A collection shaft for all machine dust extraction ports... this now allows me to use the floor and also the space above the collection shaft
About the machine:
The Felder KF700 actually has not 2 hose diameters (120mm and 80mm) but 3 (120mm, 100mm, and 80mm)...
The sawing unit which is routed within the machine body with a 100mm hose to a 120mm extraction port, which can then be extracted by/with a 120mm hose. This port will be removed as we will connect the 100mm hose directly to our collection shaft
In this picture, you can still see the machine's original extraction port, which is no longer needed
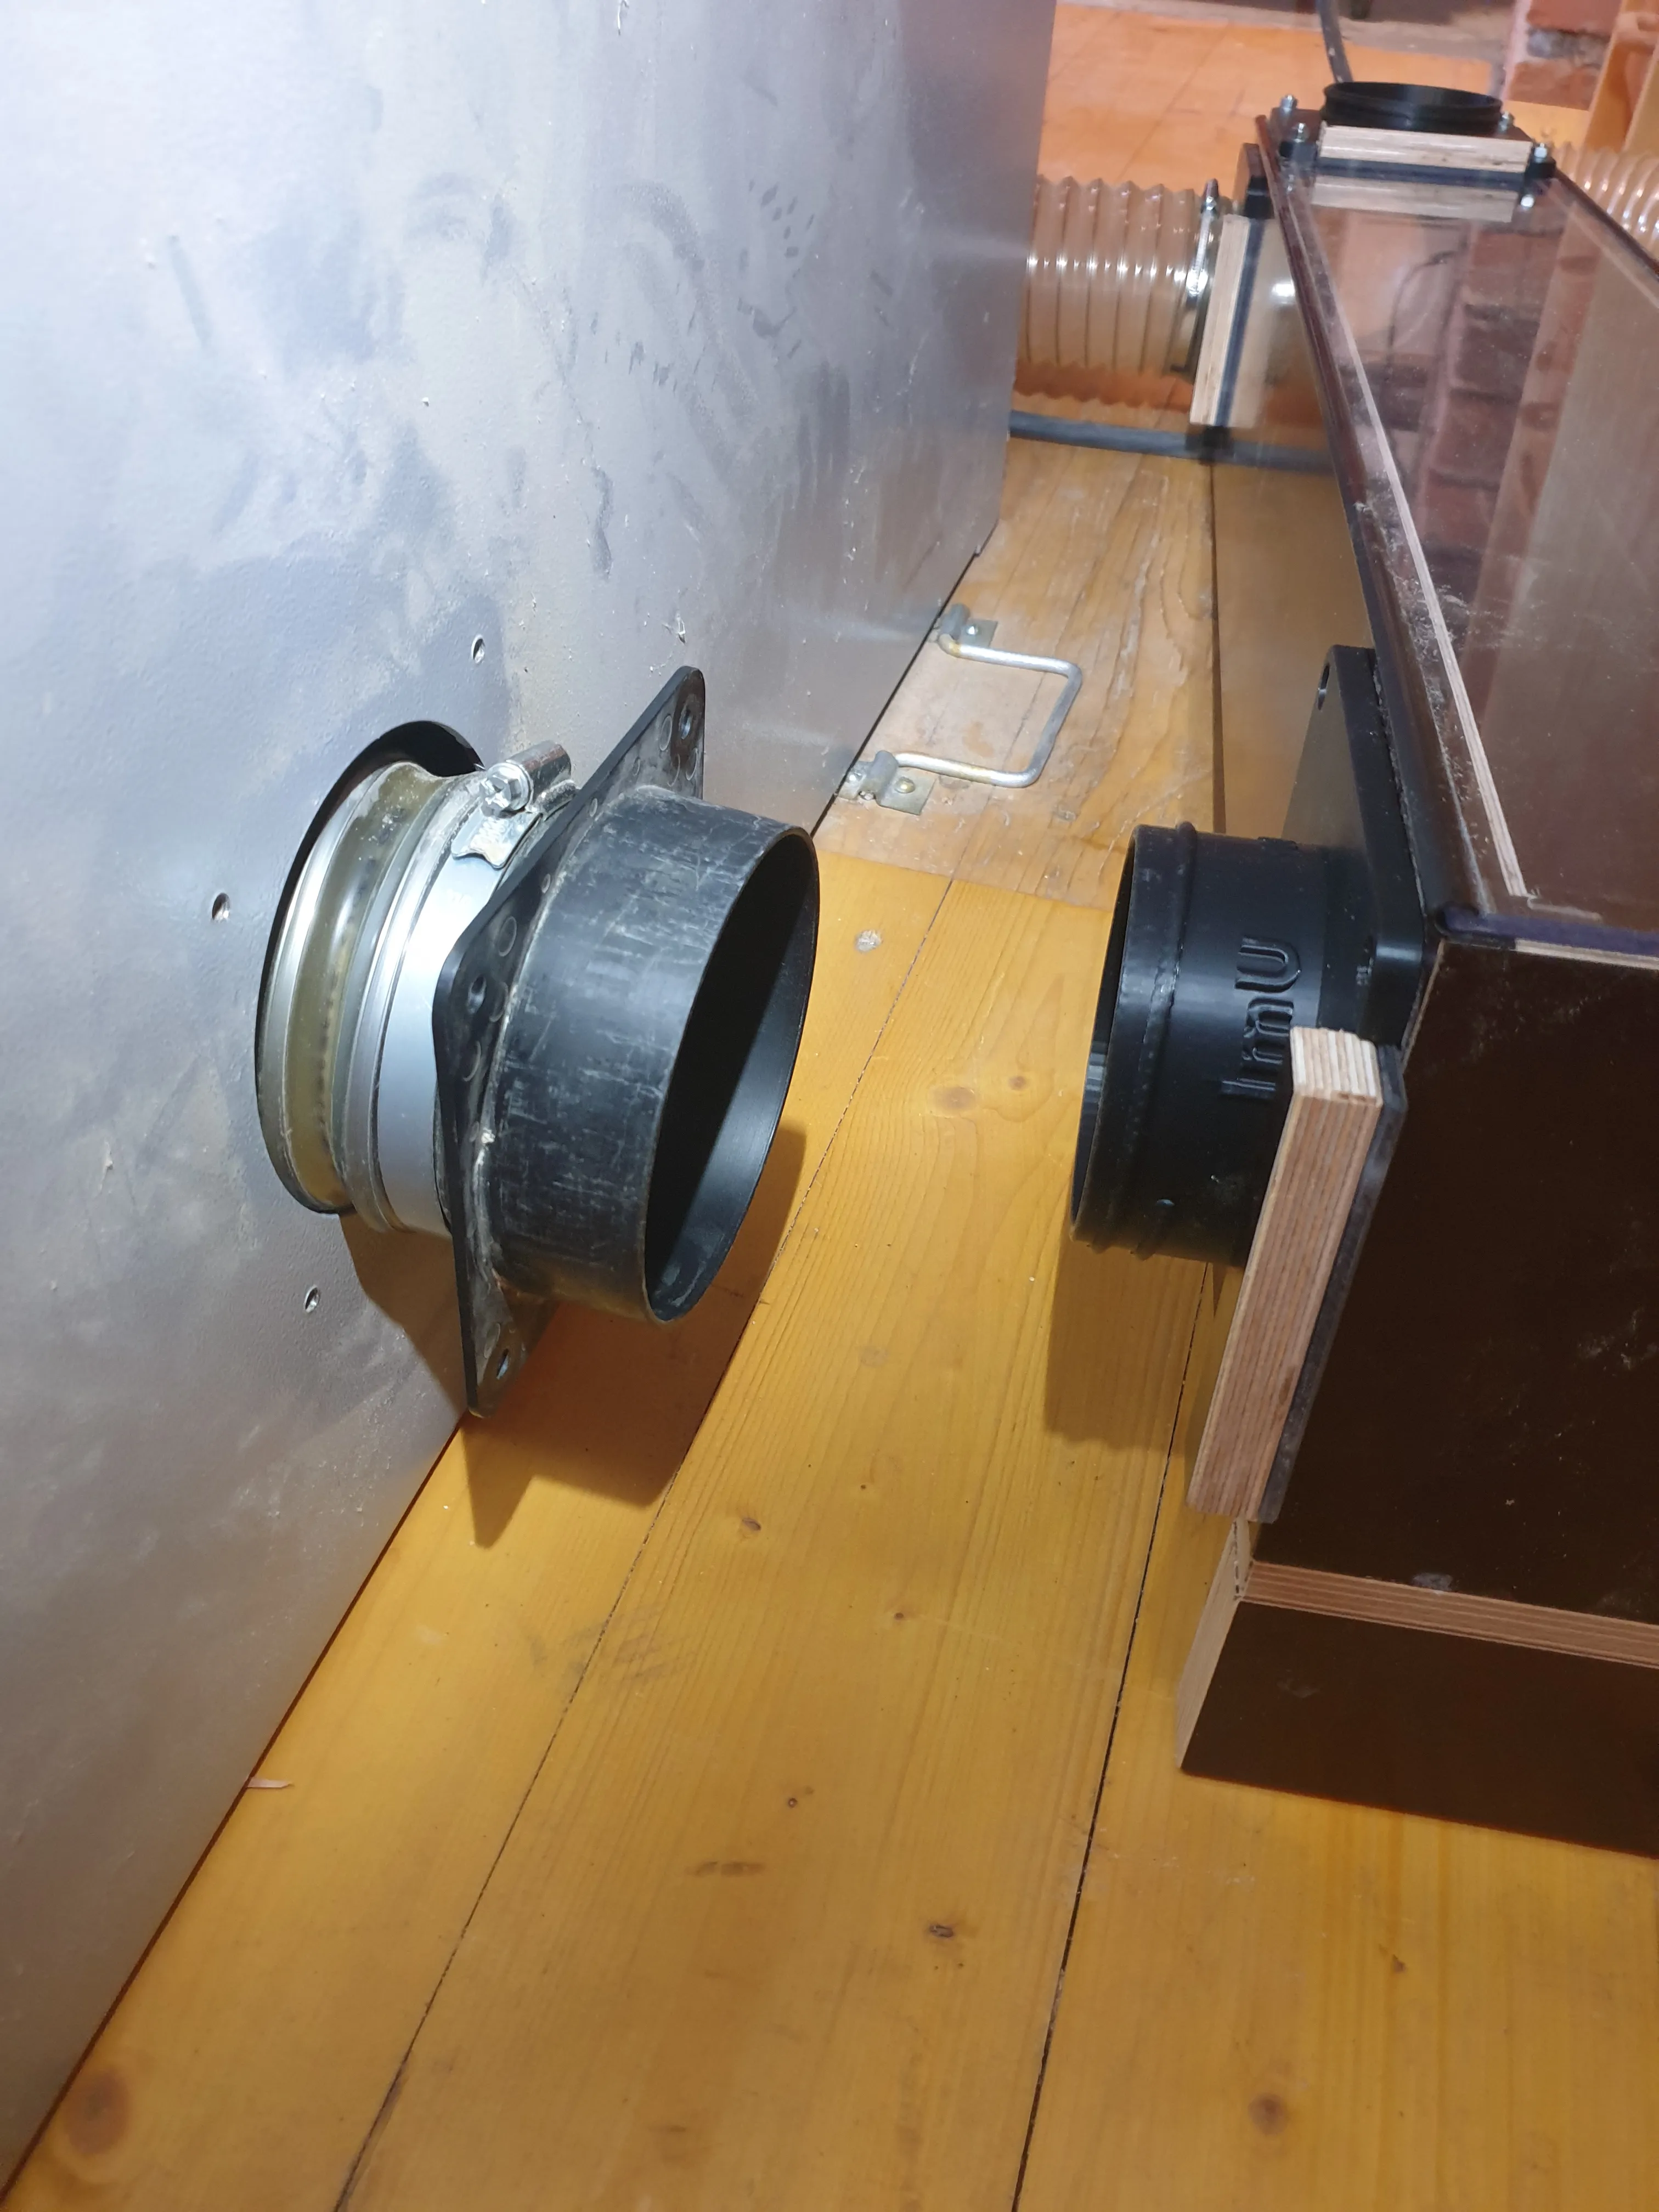
And here is a picture of the finished installation of the sawing unit
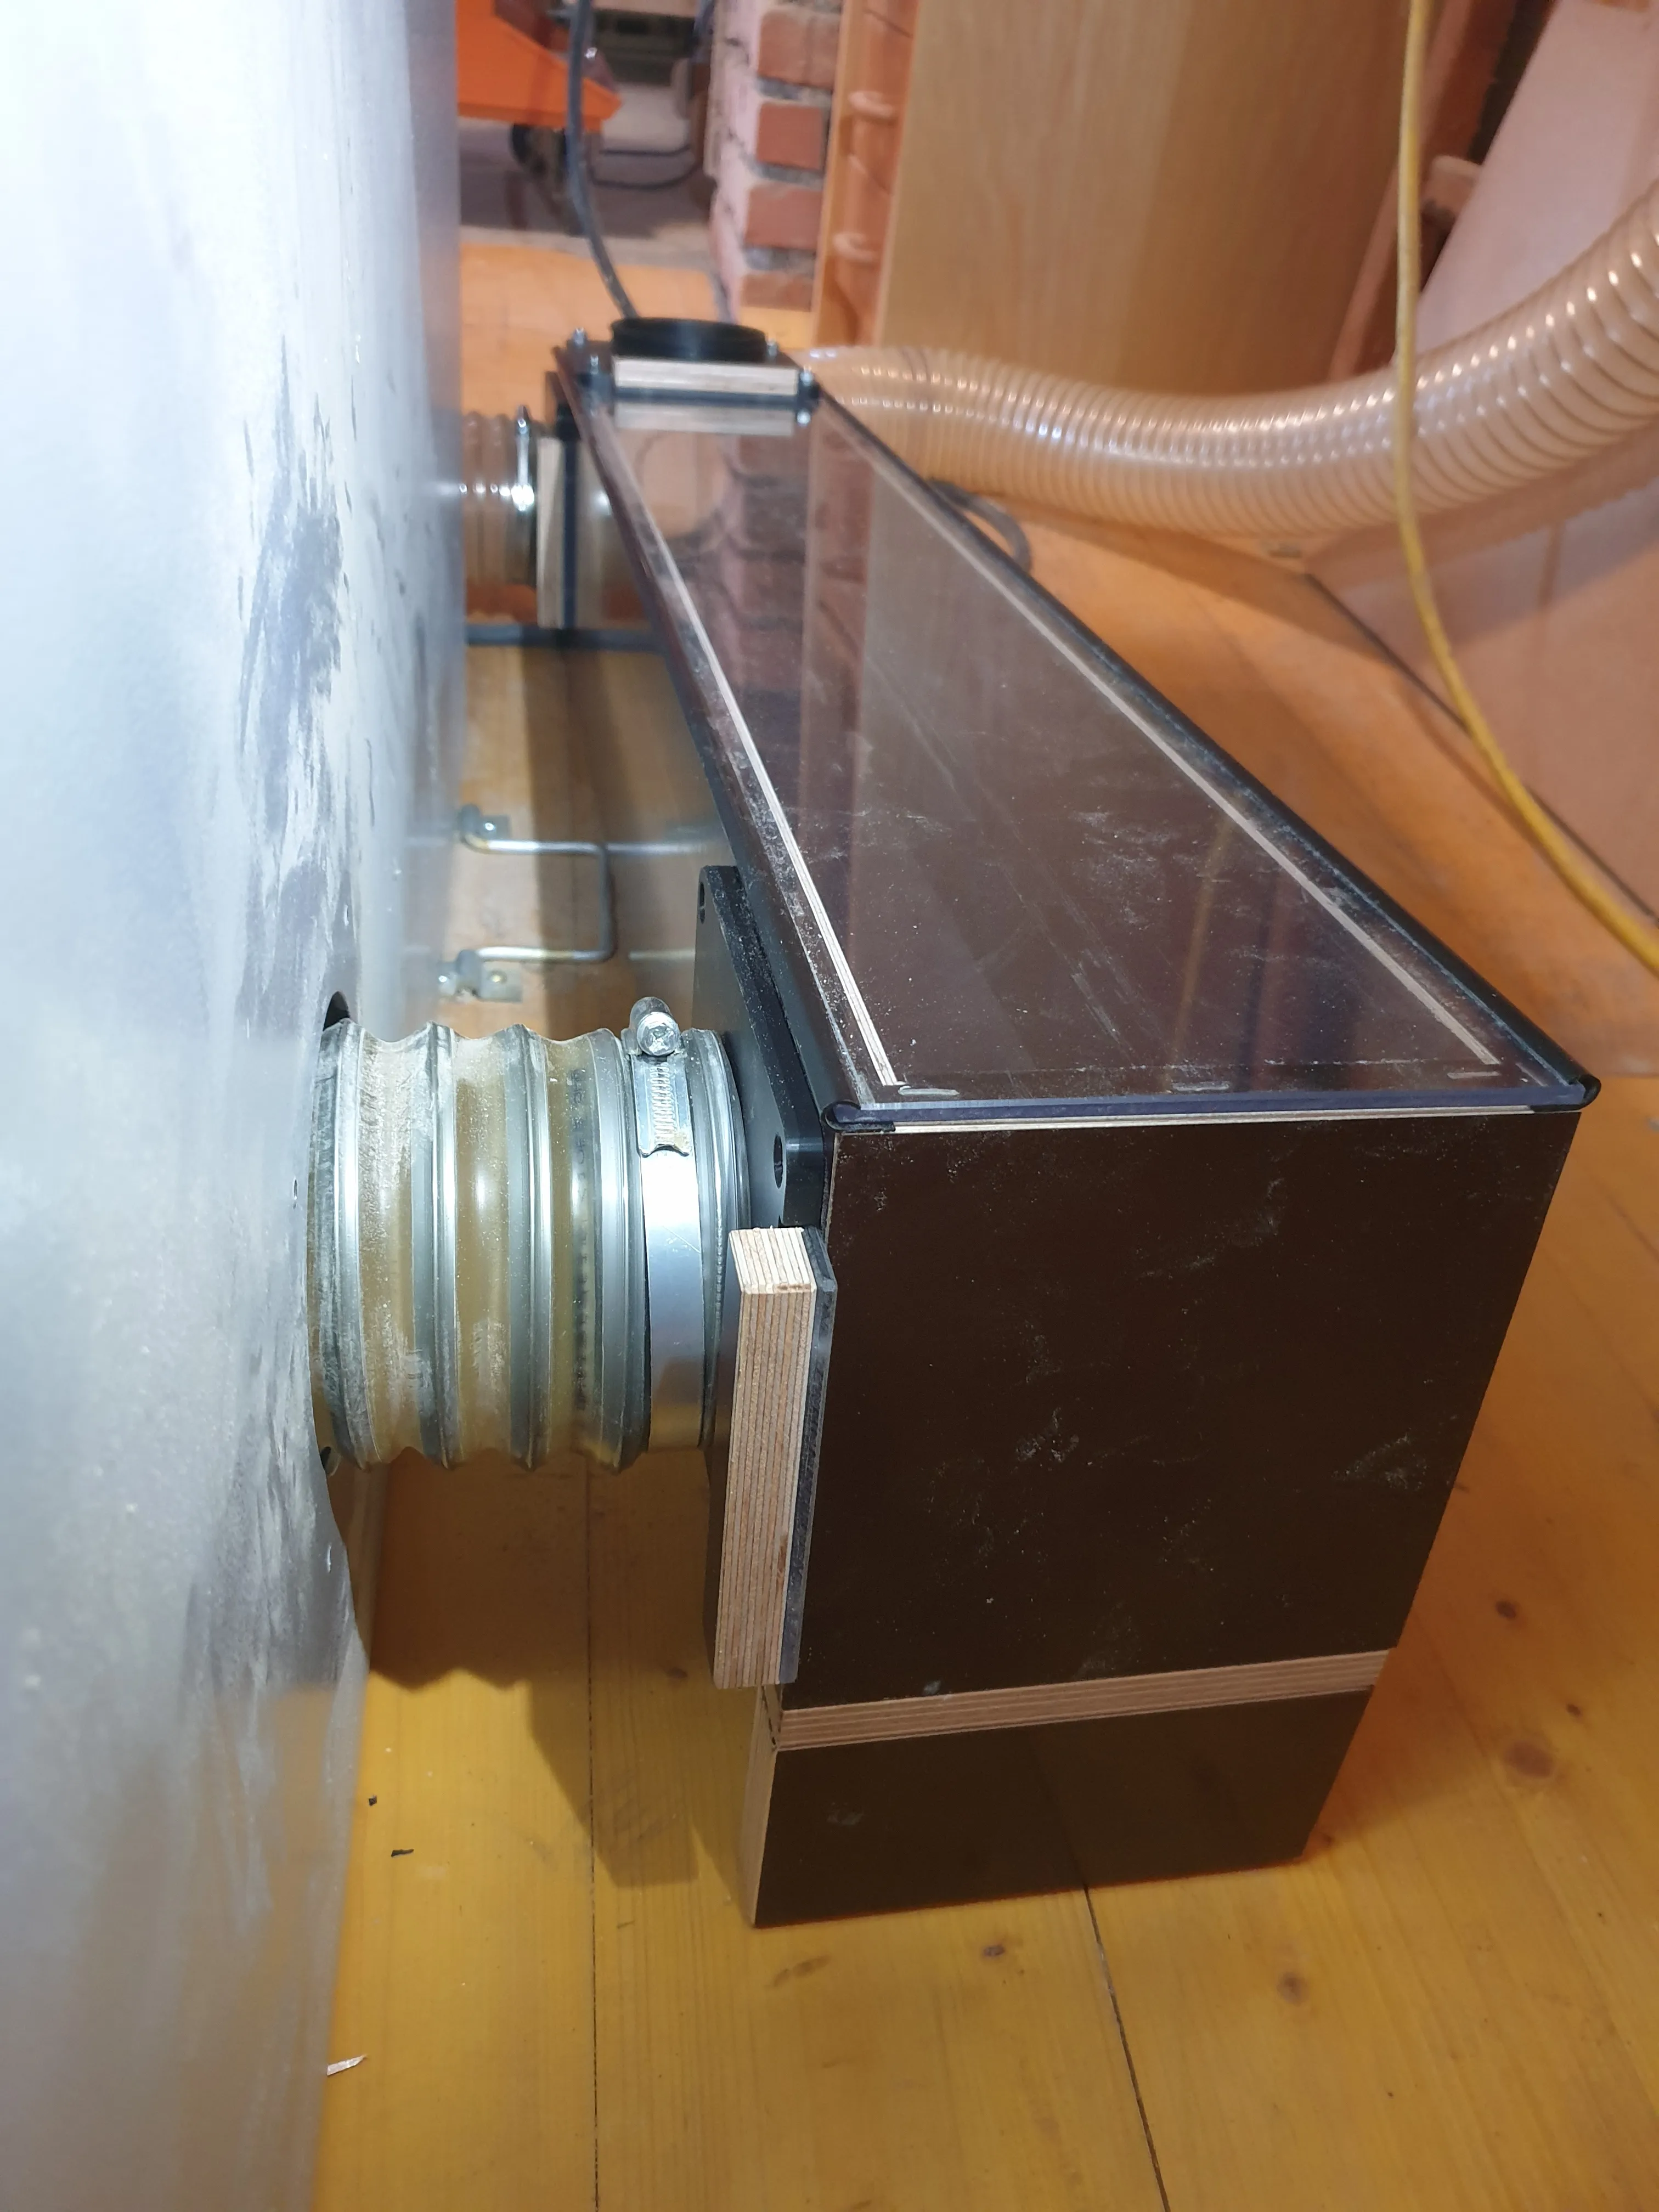
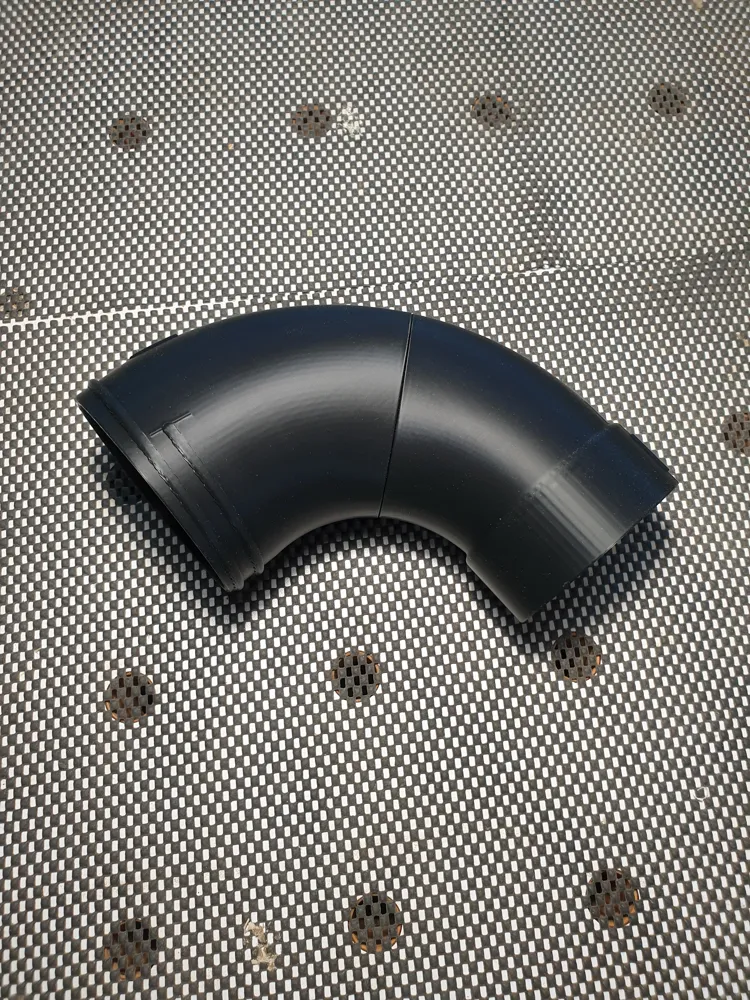
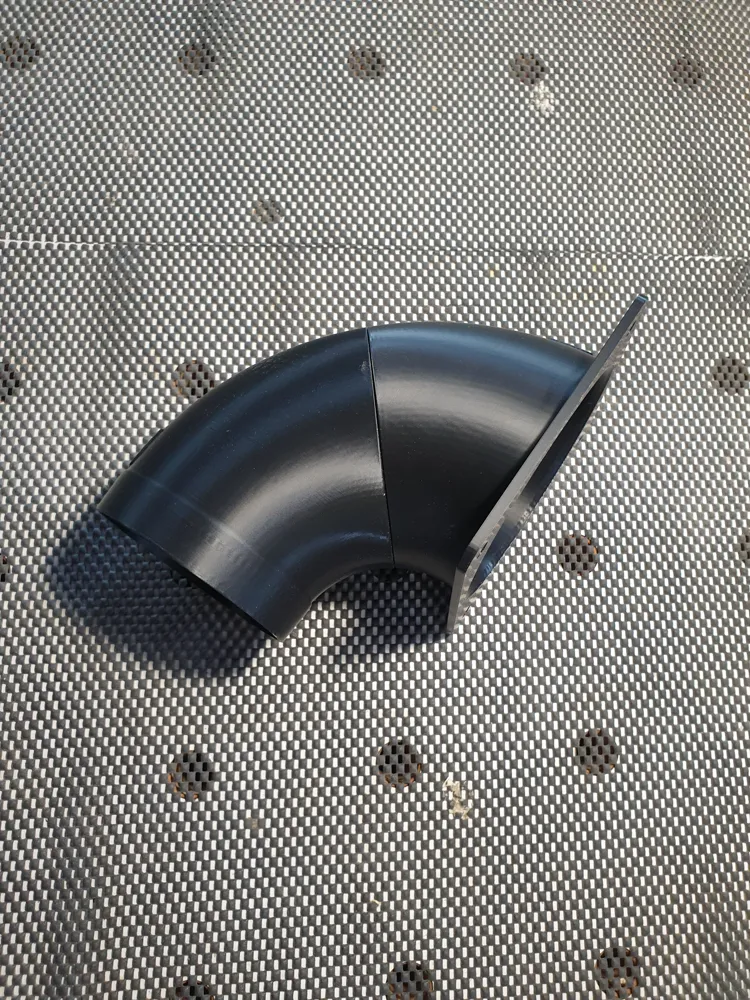
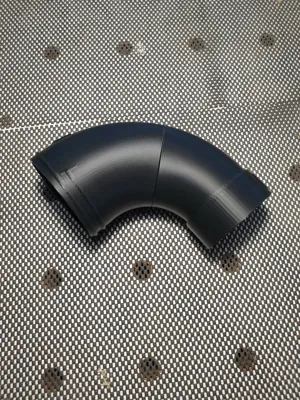
The milling unit is routed within the machine body with an 80mm hose to an 80mm extraction port and thus actually also requires an 80mm hose to the machine, which we do not need, however, as we will use a conical machine connection that tapers from 80mm to 100mm in the form of a practical elbow, allowing us to extract it again with a 100mm hose
Here you can see the new machine connection which is simply plugged in, but without the 100mm hose attached yet
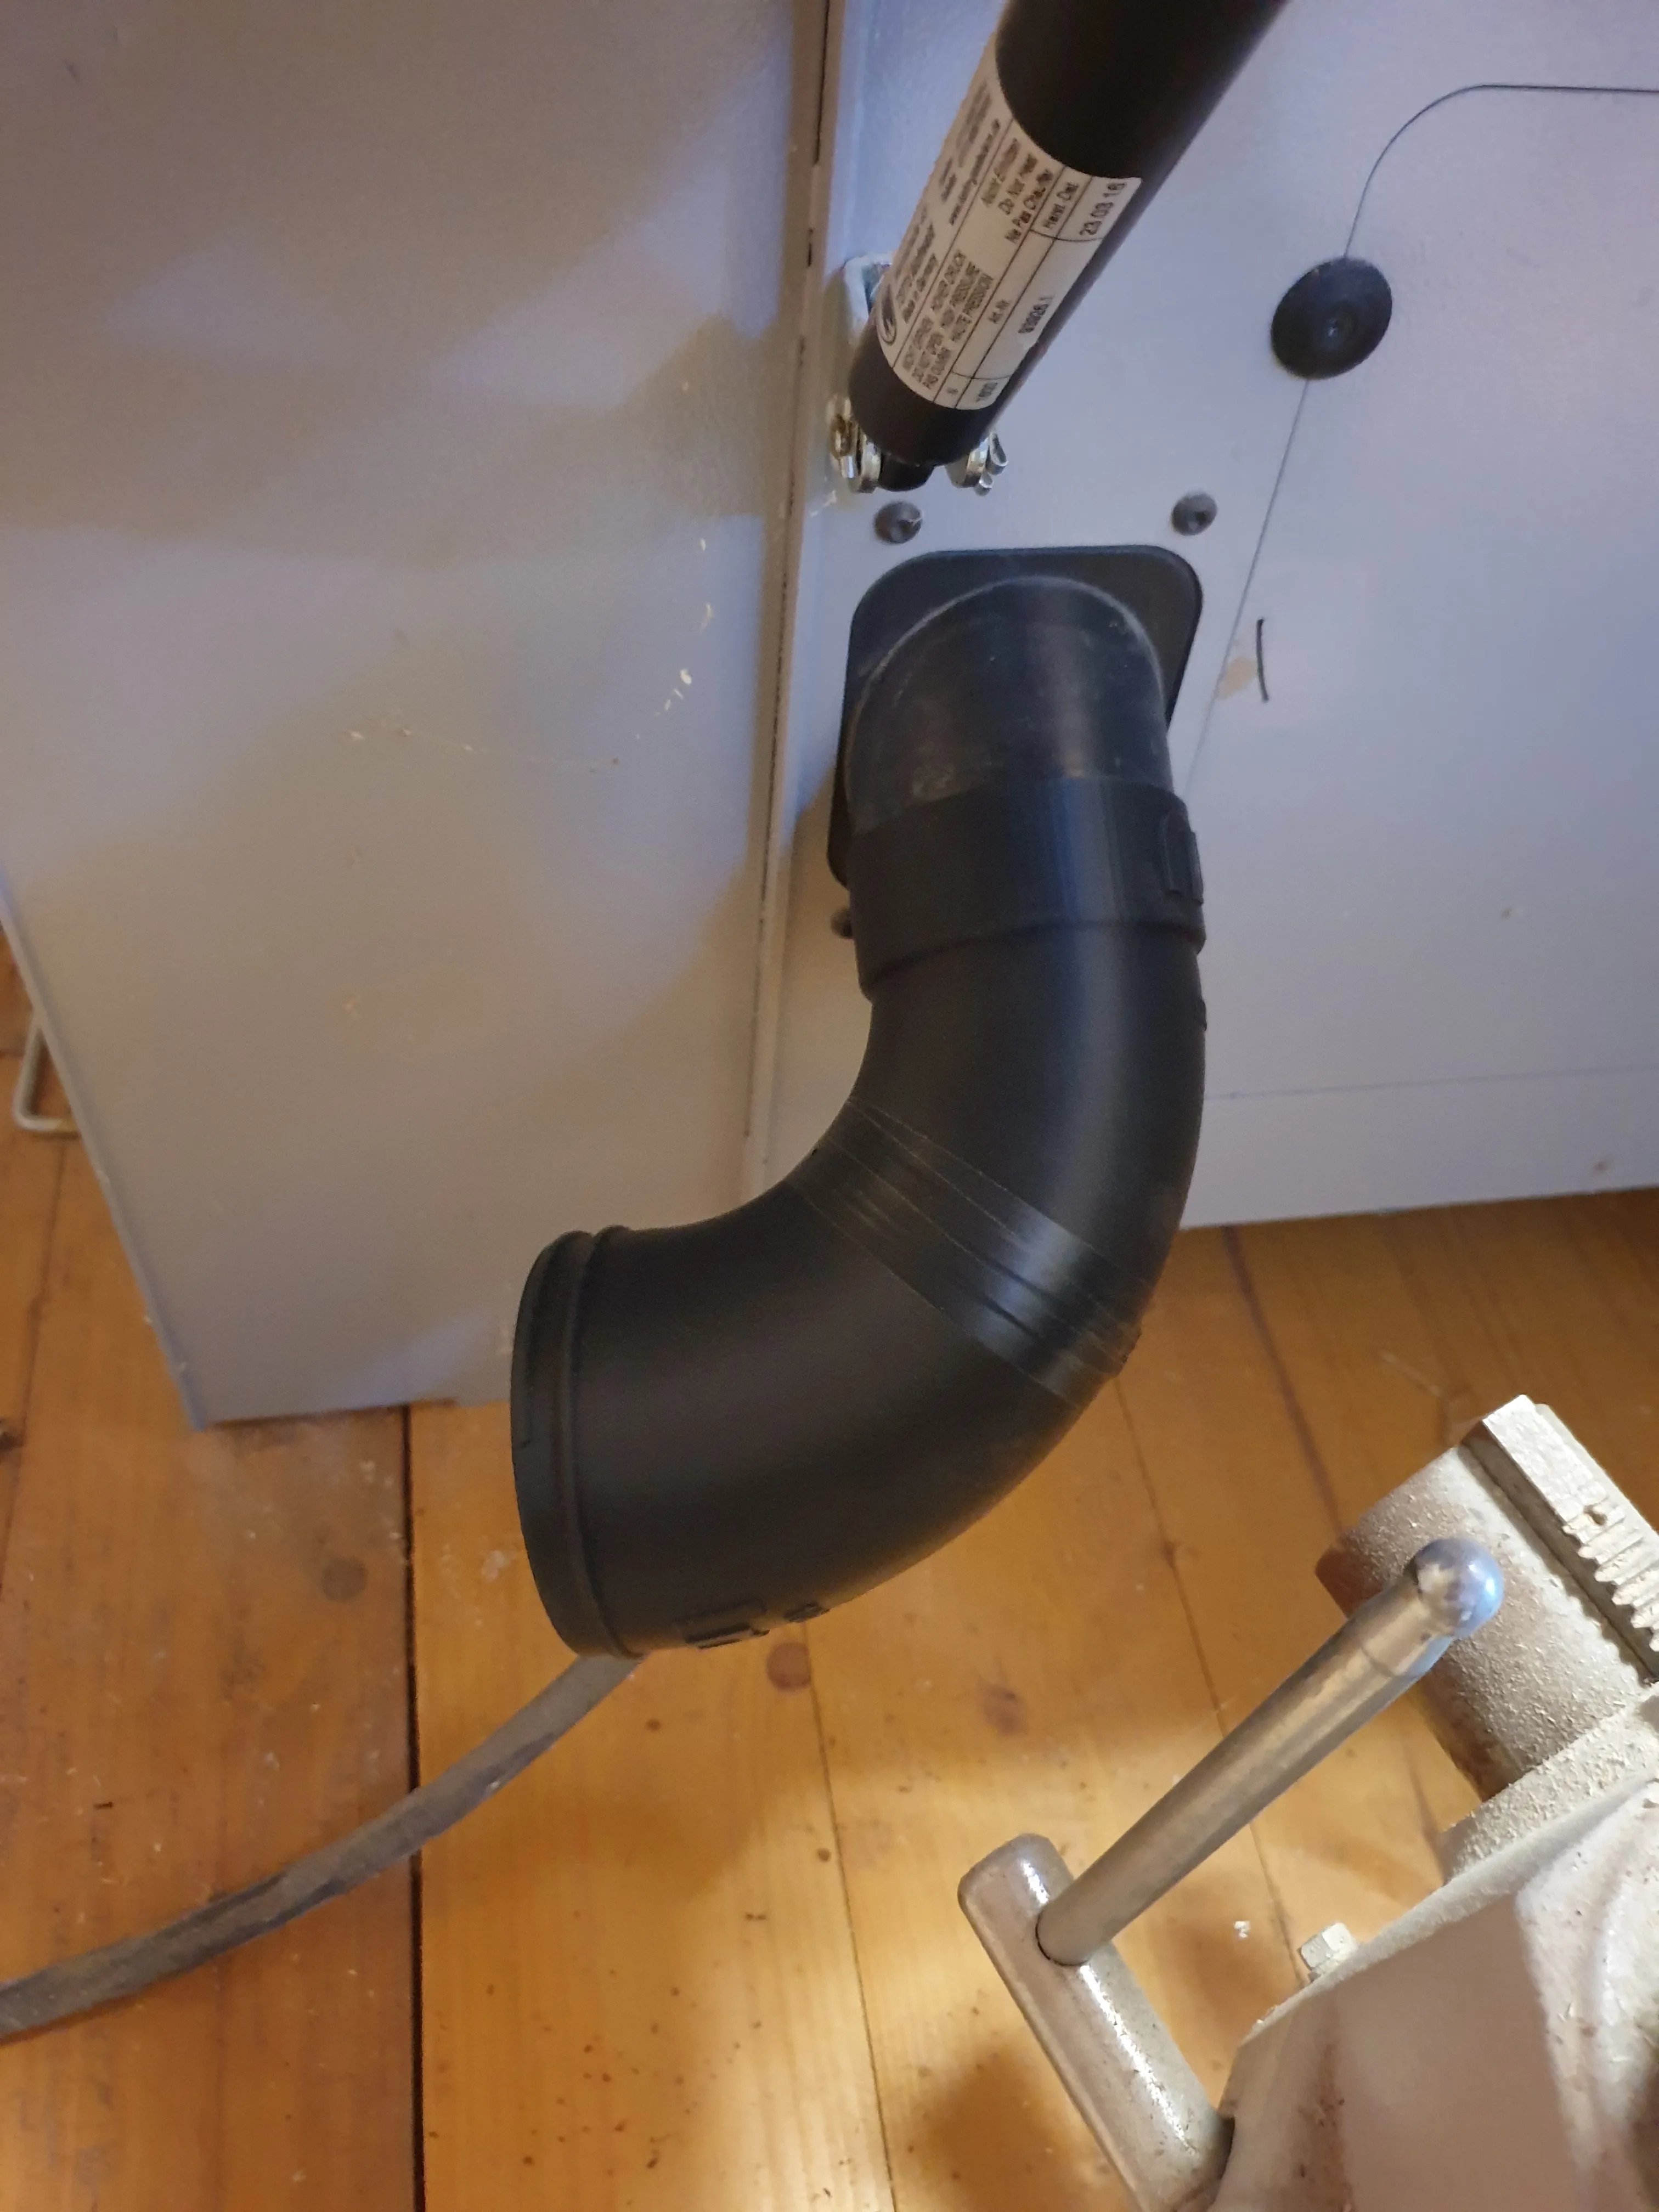
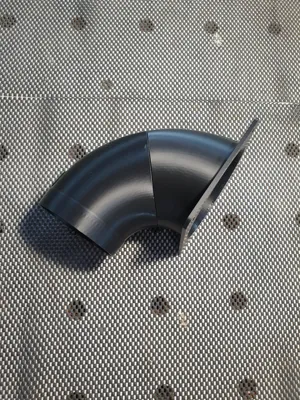
The router fence simply has a 120mm extraction port, which is of course intended for a 120mm hose... However, we will remove the 120mm extraction port and also forgo the 120mm hose. All of this will be replaced by a conical extraction port that tapers from 120mm to 100mm in the form of another practical elbow, thus allowing us to use a 100mm hose for extraction again
The picture shows the original extraction port of the router fence, which will be replaced by our new extraction port (in the background)
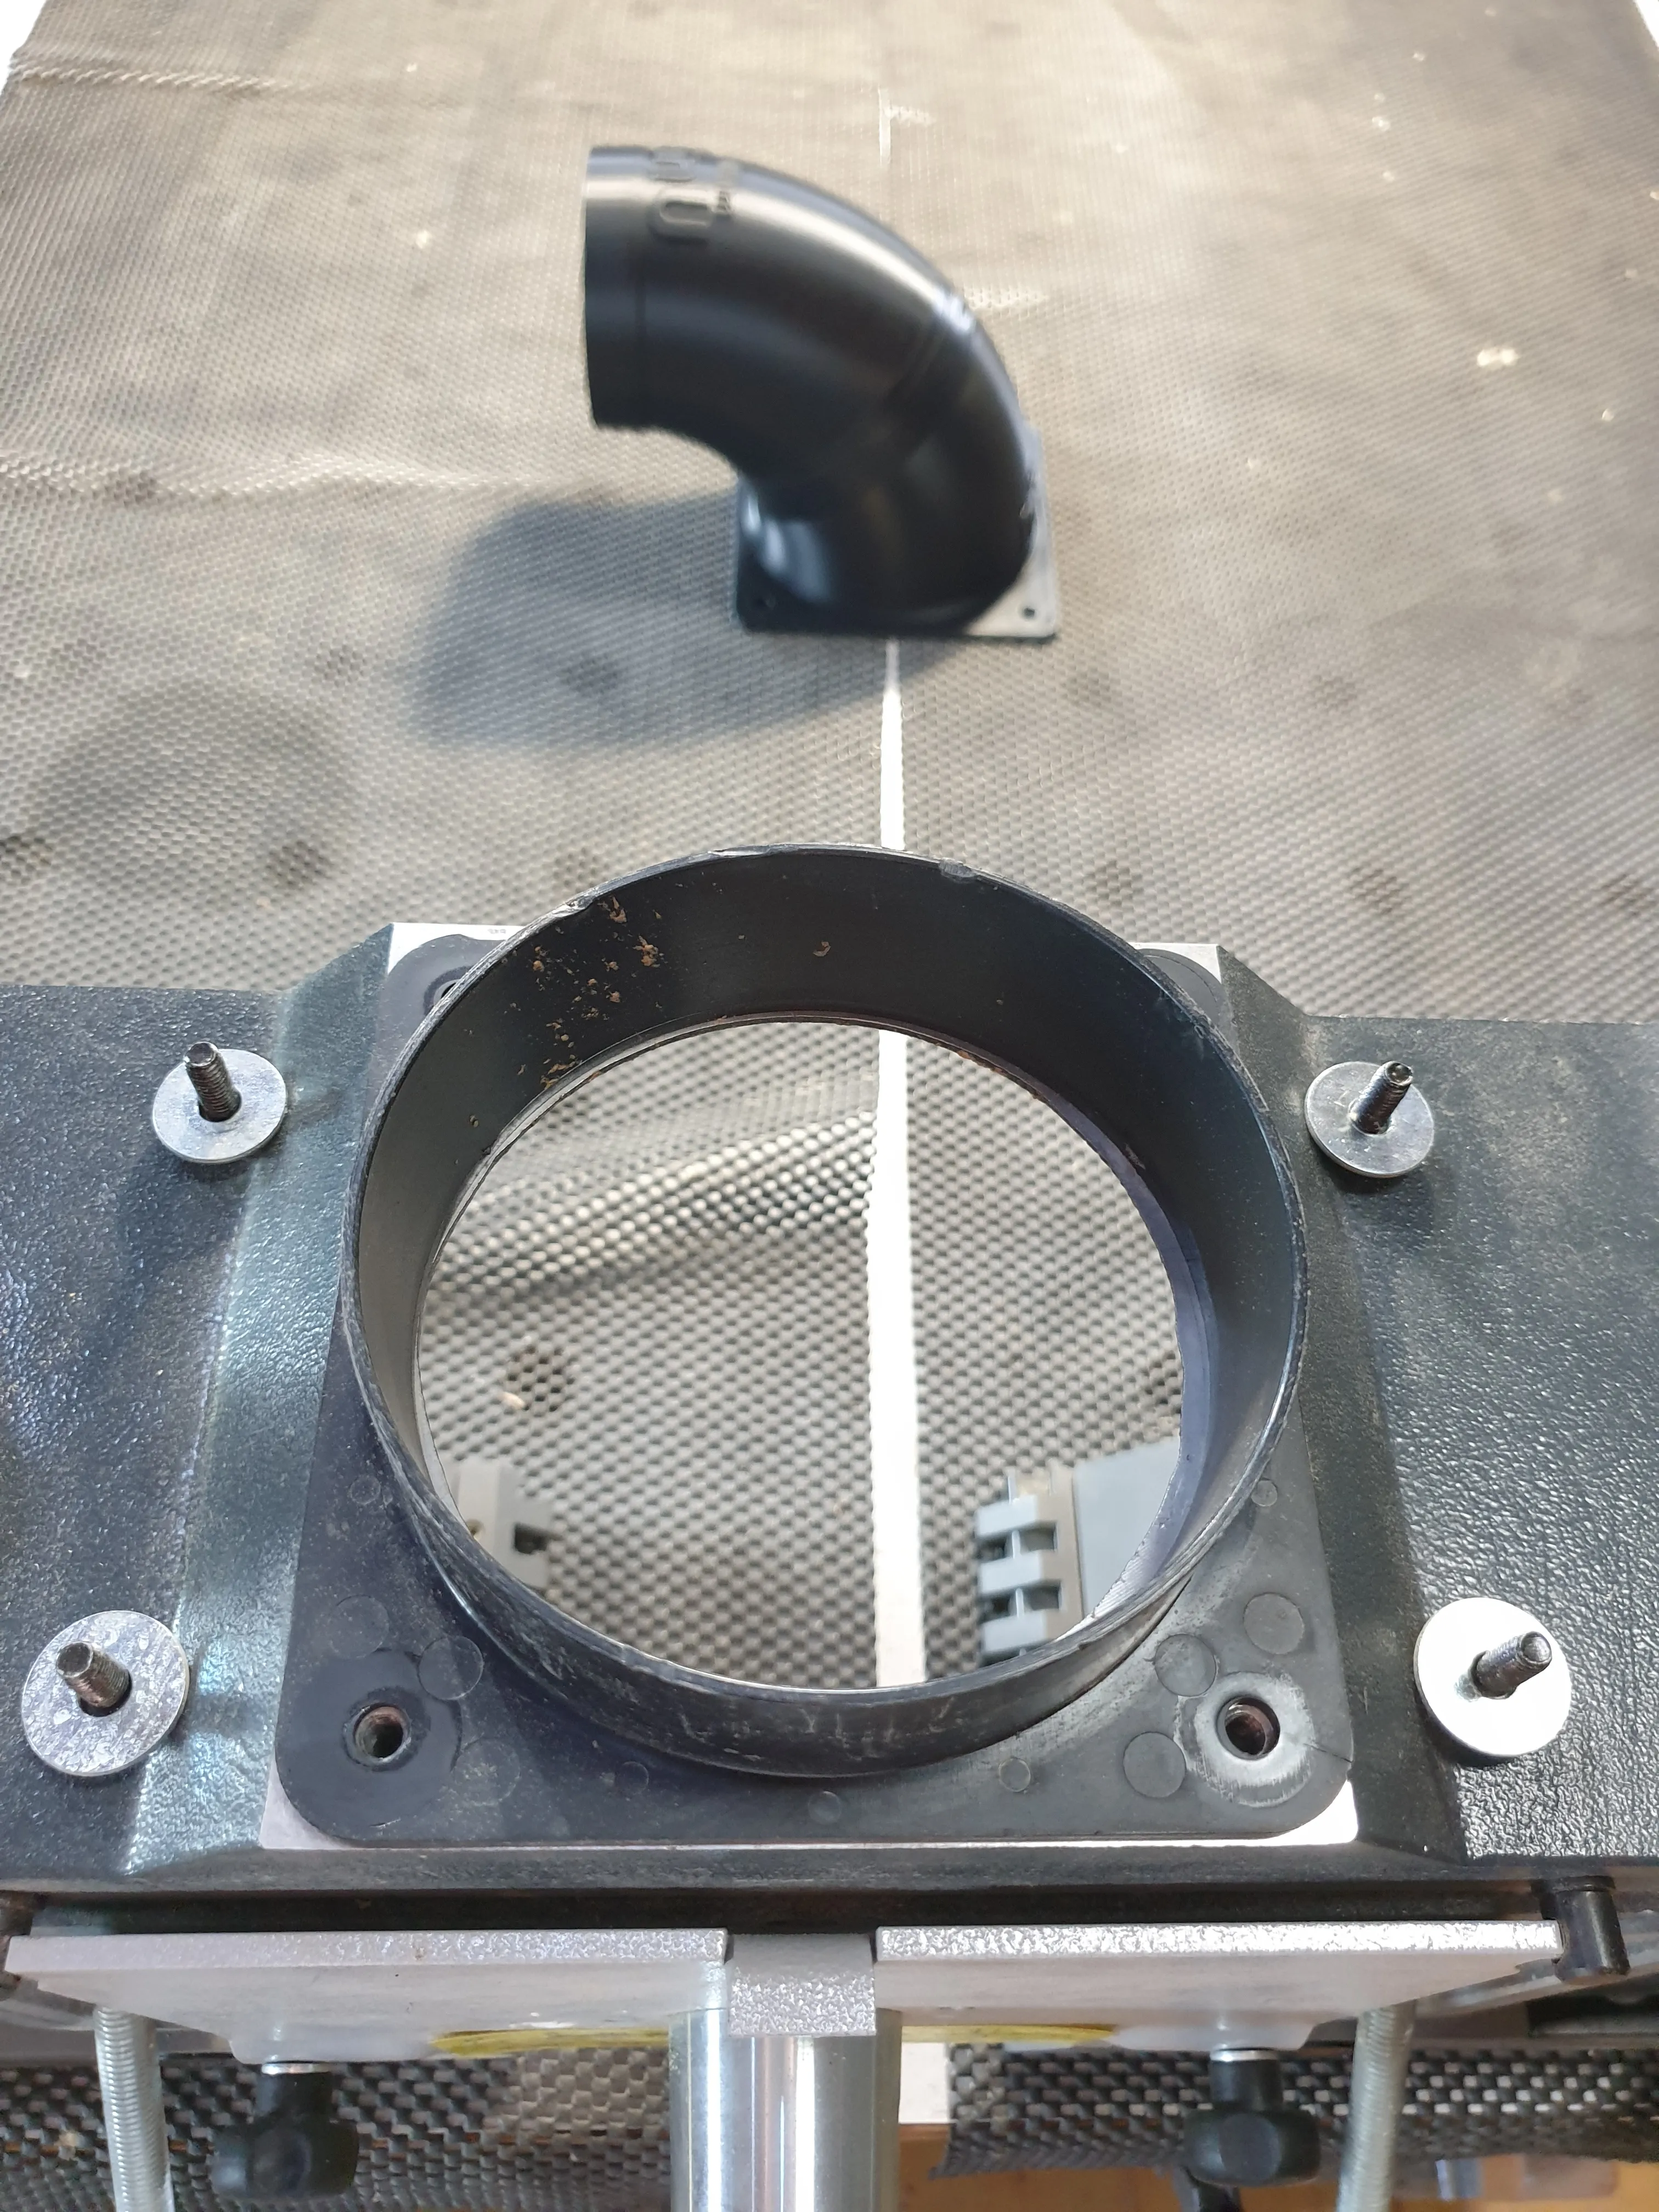
Here, the new extraction port is being mounted on the router fence
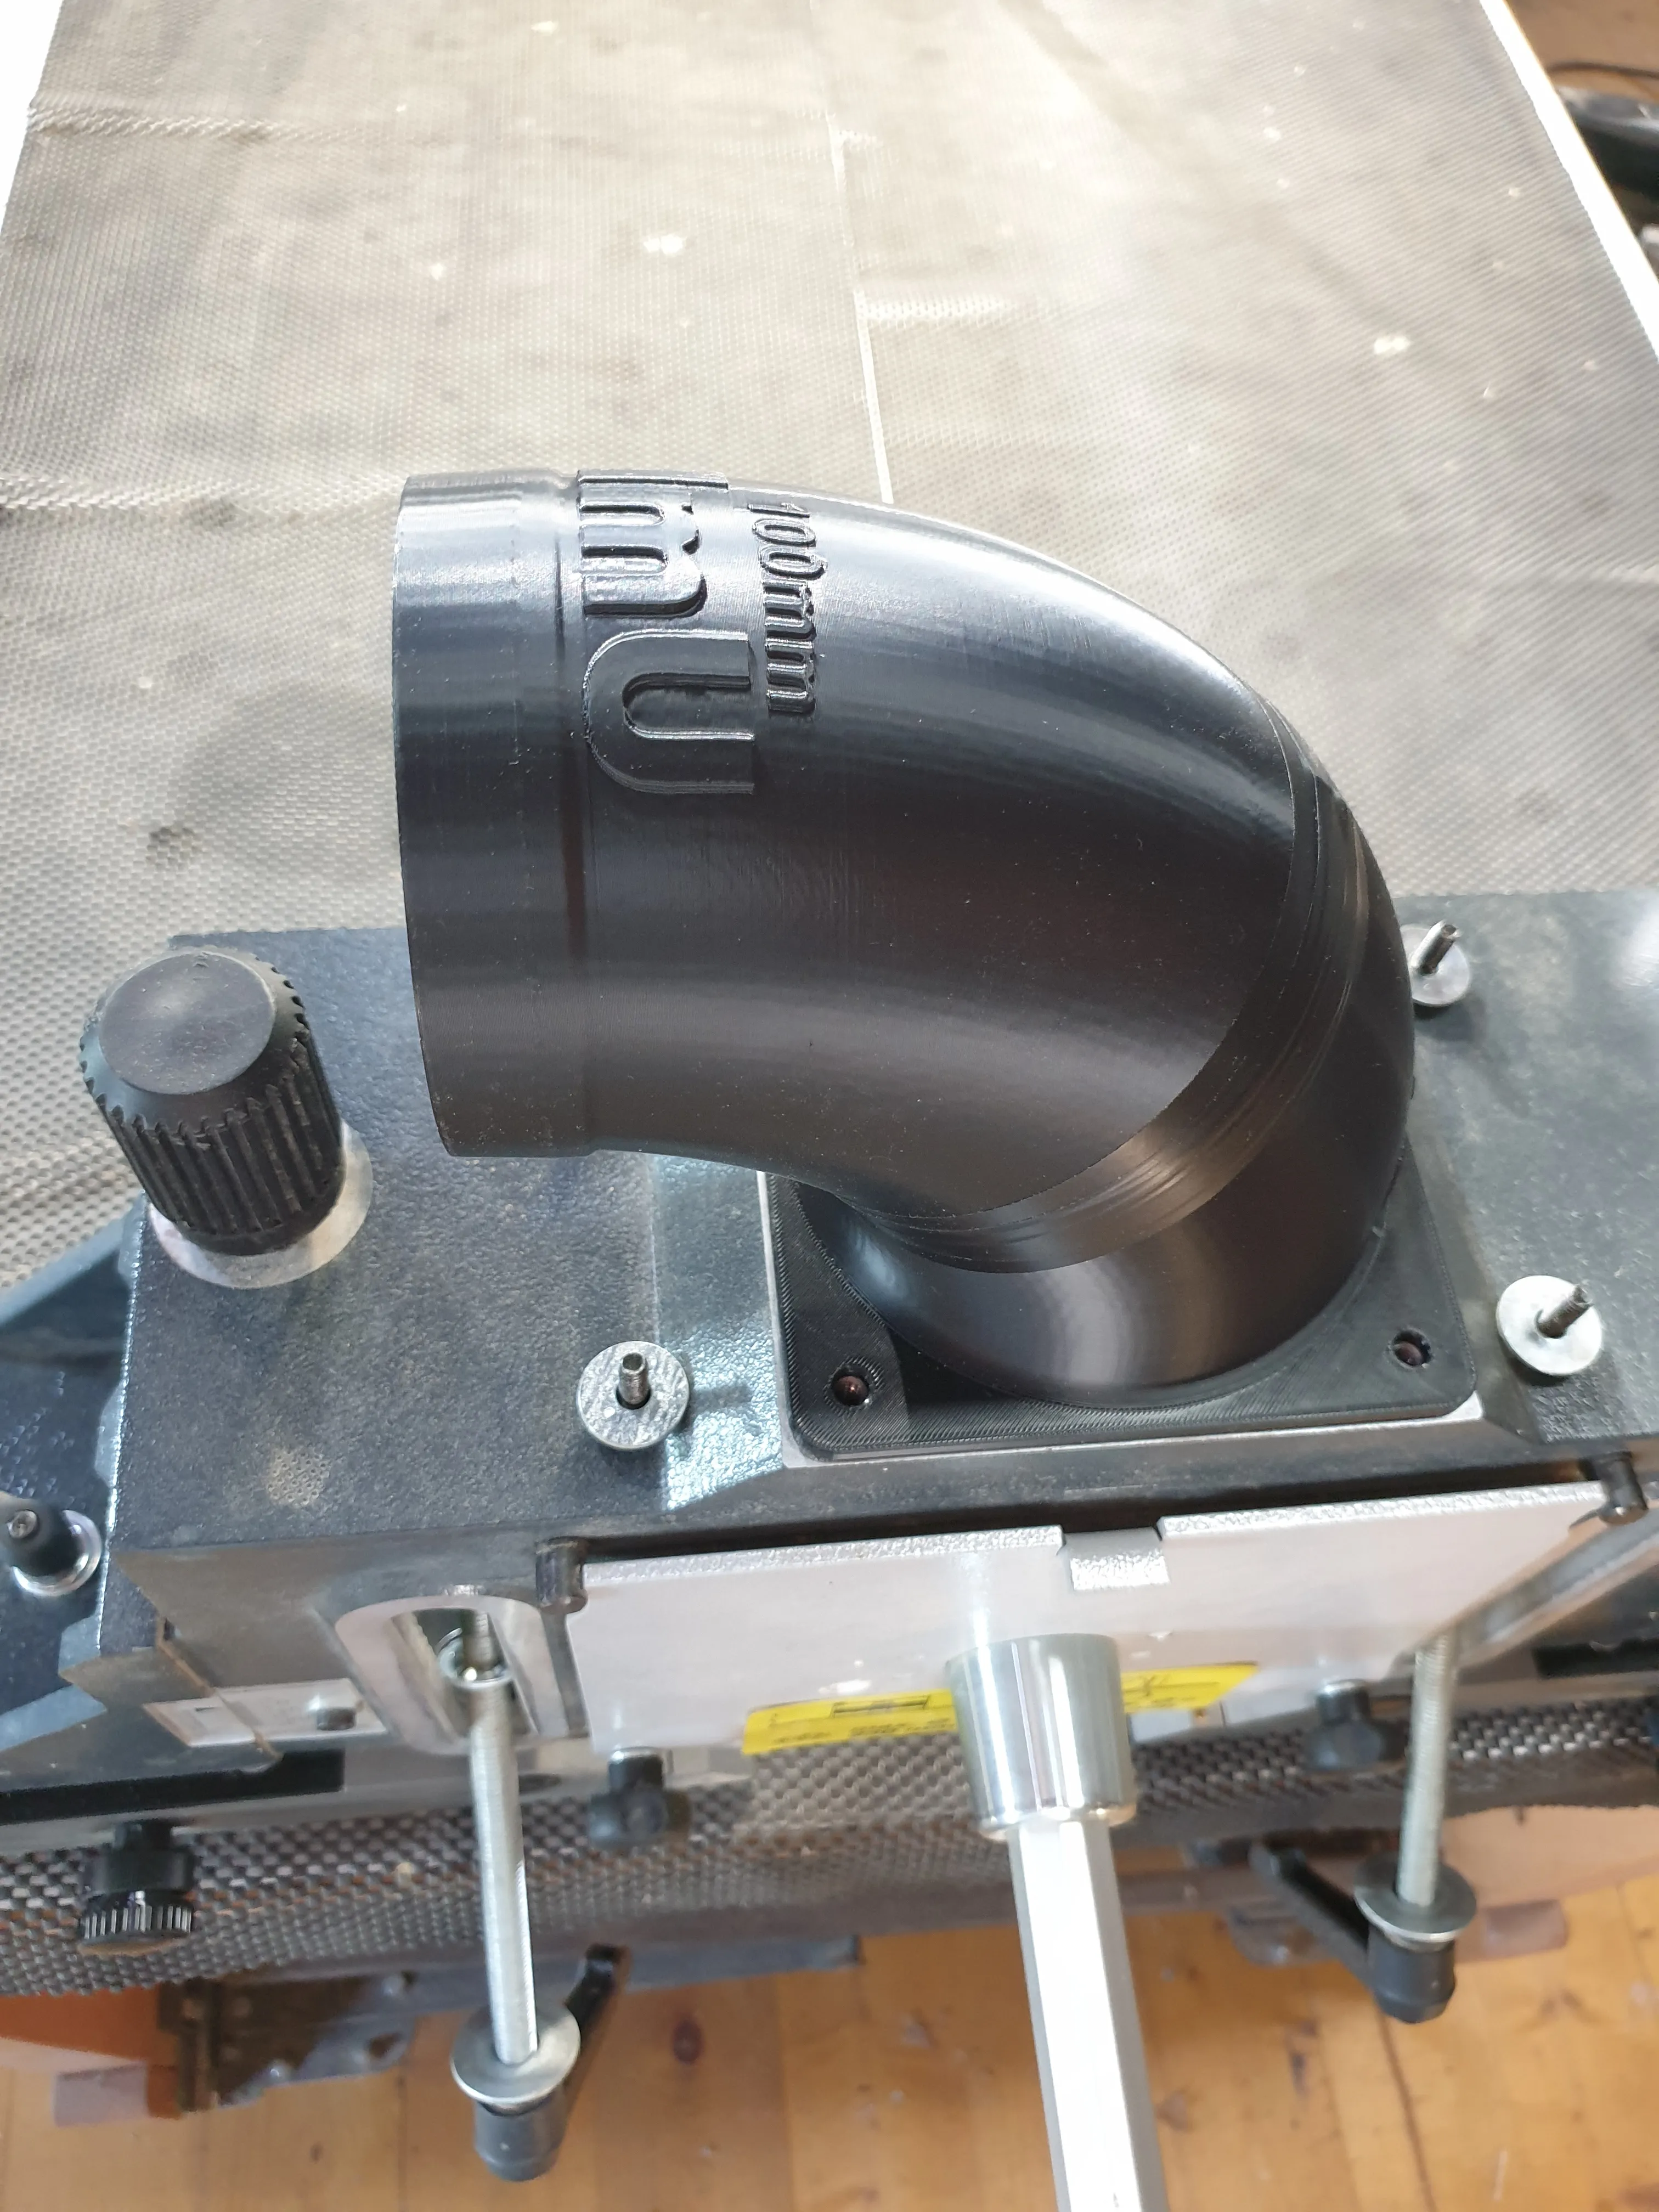
Our extraction port will then simply be connected with a 100mm machine connection from Felder
Here is a link to the manufacturer:
https://www.felder-group.com/de-at/shop/schnellkupplungen-sc125884/gerade-mit-schnellkupplung-sp125895
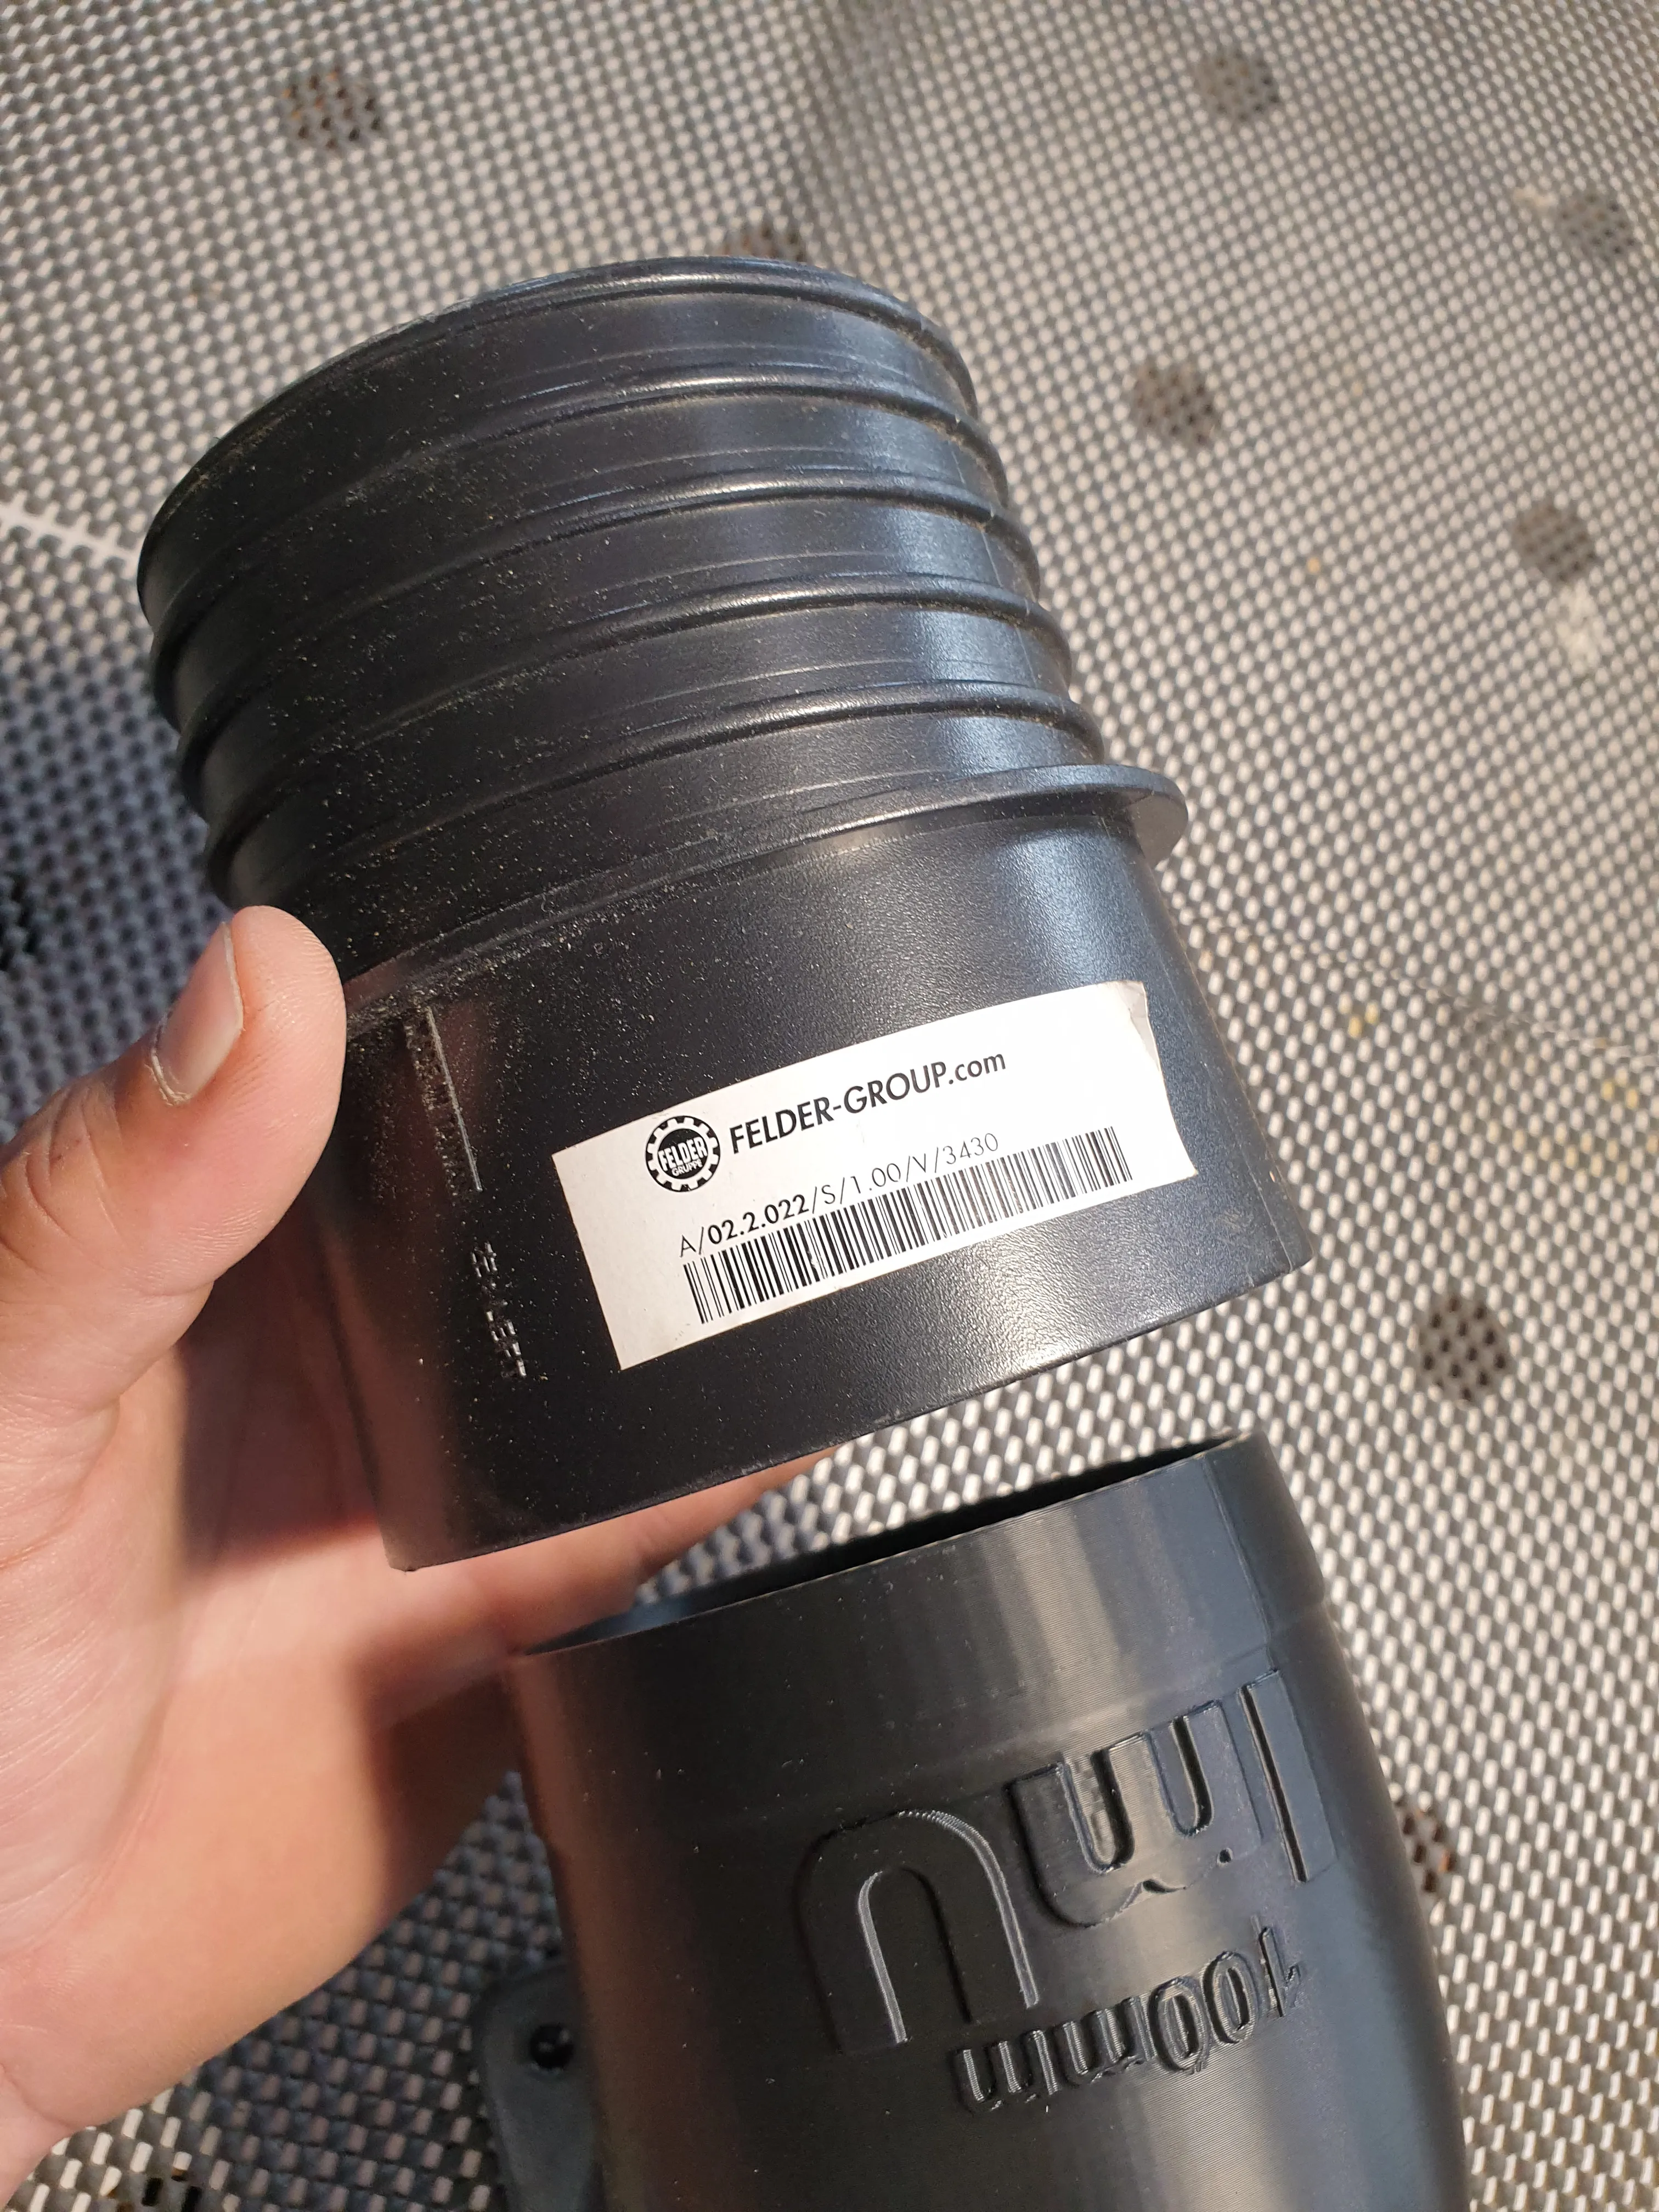
Here you can see how it looks when assembled; only the 100mm hose is missing
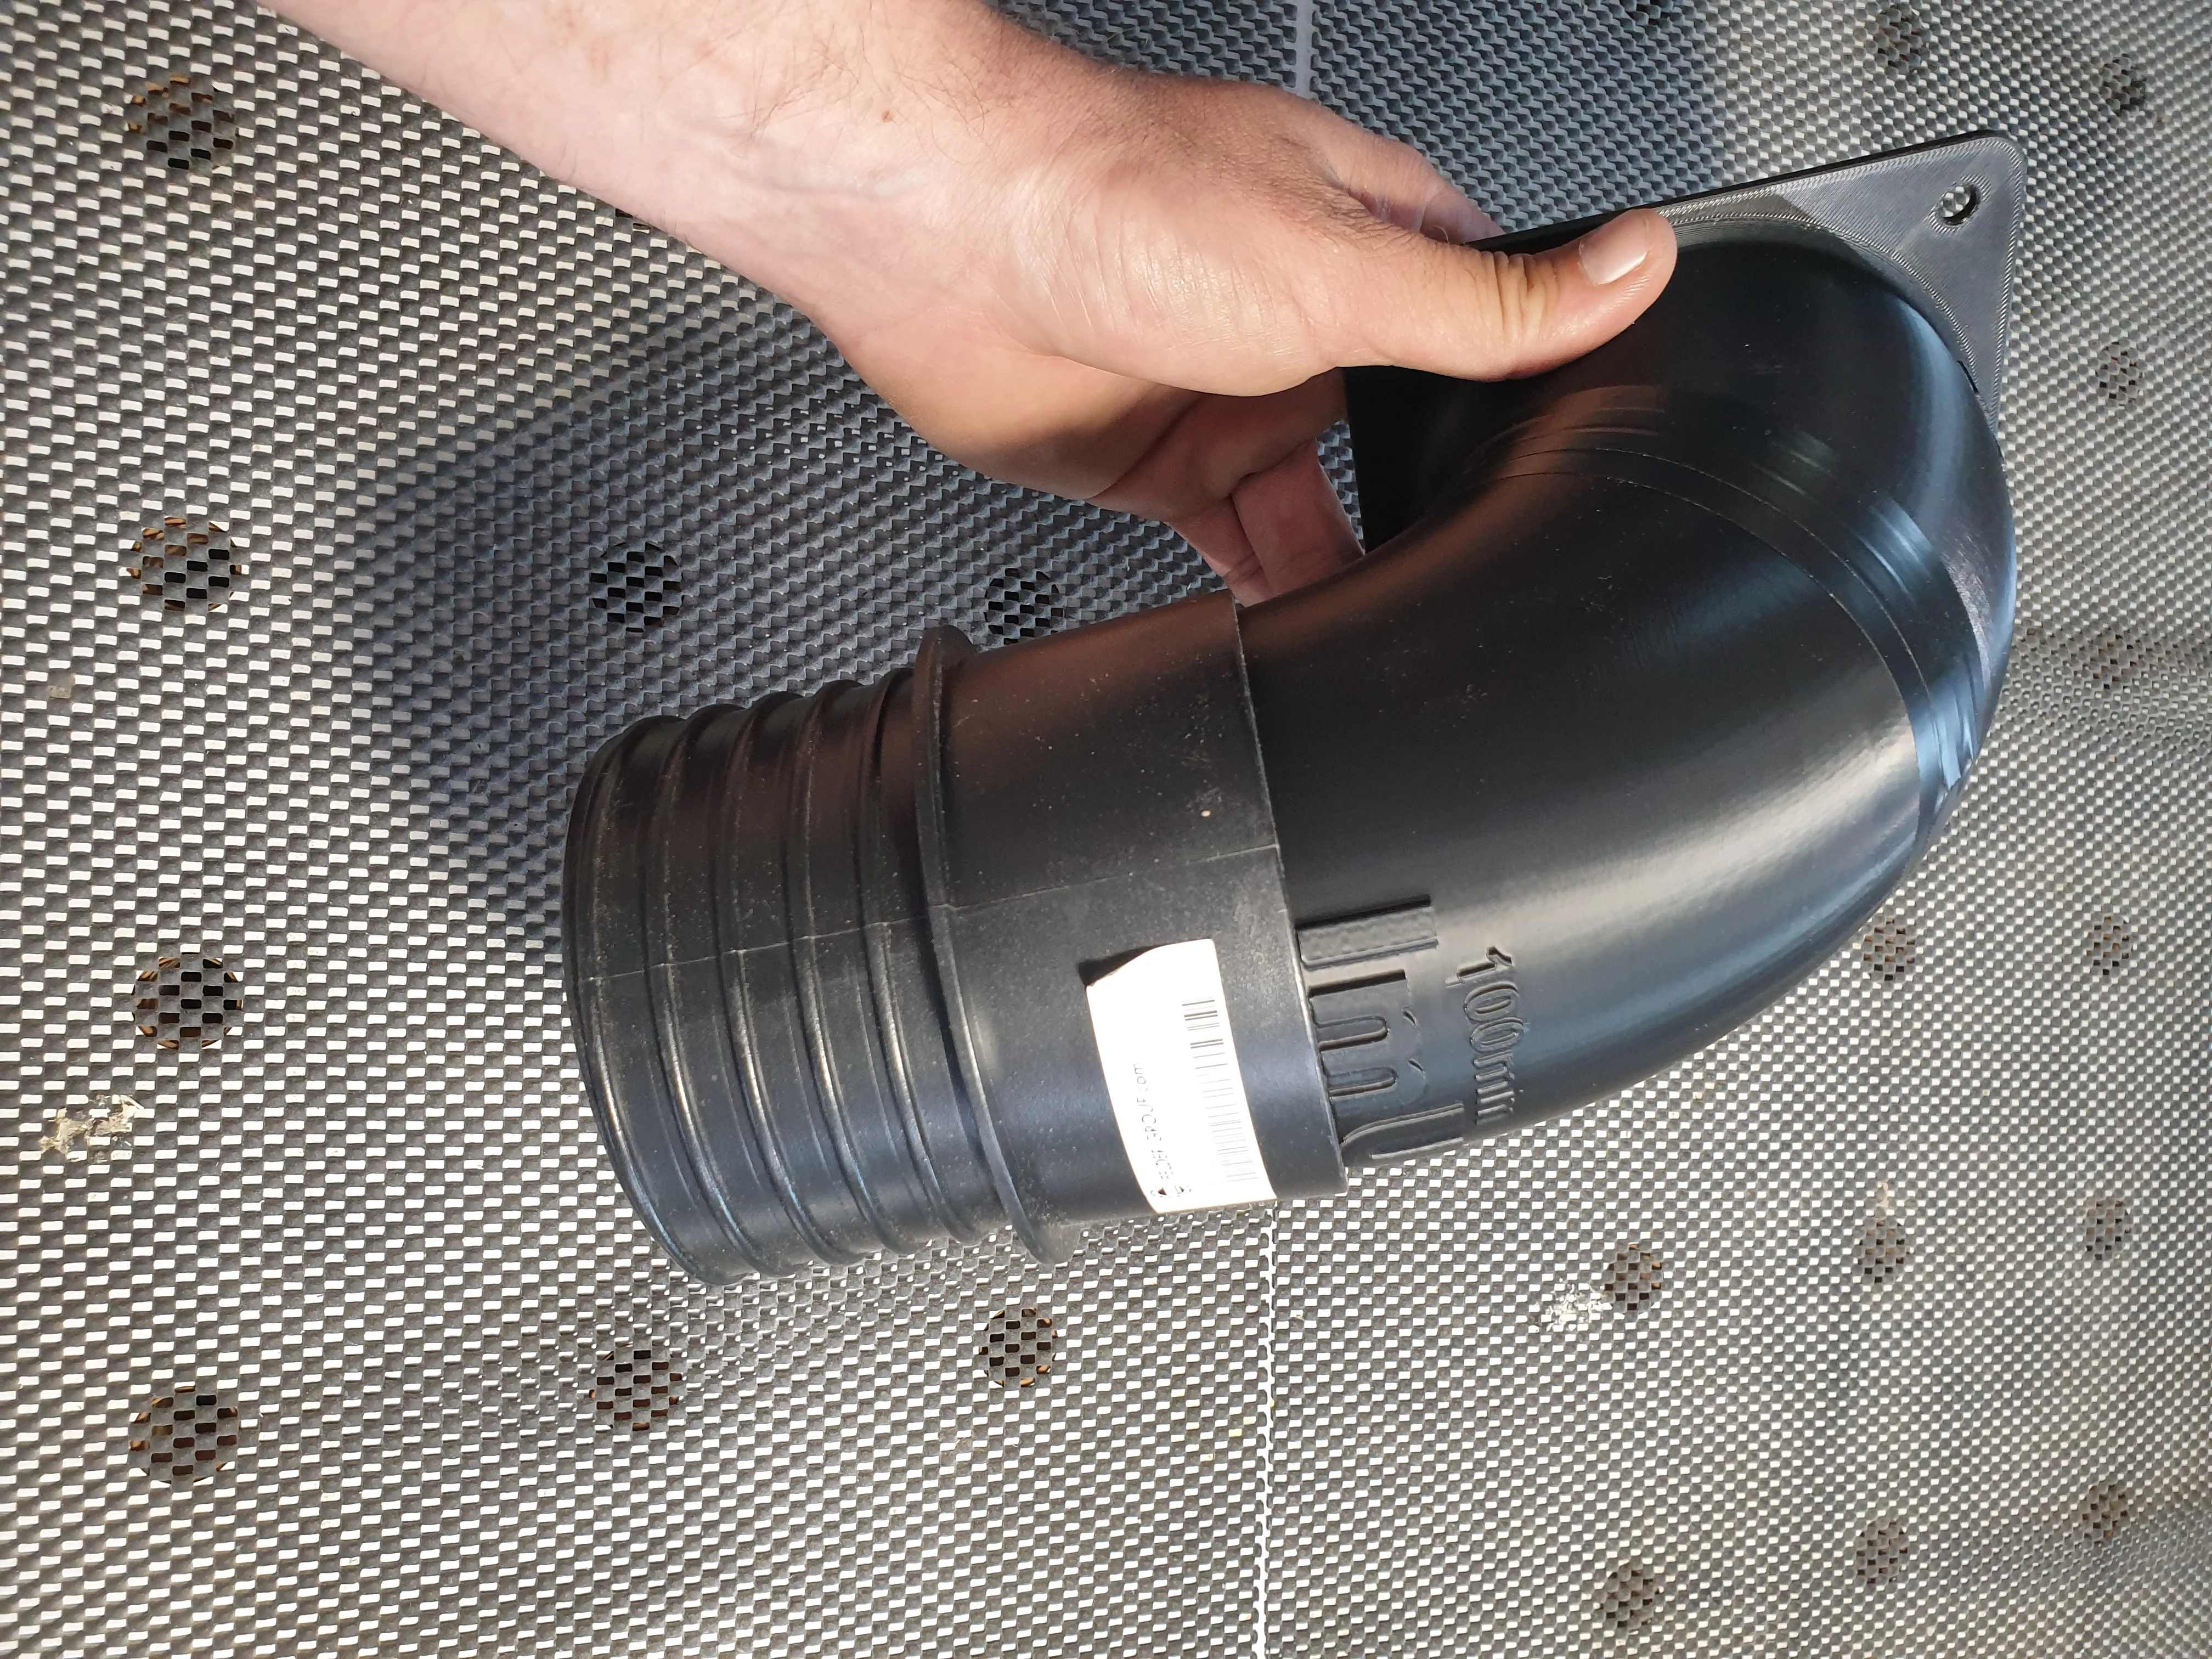
Why all this...?
I designed these parts for my own use and I am very satisfied with the result, but why 3D printing...?
Woodworking, like any hobby, can be/become very expensive...
Anyone who has dealt with dust extraction technology will have noticed how quickly it becomes quite expensive
What do we need?
For this, we only need a 100mm hose... maybe a machine connection... and a few hose clamps...
However, I still advise you to use real dust extraction technology!!!
Do not use plastic piping as it can become statically charged and thus also discharge, which in the worst case could lead to a dust explosion!
The reason why extraction ports and machine connections are still mostly made of plastic is simply that they are too short to become statically charged during operation
Now, let's say... I saved about 150-200 Euros...? That's also very remarkable and good, but it's not the real reason why I chose 3D printing, but rather...
Compactness!!!
This is the true main reason that moved me to design these components...
The solution with real dust extraction technology would have simply become much too large and bulky... at least twice as large, and naturally also heavier!
Note...
What I would also like to mention is that I only printed the Mounting Slide V1 without the shut-off plate for myself, as I generally wanted to make it from 4mm acrylic glass/Plexiglas...
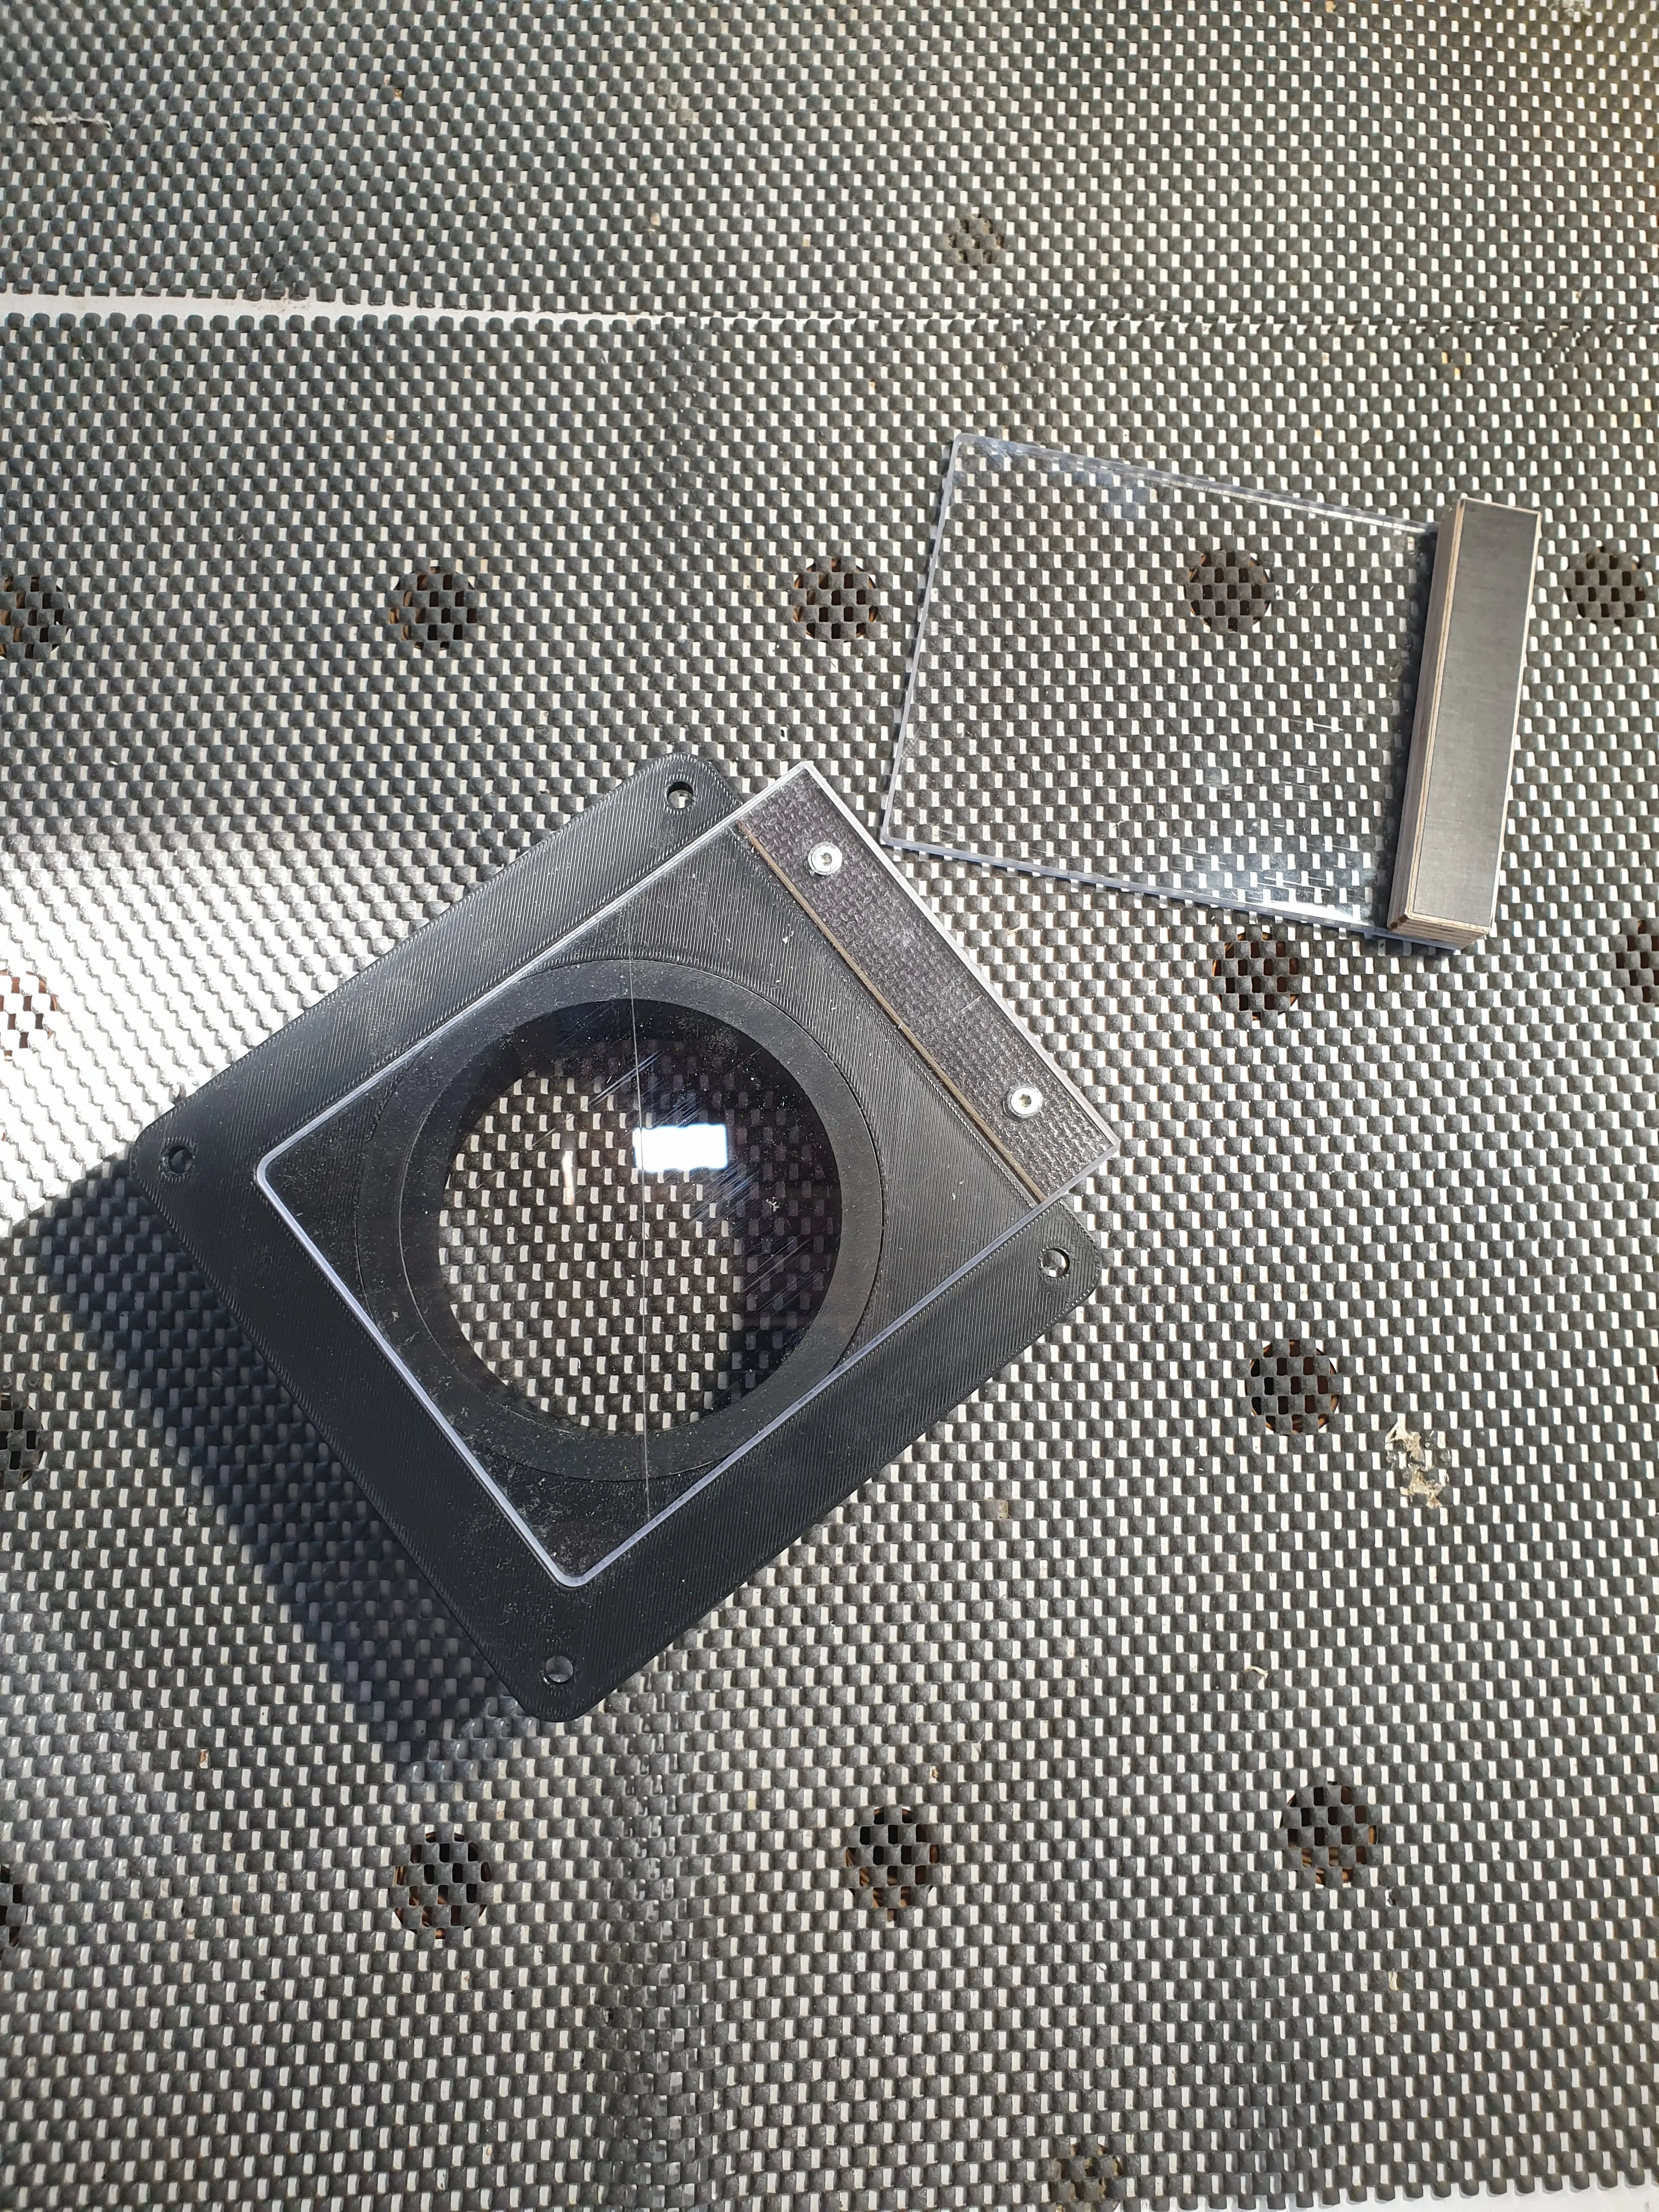
4mm is a very common plate thickness, and therefore, you could easily and quickly make this 4mm shut-off plate yourself while the 3D printer is working
I actually designed this shut-off plate afterwards so that the entire unit could be fully printable... It has never been printed by me, so there is no picture of it!
For those who generally plan to print the entire unit, the Mounting Slide V2 should bring more joy as it will snap into place when closed and open, preventing it from accidentally opening or closing, which is not only practical but also how it actually must/should be
But again... It has never been printed by me, so there are no pictures of it!
However, I am quite sure that everything will work wonderfully!!
Should I ever need/print it, I will of course add these pictures...
Assembly...
Mounting Slide V1 and Mounting Slide V2:
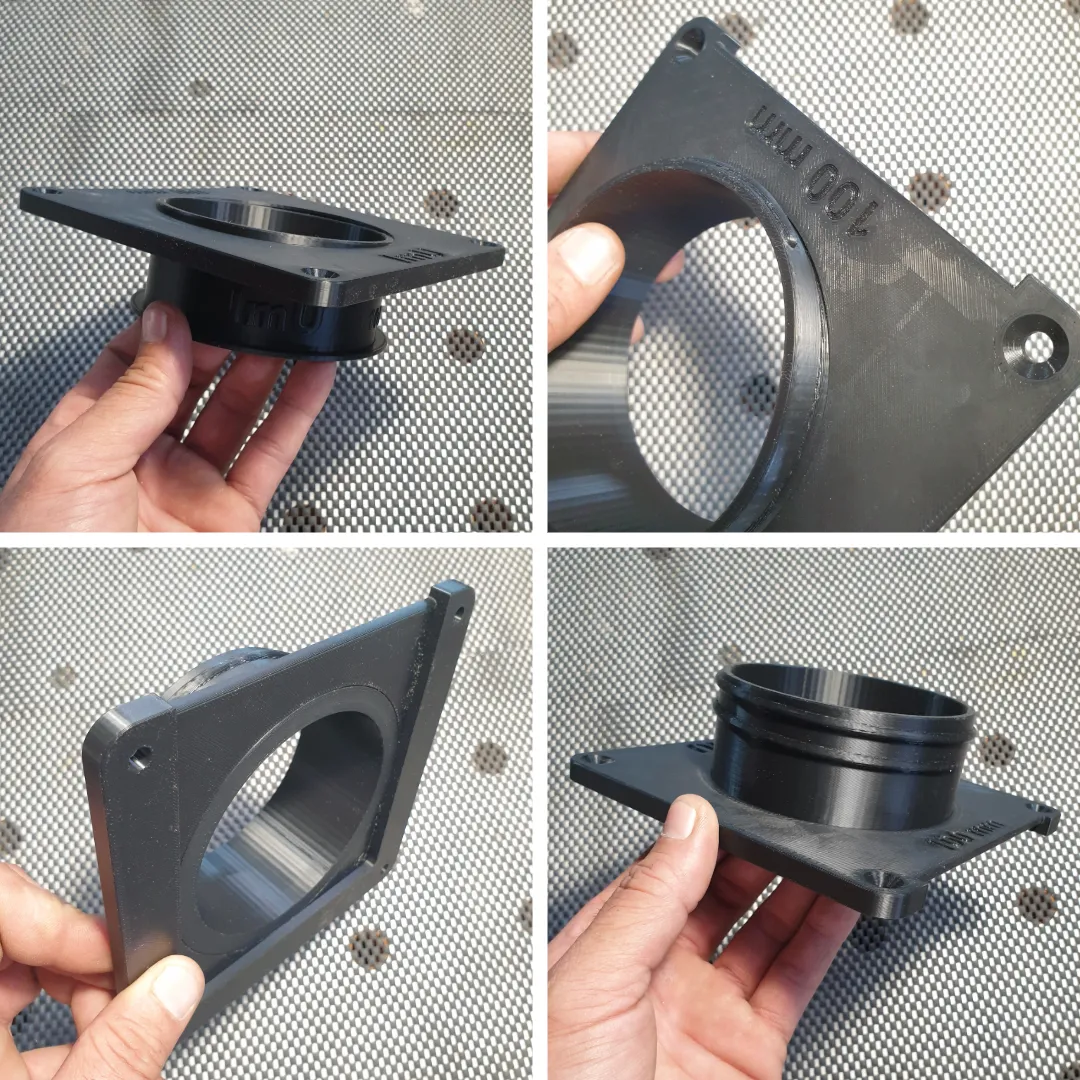
These two parts are meant to become one... and it seems impossible at first glance, but it works!
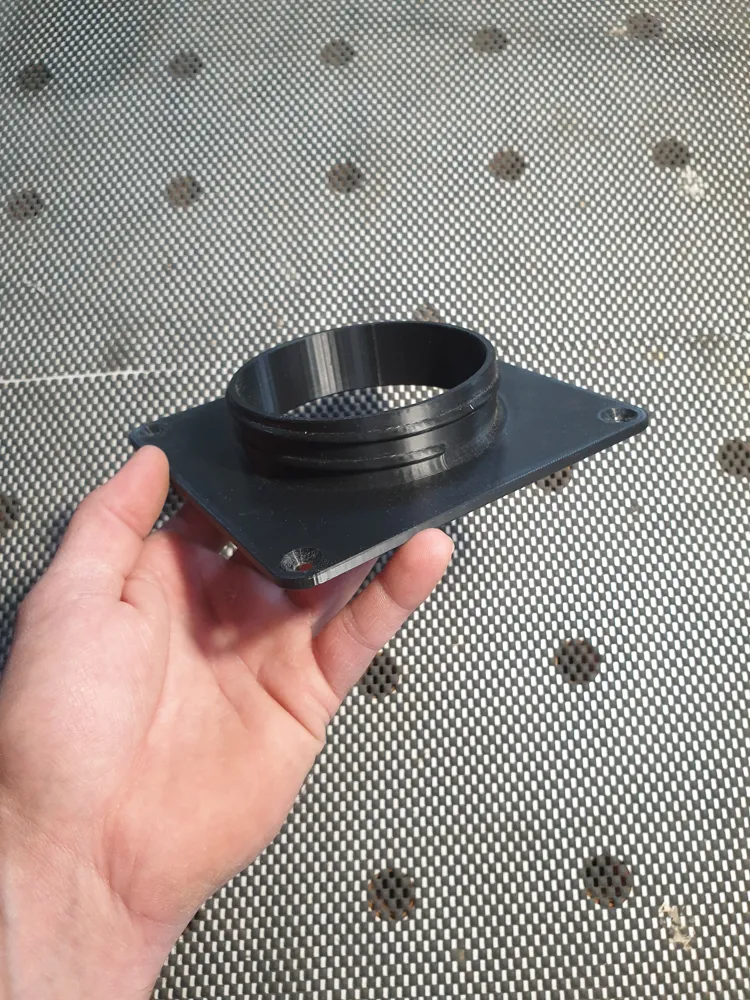
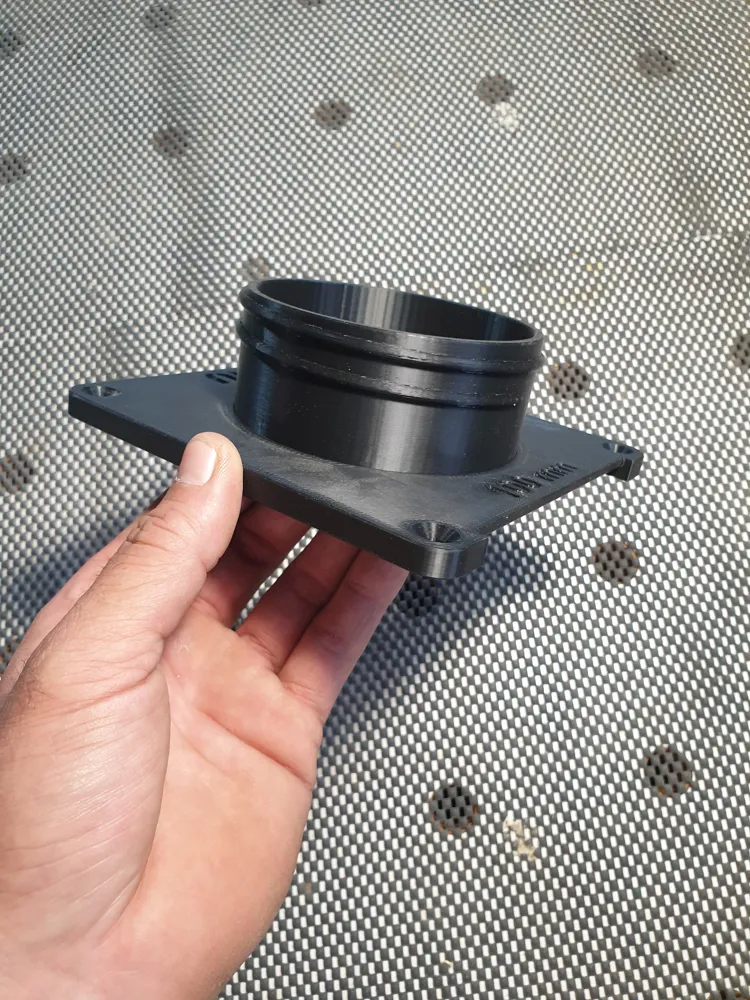
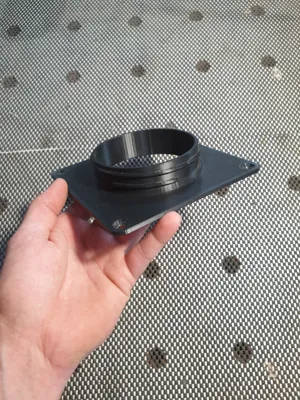
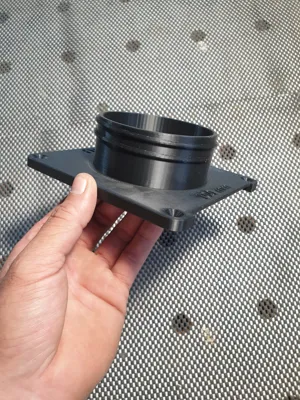
The hose connection nozzle must be "pushed" from the inside out through the mounting plate, and please don't be surprised if there is some grinding and cracking! The parts are elastic enough and handle it wonderfully...
The 100mm hose mounted on it remains rotatable, which can be very convenient...
If you don't want it that way, you can of course simply glue the two parts together
Machine Connection Elbow M80-S100:
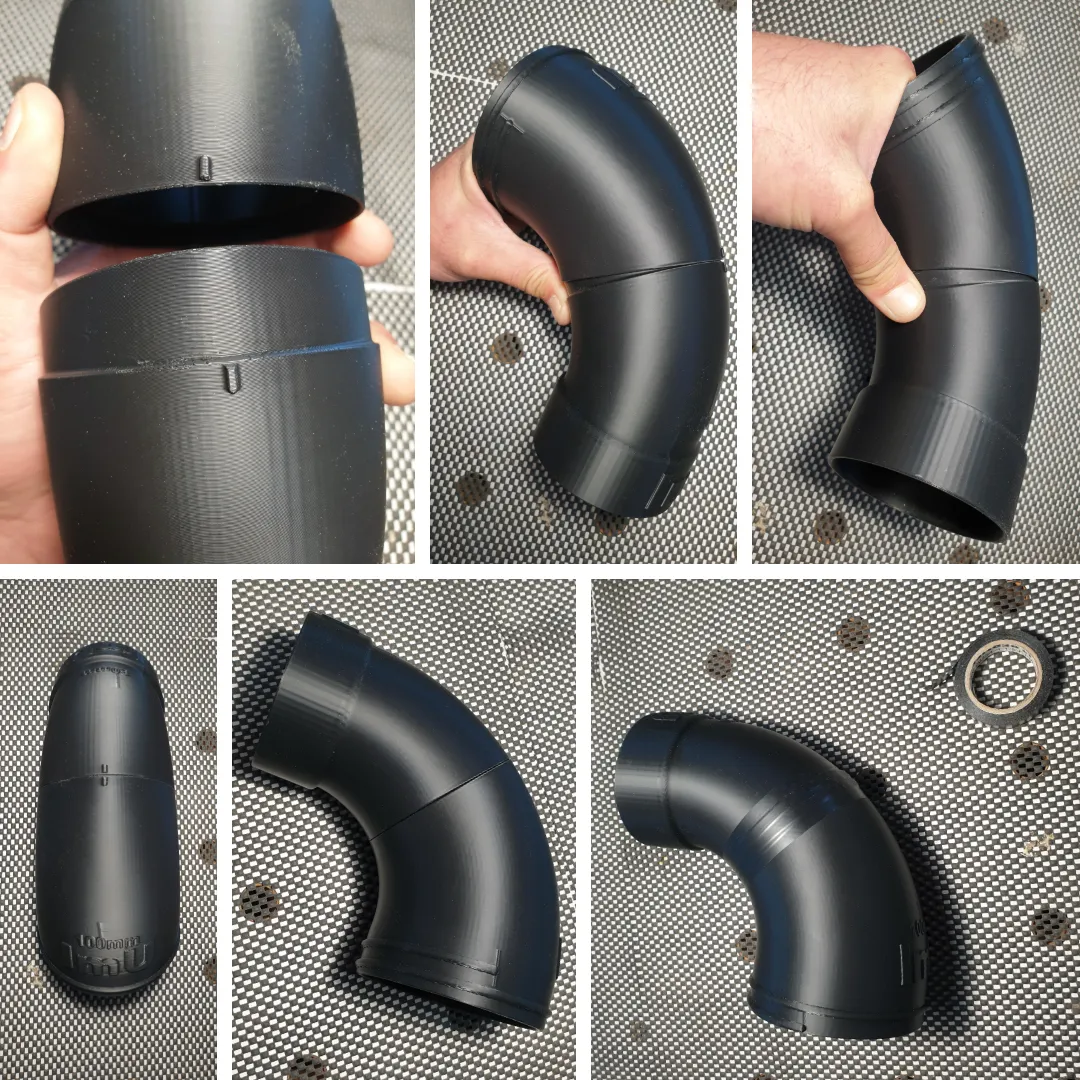
The elbow consists of two parts; these must first be joined together. This works best by holding the two halves together at the marking points first and then pressing them completely. Afterwards, you only need to seal the joint with electrical tape
Assembly Extraction Port Elbow M120-MA100:
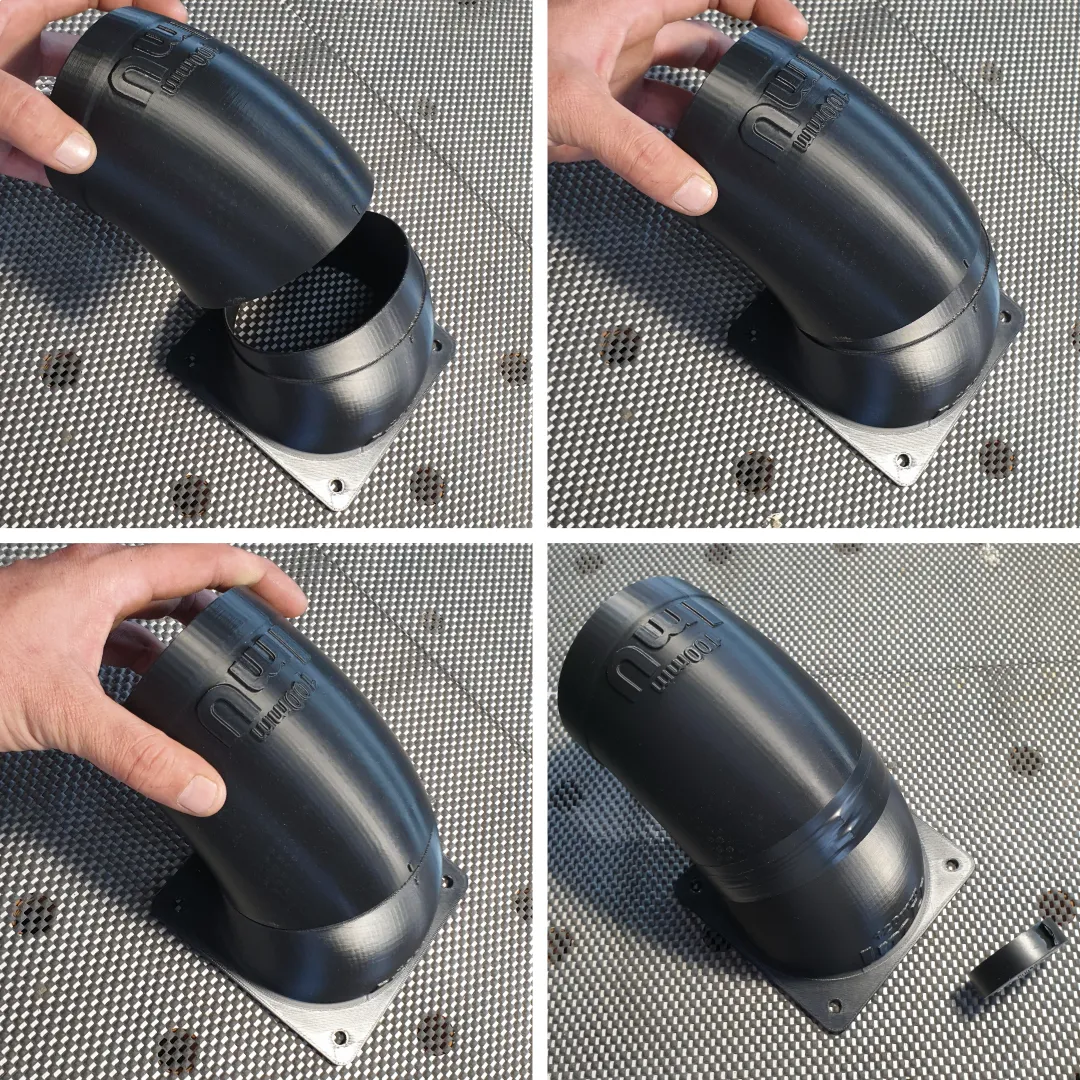
This elbow also consists of two parts, which can be easily fitted together without resistance. They are aligned at the two marking points and then sealed with electrical tape
Material:
All parts were printed with Bambu Lab - PLA Tough+, which is truly excellent for this purpose!
I have used this filament several times now, and in my opinion, it is one of the highest quality materials and makes a very high-quality impression! It is neither matte nor glossy, and it also feels wonderful... I can simply recommend it to everyone!
Dimensions:
Extraction technology and dimensions are a tricky matter... Please ensure that these components will fit your machines
All relevant dimensions in this regard can be found in the print profile of the respective component
Should any questions remain unanswered...? Then just let me know... I will answer them as soon as I find the time!
I always take a lot of time for all of this...
So if this has helped you in any way and you are really satisfied with the result... or
You were simply motivated... to go to your workshop... to perhaps build such a collection shaft yourself...??
In any case, I would be happy, as always, about a thumbs up!
In this sense,
Have fun working!
License

You shall not share, sub-license, sell, rent, host, transfer, or distribute in any way the digital or 3D printed versions of this object, nor any other derivative work of this object in its digital or physical format (including - but not limited to - remixes of this object, and hosting on other digital platforms). The objects may not be used without permission in any way whatsoever in which you charge money, or collect fees.


Comment & Rating (0)