


Print Profile(5)
Description
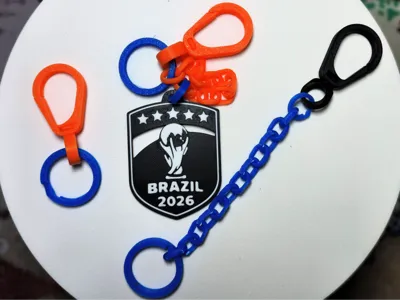
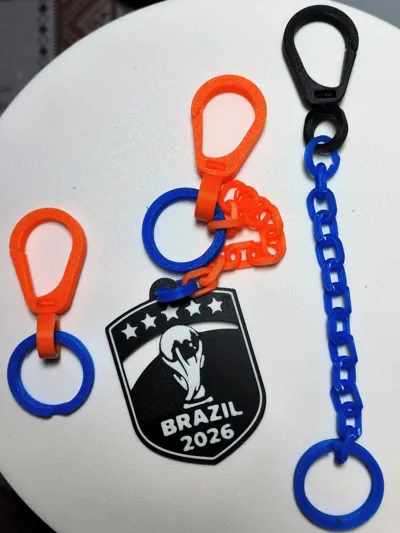
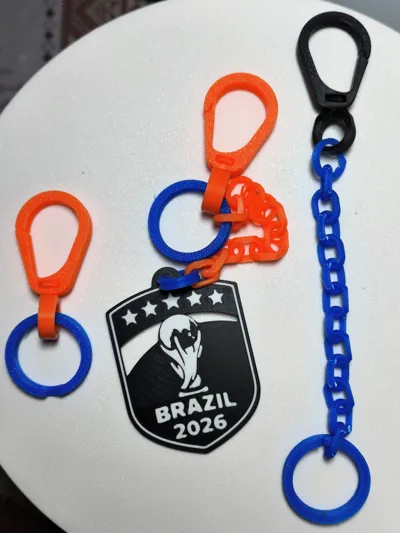
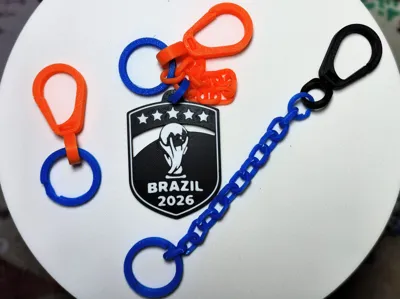
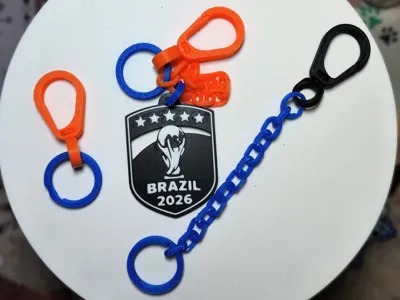
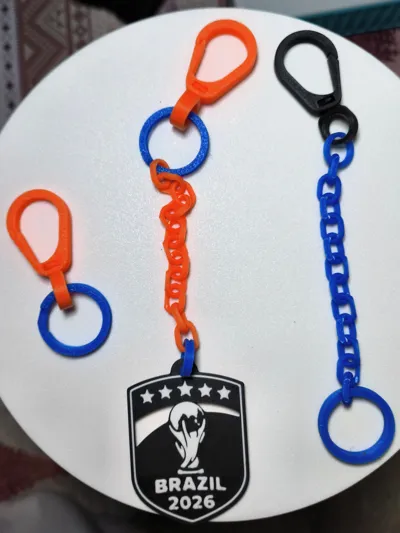
Keychain Ring with Separate Chain V1 2026
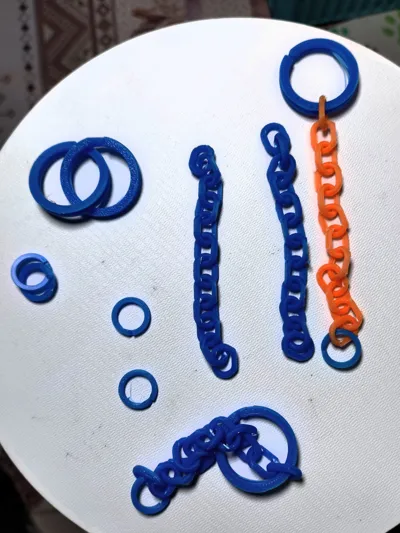
I'm still working on this project, and with my first model I learned various characteristics. Thanks to the feedback, I decided to create a model composed of several parts, solving some problems that come with printing only along the Z-axis
Model Features:
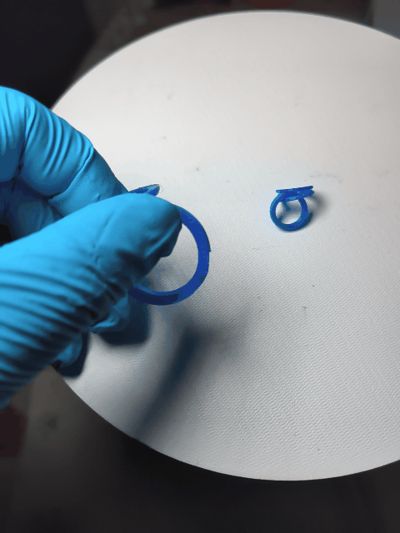
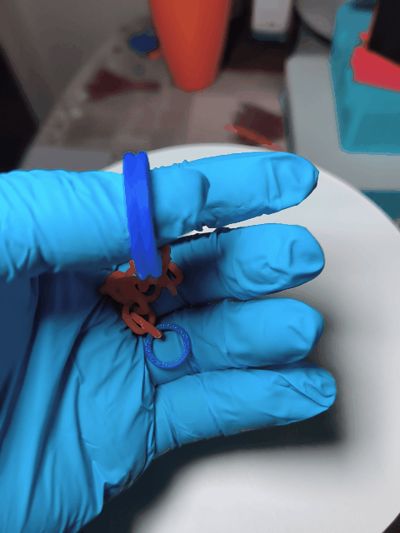
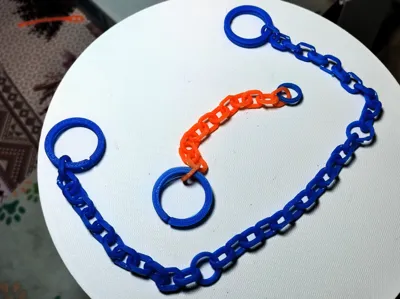
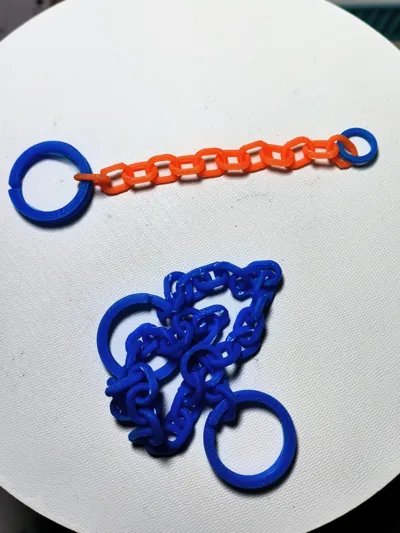
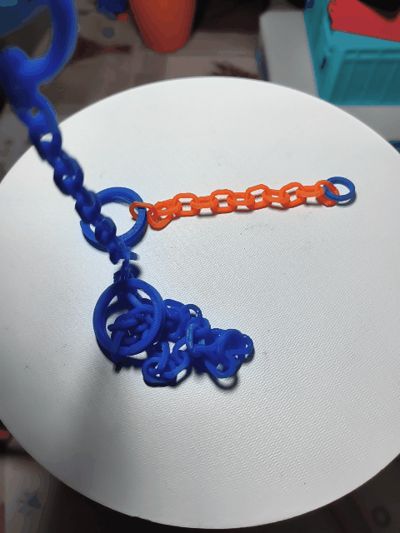
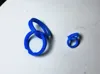
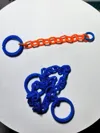
✅ Design.- The model consists of two rings and a chain that can be cut to the user's liking
✅ Size.- The large ring has a diameter of 22mm and the lower ring 10mm. The chain has a length of 90mm and 30mm. The minimum keychain hole diameter is 3.5mm
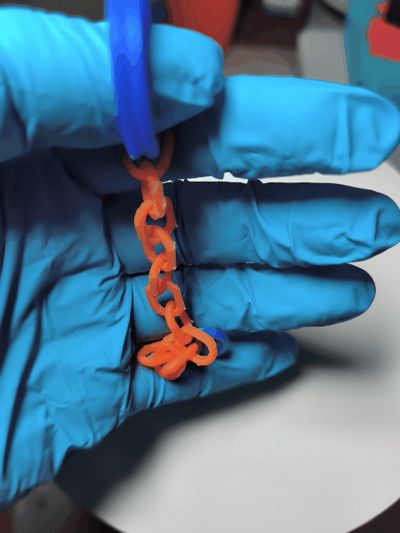
✅ Chain.- For this model, the chain uses the Z-axis for easier printing
✅ Durability.- An intermediate balance was sought between quality, ergonomics, durability, and ease of printing in the model
✅ Important.- If using PETG, ensure it has no moisture, as it can crystallize and break when assembled, and may also cause issues when detaching the ring
Boost Me (for free)
If you like the model, I would appreciate your support with a like, comment, a download, and a boost if you wish. Thank you
Printing Features:
Recommended Filament: PLA
Layer height: 0.12mm
AMS: NO
Tolerance: 0.2mm
Walls: 3
Infill 15% Gyroid
Supports: NO
Adhesion: Hairspray is recommended for the chain
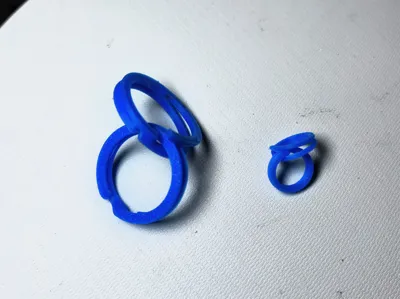
Assembling the Rings
If the rings have stuck together, follow the next step
1) First, use cutting pliers to create leverage on both sides of the ring


2) With a flat object or your fingernail, slowly separate until it is completely free

License
You shall not share, sub-license, sell, rent, host, transfer, or distribute in any way the digital or 3D printed versions of this object, nor any other derivative work of this object in its digital or physical format (including - but not limited to - remixes of this object, and hosting on other digital platforms). The objects may not be used without permission in any way whatsoever in which you charge money, or collect fees.
Comment & Rating (0)