Chore & Reward Board - Coin Dispenser


Print Profile(4)

Bill of Materials


Description
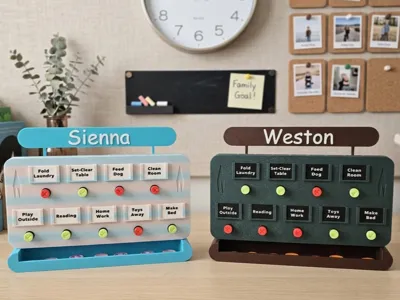
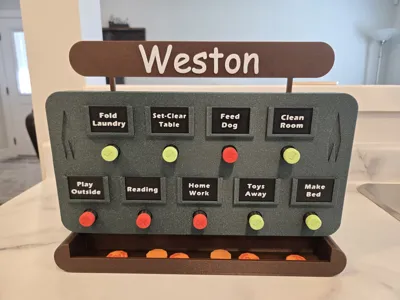
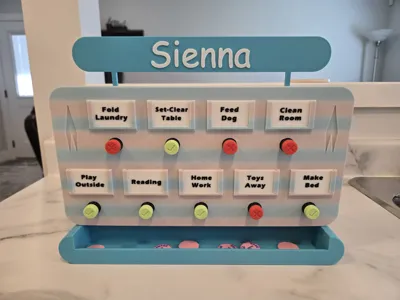
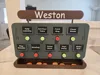
On the continuous search of finding new and exciting ways for our kids to complete the daily chores, we created this customizable chore and reward board!
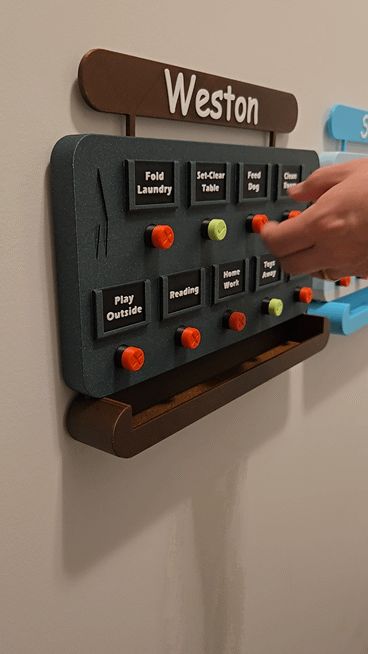
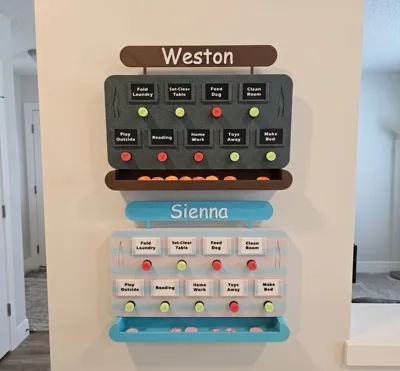
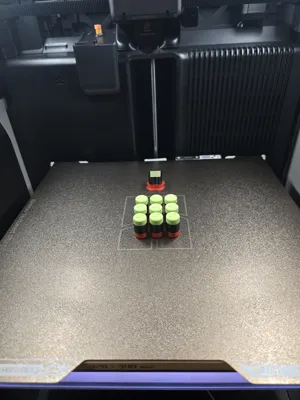
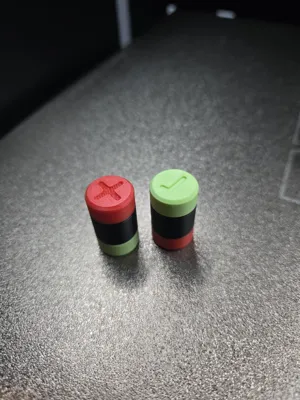
Kids can complete their tasks then visit the board to pull the task plug which dispenses a rewards coin they can place into their piggy bank. The task plug is then flipped over to the green, checkmark side to indicate the task is complete and coin slot is empty (see .gif for operation). We use a fun household currency called ‘Chore Bucks’ where they save up the coins to redeem for a small gift, a movie, or just dinner out for a night!
So far its working really well and the kids enjoy using it, so decided to share with this amazing MakerWorld community. :)
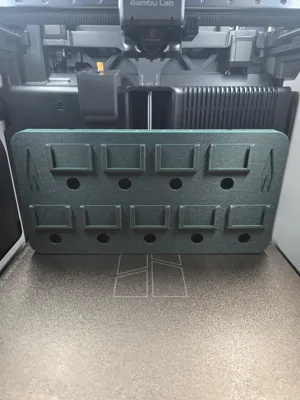
No AMS, No supports, No glue required
I have provided 2 different sizes:
- x9 Task Board - For H2 & A2L model printers
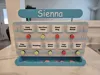
- x7 Task Board - For X-P-A1 model printers
Note: Yes, the image for the x7 Task Board profile is just another 9-task version in different colors. I wanted 2 big ones so have not yet printed the 7 task size. Careful scaling, checks and balances have been verified so not expecting any differences from the 9 task version. Happy to receive feedback if any issues.
Print Settings & Configuration:
- 0.4 Nozzle
- 0.2 Layer Height
- 2 Walls
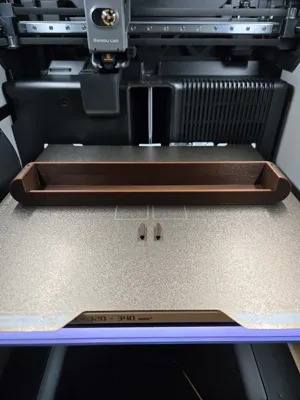
- 15% Infill with the exception of the 2 small dowels used to connect the drawer to the board which are 100% infill (solid)
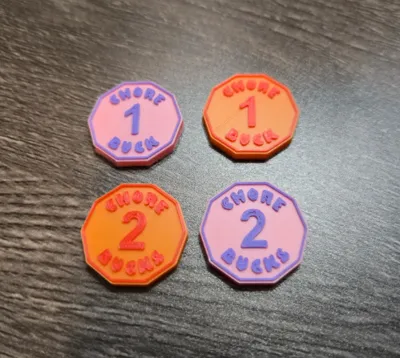
A print profile for the ‘Chore Bucks’ has also been included if interested, or get creative and make your own currency! - I printed them with the 0.2 nozzle as they turned out better but still works with 0.4 nozzle.
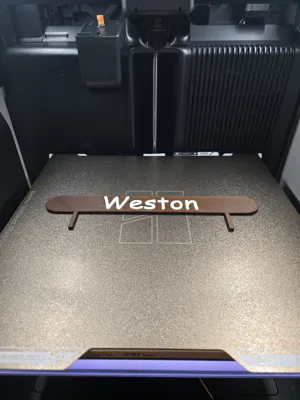
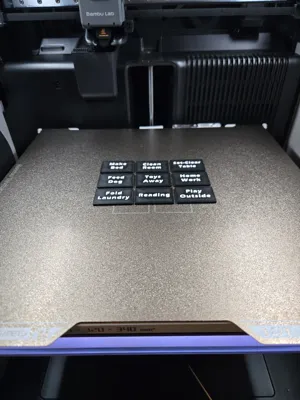
For those that may be new to 3D printing and not yet familiar with Bambu Studio. Here is how you can edit the text for the header plate on Plate #2:
- Navigate to the ‘Objects’ tab and select ‘text_shape’ beneath the Plate 2 (Head Plate) heading.

- Click the ‘Ta’ icon in the toolbar, and make any edits you like to the text, font, size etc. in the settings. Repeat these steps for changing the text on the task inserts that slide into the board.

Assembly is very straight-forward, but note that I deliberately made the dowels a tighter fit as this removes the need for glue. May need to lightly tap them into the coin tray with a hammer to get them snug. Then can just be pushed firmly into the board by hand.

I hope you all enjoy this as much as my kids do! - happy printing! :)
Feel free to check out the ‘Dragon Piggy Bank’ that our kids deposit their coins into!
Boost Me (for free)
For the love and support! :)
License
You shall not share, sub-license, sell, rent, host, transfer, or distribute in any way the digital or 3D printed versions of this object, nor any other derivative work of this object in its digital or physical format (including - but not limited to - remixes of this object, and hosting on other digital platforms). The objects may not be used without permission in any way whatsoever in which you charge money, or collect fees.
Comment & Rating (0)