
Push To Putt Golf Club for Meta Quest 3 Controller
Print Profile(1)
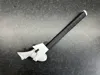
Description
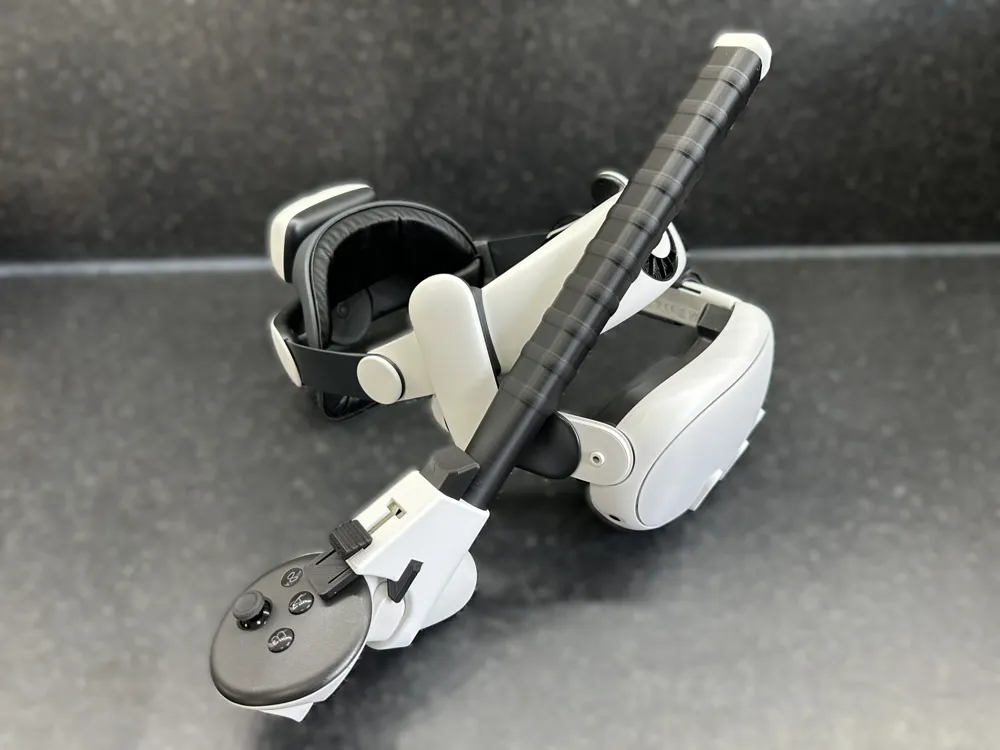
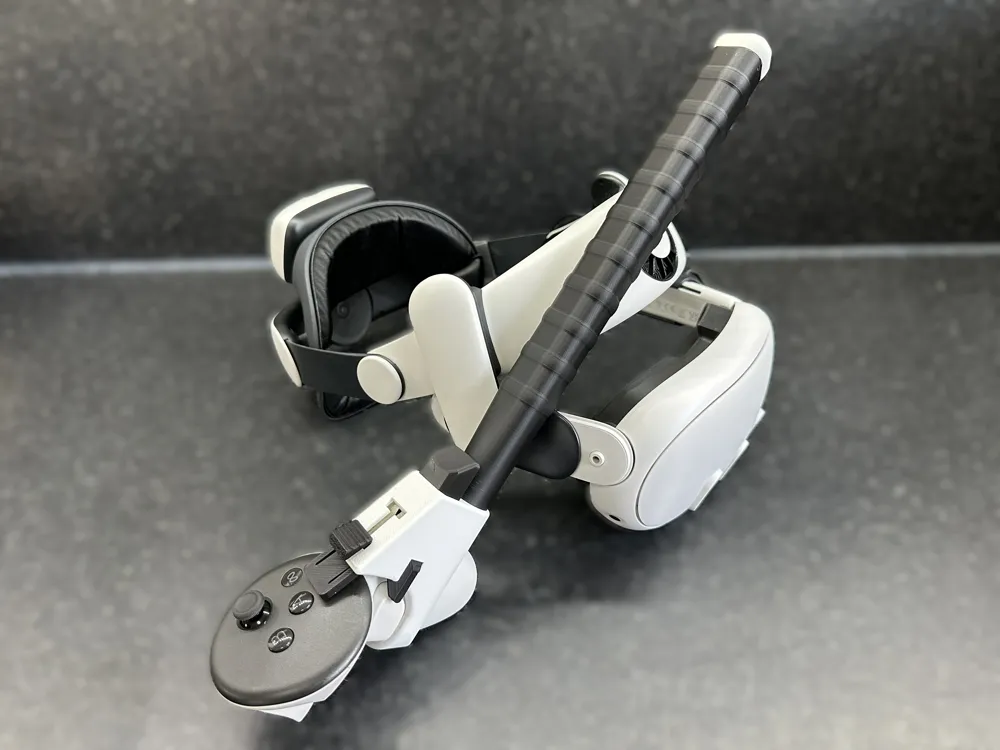
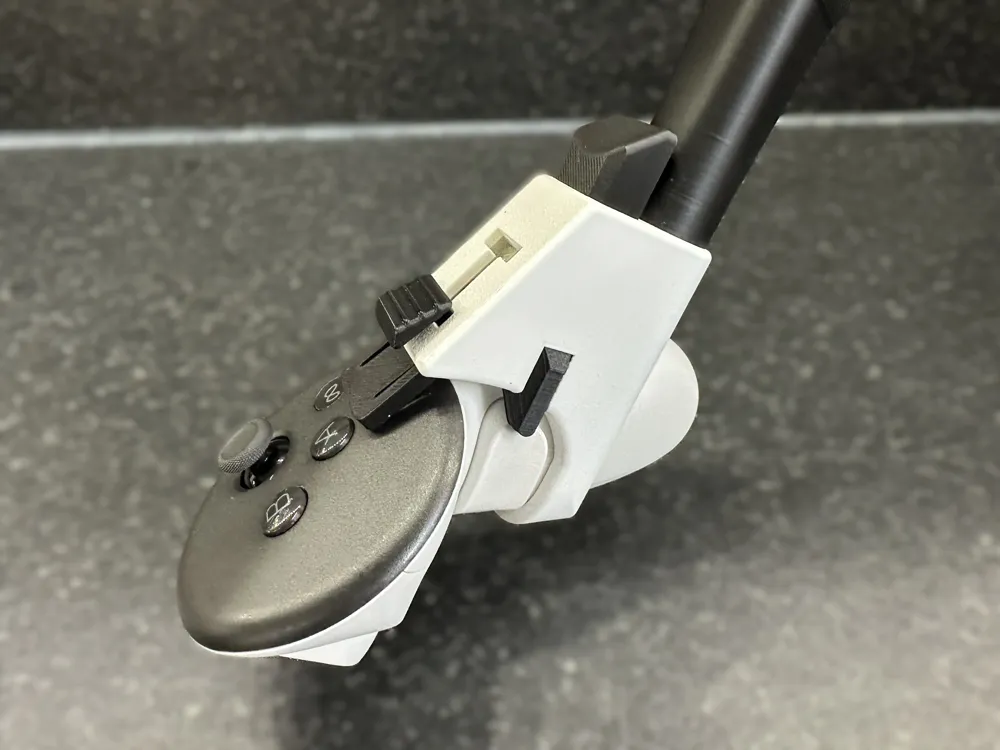
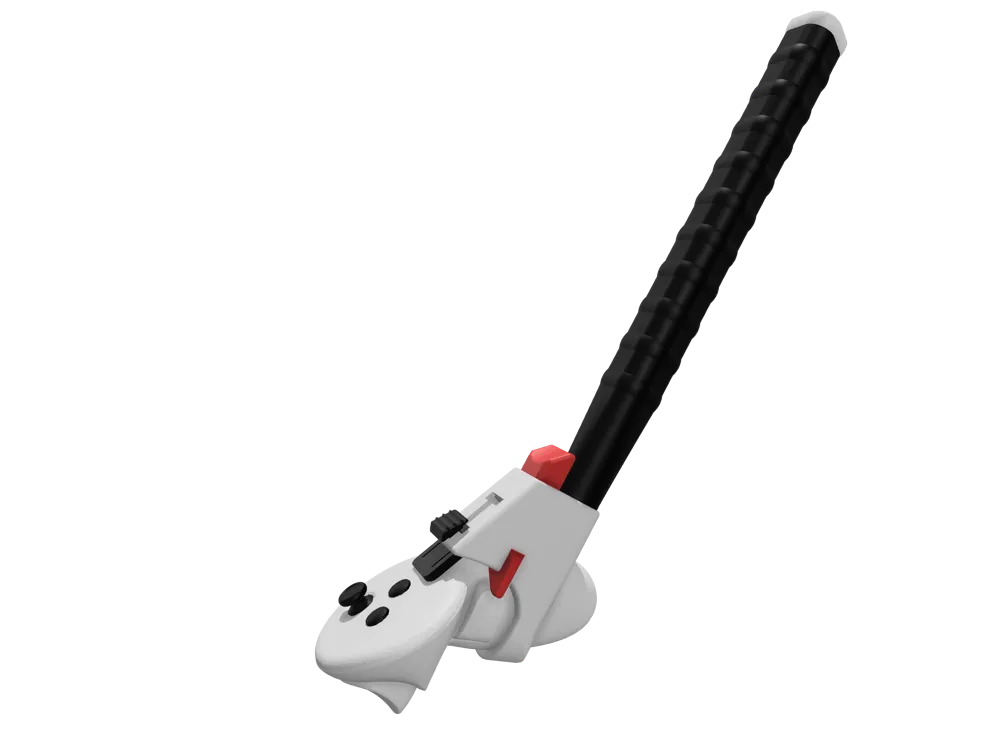

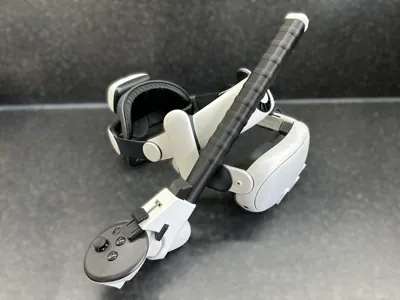
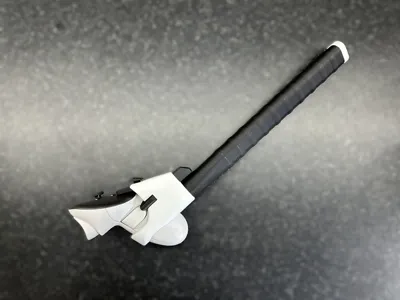
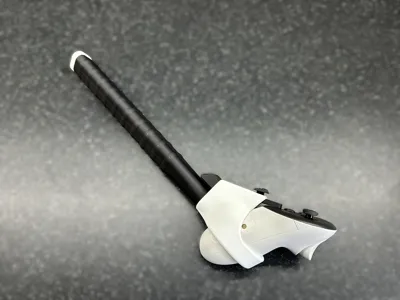
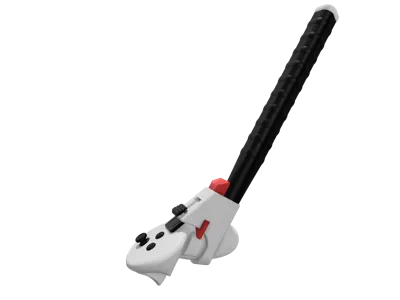
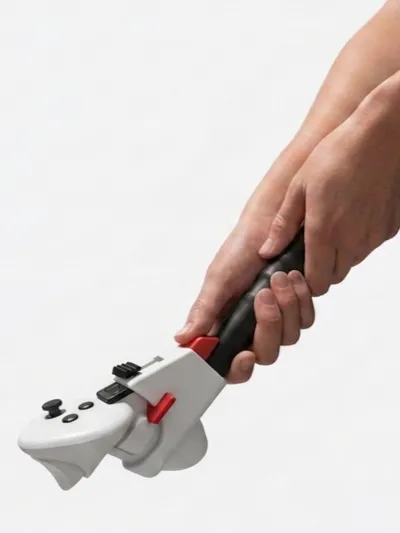
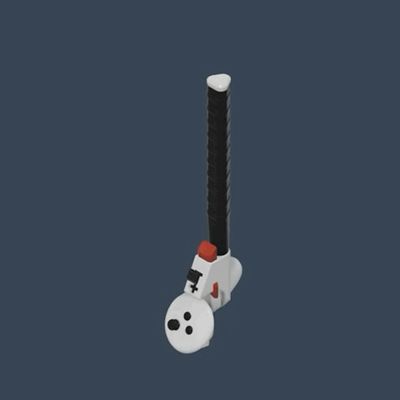
This golf club accessory is specifically designed for the Meta Quest 3 Controller (Right), for use with the Walkabout Mini Golf game and the grip-to-putt feature. The club accessory could also work with other VR golf games too, but I haven't personally tested any.
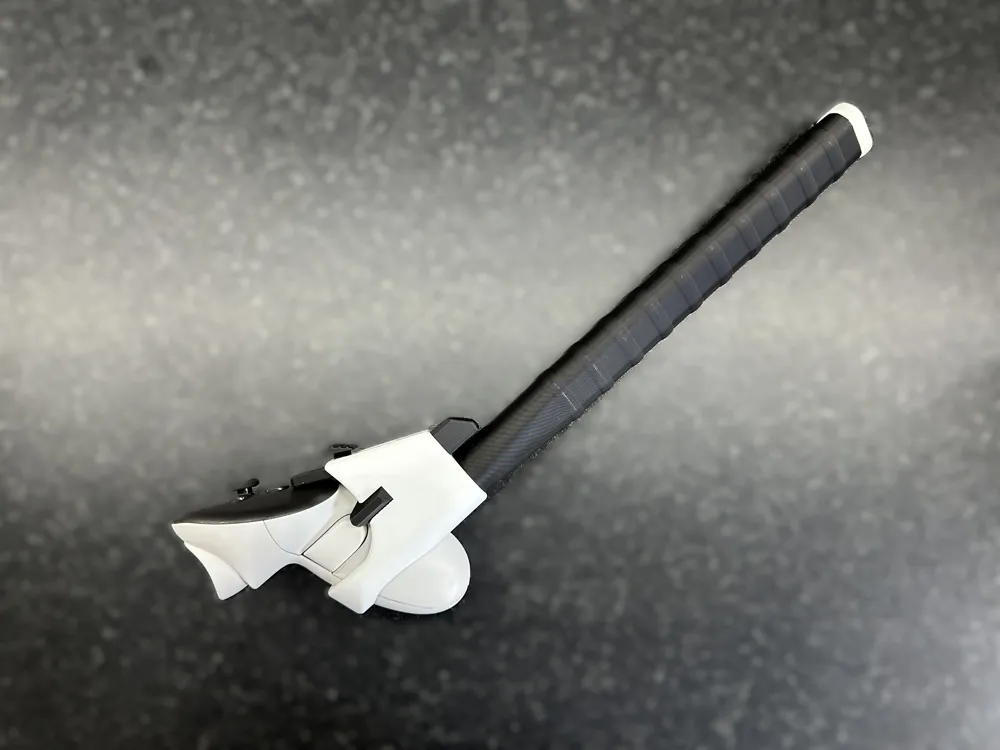
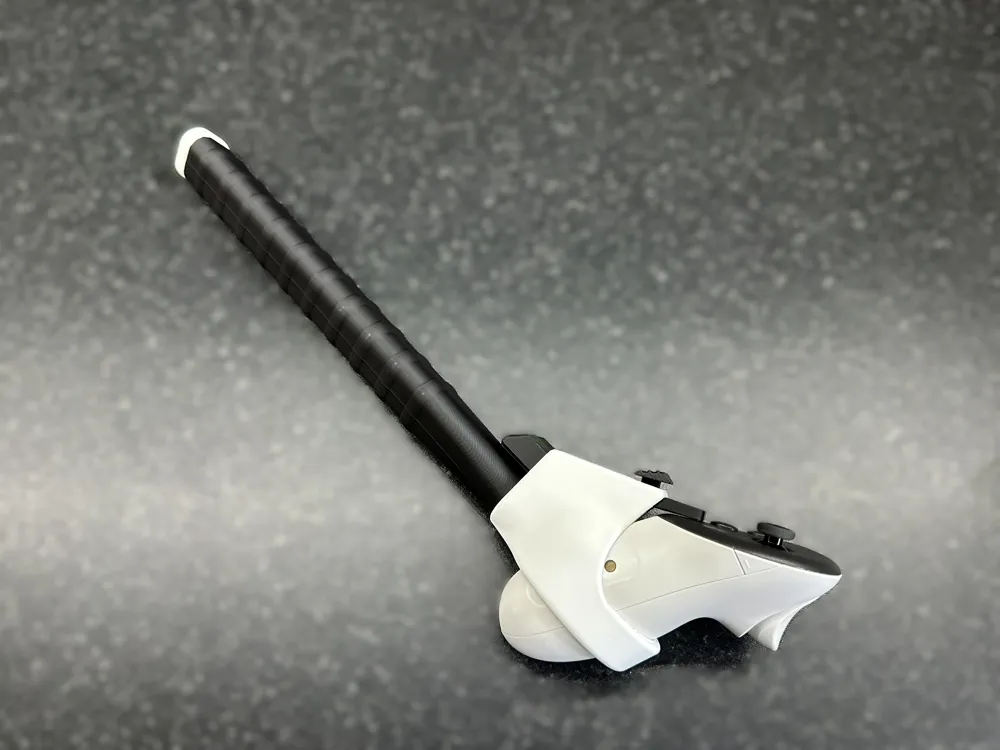
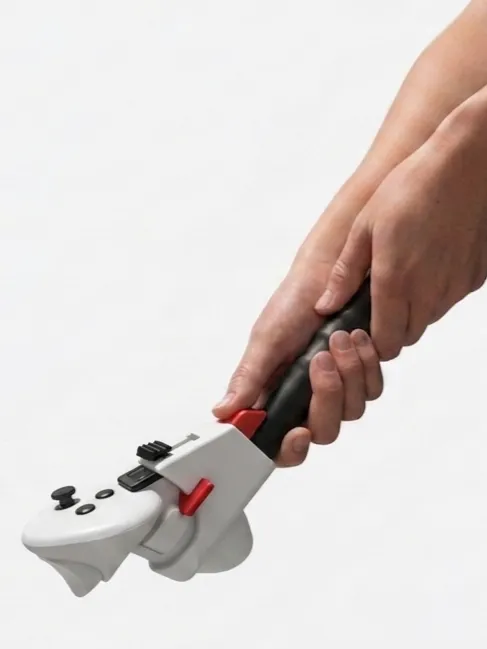
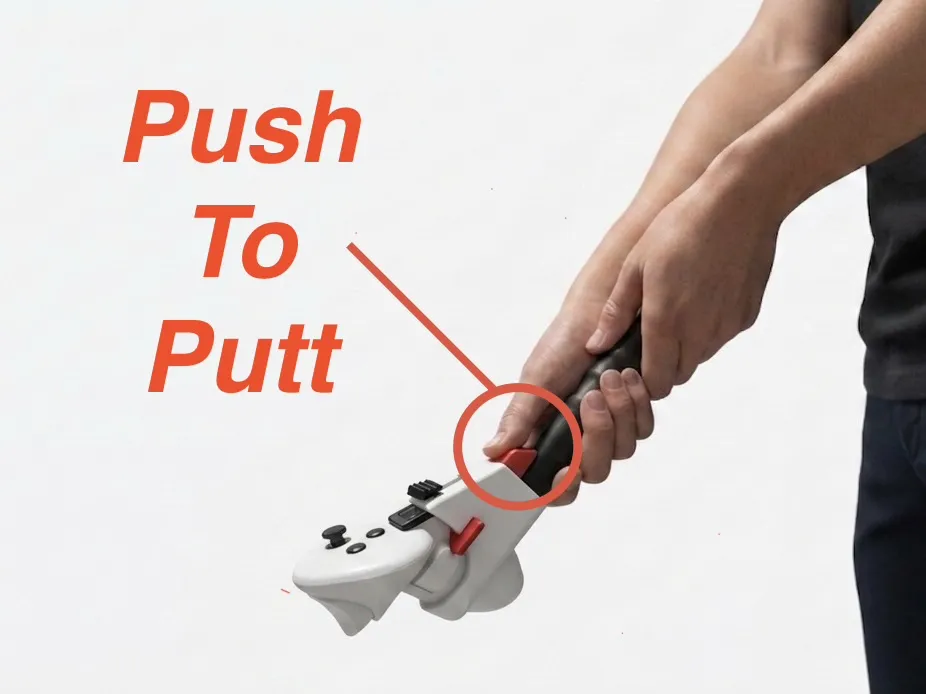
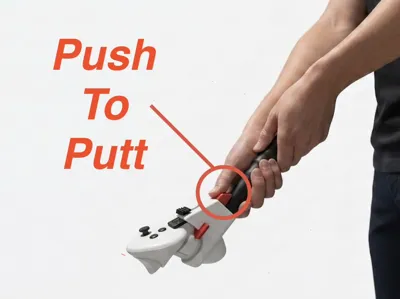
This has been designed to allow a natural putting grip on the shaft whilst keeping the controller relatively close to the hands for transitioning between putting and movement/controls when required, so the shaft is intentionally short at around 230mm but still allows for a two handed grip.
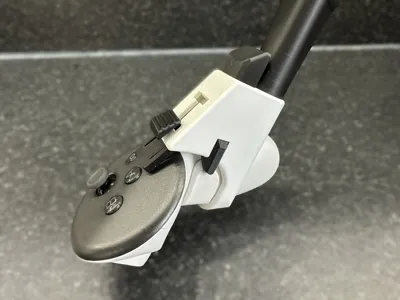
Your Quest 3 controller fits securely into the holder and locks in place with the SLIDE LOCK.
The PUSH TO PUTT button allows the controller trigger to be actuated whilst holding the shaft in a natural putting grip, taking advantage of practice swings when not engaged and the game's grip-to-putt feature when you're ready to strike! The position of the button and the pressure applied when activating the button ensures a more consistent grip every time, improving shot accuracy and taking your game to the next level! The button uses a magnetic “spring” so the sensitivity can even be tuned your personal preference.
Boost Me (for free)
If you've gone ahead and made this, I'd love to hear how you found it, so please leave a comment below or feel free to boost if you really like it!
Good luck and pleasant putting to all!
Tools/Consumables Required:
- 10mmx2mm round magnets (x5)
- Super Glue (very small amount)
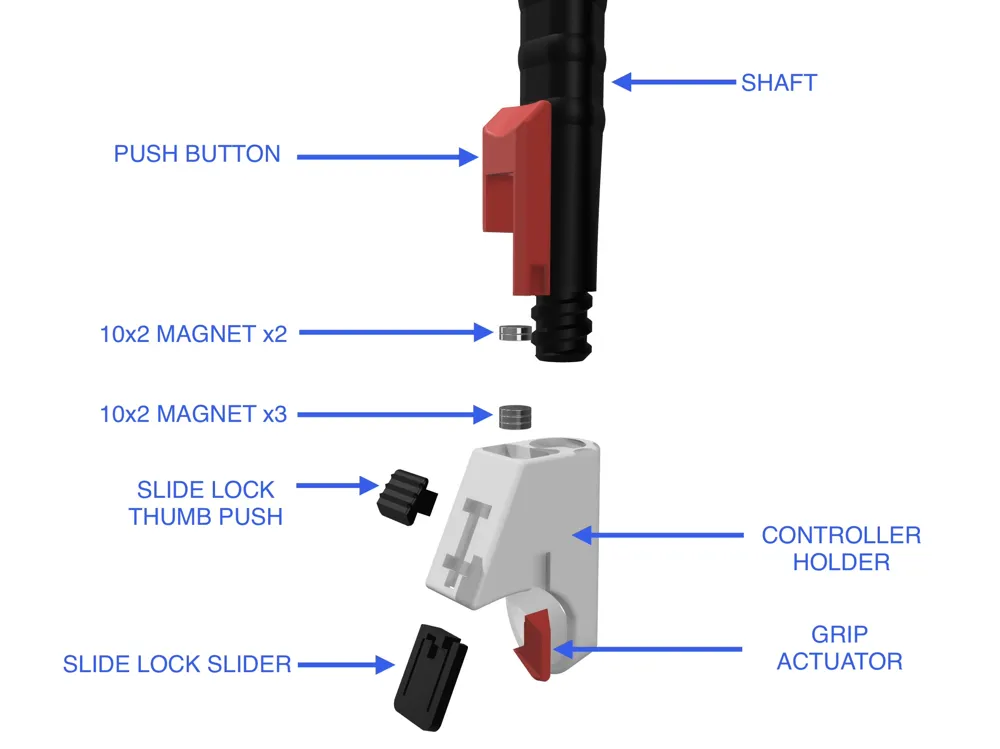
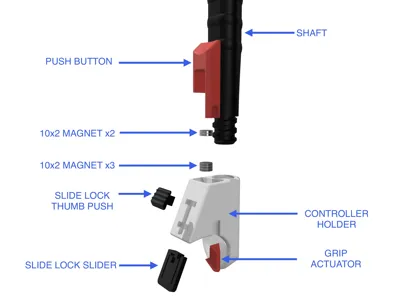
Assembly: (See Image below for list of parts and GIF for animation of assembly):
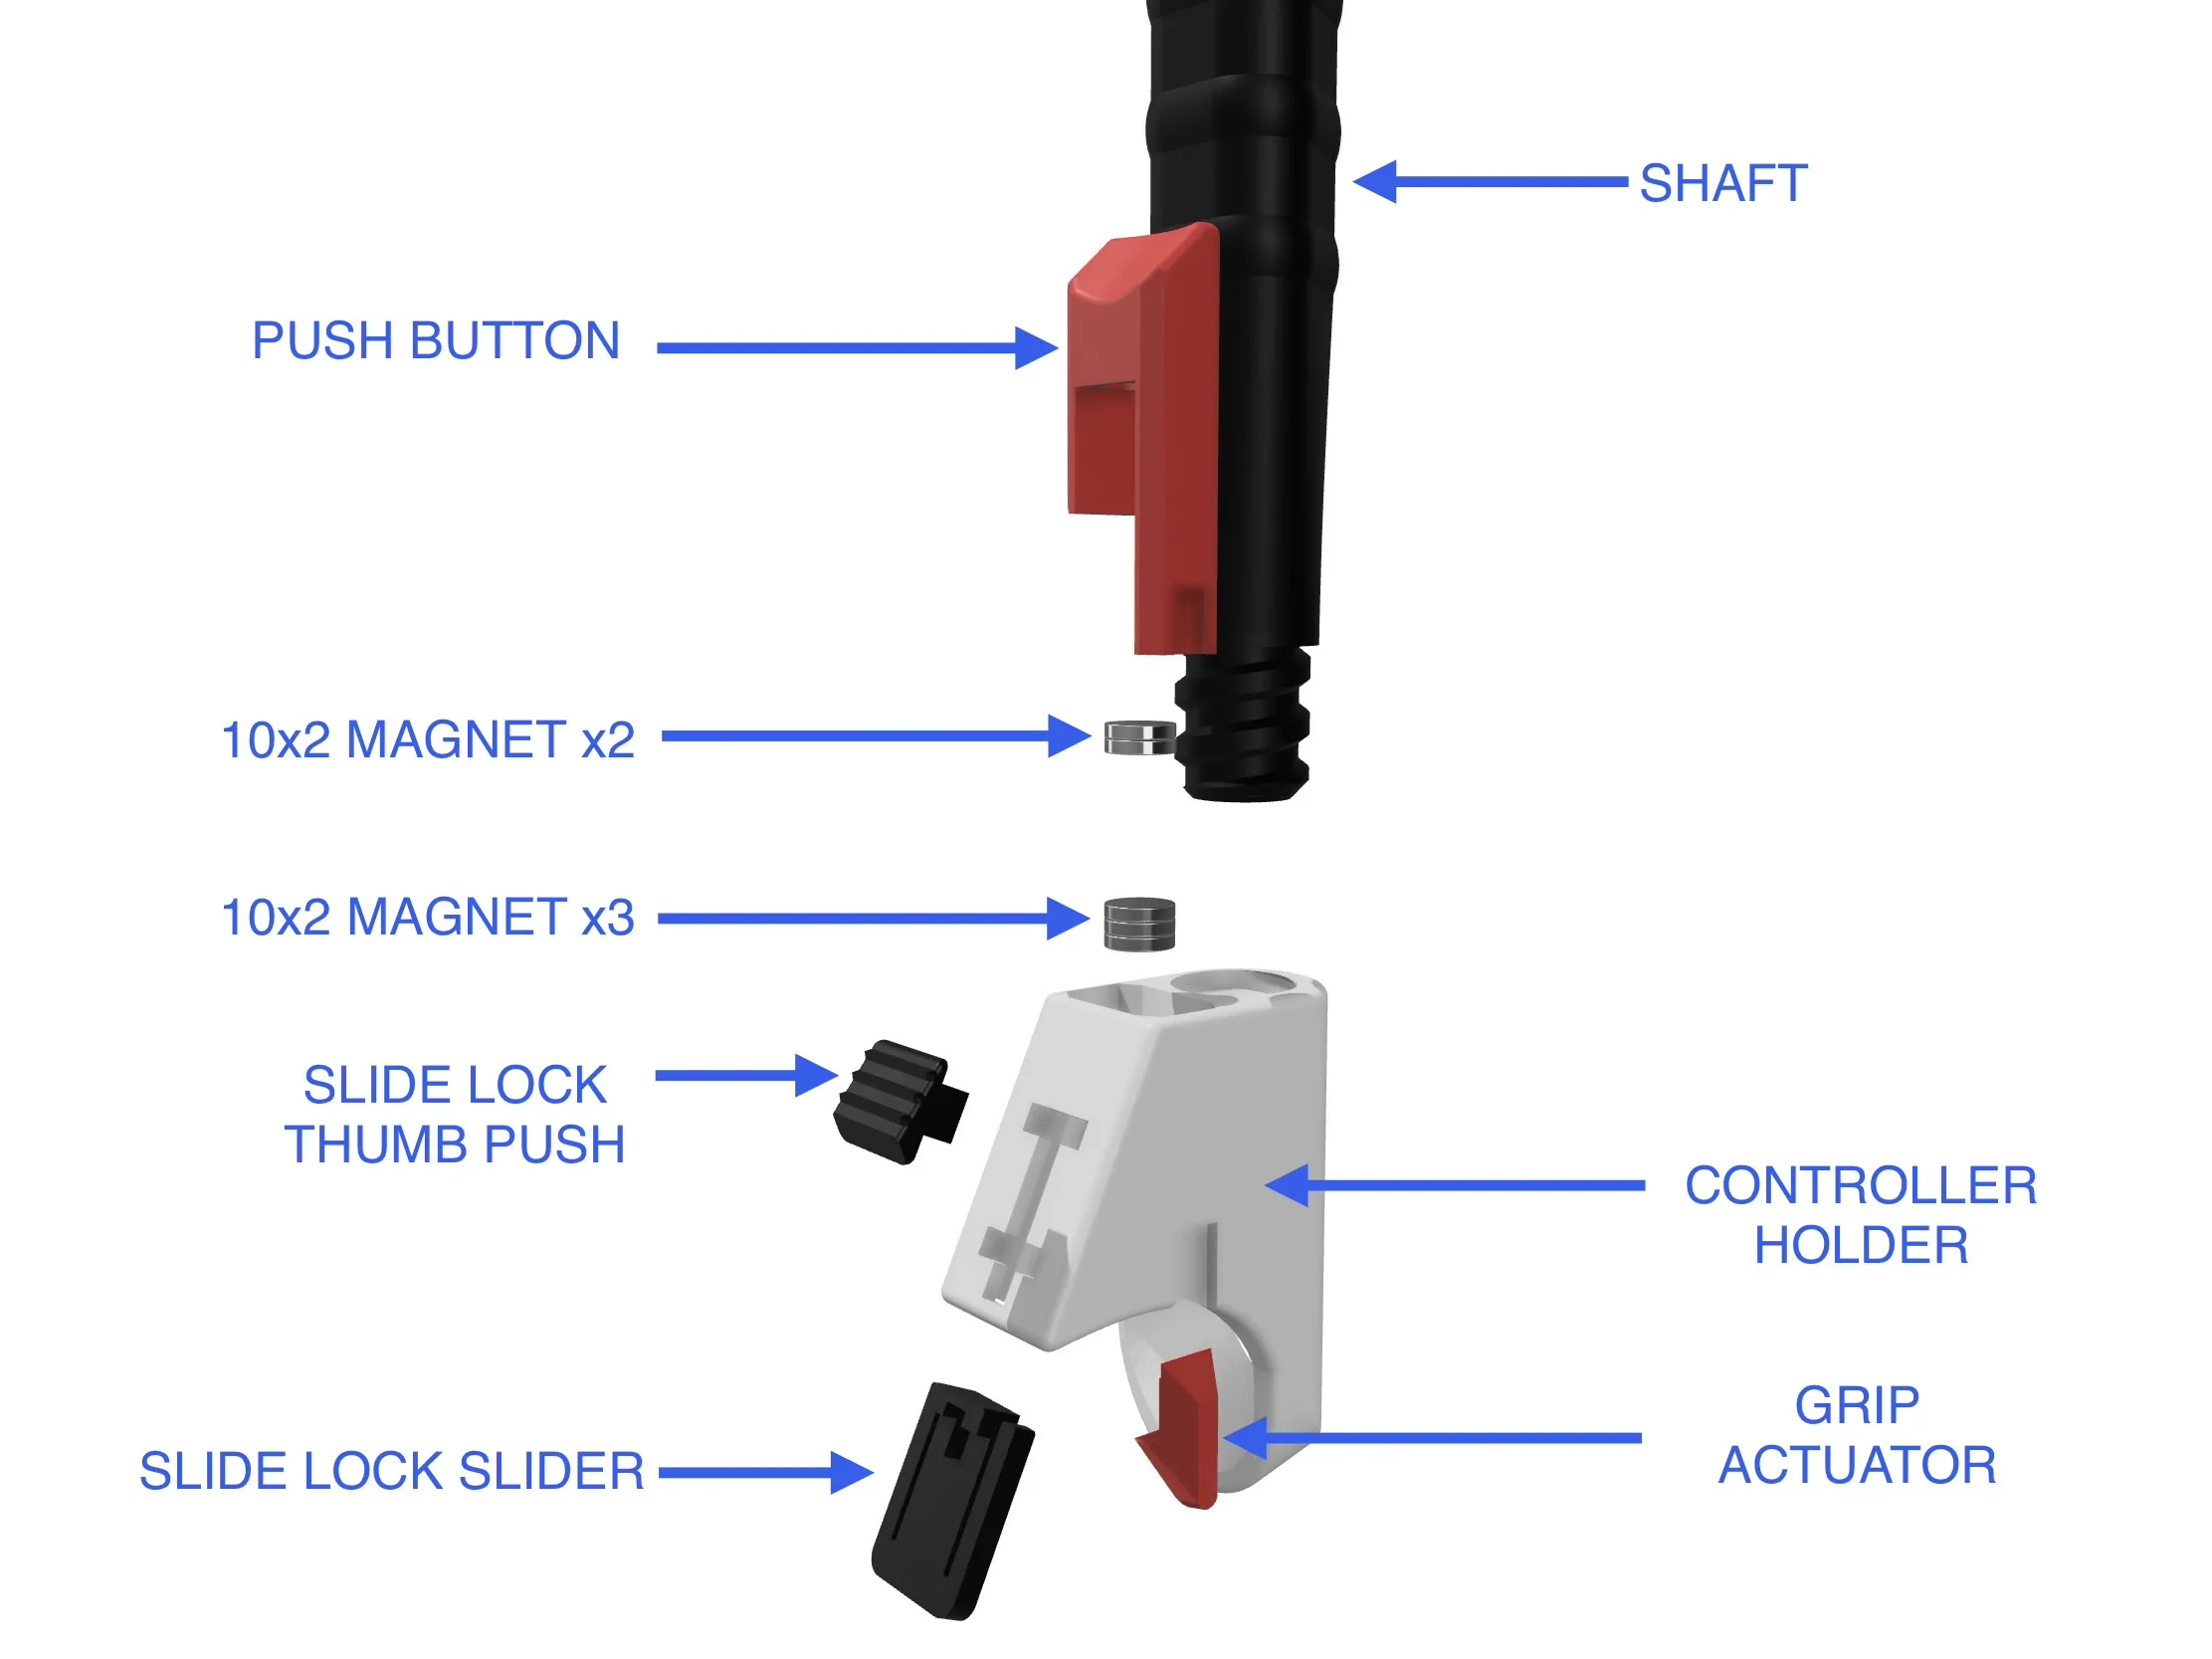

- Push the SLIDE LOCK SLIDER into the slot on the CONTROLLER HOLDER. You will need to push down the locking tab to get it started in the slot, then push it up into the slot. (You might need to ensure the slot is cleaned up and free from any obstruction).
- Attach the SLIDE LOCK THUMB PUSH to the SLIDE LOCK SLIDER using a very small drop of super glue. The THUMB PUSH should seat into a cut-out within the SLIDE LOCK SLIDER. (Take care to ensure that the glue does not run onto the slider or controller holder resulting in it permanently bonding!)
- Push 2x 10x2 MAGNETS into the pocket on the PUSH BUTTON, taking note of the polarity that is facing outwards. The magnets should fit securely enough without requiring glue.
- Push 3x 10x2 MAGNETS into the pocket on the CONTROLLER HOLDER, ensuring that the polarity facing upward repels the magnet in the pushbutton and acts as a spring. The magnets should fit securely enough without glue, so if you prefer less resistance on the pushbutton later you can try removing a magnet or two.
- Slide the PUSH BUTTON into position on the CONTROLLER HOLDER. It should be loose enough to move freely in the slot and you should feel the magnets acting as a spring for the button return.
- Hold the PUSH BUTTON down and push the GRIP ACTUATOR onto the slotted leg of the PUSH BUTTON. It's a tight fit, so it shouldn't need gluing, but feel free to add a drop if it feels loose.
- Screw the SHAFT into the CONTOLLER HOLDER. The thread mating should result in a flat edge of the tri-shaft facing forwards. Again, if it feels loose you can add a drop of glue.
Finally, pop on the SHAFT CAP for the finishing touch. It should be a tight enough fit to not work loose, but add a drop of glue if required.
Walkabout Configuration:
- Access the Settings: Go to the main menu and select the Settings button.
- Putter Tab: Navigate to the "Putter" tab.
- Custom Grip: Check the "Custom Grip" box to enable the customization feature.
- Options: Click the "Options" button to adjust the settings for your putter.
- Custom Calibration: Select "Custom Calibration" and follow the instructions to set your desired tilt, angle, rotation, and position for the putter head.
License



Comment & Rating (2)