
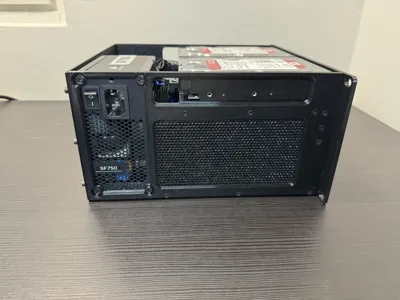
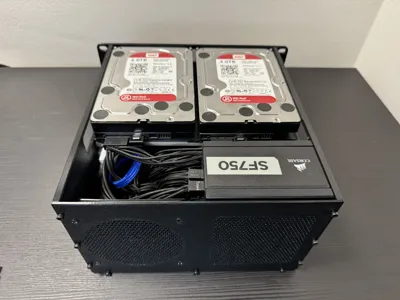
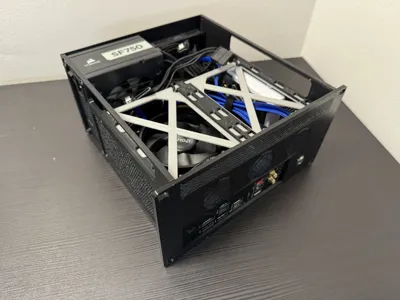
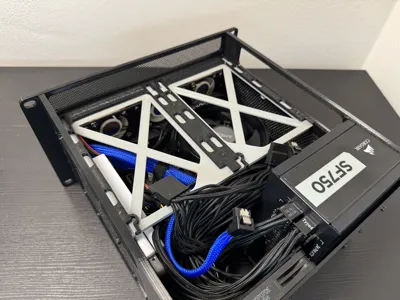
3U 10" Rack Case - Mini-ITX + SFX PSU + 2x3.5" HDD
Print Profile(2)
Description
If you like the model, a like or comment means a lot 😊 Got feedback or ideas? Feel free to drop a comment or reach out directly — always happy to hear it.
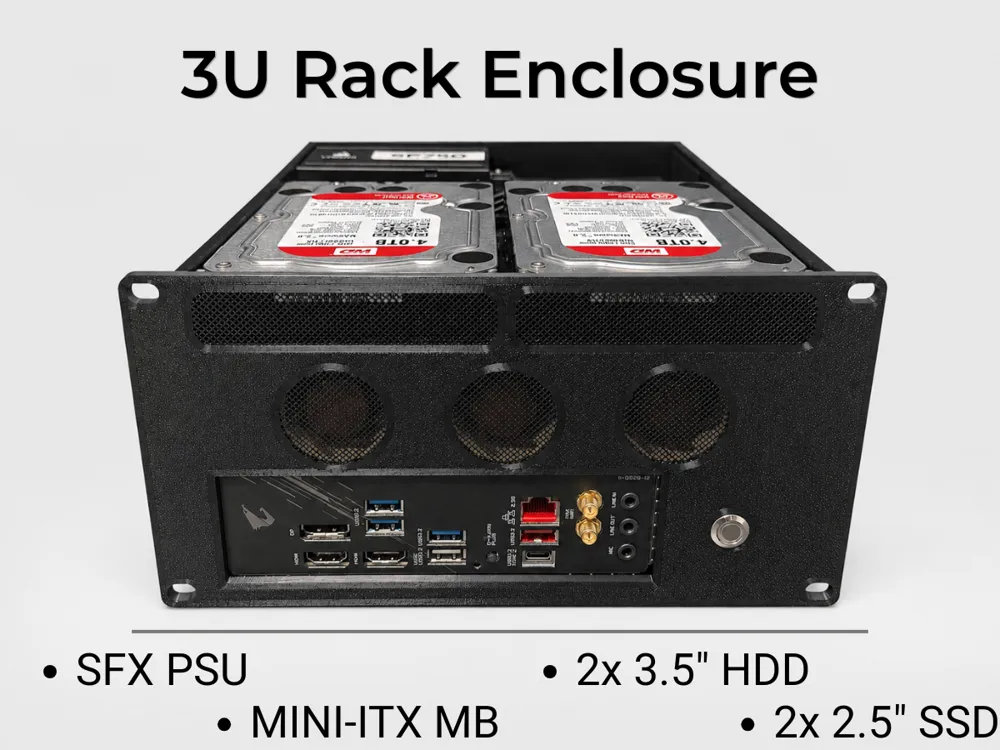
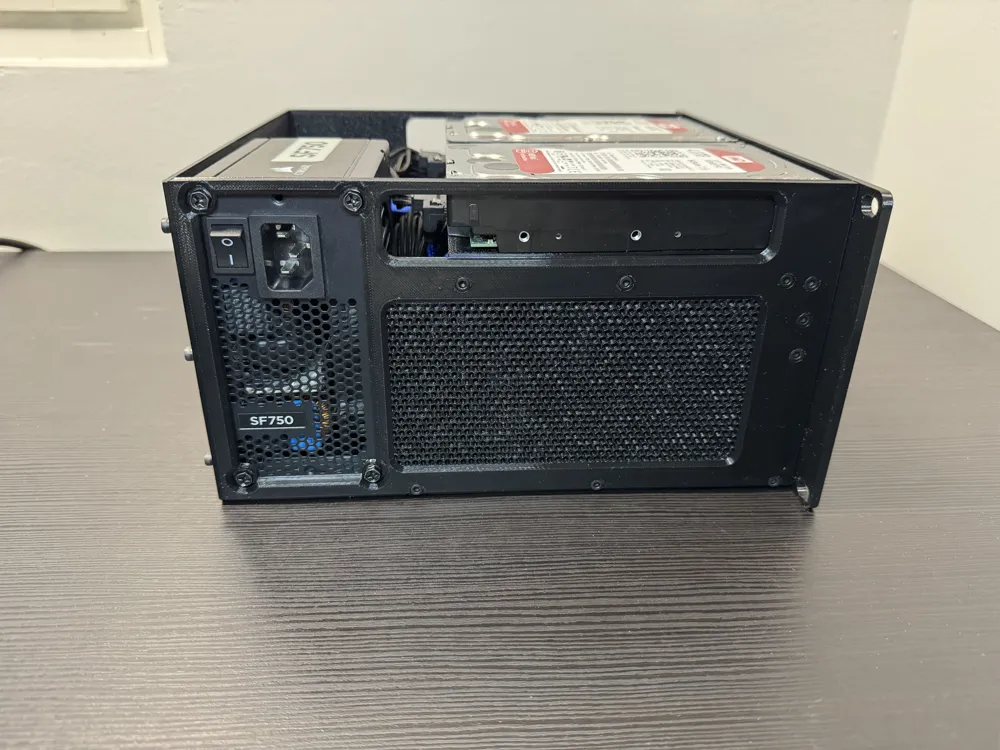
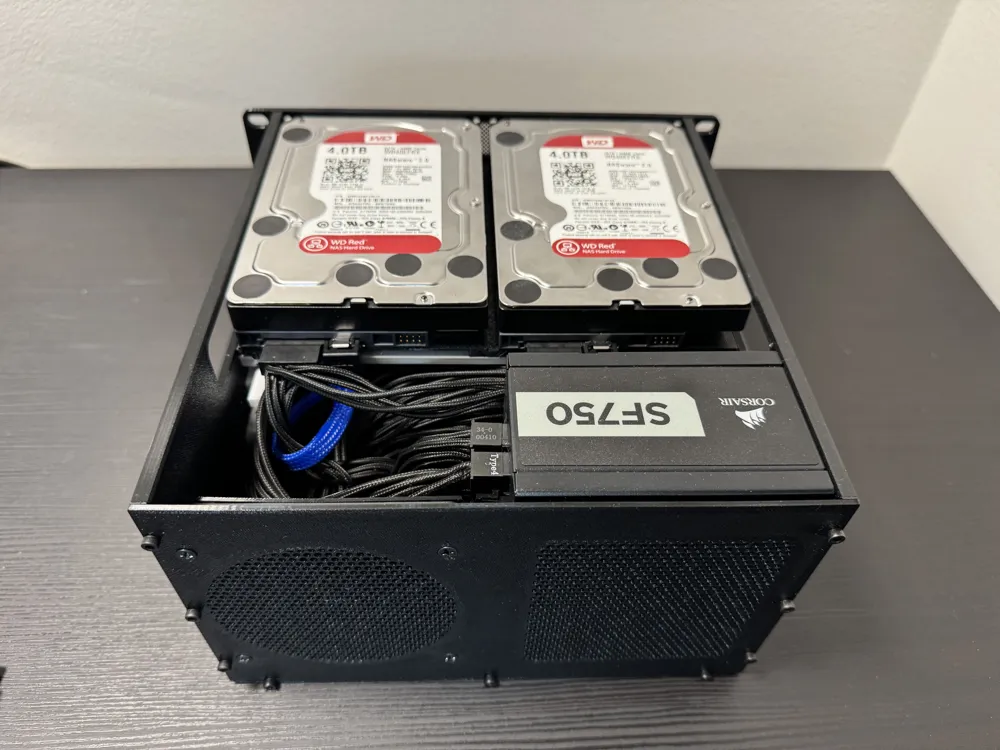
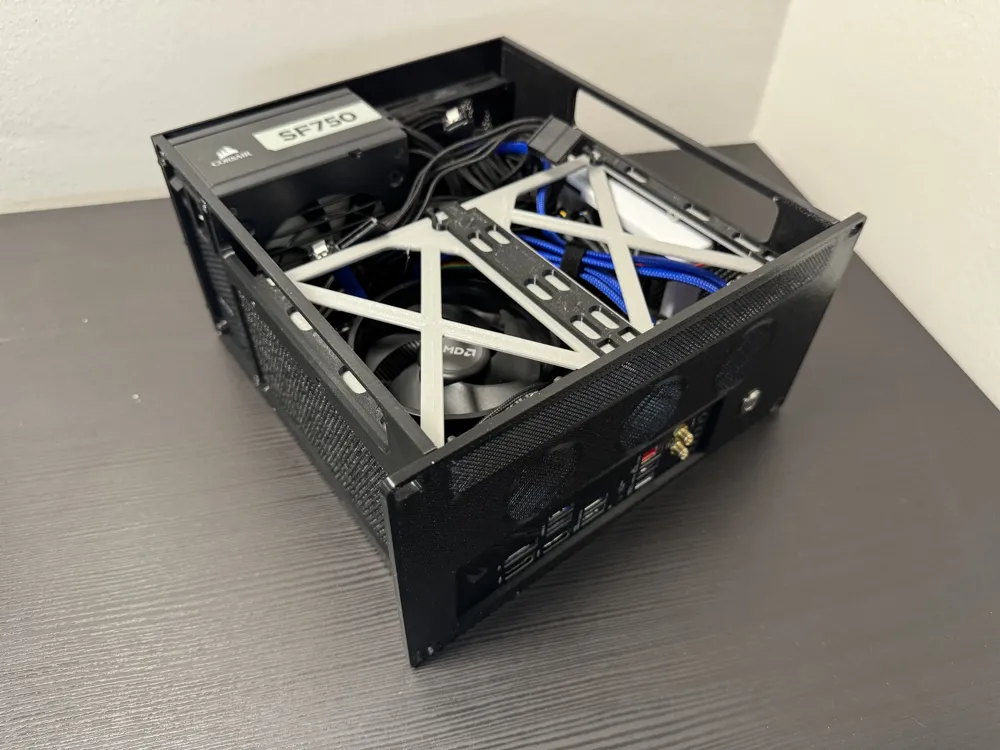
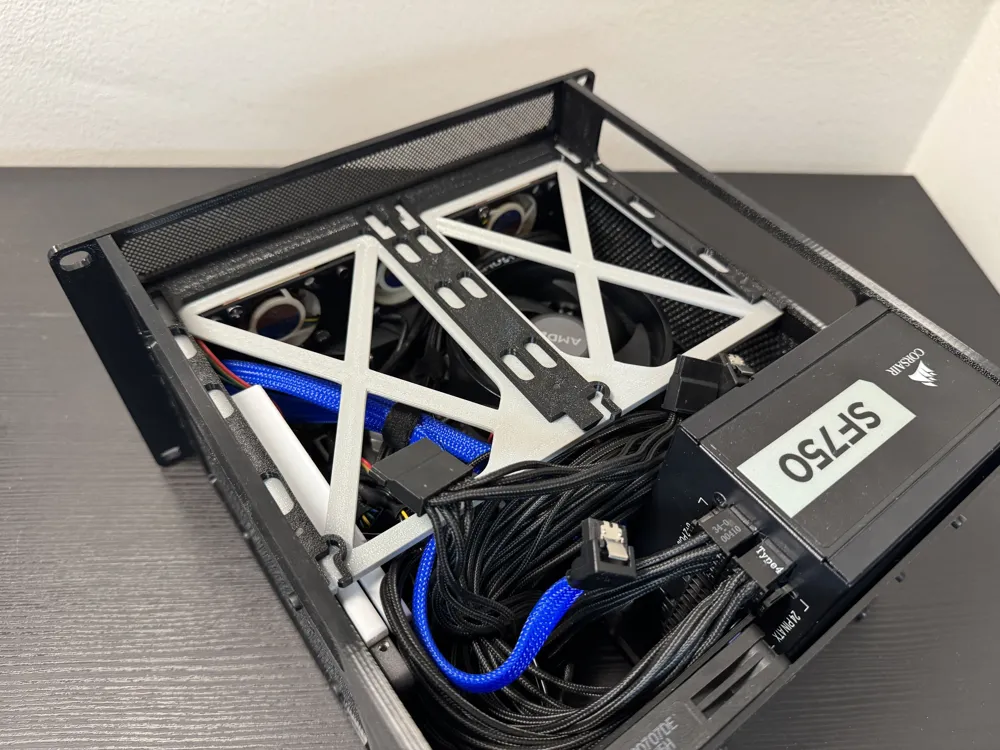
A proper SFX-powered Mini-ITX rack case — finally!
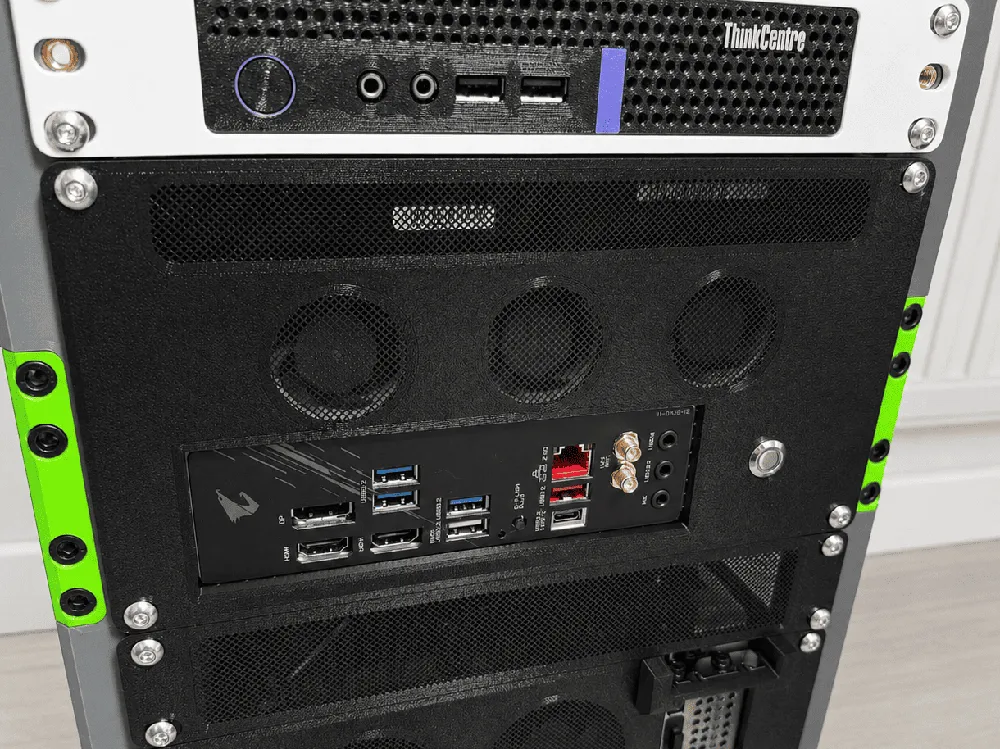
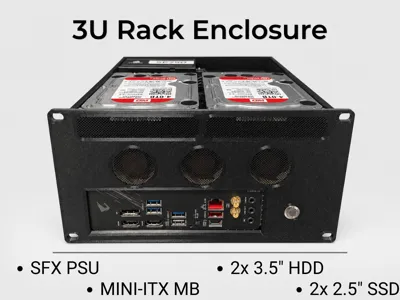
I run a 10" rack homelab and wanted to have my backup NAS in the rack. There was no existing solution that fits an SFX PSU and a Mini-ITX motherboard in the same enclosure — the only option was building from separate panels, wasting space and leaving cable management as your problem. So I designed this enclosure that combines everything into a single 3U unit.
Compatibility
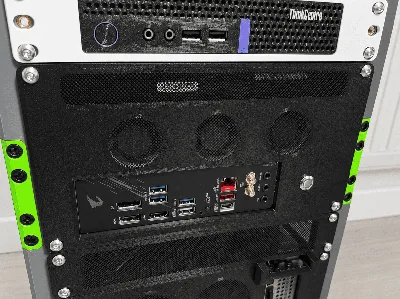
- 10" rack
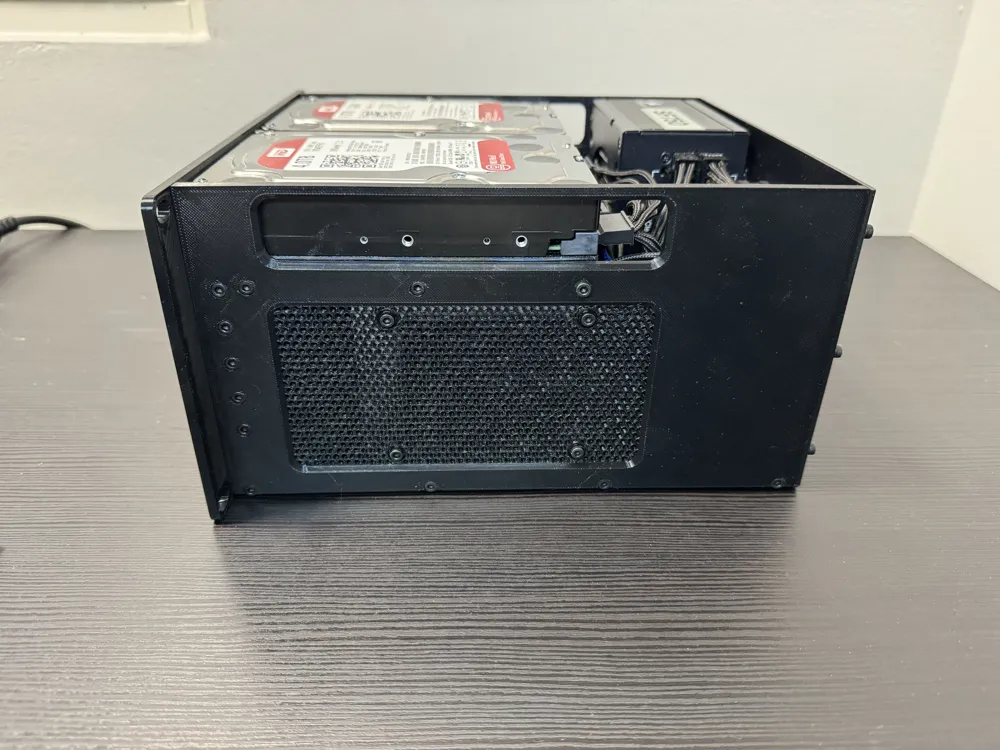
- Side panels and SSD-bay is compatible with “GPU” variation!
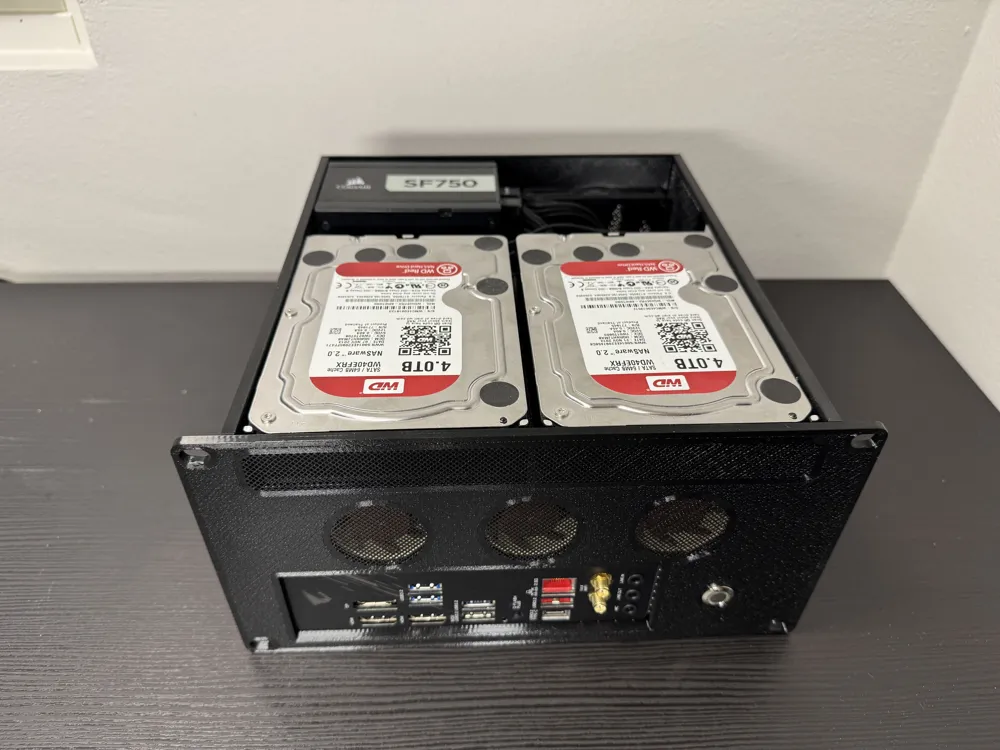
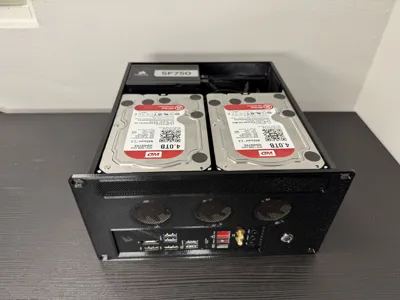
What fits in this enclosure
- Mini-itx motherboard
- SFX Power Supply
- 2x 3.5" HDD
- 2x 2.5" SSD
- 3x 40x40x20mm fans
- 1x 92x92x15mm fan
- Max CPU cooler height: ~80mm (measured from motherboard PCB to top panel interior — not confirmed, verify your cooler fits before building)
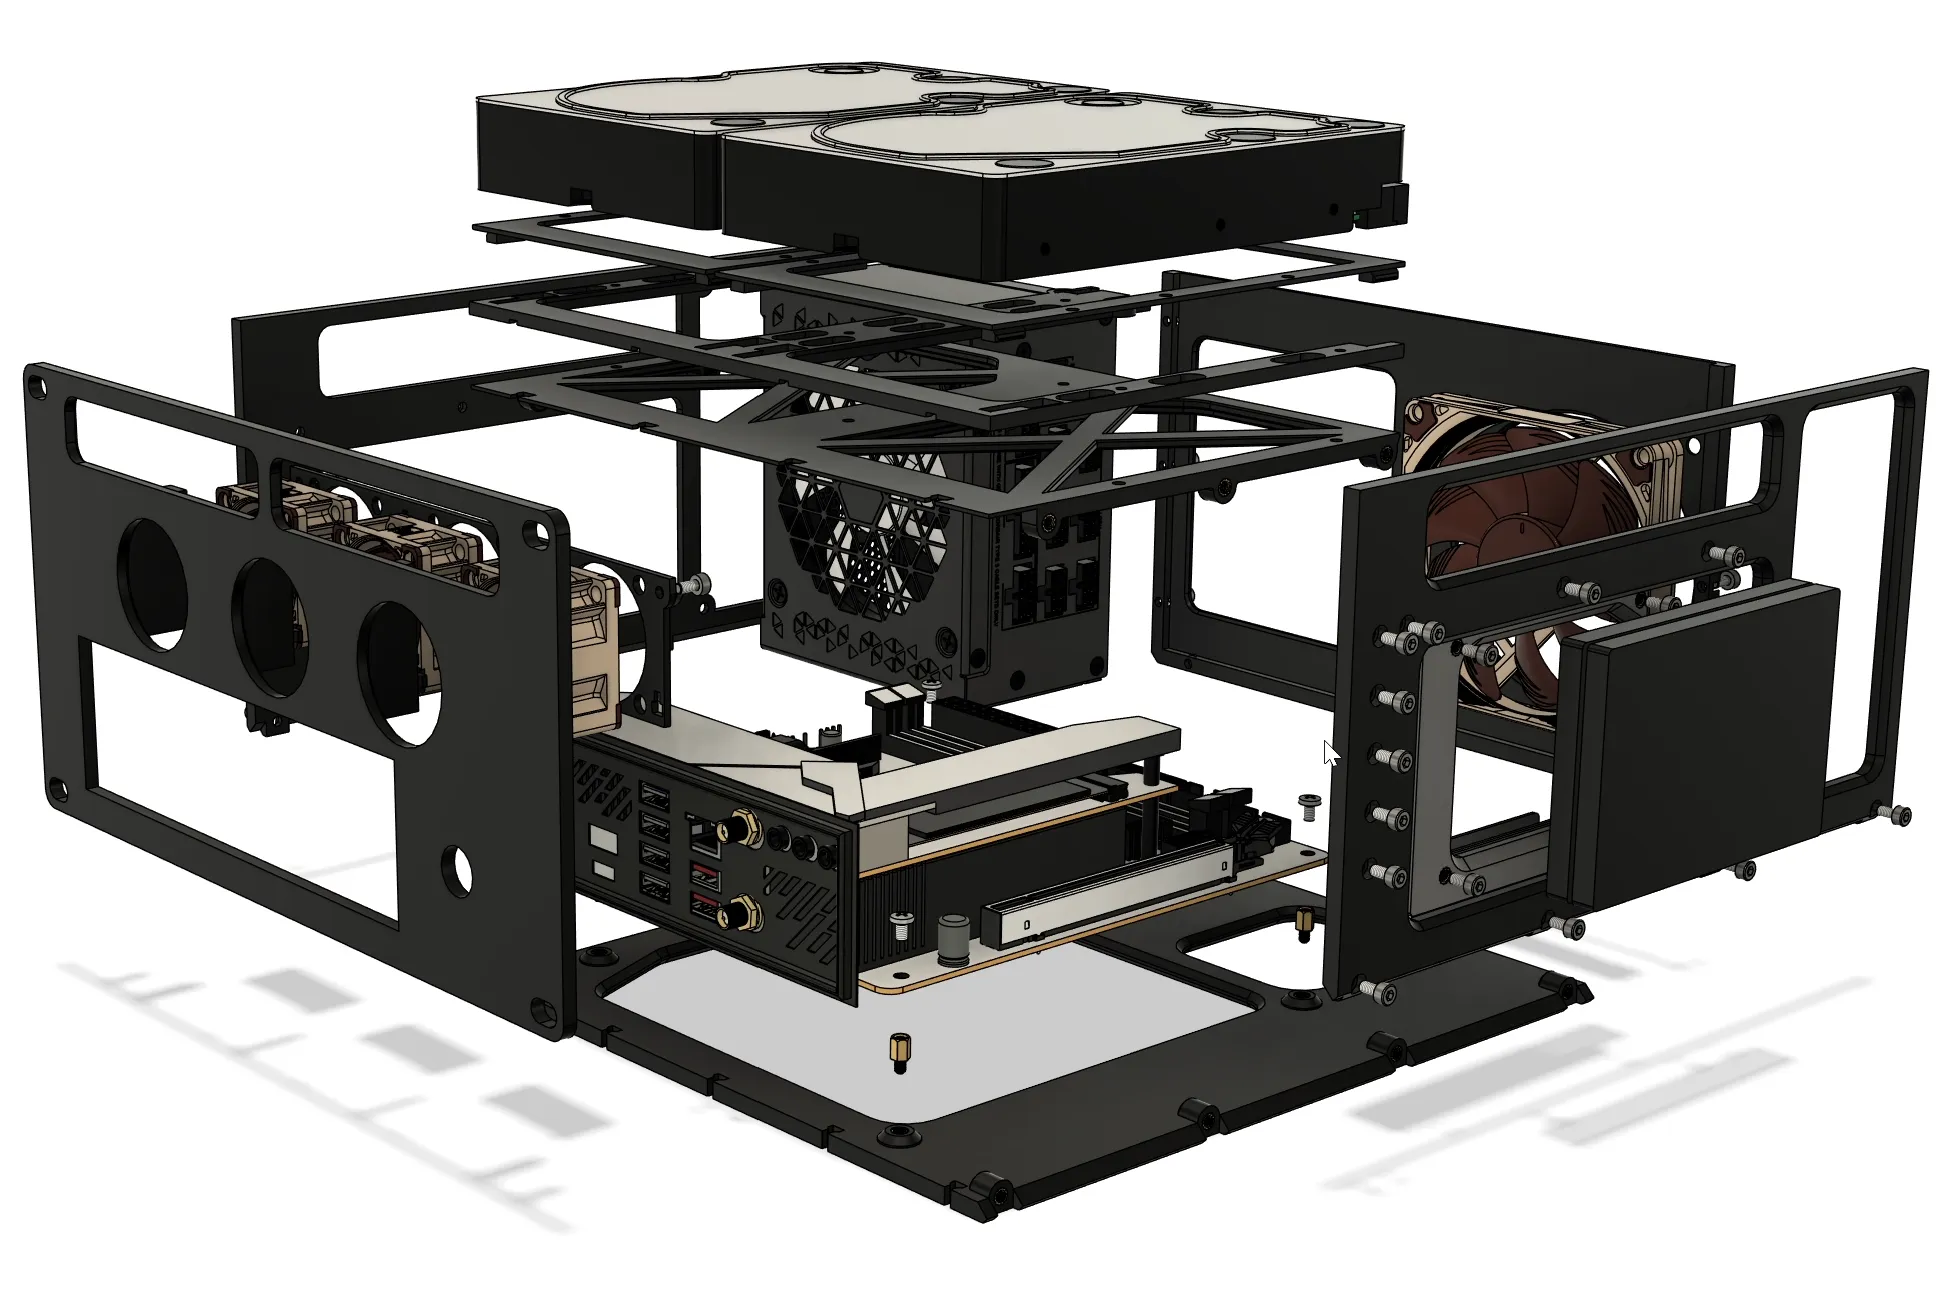
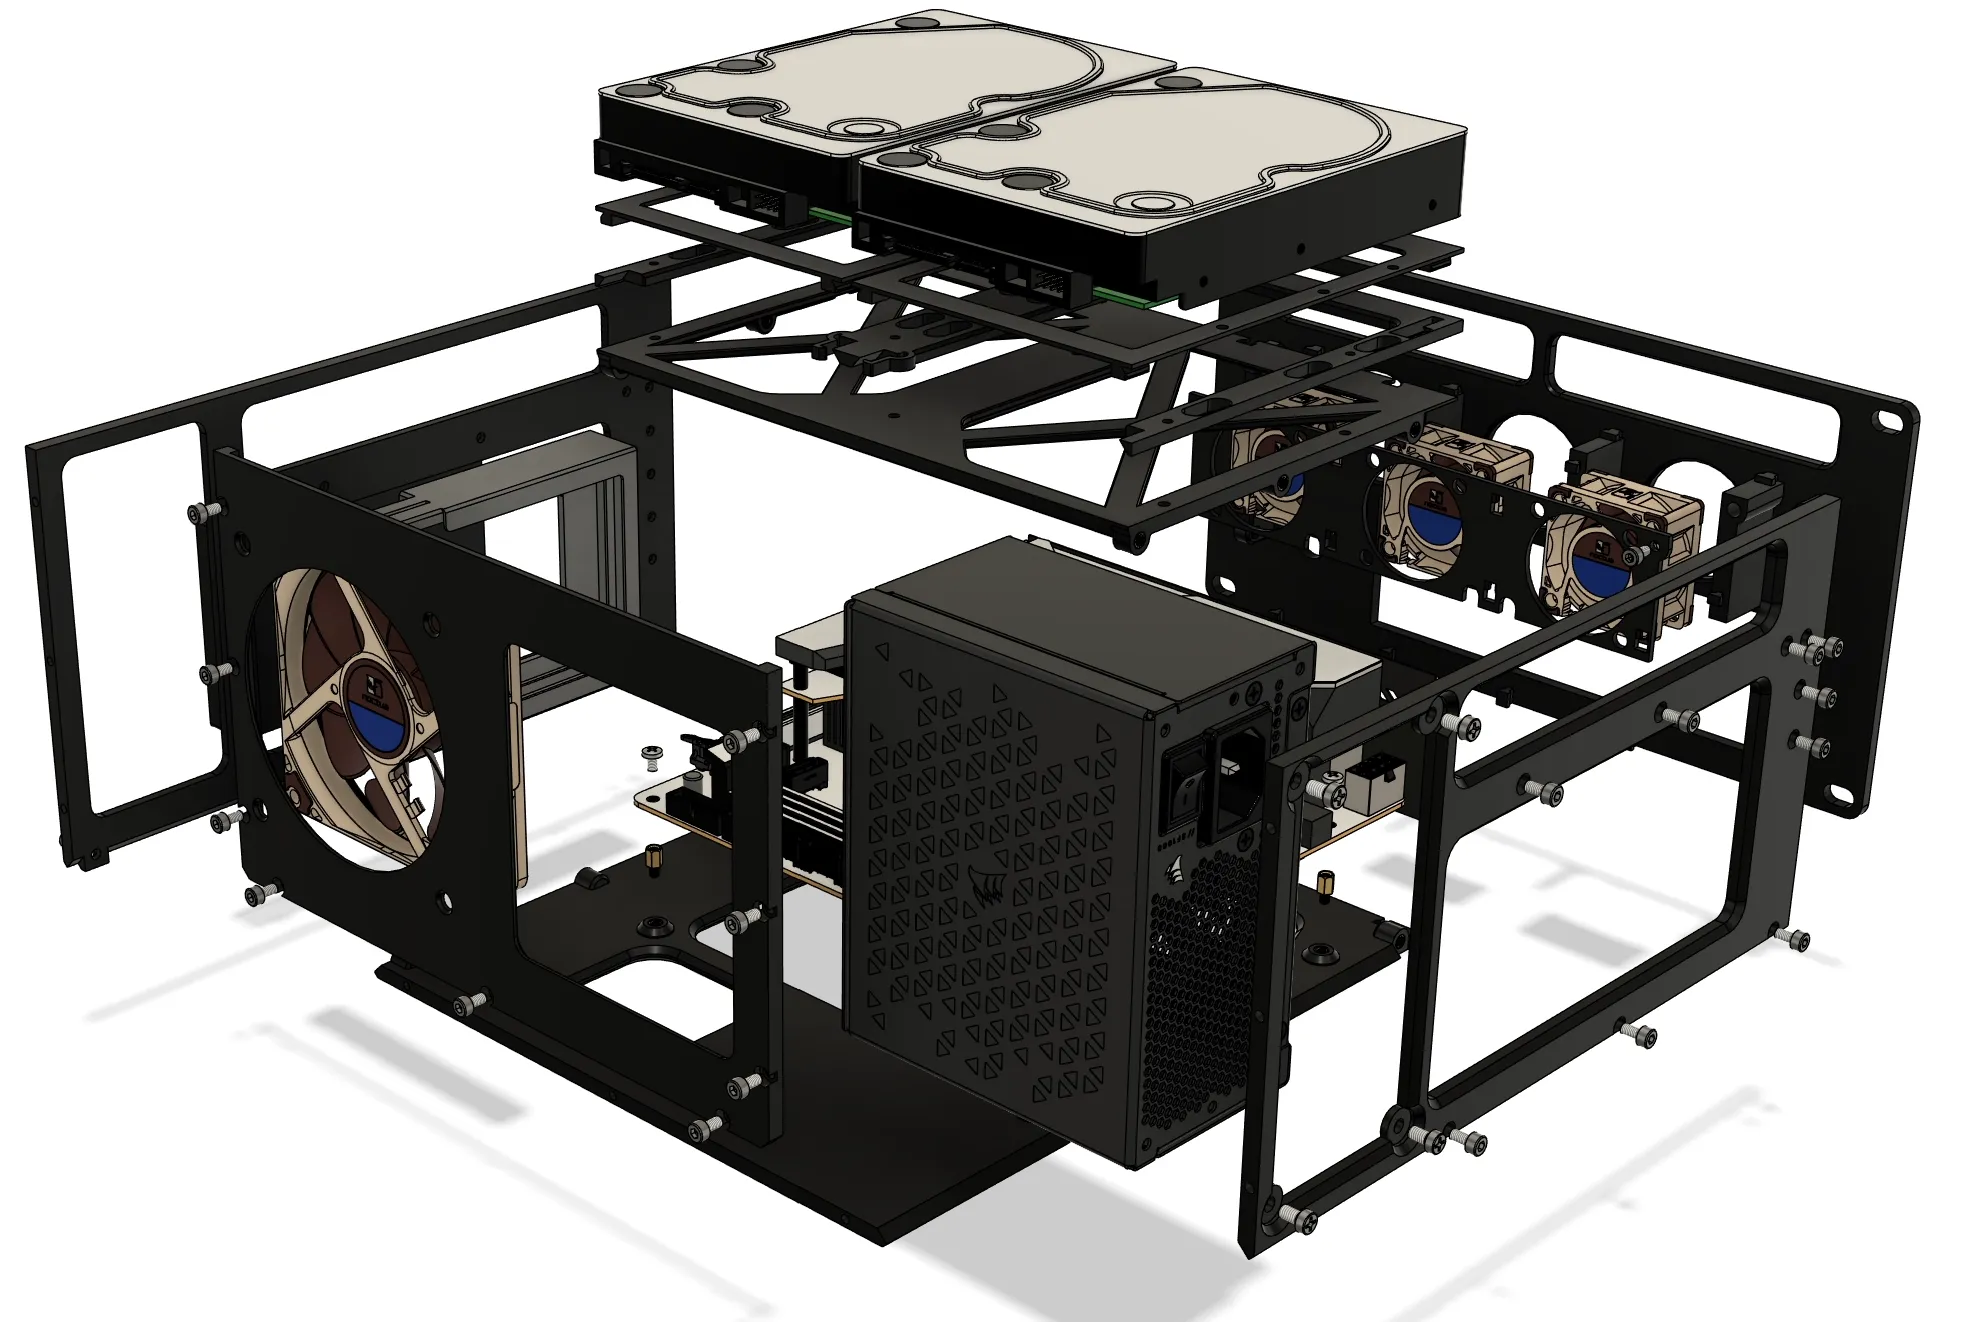
Models used in renders: Mini-ITX motherboard, SFX Power Supply, 3.5" HDD — sourced from GrabCAD.
Structural Integrity
Total weight of the enclosure with all hardware installed is around 4.5kg, so structural integrity has been a real concern and top priority since day one. In the first version the front panel was 3mm thick, 15% infill, 2 walls, and fixed to the sides with only 2 screws on each side — and it held perfectly for a week. The final version uses 4mm front panel thickness, 25% infill, and 6 walls, fixed with 3 screws on the left side and 5 on the right due to space constraints. The final version also has sliding tabs on the floor and HDD tray to distribute forces more evenly between the side panels and front panel.
I also did some stress testing by shaking the case from the rack ears and it feels solid. The one thing I haven't tested is long-term behavior — I can't guarantee how it holds up under stress over months or years, but deformation shouldn't be an issue under normal use. The enclosure is printed in PETG, and if you want even more rigidity you can use ASA or ASA-CF.
Thermals
Tested with an AMD Ryzen 5 5600G and two WD Red 4TB HDDs. CPU under full load with a Thermalright X47 cooler stabilized around 80°C. Drives stayed around 40°C at idle — both within acceptable range for an enclosed rack build.
Hardware requirements
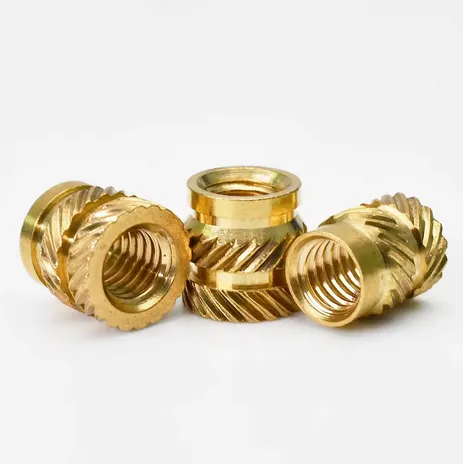
Heatset inserts M3
OD - 5mm / L - 4-5mm
Aliexpress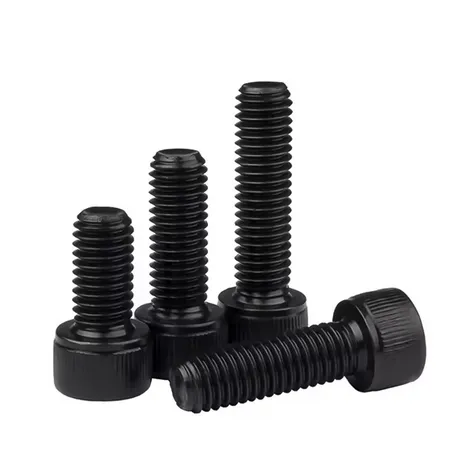
M3 x 6mm
Aliexpress
Motherboard standoff
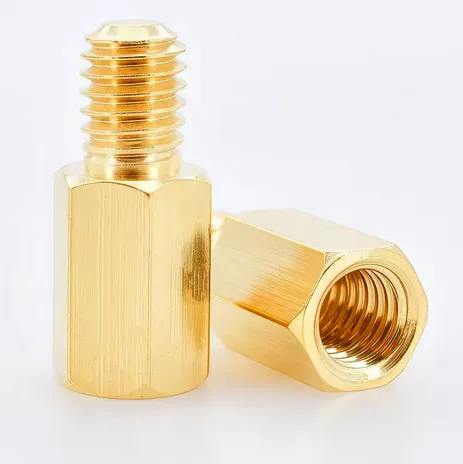
M3 - Length 6mm
Aliexpress
Motherboard screw M3
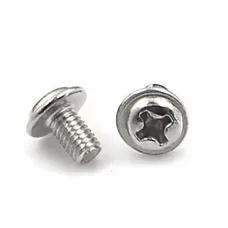
Power Button - 12mm
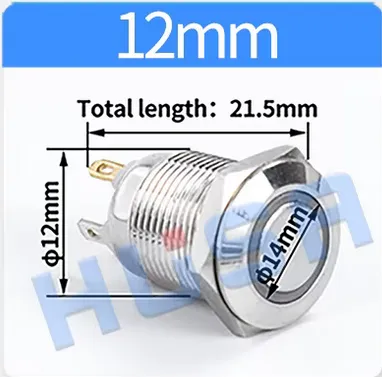
| Hardware | Total |
| M3x6 | 54 |
| Inserts | 31 |
| Motherboard standoff | 4 |
| Motherboard screws | 4 |
| Power Button - 12mm | 1 |
Print settings
Some panels use Grid or Honeycomb infill with 0 top/bottom layers to allow airflow through the walls and to speed up printing compared to modelled honeycomb or grid patterns. Settings are included in the .3mf file, but if issues occur or you are using an incompatible slicer, see the instructions below.
These instructions apply specifically to BambuStudio/OrcaSlicer but same idea works with all slicers I believe and I will provide .step files so model data for slicing stays intact.
Object specific settings can be found in “Objects” view.

Under objects menu choose objects/object which you want to change settings with.
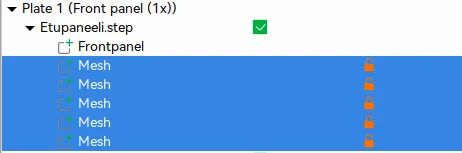
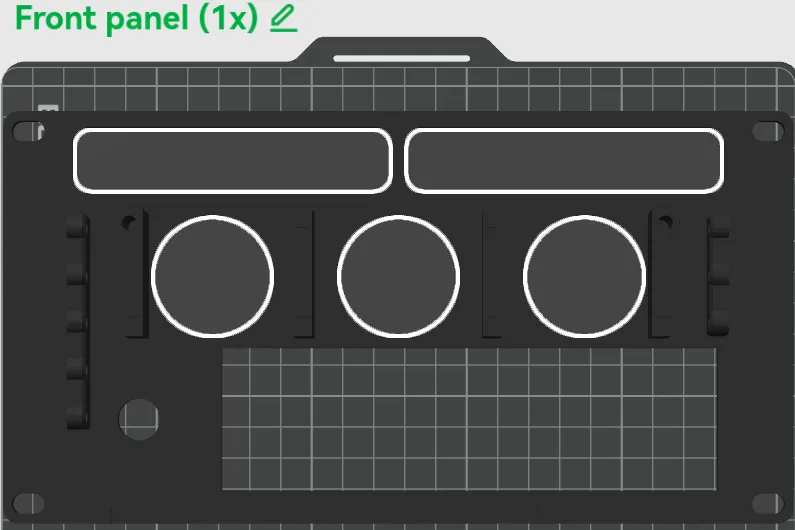
Set global settings first and after that set per object settings otherwise global settings are gonna override some per object settings.
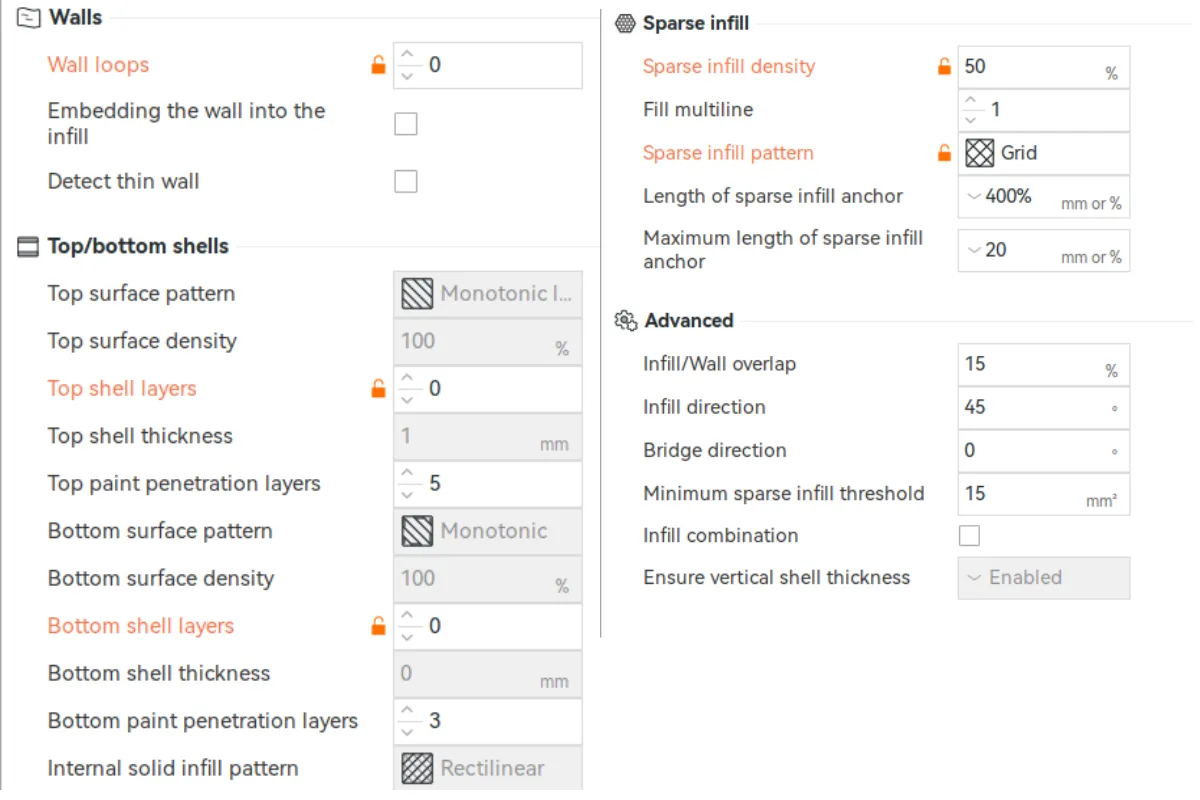
Global settings for all parts
- Infill gyroid 25%
- Wall loops 6 - Top shell layers 6 - Bottom shell layers 4
- Material: PETG
- Nozzle size: 0.4mm
- Layer height: 0.2mm
Front panel/rear panel/fan grill mesh settings
- Infill grid 50%
- Wall loops 0 - Top shell layers 0 - Bottom shell layers 0
Honeycomb settings for left and right side panel.
- Infill honeycomb 20%
- Wall loops 1 - Top shell layers 0 - Bottom shell layers 0
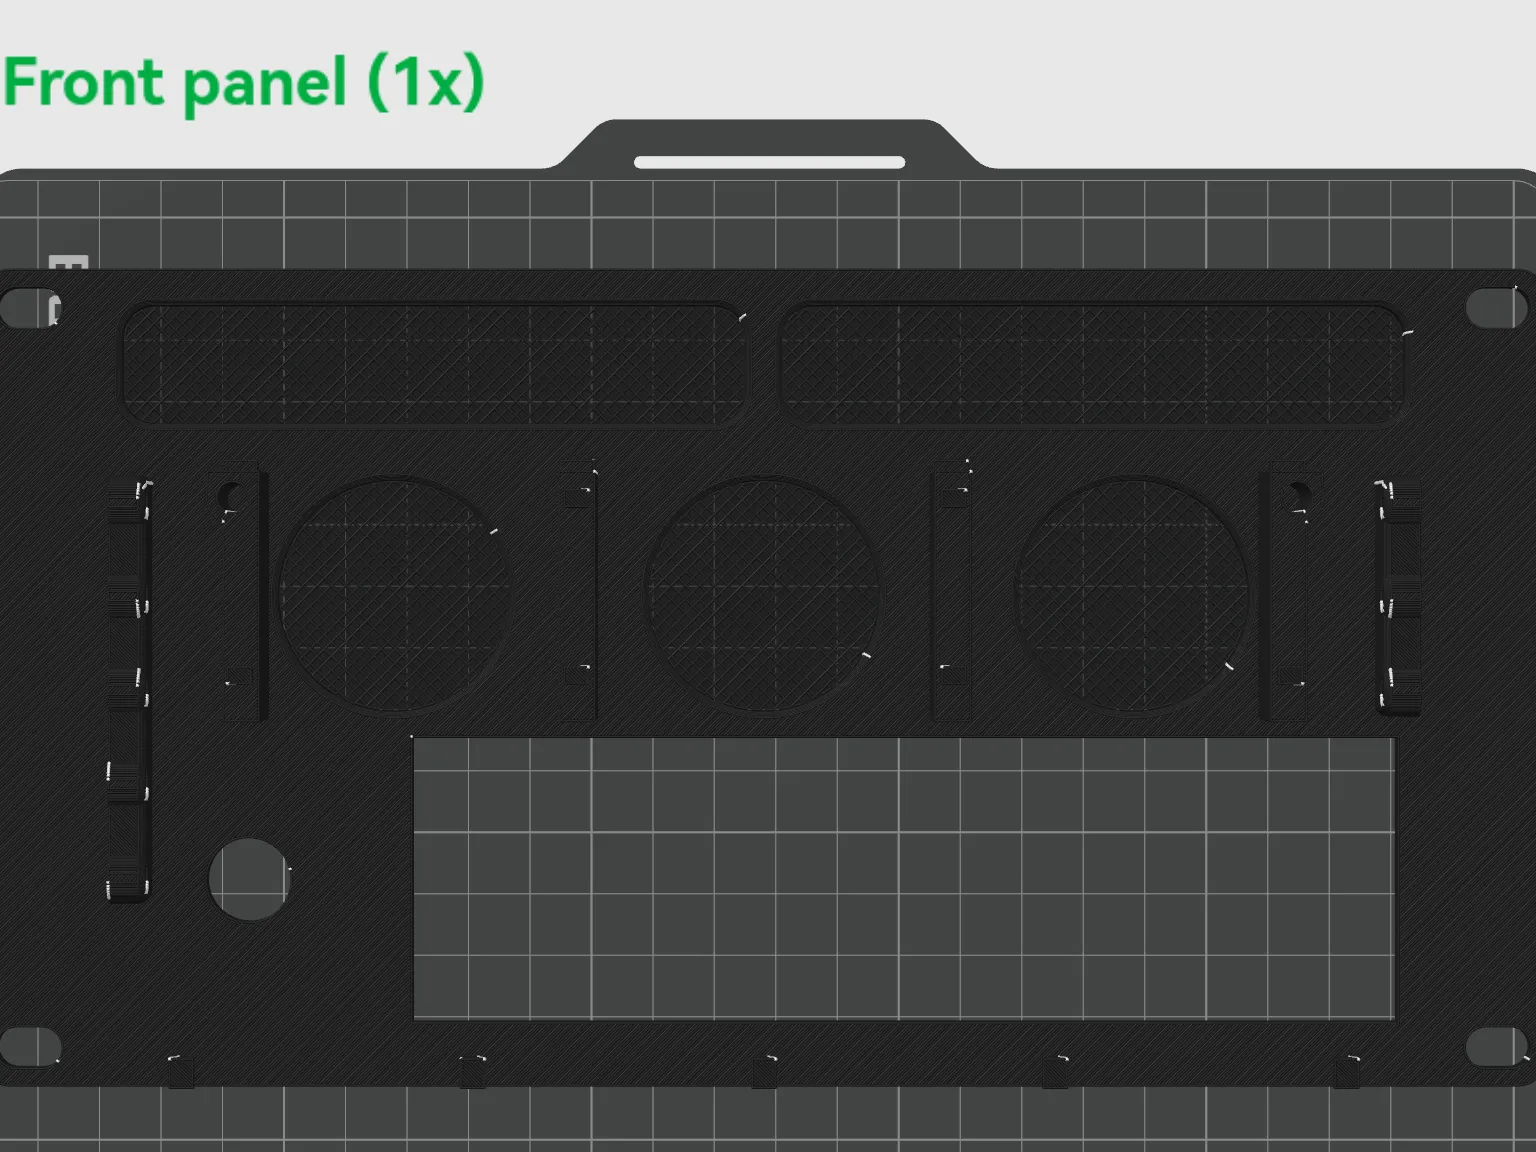
Front panel should look like that after slicing.
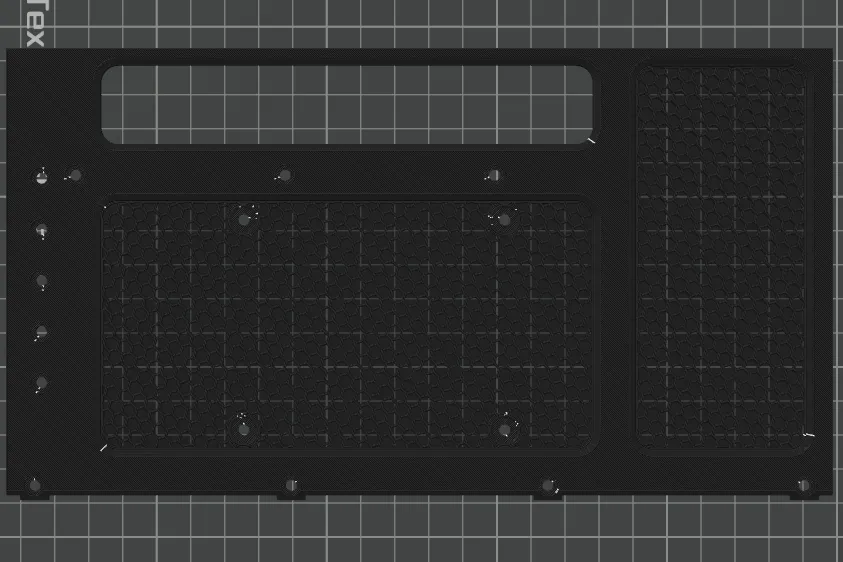
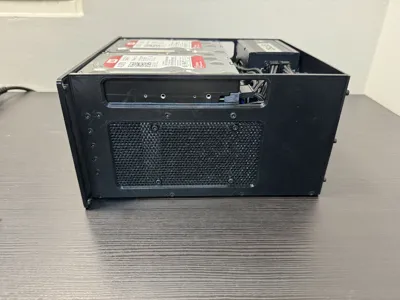
Right and left side panels should have this type of honeycomb ventilation after slicing. In case you want to experiment with sidepanel patterns, feel free to choose different infill or even tinker with .step models.
Notes
- Some images have been AI-enhanced, but all photos show the real printed model.
- This model is designed around KWS rack dimensions. It should also fit LabRax racks by dimension, but note it extends ~7mm past the rear.
- Panels with grid/honeycomb patterns cannot be printed via Bambu Handy — per-object infill settings are not supported in the app.
Documentation (1)
License

You may create derivative works based on this object, provided that all such derivative works are published exclusively on the MakerWorld platform and include proper attribution to the original creator. You may not share, upload, host, distribute, or publish this object—or any derivative work of this object—on any other digital platform, marketplace, or distribution channel. Commercial use of this object and any derivative works is strictly prohibited. This includes, but is not limited to, selling, renting, sublicensing, or using the object in any context in which you receive monetary compensation or other financial benefits.


Comment & Rating (1)