
Sword of Power - Sound & Light Prop Kit


Print Profile(2)
Bill of Materials






Description
PLEASE READ THE FULL DESCRIPTION!

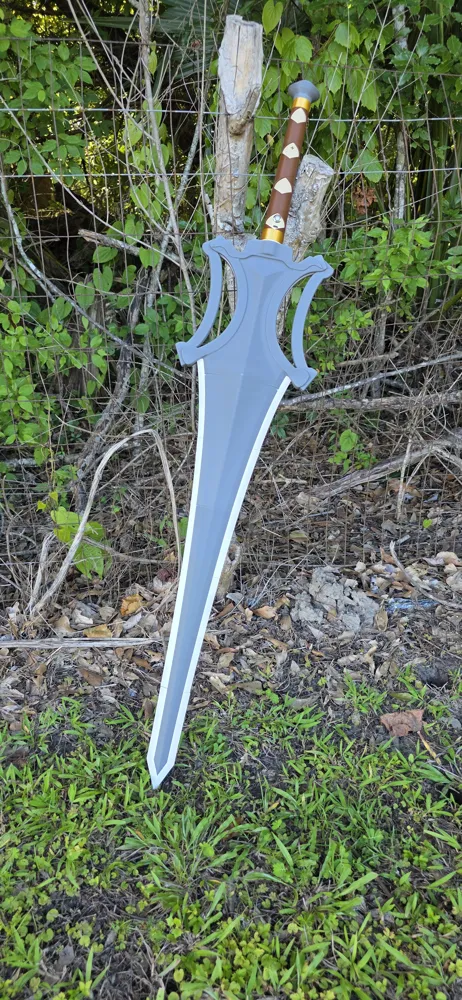
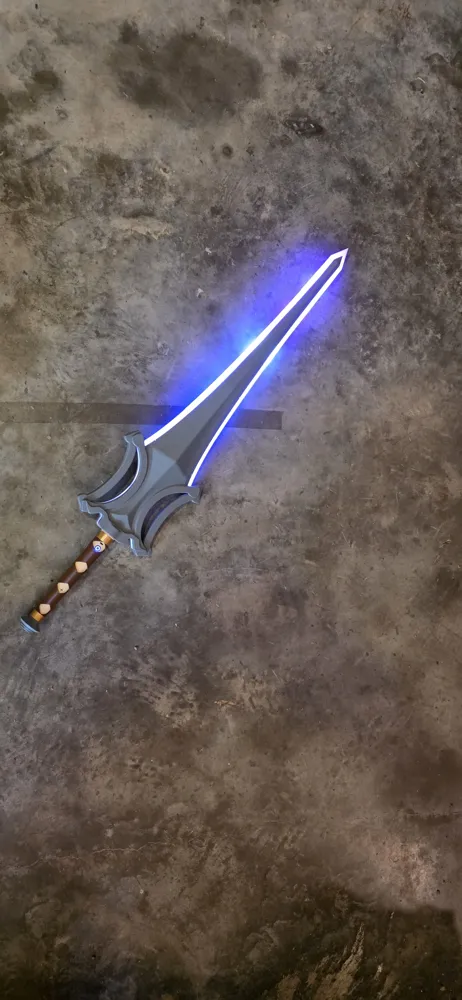
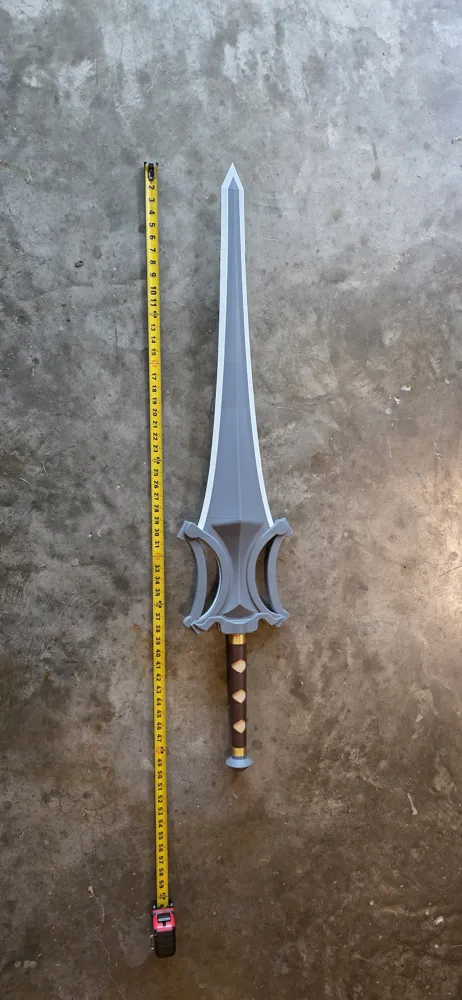
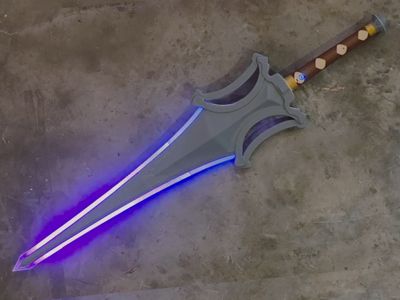
A full-size 3D printable fantasy broadsword. (50in long!)

Uses Makerworld Sound and Light Prop Kit!
I will be putting together an assembly video and PDF instructions similar to the one I built for the Dark Saber.
Here are the Key Notes if you decide to build this sword prior to me getting that out.
NOTE 1:
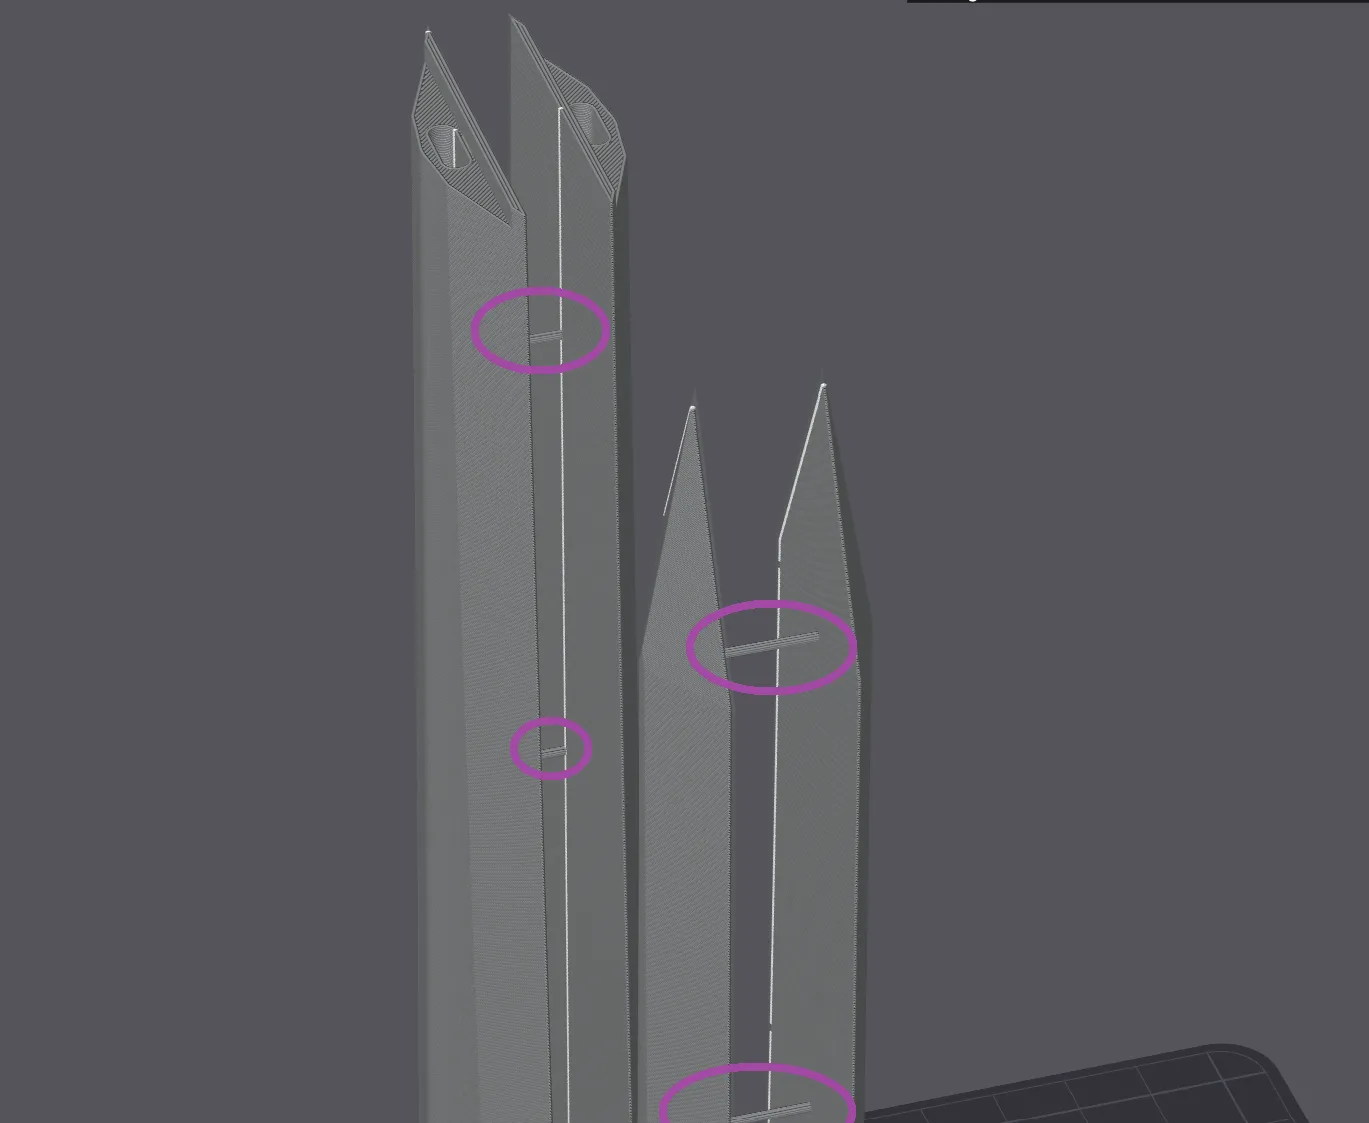
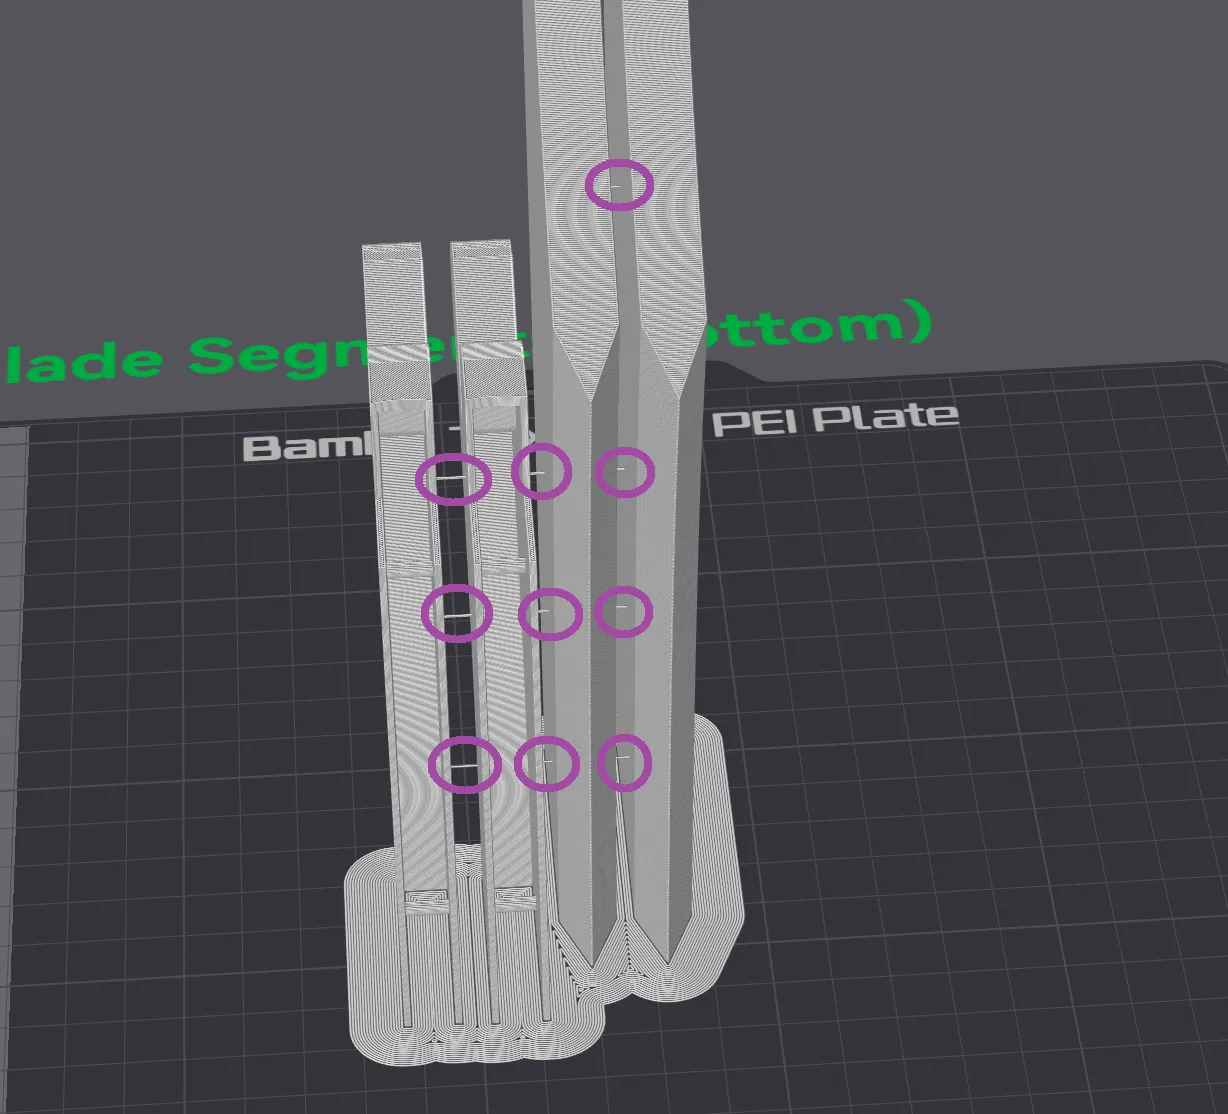
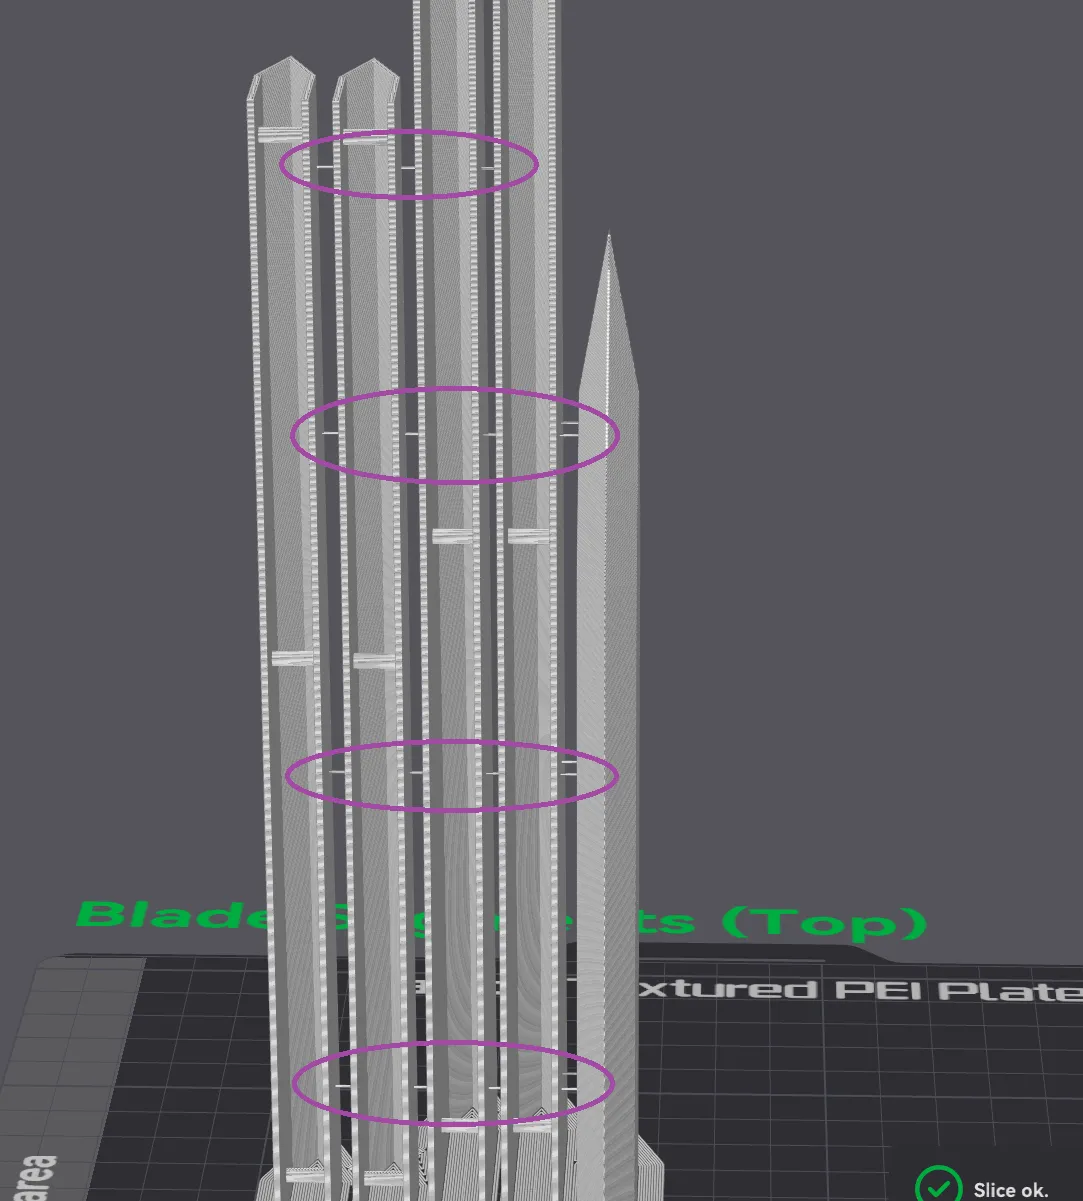
I added integrated supports to some of the taller blade pieces to help with printing.
These will require light post processing after printing.
None of the supports are on an area that will be visable once assembled but will be required to be cut flush and smooth for proper glue up.
See examples below:
NOTE 2:
This model will require assembly using a strong glue. I recommend THIS GLUE
(This is an amazon affiliate link and I do receive a kick back if purchased from this link)
NOTE 3:
It is very important to note that when assembling the inner white diffuser pieces, that you leave a 0.100" GAP so the LED light strip can fit into the channel.
This gap is what holds the light strip in places and also allows it to be pushed though the blade. I have a plan to improve upon this design for v2.0, but it does work fine if you line everything up properly. 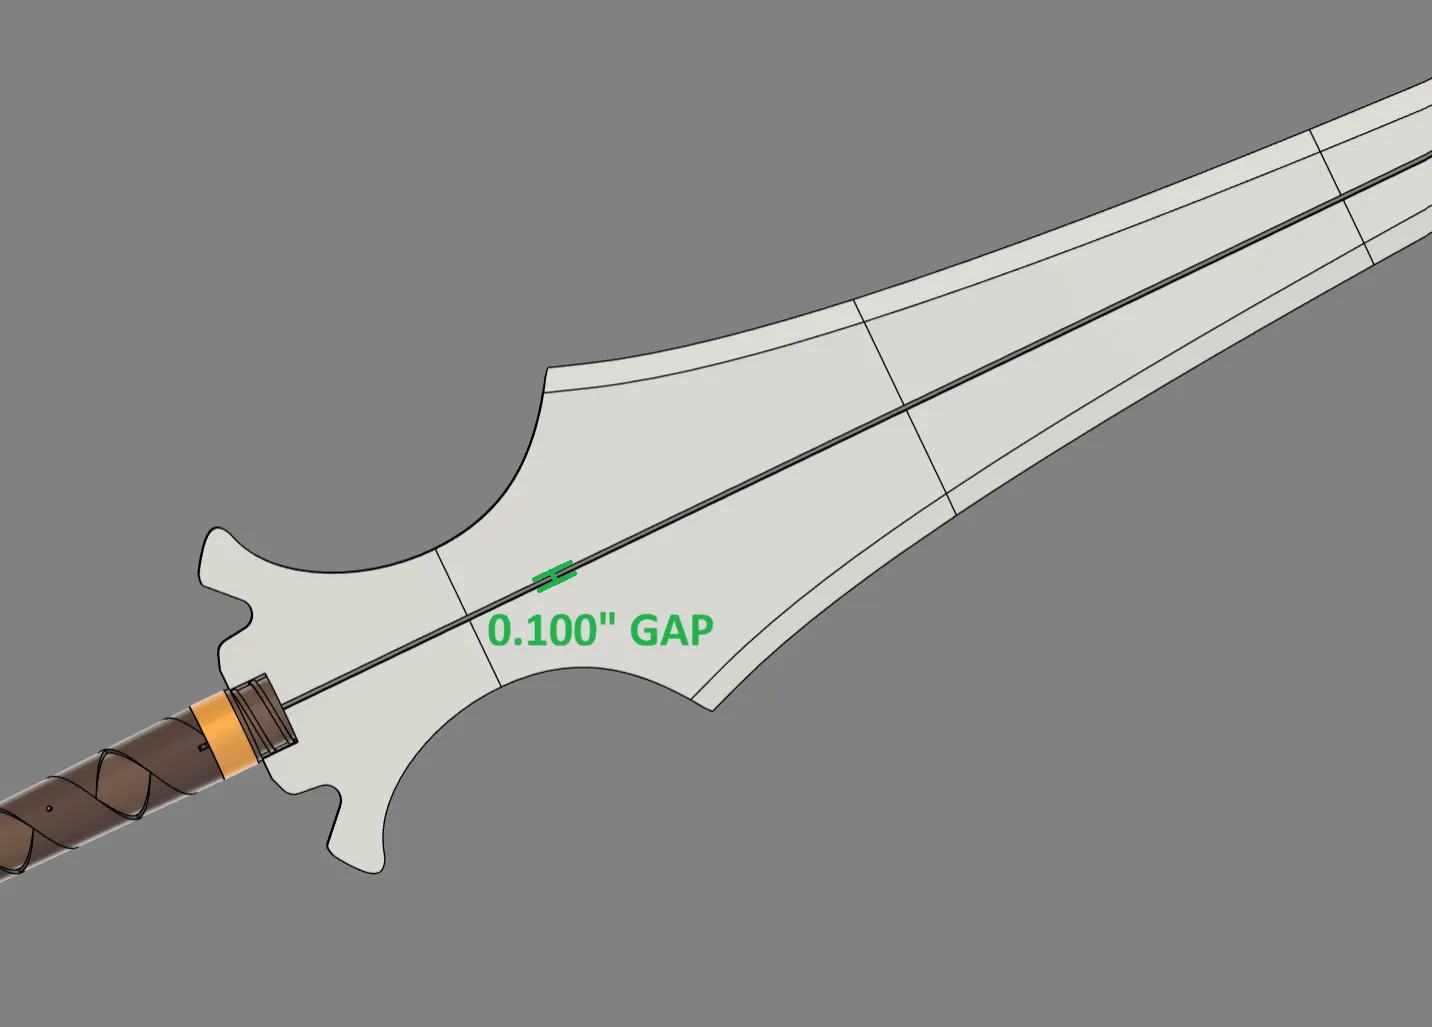
NOTE 4:
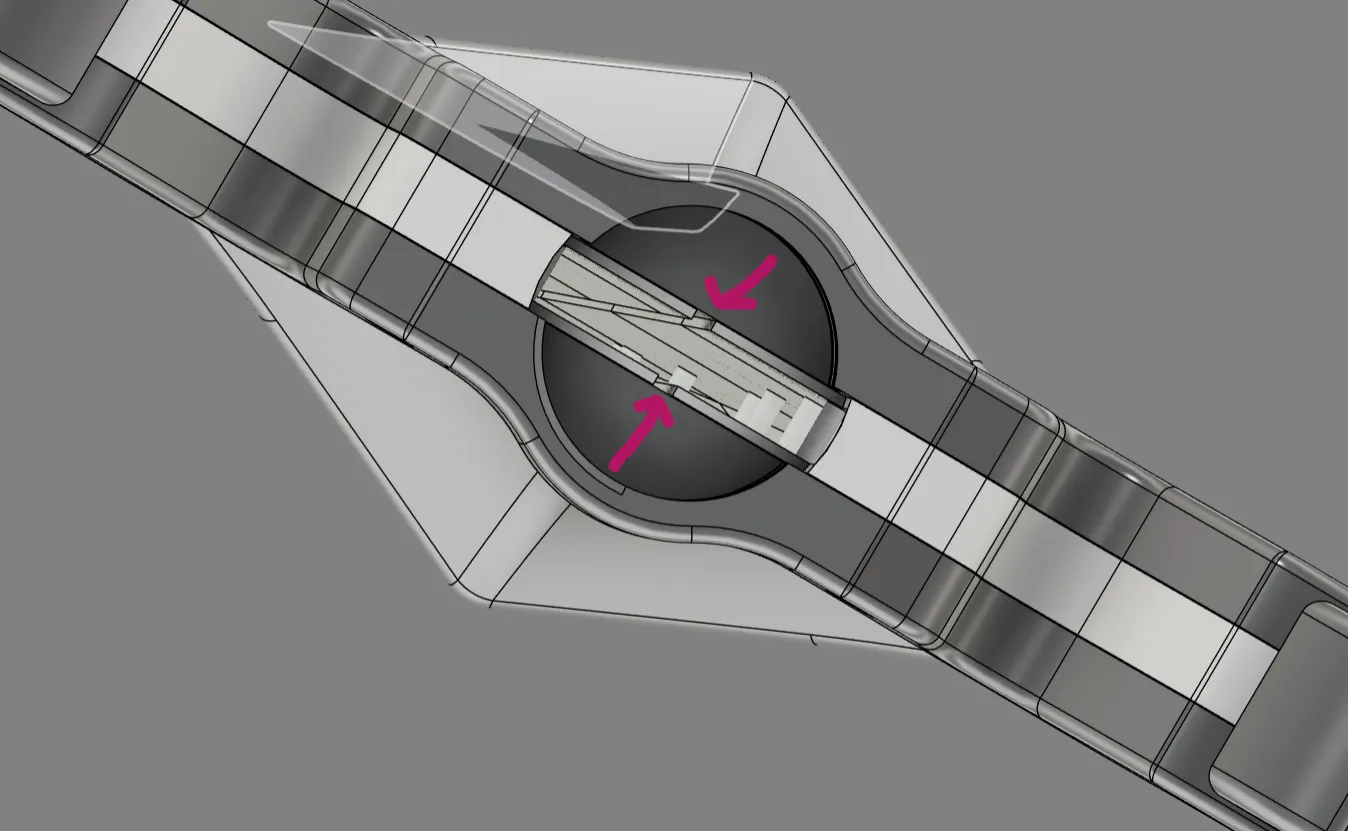
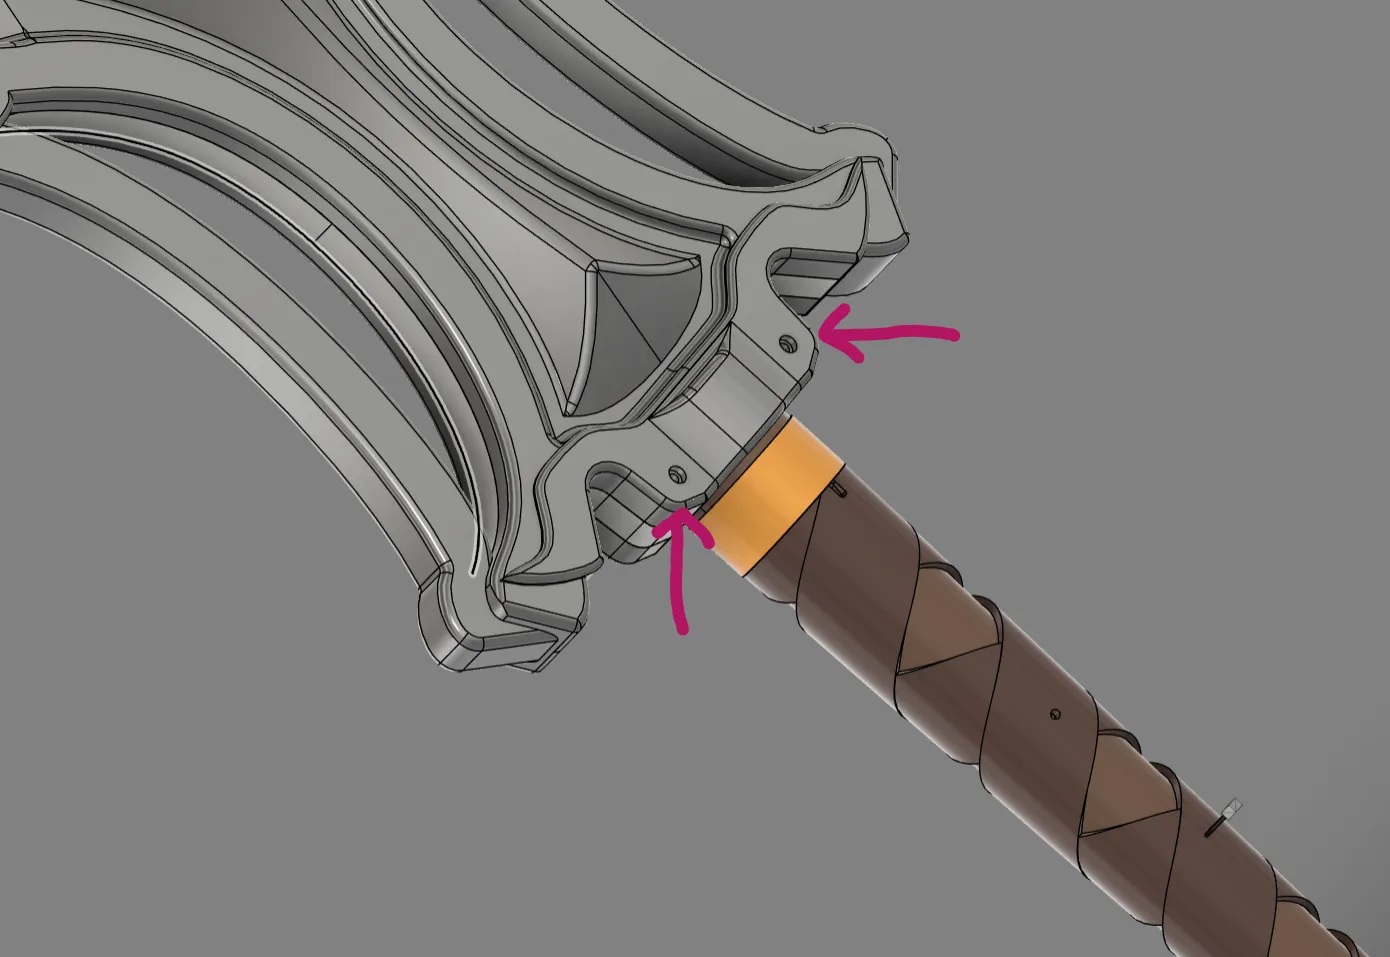
Once the blade is fully assembled with the white diffusers and the outer blade, there are 2 bolt holes that accept m3x28mm screws and m3 nuts.
These are here to add a mechanical connection to hold the hilt and blade together without relying only on the 3D printed Threaded Connection
NOTE 5:
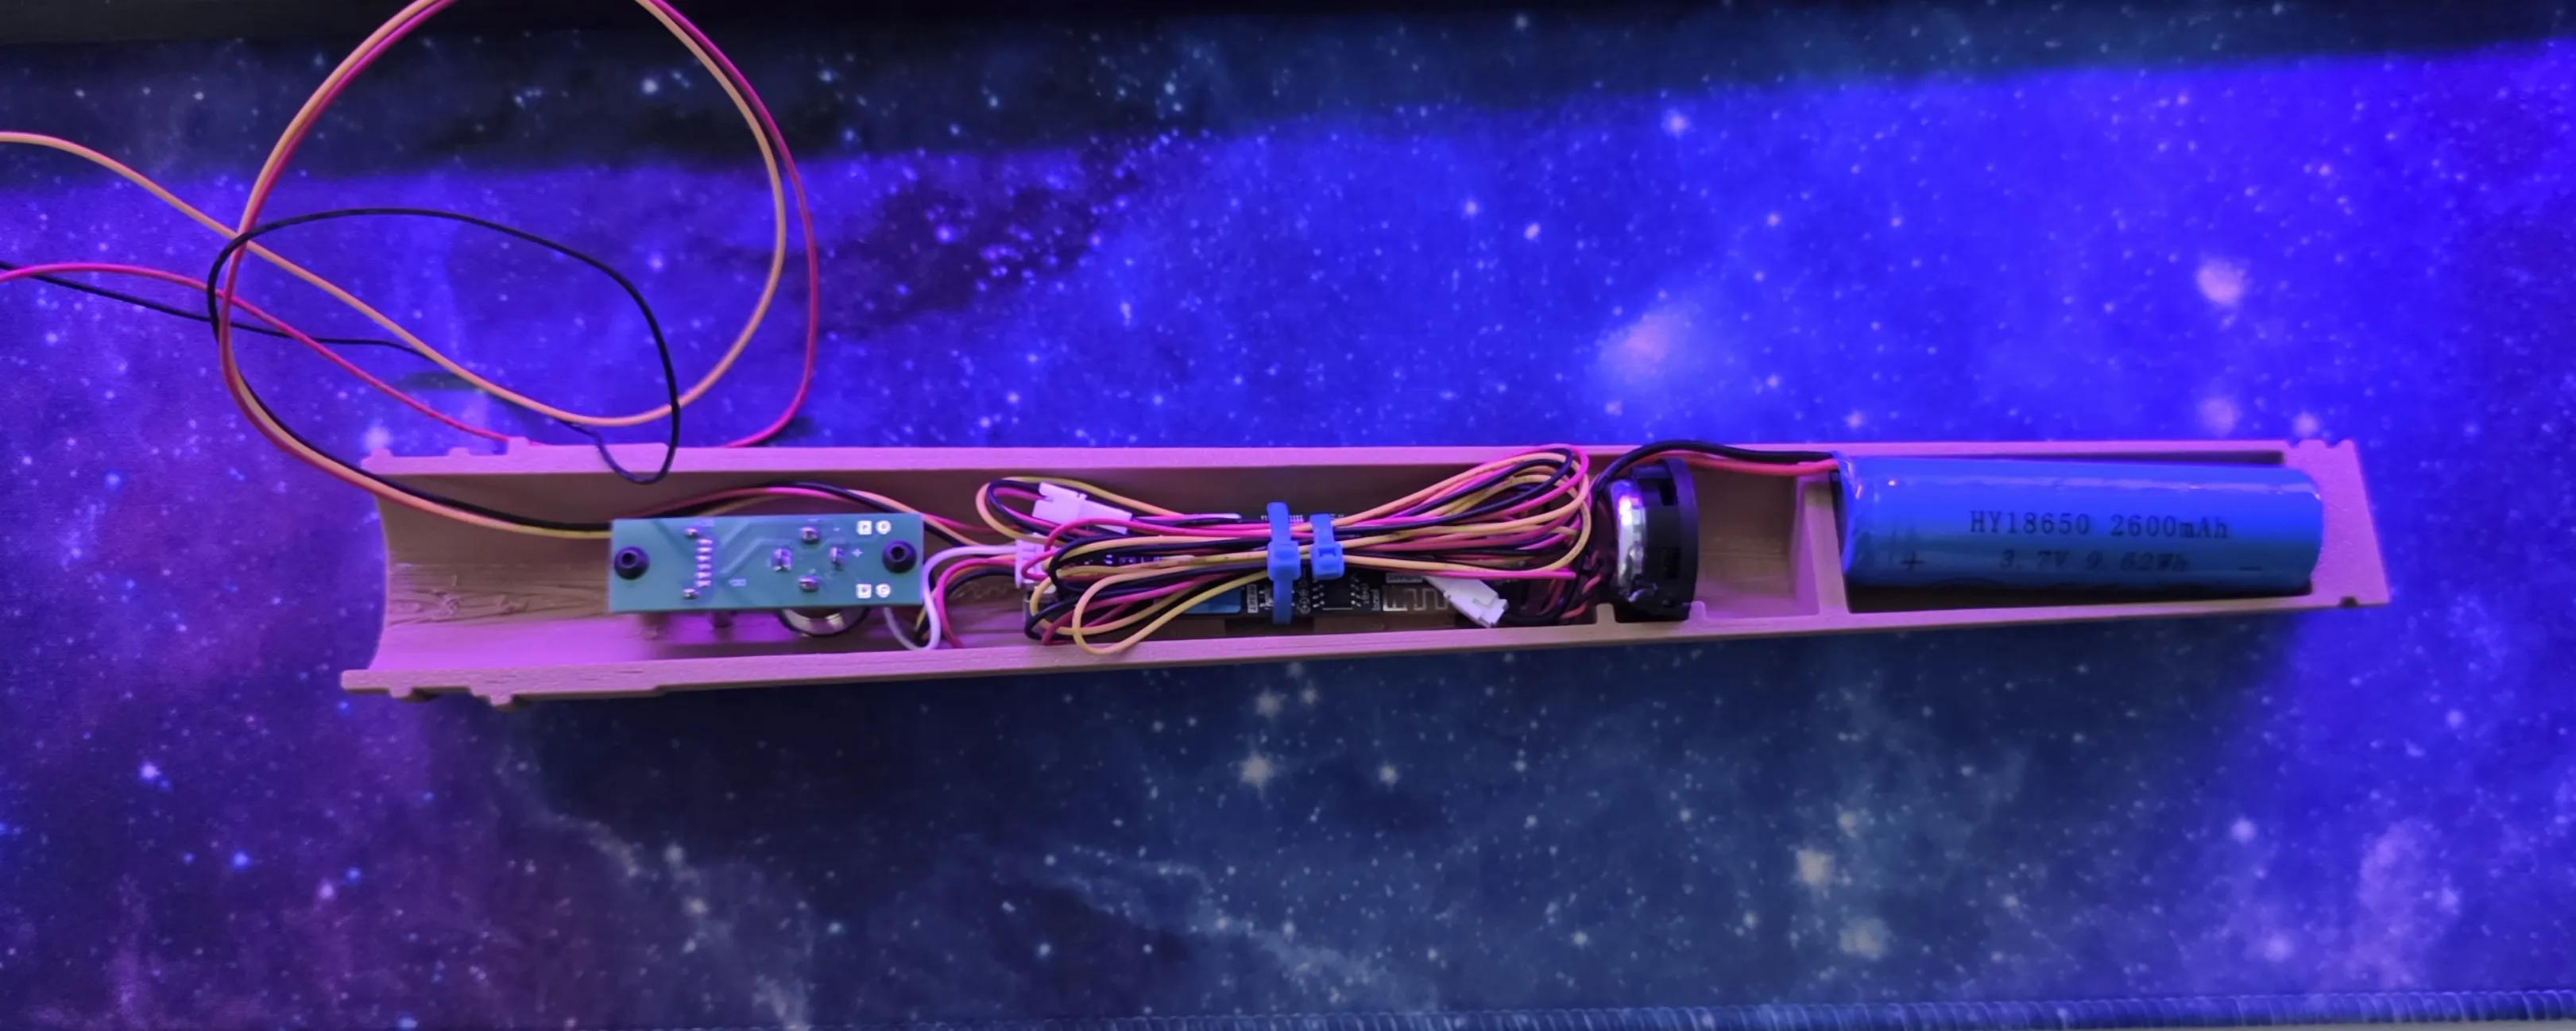
Here is the layout for the electronics in the hilt. Once you are ready to connect the LED strip inside the blade to the Hilt, you must pay careful attention that the wire does not get caught in the threaded connection. Make sure all excess wire is tucked into the hilt and doesnt get crushed between any connection points.
NOTE 6:
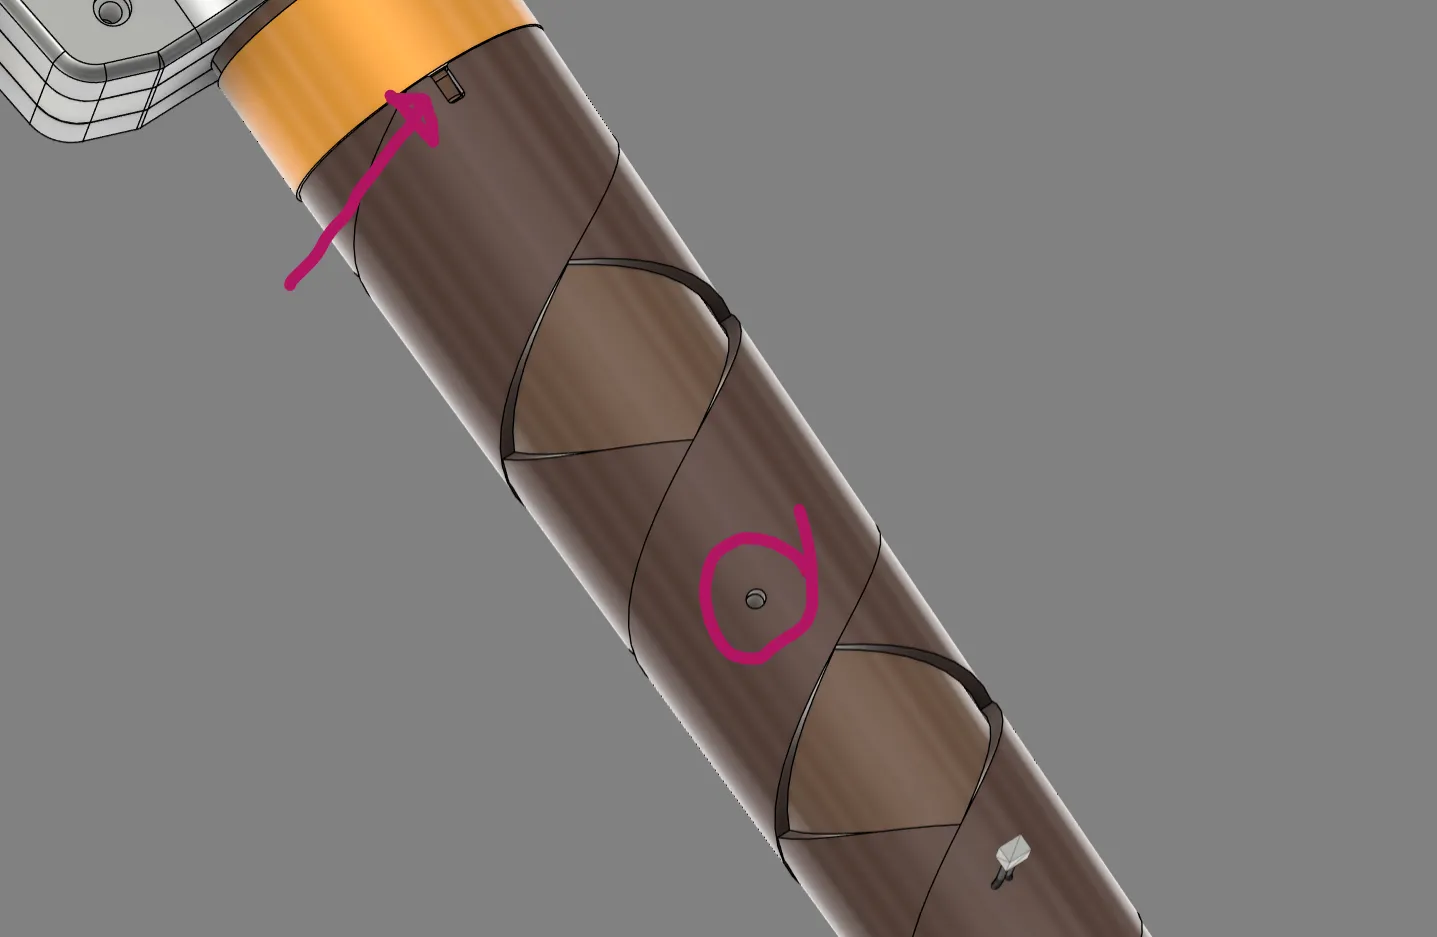
There is also a notch on the Inner Hilt that will line up with the cutout on the “Hilt Wrap”
This should keep the piece from spinning. This will also line up the motion board “Reset Port” correctly.
License

You shall not share, sub-license, sell, rent, host, transfer, or distribute in any way the digital or 3D printed versions of this object, nor any other derivative work of this object in its digital or physical format (including - but not limited to - remixes of this object, and hosting on other digital platforms). The objects may not be used without permission in any way whatsoever in which you charge money, or collect fees.


Comment & Rating (14)