
iRobot Roomba Replacement Sweeper Rollers
Print Profile(1)
Description

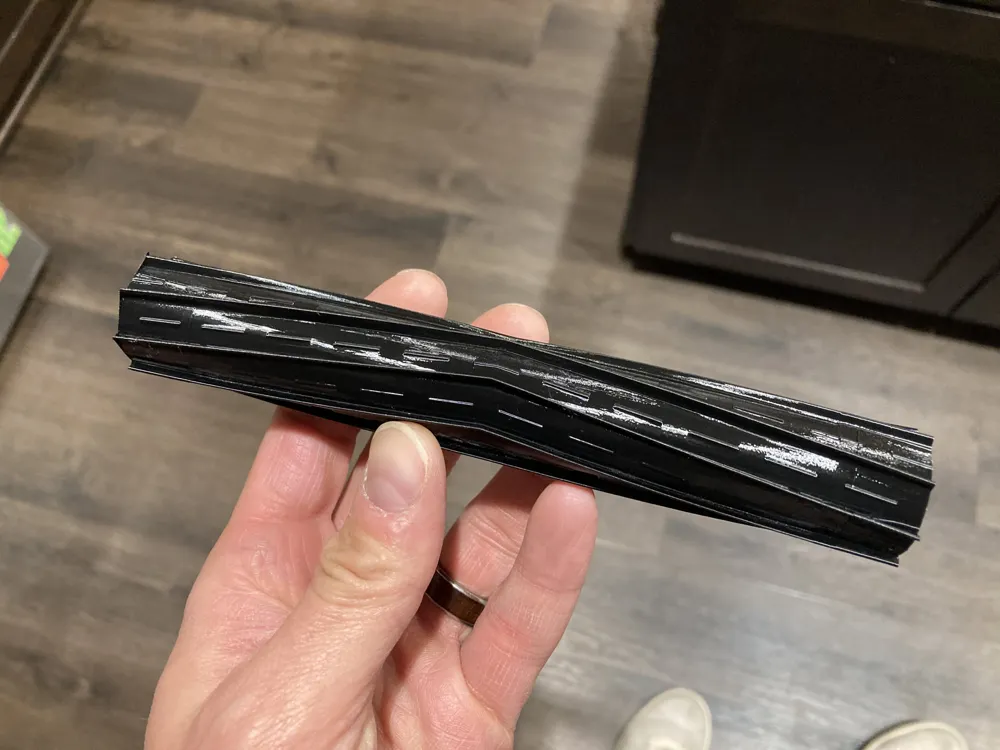

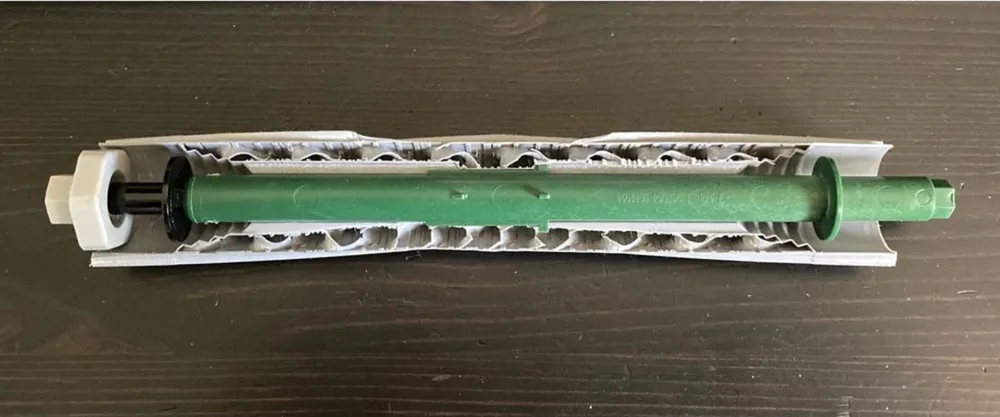
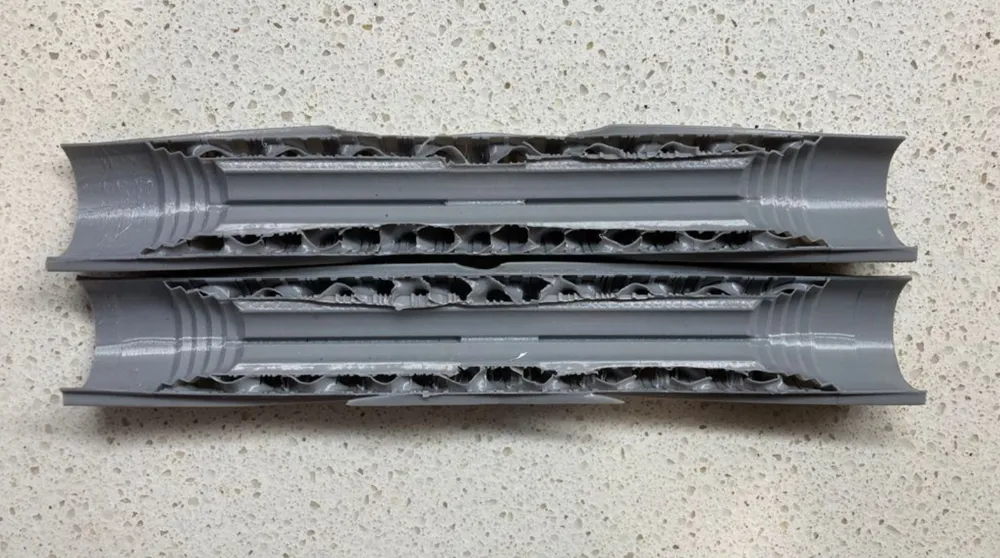
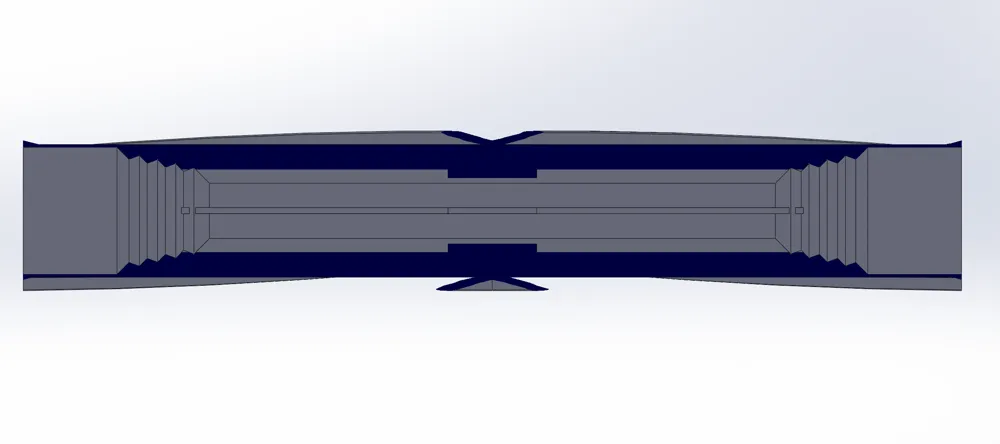
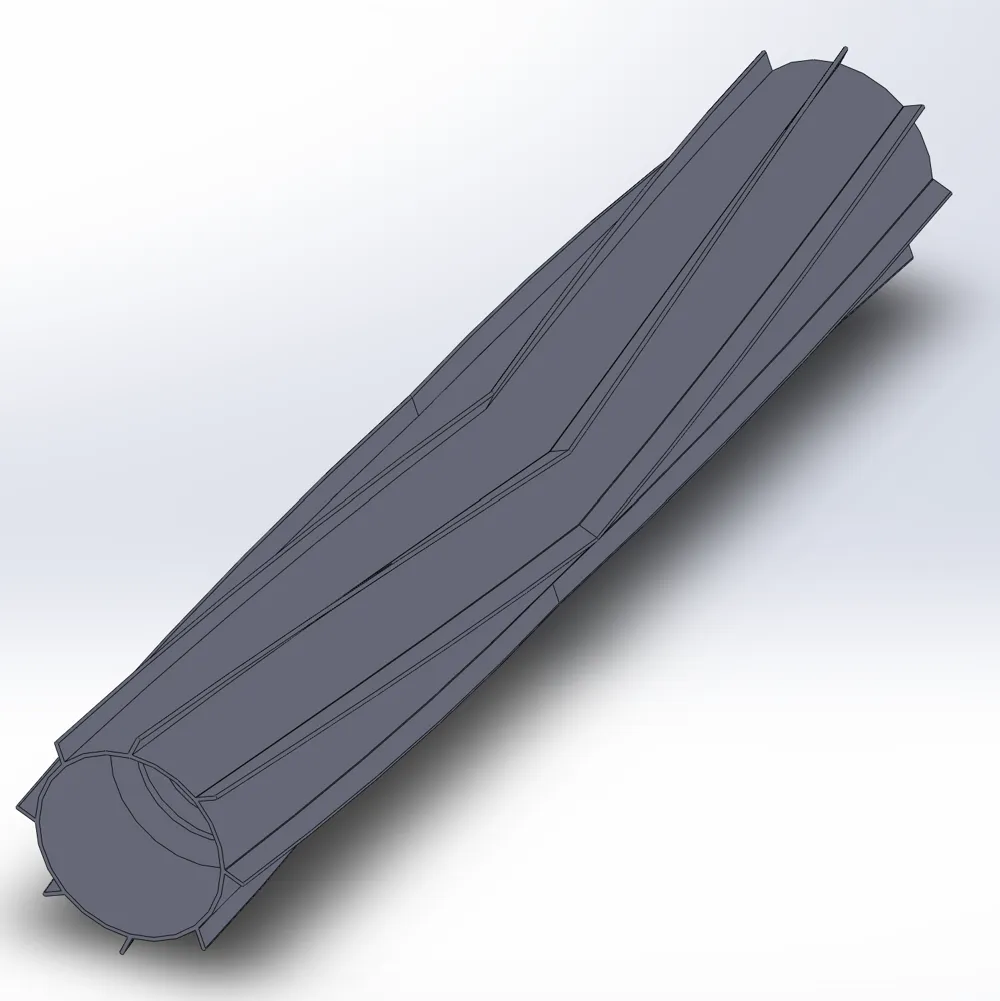
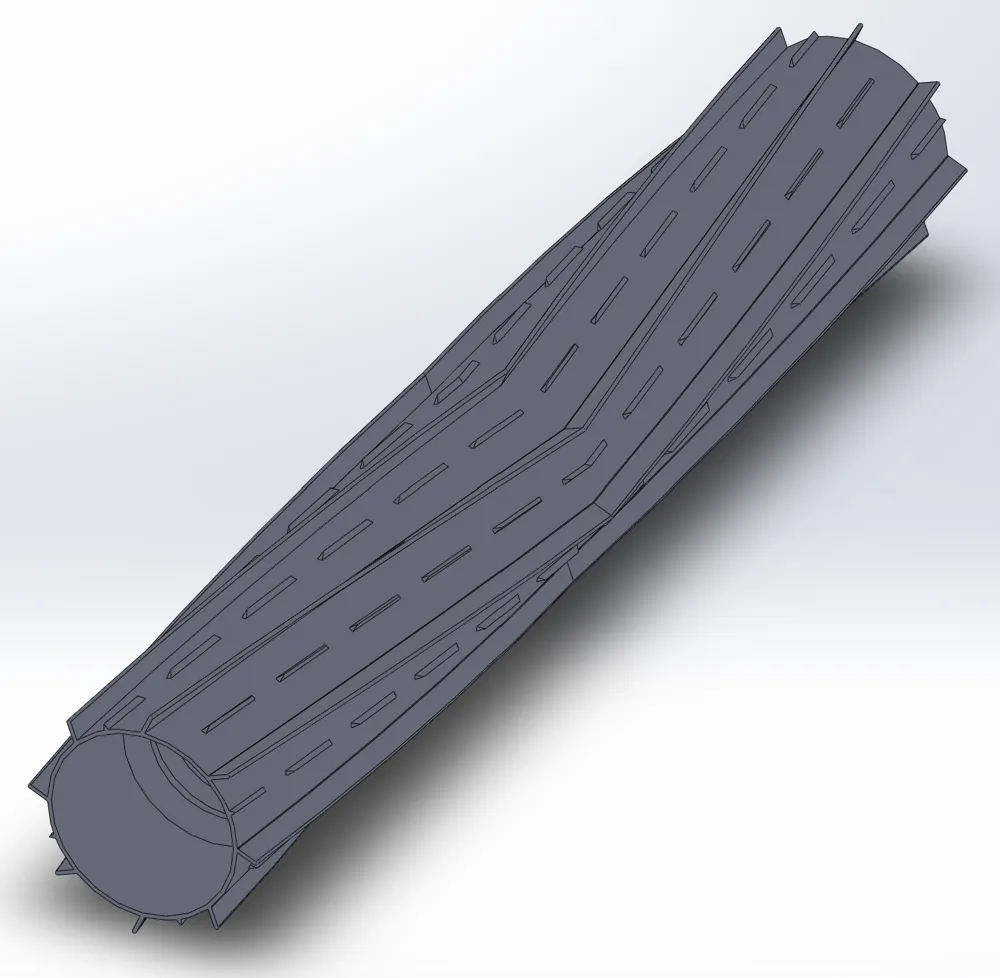
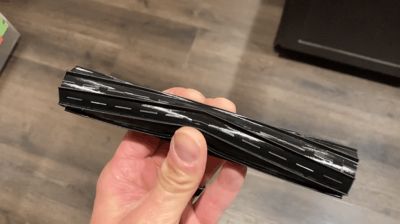
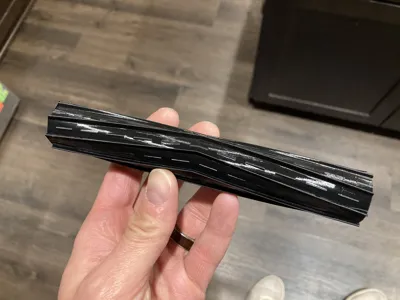
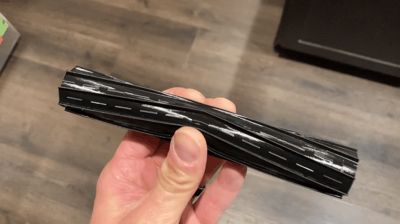
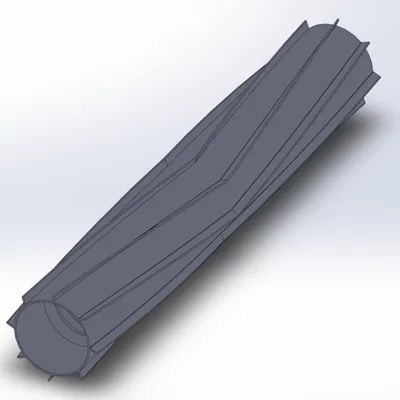
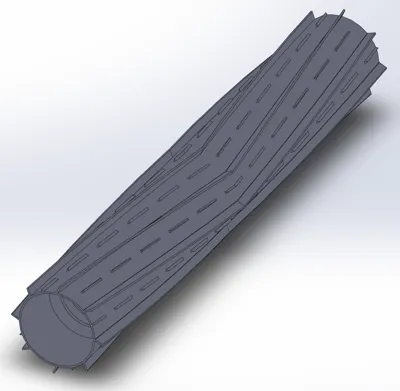
Replacement iRobot Roomba sweeper rollers that was inspired by jbruce12000's. I originally tried to use his but ran into issues with just how loud it was on hardwood flooring. So I thought I'd give it a go from scratch in SolidWorks, and why stop there, how about I design it so that you don't need the 2 foam inserts that are on the original rollers!
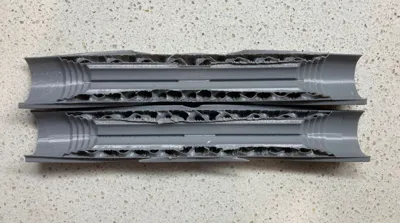
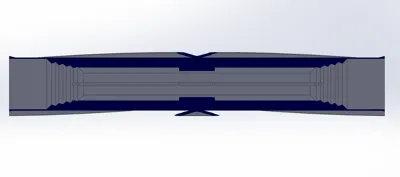
-Designed to replace both the rollers themselves and the foam cores
-Work and sound just as good as OEM!
-Tested with Roomba i4
-Should work fine with i3, i3+, i4, i6, i6+, i7, i7+, i8, i8+, J7, J8 /Plus, E5, E6, E7, I,E & J Series
-Printed with 98A and 95A TPU (95A preferred)
-Including 2 versions, a regular and ribbed sweeper, both work and print fine. Just preference
-Sweepers are set to a 25 degree angle (pitch) from pointing straight out, matching the OEM design
Installation instructions:
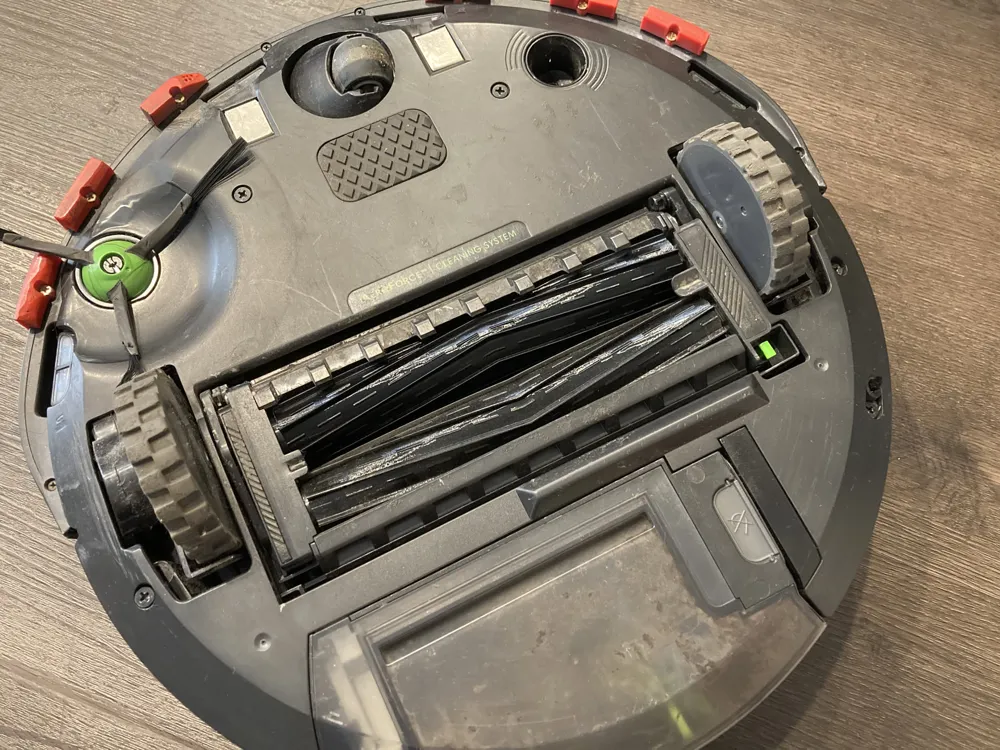
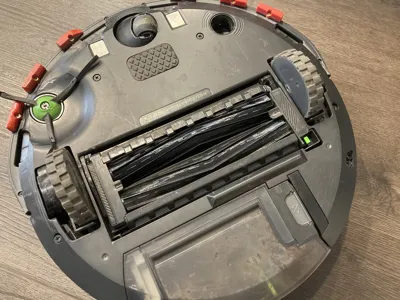
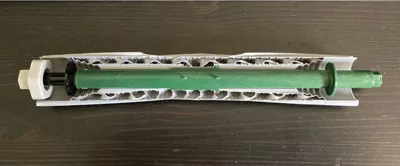
The original roller has some parts you need to re-use.
- Pull the grey roller bearing off the end, keep this.
- Pull out the metal shaft, with the black plastic base, by wiggling it back and fourth and while squishing the rollers to push up at the same time. Keep this part - Move to the other side of the roller and pull out the plastic center rod. That rod might be tough to pull out the first time. Keep this
- Remove the two foam roller inserts. Discard these.
- Print the new rollers.
- Insert the plastic center rod.
- The printed rollers are keyed, and the keys must line up with the plastic rod's ribs.
- Each of the front and back rollers should be facing a specific way to drag debris into the vacuum. Pay attention to which way they are pointing on the original rollers!
- Insert the center rod into the newly printed roller without any of the foam inserts.
- Make sure the roller keys are lined up with the plastic rod's ribs and insert it until the keys bottom out on the step.
- Significant force should NOT be required, but firm pressure might.
- The end of the center rod should be sticking out about 10mm.
- Add the plastic end piece with the metal nib.
- Last, add the grey bearing.
Each roller is designed to go in one hole [either square or hex shaped]. Pay attention to which you are replacing. The roller fits both the front or the back equally so this can get mixed up easily.
This remix is based on

License



Comment & Rating (1)