Automated Poop Sorting Device Bin, Free Software


Print Profile(1)
Bill of Materials


- PCA9685 Servo Driver x 1: Provides necessary control of (and power to) the servos.
- Raspberry Pi or other Python supporting platform x 1: I tested on a Raspberry Pi 5, but anything other than a Pico should work.
Description
This model uses commonly available, low-cost RC/hobbyist micro servos to provide a tiered sorting function. It can be used generically to sort lots of things, but it was developed primarily for my quest to proactively sort the printer poop coming out of my Bambu Lab P2S.
It is a modular, flexible solution that can be scaled to your needs. It does require some free software, which I've also developed. For the poop sorting use case, all necessary details and software installation/usage information can be found here on GitHub. For the more generic use case, have a look here on GitHub. Hardware requirements are also detailed there.
The gist of the generic solution is that you select a sortable attribute (e.g. color) of an object, declare that attribute to the software, and then it will automatically move the arms attached to the servos so that the object goes into a specified bin (dedicated to that attribute) when that object is dropped into the top of the device. For the poop use case, the logic focuses on filament type and color.
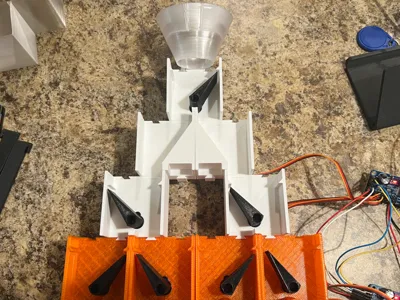
Each servo is installed in a housing ("chute") and attached to a deflector arm ("flap") that directs an object one way ("main") or another ("alt"). The process requires gravity to move the object through the process. Once the object goes through the servo's chute, the object is sent either into another chute or into its final, sorted location ("bin"). Each chute is organized into a tier ("layer"). Each layer doubles in size compared to the prior layer.
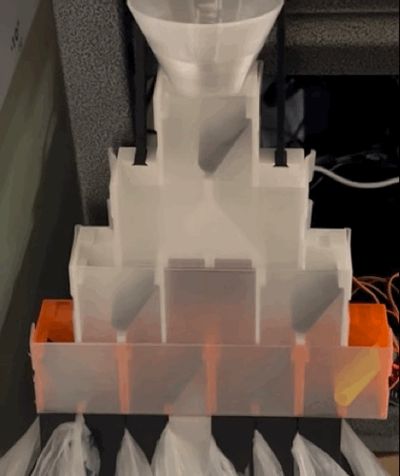
In the video/GIF above, you can see an object (printer poop) dropping into bin 2 and then the machine preparing for the next object by moving the servos to point to bin 3.
A few details about the 3D-printable assets:
- I've had the most success printing the servo chutes and pipes in ABS. PETG would also work well, but I would recommend using just basic PETG and not transparent/translucent PETG, as those tend to make things a little “gummier” and the supports become harder to remove. PLA would also be fine as long as you don't have any heat resistance requirements.
- The servos should click into place. You should not even need to use screws to install them into the chutes.
- You can print each chute individually, but I've also created some “all in one” models for a 7-servo solution.
- For the chute lids, I recommend a transparent PETG printed with the largest possible nozzle, using the highest possible temperature supported for your PETG, using the biggest possible layer height for your nozzle, and with cooling turned off. This will help maximize the transparency of the lids (so you can see if there's anything stuck in the machine). Transparent PLA (with the same guidelines) would also work as long as you don't have any heat resistance requirements.
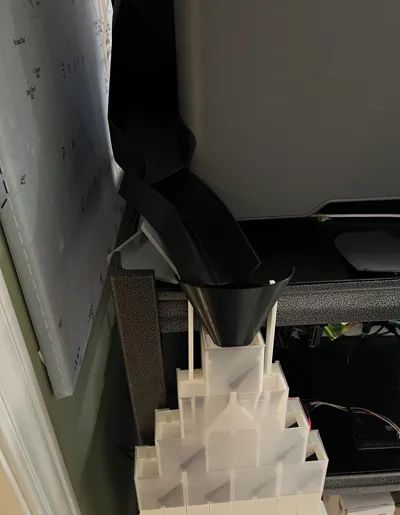
- I've included some funnels for the top of the device to help get your objects into the machine more easily.
- I've included some connectors to help you hang the machine from a table. You'll need to scale them to your needs.
- Virtually all micro servos will come with a set of arms/horns you can use. The “Servo Horns (Embedded)” plate provides a model for you to embed those horns into a 3D-printed arm. This builds upon my servo enclosure model which can be found here and contains some more details. It pauses at a specified layer where you can press the servo horns into the partially-printed model and then let it continue to embed the horn fully.
- The pipes can be placed at the end (bottom) of the device to help direct the sorted objects into bins.
Boost Me (for free)
If this model was useful to you and helped you in your projects, I'd greatly appreciate a boost.
Comment & Rating (0)