


Print Profile(2)
Description
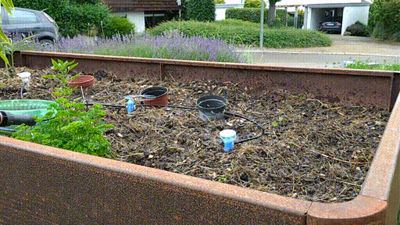
Garden Bed Sprinkler for low Pressure and low Water Flow Version 2
This is version 2 of my popular sprinkler.
As the title says this is for Micro-dip-Systems and not for the usual water pressure. Its specially designed to work with low water flow sources.
The pipe connectors fit the common micro drip systems with 4.6mm or 3/16'' pipes (such as Gardena). The slow water application ensures that the plants and soil can suck up the water and no water is wasted.
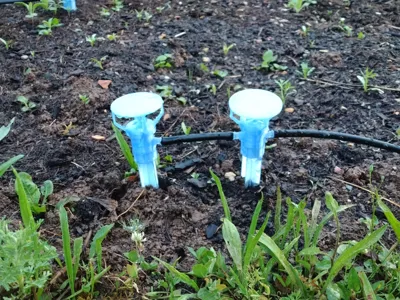
The print profile includes version with one-inlet and a version with inlet and outlet, so you can connect several in a row.
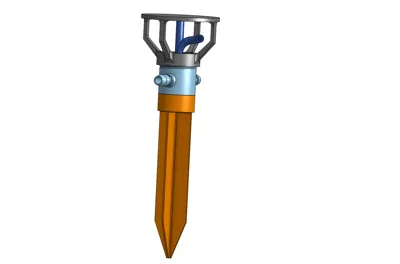
There are two versions of heads, the one on the first print bed is a totally new creation. This version should enable to design fast new geometries to achieve different spray radius. I also hope that the dirt thrown by the birds does not clog the spinning part as easily.
The second print bed is more the classic shape, just adapted to fit the new base. The top part disturb the spray, this result in a more even watering within the circle, while the new version mainly water in a circle (or when stopped by plants).
The new version comes with much better removal of print support structure.
In my system I can only feed three or four of the sprinklers with one 4.6mm line. I use 13mm hose for bigger distances and split off 4.6mm for about 3 sprinklers. To do so you can find sprinkler base with one or two connectors as well as my cross connector to reduce from 13mm to 4.6mm, which prints fast and with barely any print support. https://makerworld.com/en/models/1475323-micro-drip-x-split-reduction
How to assemble the sprinklers:
Assembled with printed threads, glue only needed if you want to be extra safe that every thing stays where it's intended. You need one of the two options for the base part, one spike and one of the two options of the spinning part. There is also a new print profile with spinning parts with bigger spray radius.
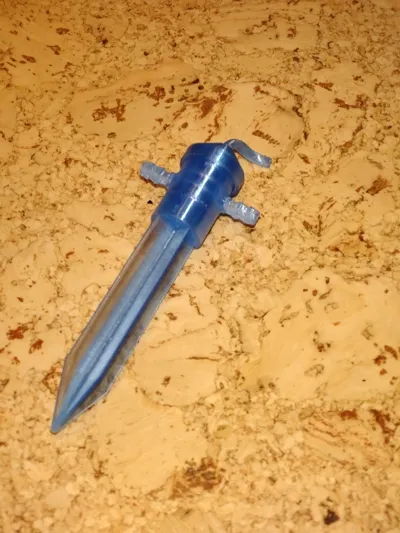
- remove support material
- top part from first print bed: ensure that the pipe rotates freely, screw onto the base part.
- top part from second print bed: Place the pipe between base and top part. Screw top part on but not too tight, the pipe need to spinn free
- screw on the spike to the base.
I designed this intentionally as modular parts so that I can provide other spike designs if you don't have such lose soil as I have in my beds. I also can provide those spinning pipes in other shapes if you need them to spin faster/slower or more/less upward for different spray radius, let me know if you have issues.
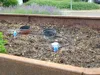
I really would like to see, how those sprinkler work in your setup. Please share some pictures form your prints, that would boost my motivation to share more models.
I recommend using white PETG as this should handle direct sun better than dark colors or PLA, but let me know if PLA worked for you :-)
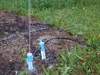
Document with extended assembly guideline will follow soon. The assembled sprinklers should look like this and the pipes should move freely:


Comment & Rating (10)