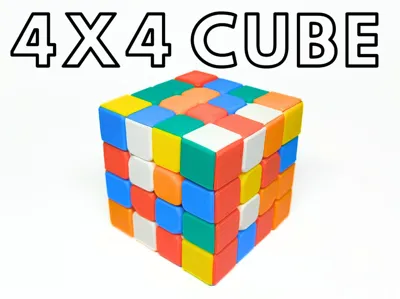
4x4 Rubik's Cube (No AMS)


Print Profile(2)
Description
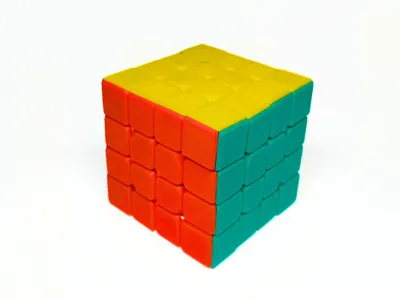
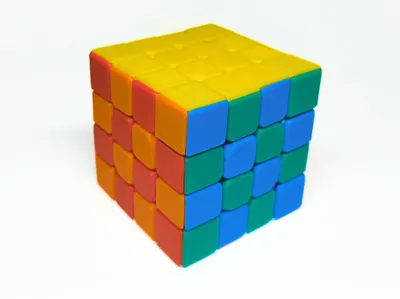
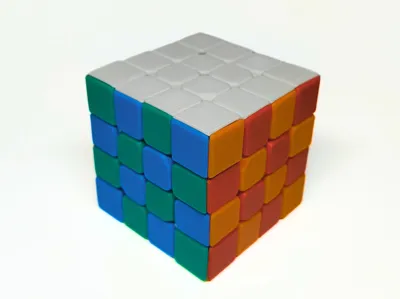
A fully functional 4x4 speed cube designed for smooth turning, stability, and easy assembly.
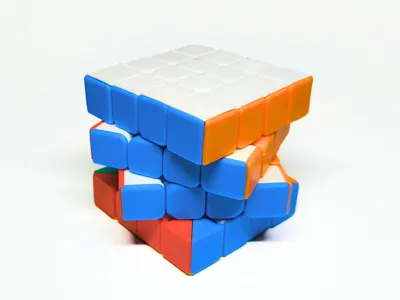
All parts are printed separately, meaning no AMS is required. The cube has been designed to turn smoothly despite using a compact screw-only tensioning system.
Boost Me (for free)
Boosts help me create more printable cubes and puzzles. Thanks!
Printing
- No AMS required.
- Supports should be enabled.
- If downloading the STL files, keep the provided orientation unchanged, as it has been optimized for the smoothest turning performance.
- The STL filenames indicate the quantity required for each colored part.
- If using the provided 3MF files, the required quantities for each build plate are already included.
Hardware Required
- 6 screws
- Recommended screw size: approximately 2 mm diameter and 20 mm length
- Flat-head screws are recommended
No springs are required, as the mechanism has been designed to operate without them.
Assembly Notes
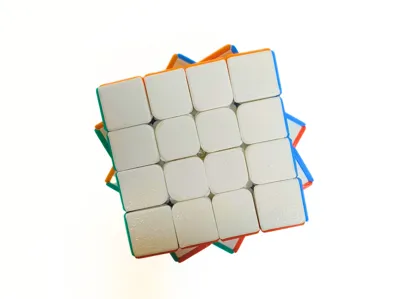
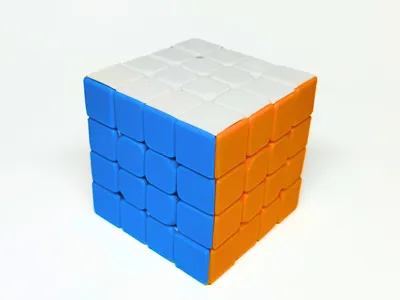
- To match the standard cube colour scheme, follow the reference image provided.

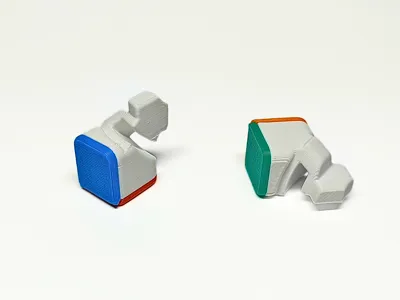
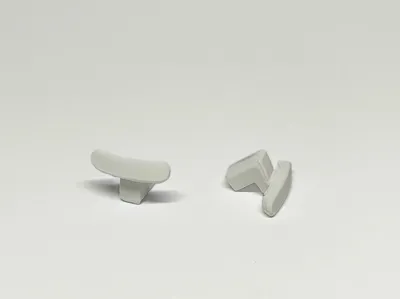
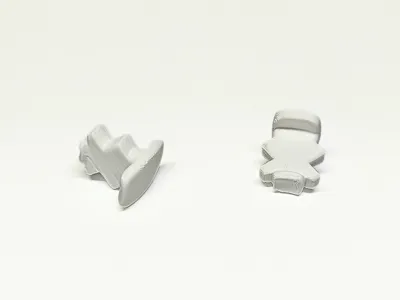
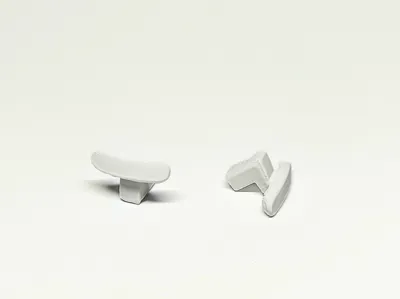
- The edge caps and corner caps are designed to fit without glue, but glue may be used if necessary.
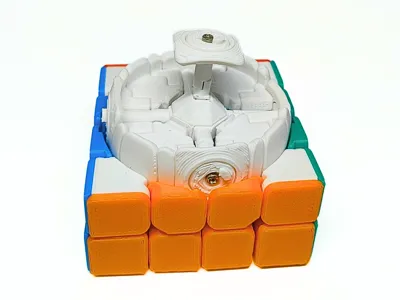
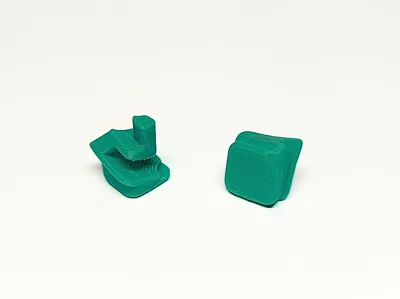
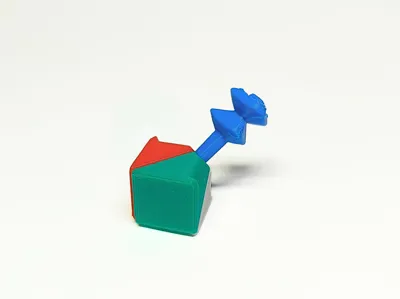
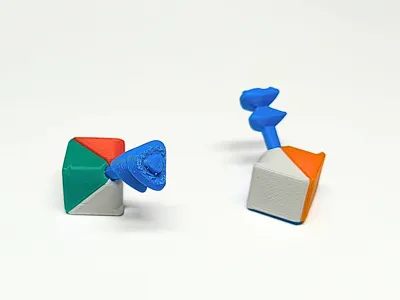
- When assembling the core, follow the provided reference image for the orientation and positioning of the semicircular features(the blue, red, and orange ones in pic).
- First glue the coloured (blue, red, and orange) core pieces to the slotted core piece (white) as shown in the reference image.
- Once those pieces are secured, install the screws.

Detailed assembly of the cube mechanism can be followed using the assembly video below.
Tensioning
For initial setup:
- Tighten all six screws fully.
- Gradually loosen each screw by equal amounts.
- Continue making small, equal adjustments until the desired tension is achieved.
The ideal tension should allow smooth turning while maintaining stability.
After assembly, some pieces may initially feel slightly tight. This is normal. Simply spend a few minutes turning the cube in different directions. As the internal surfaces wear in, the turning will become noticeably smoother.
More Printable Puzzles
This cube is part of my growing collection of fully printable twisty puzzles. Check out my other designs, including a 1x1 cube, 3x3 speed cube, SQUARE-1, and 5x5 cube, with more projects planned in the future such as a 7x7 and Rubik's Clock.
License
You shall not share, sub-license, sell, rent, host, transfer, or distribute in any way the digital or 3D printed versions of this object, nor any other derivative work of this object in its digital or physical format (including - but not limited to - remixes of this object, and hosting on other digital platforms). The objects may not be used without permission in any way whatsoever in which you charge money, or collect fees.
Comment & Rating (18)