Yiga Leader Master Kohga|NO AMS|Legend of Zelda


Print Profile(1)

Description
The Legend of Zelda: Breath of the Wild/Tears of the Kingdom
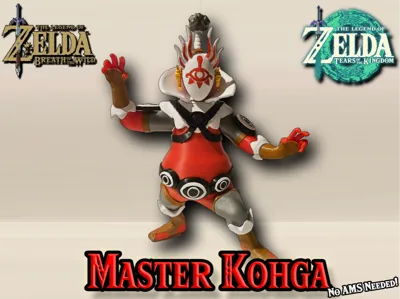
Master Kohga

Master Kohga. Leader of the Yiga Clan. Zonai device fanatic and expert at having his own attacks turn against him. Now you can print your own figure of Master Kohga with No AMS Required. Assembly instructions are attached below.
A stand is included as well.
Don't forget to print out some Yiga Footsoldiers to go along with him. The leader of the Yiga Clan needs people to lead!
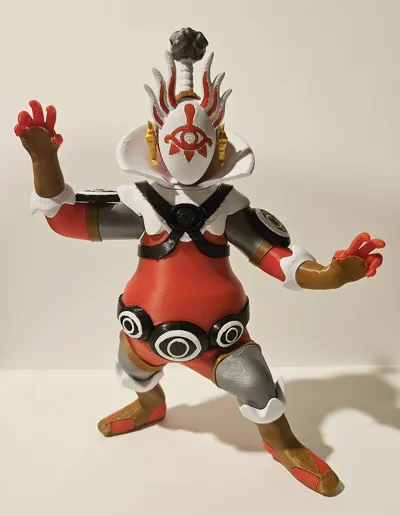
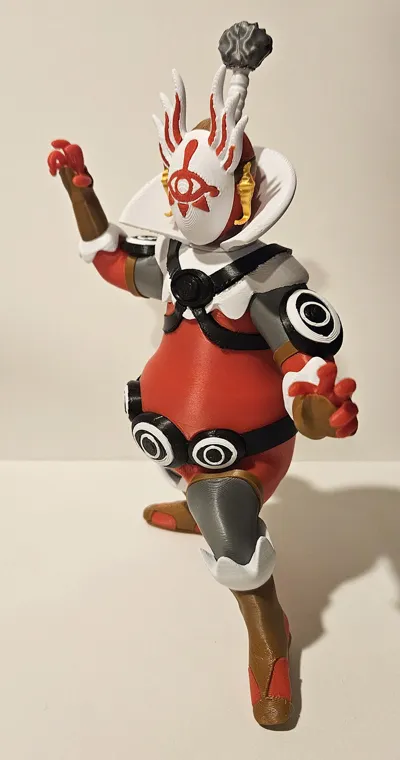
Colors used in the pictures are Elegoo Brown, Sunlu Red, Sunlu Metallic Gold, Elegoo Space Grey, Elegoo Black and eSun Cold White for the figure
Please be sure to read this description carefully; I've had people give poor ratings to my models due to issues stemming from their lack of following print/build tips I provide.
🖨 Printing Tips
- Clean, clean, clean your build plate!
- Let everything cool down before removing from build plate; a lot of pieces must be flat and premature removal could bend them.
- Some pieces feature supports and others do not, the ones without should not require any
- Pull supports off gently on the hands, fingers (clippers may be necessary)
- Clean the connection pegs after removing supports to help for sliding pieces over them
- The ear ornaments should come off all their supports easily, but still be gentle
- Brims are included for the mask pieces; you must have a clean plate because the horn inserts are very small.
🏗 Build Tips
- The harness is the trickiest part; you will have to gently bend the bottom straps around the body to get the ends into the grooves at the chest emblem area. The more you are able to push the straps into the carved out areas on the side of the body the easier it will be.
- The red horn stripes should fit in pretty well if you start from the bottom and work your way up. A rubber mallet may still be required, though.
- The Yiga logo (eye part) on the mask will most likely require a rubber mallet or press to get it completely in. The triangles most likely will not, though.
- Tolerances can vary. Some things may slip over the connection pegs with ease and other may require some pushing to get them as far down as possible when assembling.
- Elbow/Wrist Straps are marked with small symbols. See the assembly guide for what goes where. Remember that all the straps have the symbol pointing away from the body (i.e. - toward the hands or feet).
- Be careful when inserting the fingers into the gloves; the glove walls are thin so if you're pushing too hard you could split them. They will slide in all the way when done at the correct angle.
- The ear ornaments may require a dot of glue to stay in depending on filament tolerances, as may some limbs. Tolerances vary so individual glue needs may vary.
Please check out my entire collection of Zelda-inspired Models
Boost Me (for free)
If you enjoy my models please consider throwing a boost my way. It helps motivate me and also expands the reach of my creations so more people can have fun printing them!
Documentation (1)
License
You shall not share, sub-license, sell, rent, host, transfer, or distribute in any way the digital or 3D printed versions of this object, nor any other derivative work of this object in its digital or physical format (including - but not limited to - remixes of this object, and hosting on other digital platforms). The objects may not be used without permission in any way whatsoever in which you charge money, or collect fees.
Comment & Rating (0)