Stribog UMP Style Stock for A3 industries Adapter


Print Profile(1)
Description
First….. I am not responsible for your usage of this or failures. It is incumbent on the end users to exercise caution, testing, and follow local and federal laws for this item. I am a hobbyist, and while I have extensively tested these for strength, it is a amateur designed item.
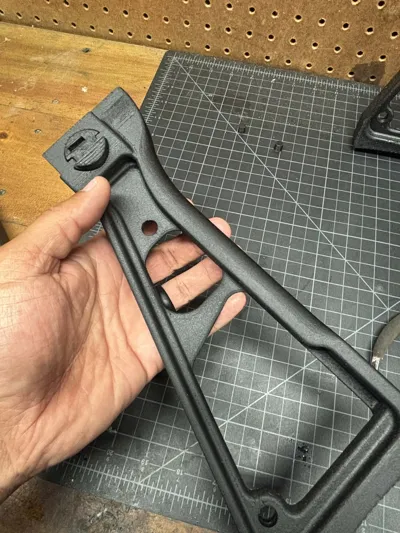
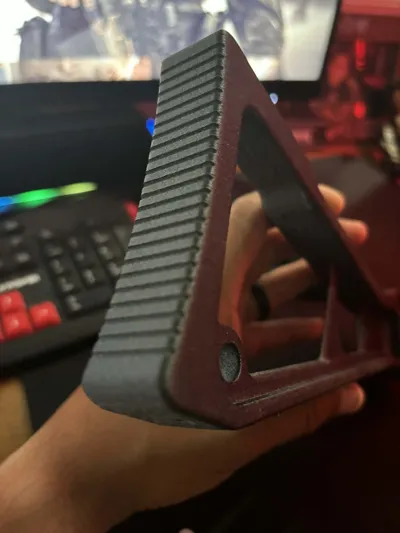
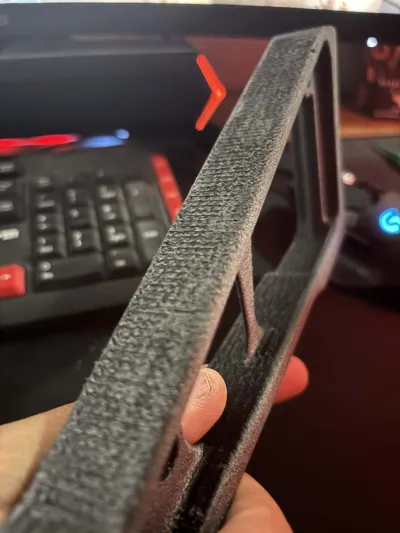
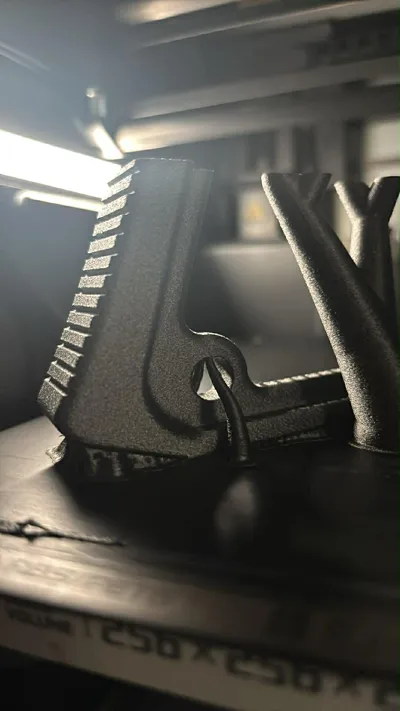
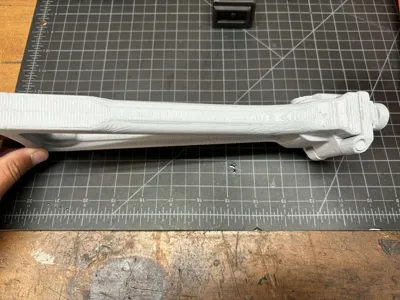
This file includes TWO options. one is a Folding stock that fits the A3 Industries folding adapter for Stribogs. The second is a FIXED version which gives you the look and feel of a folding UMP stock, but, eliminates the need for the adapter. It will mount right to your Bog with OEM pins. BOTH options will require some post processing if you want a perfect look. As you can see from the pictures, some support interfaces( especially the bottom one) leave a rough surface. My prints are solid but I imagine your machine MIGHT be set better than mine and yours will be cleaner.
Folding Version: Requires the adapter from A3 Industries. That's it. Hinge pin slides right through post printing, and button installs easily. There may be some fitment based on your machine and tolerances. I have noted the need in the following spots:
- Button recess and button itself. Sandpaper and files.
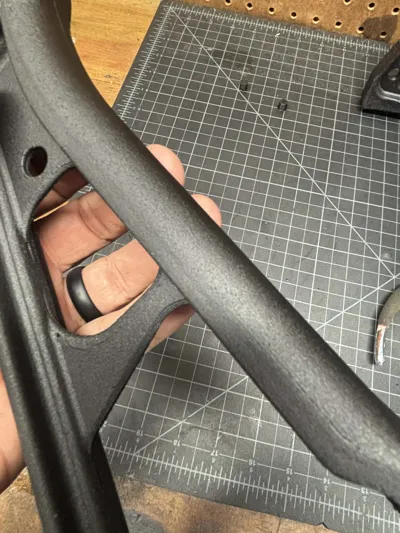
- The left side of the front end of the stock. You may need to sand this down for a smooth fit for the stock to fully close.
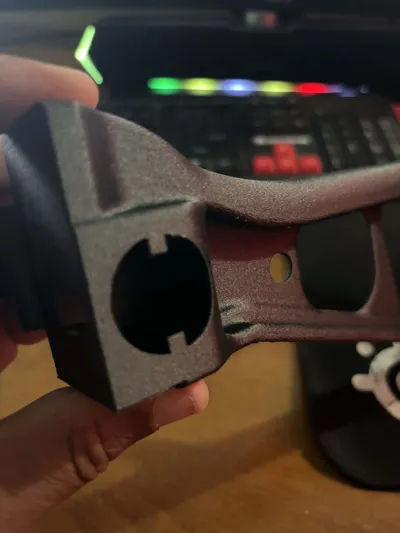
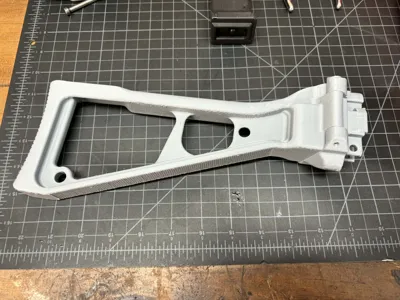
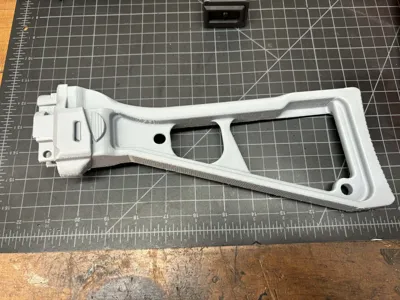
Fixed Version: Same as above. The only other spot that may need worked is the pin through hole for the rear receiver Pin. This will slide in TIGHT. Slight adjustments may be needed. You'll notice how rough the all in one is in the pictures. It was printed in super-draft to save time and for protoyping.
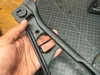
Button: This is self explanatory. The LATCH portion is made purposely too big. I only have 1- A3 adapter and I couldn't be sure how consistent they are. You will need to lightly file the latch face a little at a time until you get a solid, tight lockup. A small Jeweler's file works perfect. Go slow. You can take more off, you cant add material easily. For this folding version of the stock some fitting may be needed to get the button to move smoothly and freely. Its really going to depend on your printer and how precise its printing and how much elephant- foot you get.
Button assembly is easy. Insert button with spring, depress, and insert retaining pin into the recess through the channel in the front of the stock. You should pre-fit the pin before installation to make sure it fits tight. TEST FIT THE BUTTON TO MAKE SURE IT SLIDE FREELY BEFORE FINISHING ASSEMBLY!!! A small dab of adhesive like super glue is option for the pin, but, I never needed any as the button pin inserts TIGHT. Spring size is 0.8 x 9.5 x 20mm. Below is a link to the kit I purchased on amazon. I recommend it.
https://www.amazon.com/dp/B09C1DNFND?ref=ppx_yo2ov_dt_b_fed_asin_title&th=1
I am trying to get these files up and going for the people who wanted them. I would like to do a better description at some point, but, it is all pretty intuitive. They work, they will PROBABLY require some fitting , but they are solid. You could print like, 8 of these for the price of one B&T stock. Feel free to reach out with any questions or concerns. I will, at some point, revisit the description and possibly make a video for assembly ETC.
License
You shall not share, sub-license, sell, rent, host, transfer, or distribute in any way the digital or 3D printed versions of this object, nor any other derivative work of this object in its digital or physical format (including - but not limited to - remixes of this object, and hosting on other digital platforms). The objects may not be used without permission in any way whatsoever in which you charge money, or collect fees.
Comment & Rating (0)