
Faceplates Protection
Print Profile(5)




Description
Boost Me (for free)
𝗬𝗼𝘂𝗿 𝗳𝗿𝗲𝗲 𝗕𝗼𝗼𝘀𝘁 = My design supply pack 📦 Click "𝗙𝗼𝗹𝗹𝗼𝘄" to get more useful models! 👀
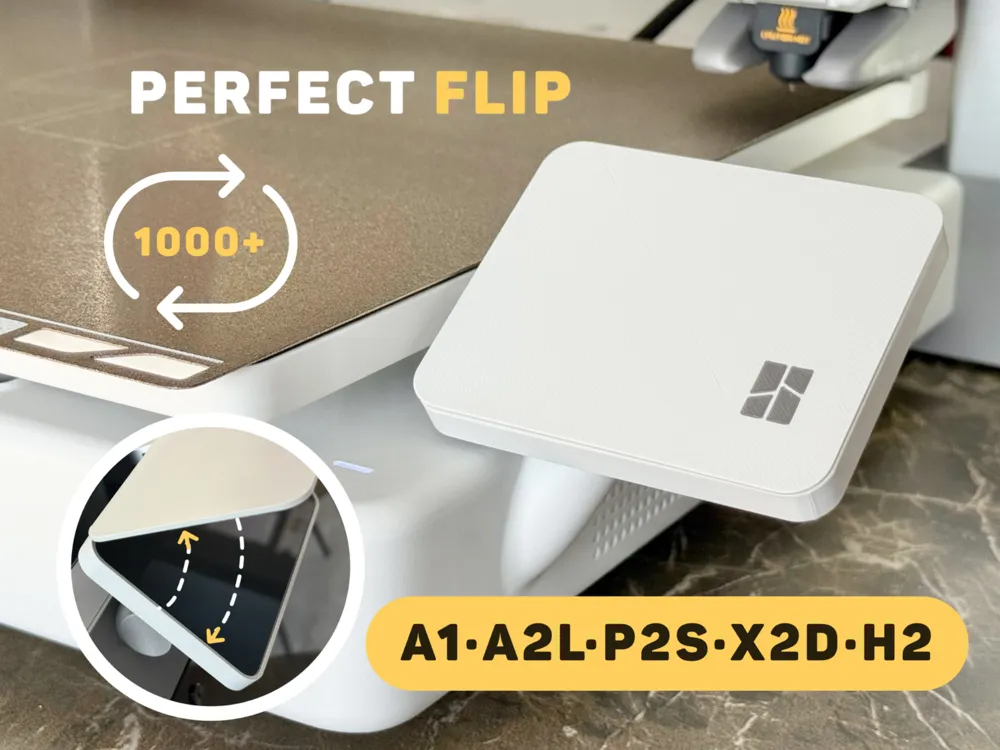
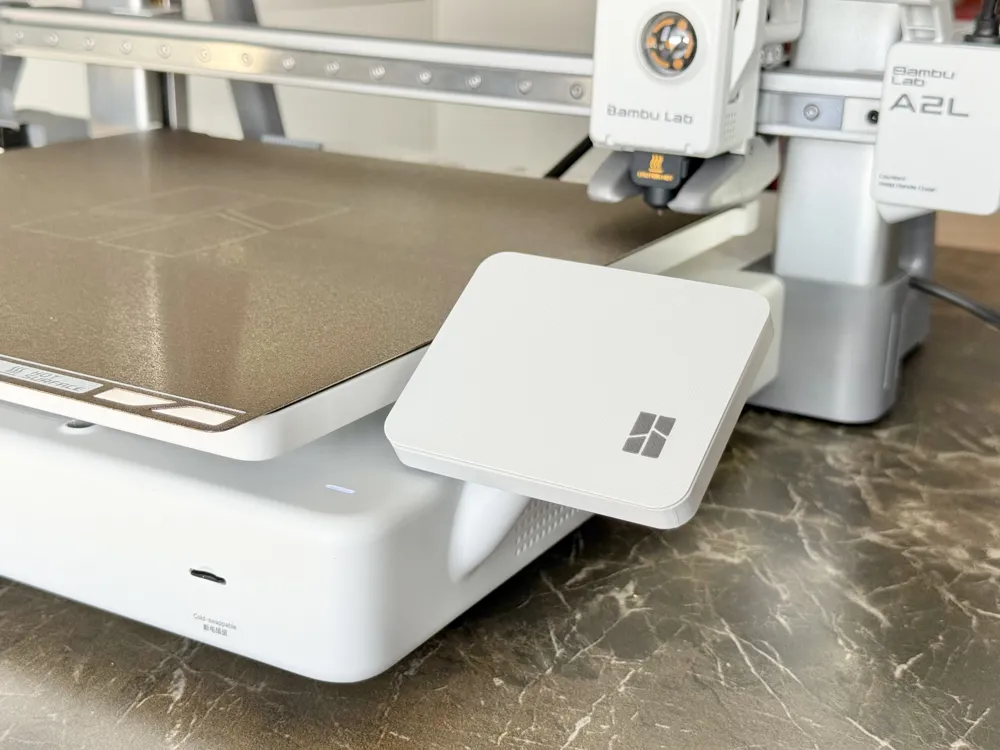
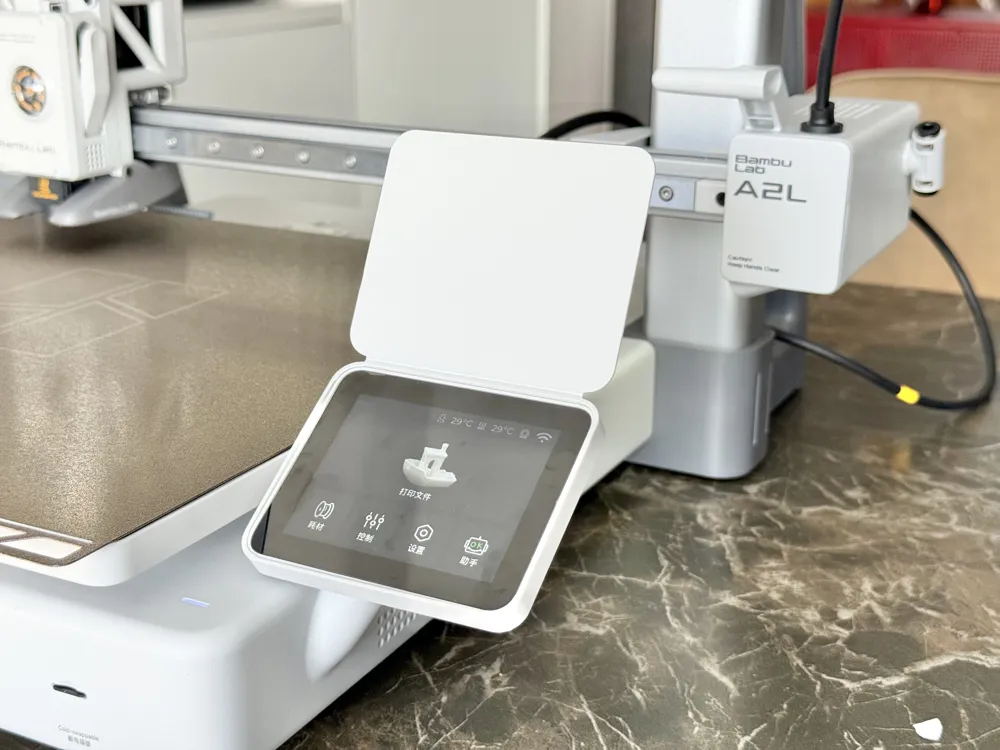
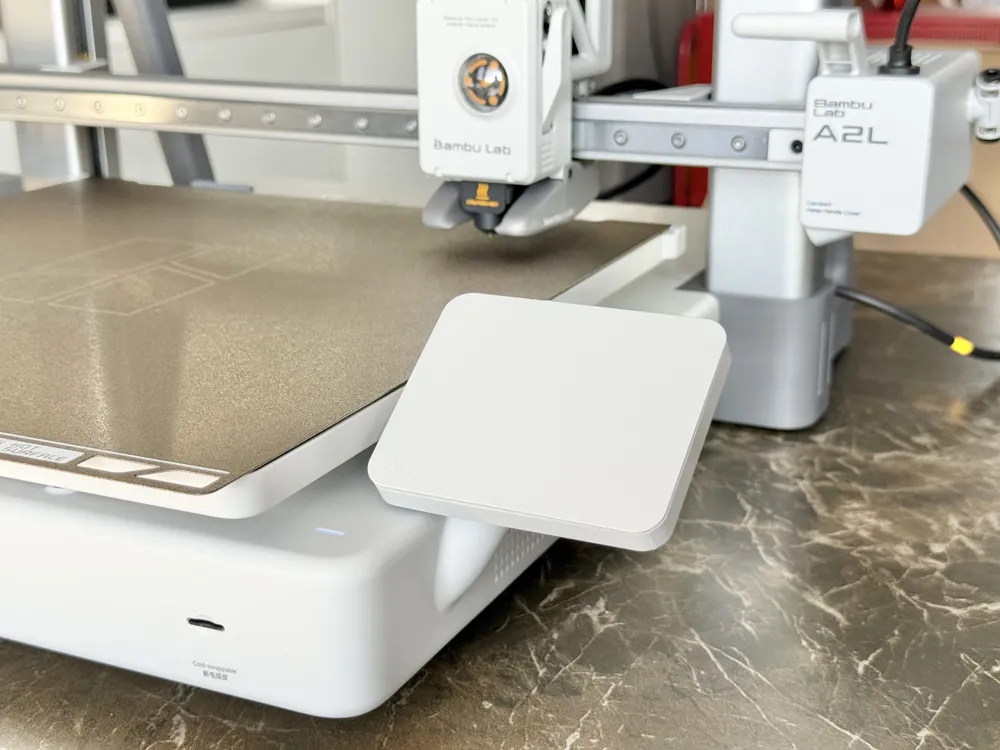
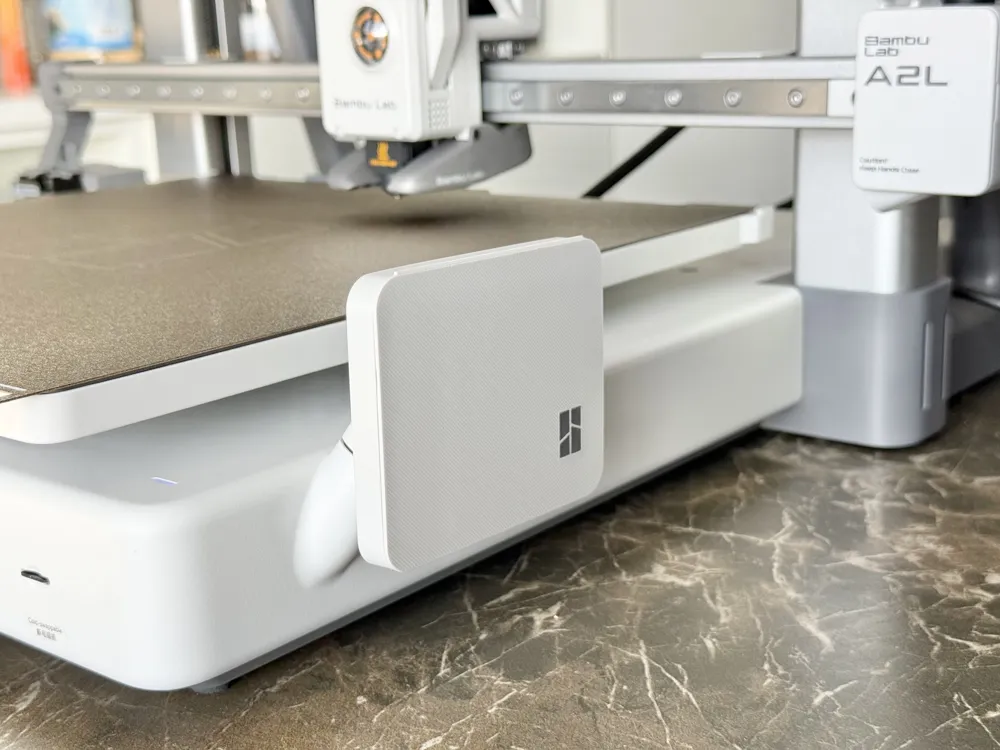
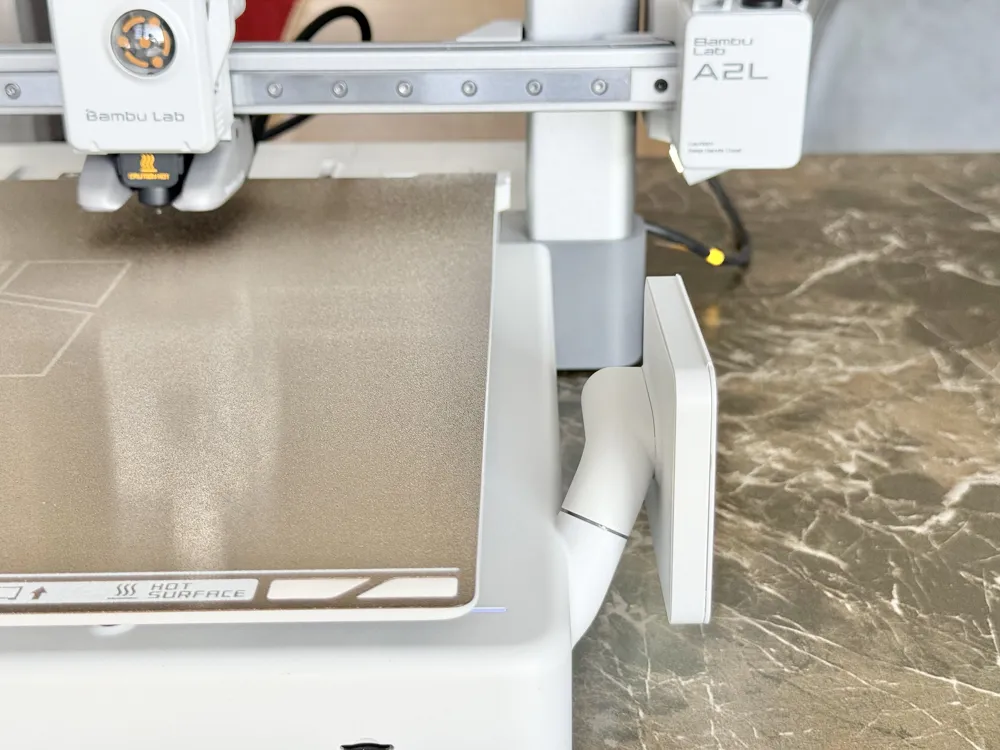
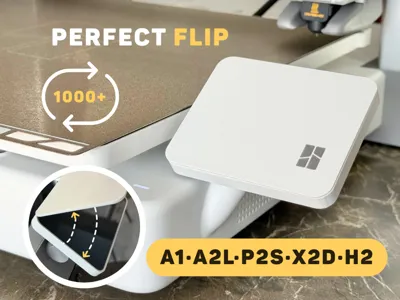
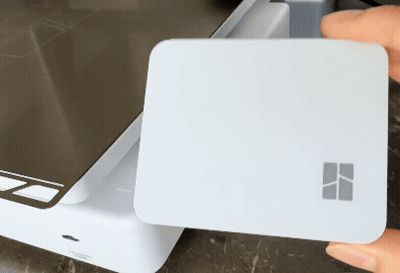
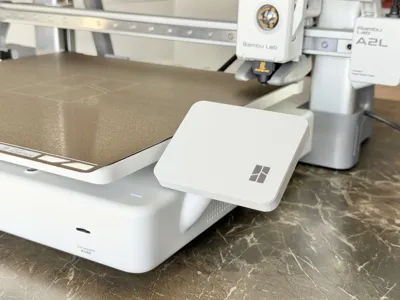
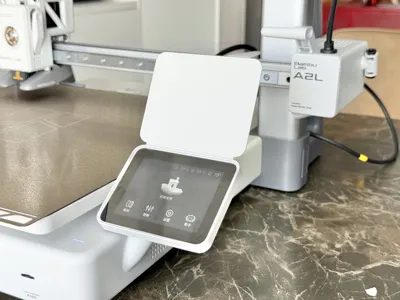
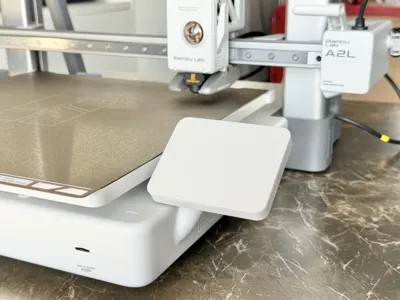
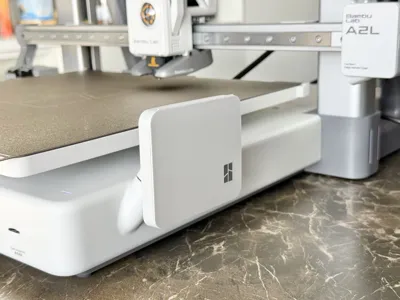
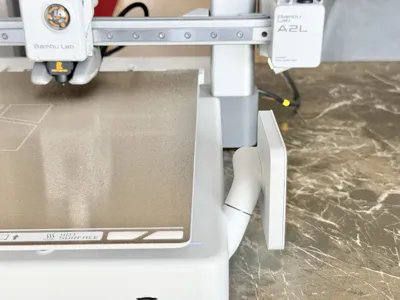
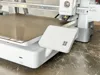
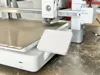
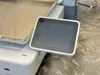
This screen protection cover is specifically designed for A2L/A1/P2S/X2D/H2, featuring an ultra-slim bezel and a clean design language that matches the machine’s original aesthetic for a seamless, OEM-like appearance.Prevents scratches, impacts, dust, and accidental touches from pets.

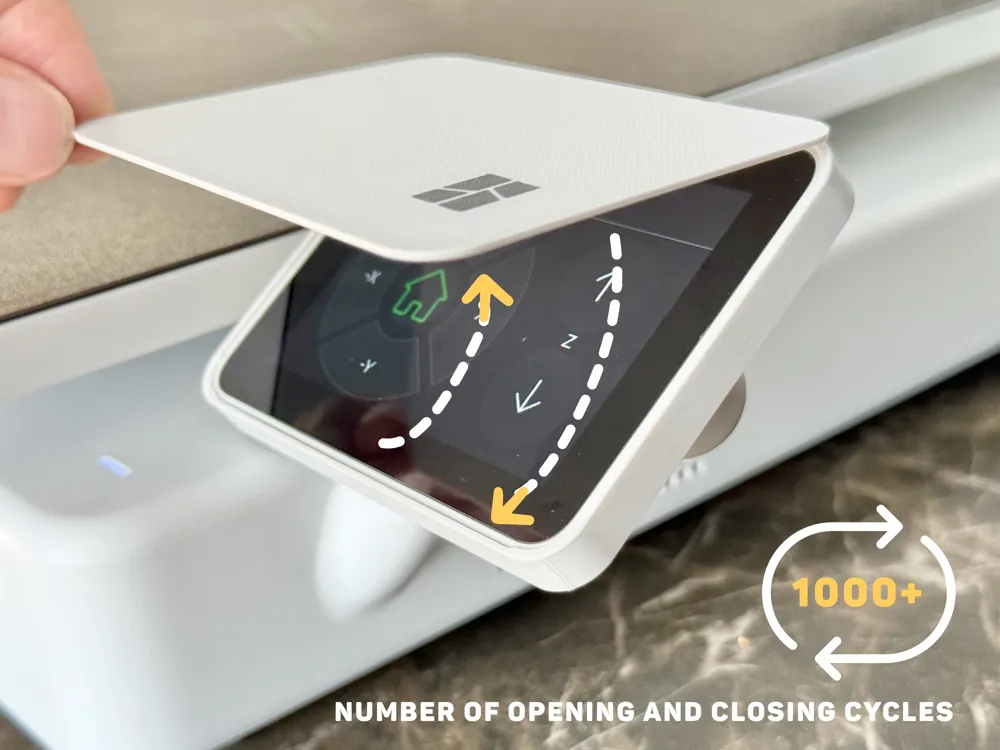
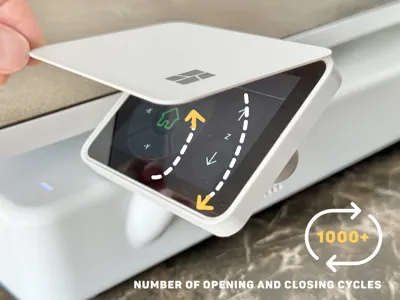
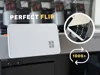
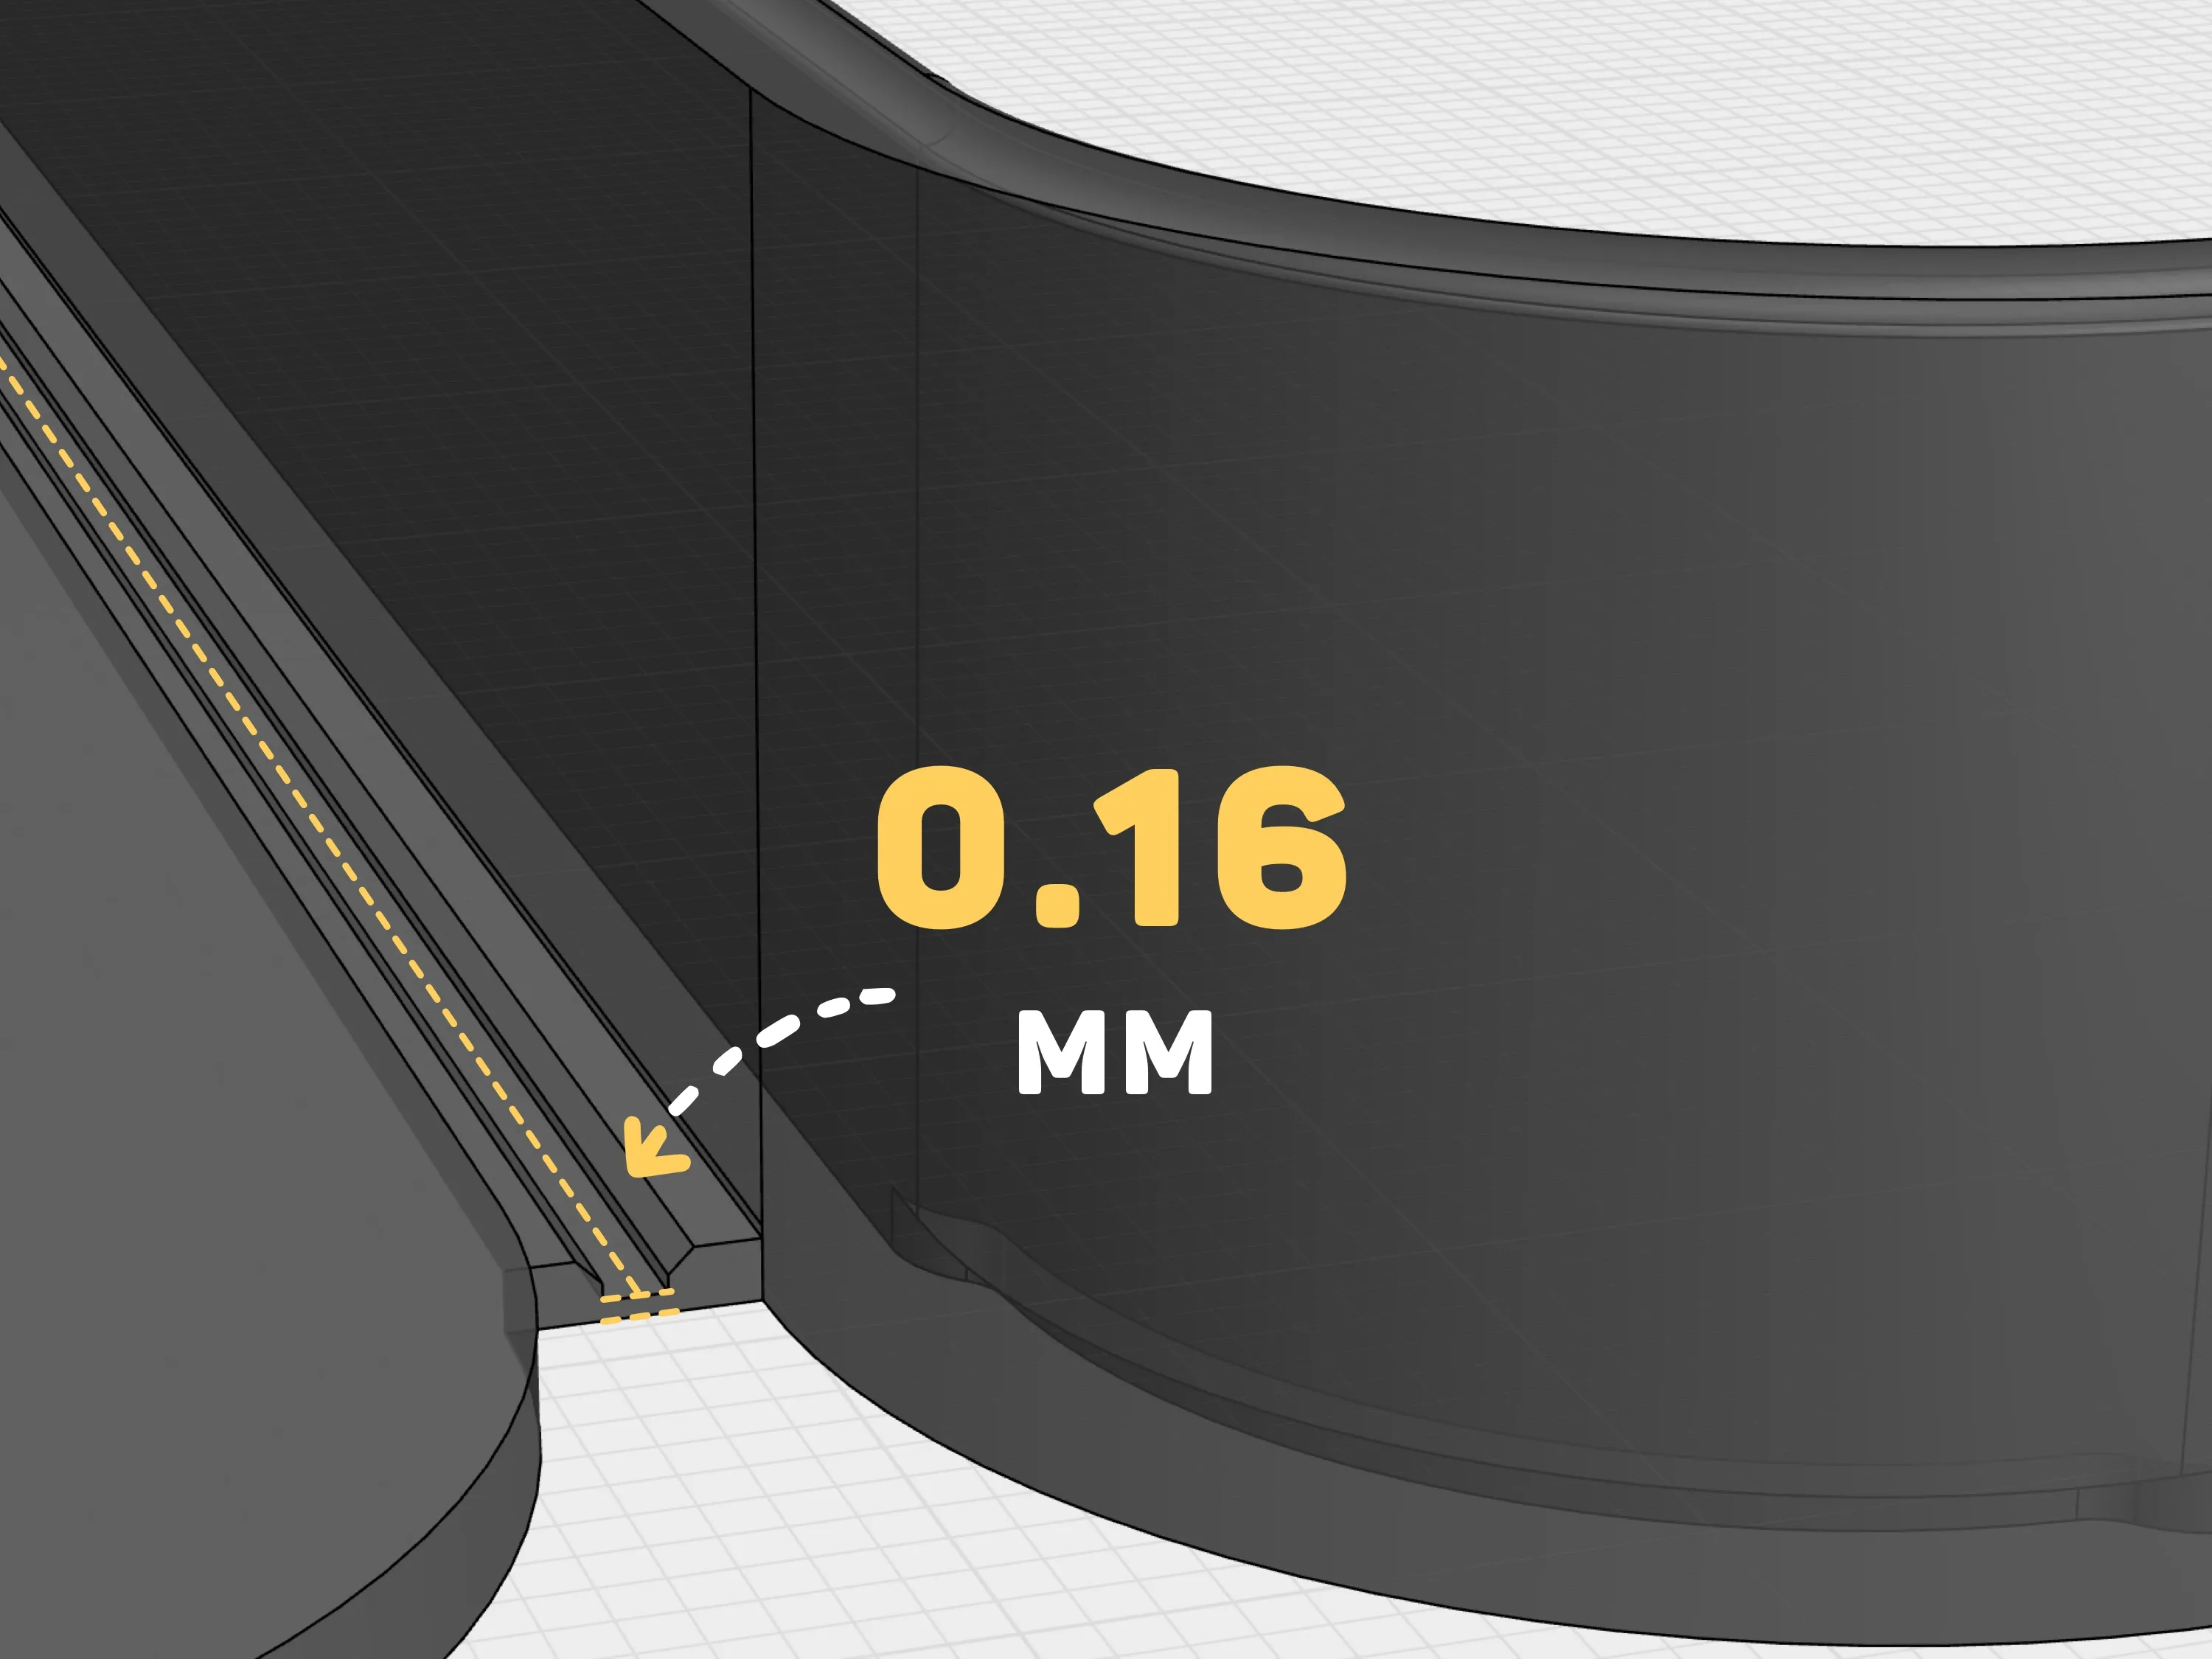
Its core structure utilizes an innovative 0.16 mm single-layer filament “flex hinge”, enabling a smooth and durable flip-cover mechanism without the need for any additional hardware. Thanks to the excellent performance of Bambu Lab's consumables, printing with PLA Basic allows for over 1000 opening and closing cycles.
⚠️ Tips:
1. Please do not modify the parameters.(After printing is complete, allow the object to cool slightly before removing it to prevent breakage or warping.)
2. It is recommended to use PLA Basic, as it offers good toughness ( PLA Matte and PLA Lite is prone to breaking ).
If you’re looking to enhance your printer’s appearance while extending the lifespan of the touchscreen, this cover is a practical and aesthetically refined upgrade.
💡 Installation Tips
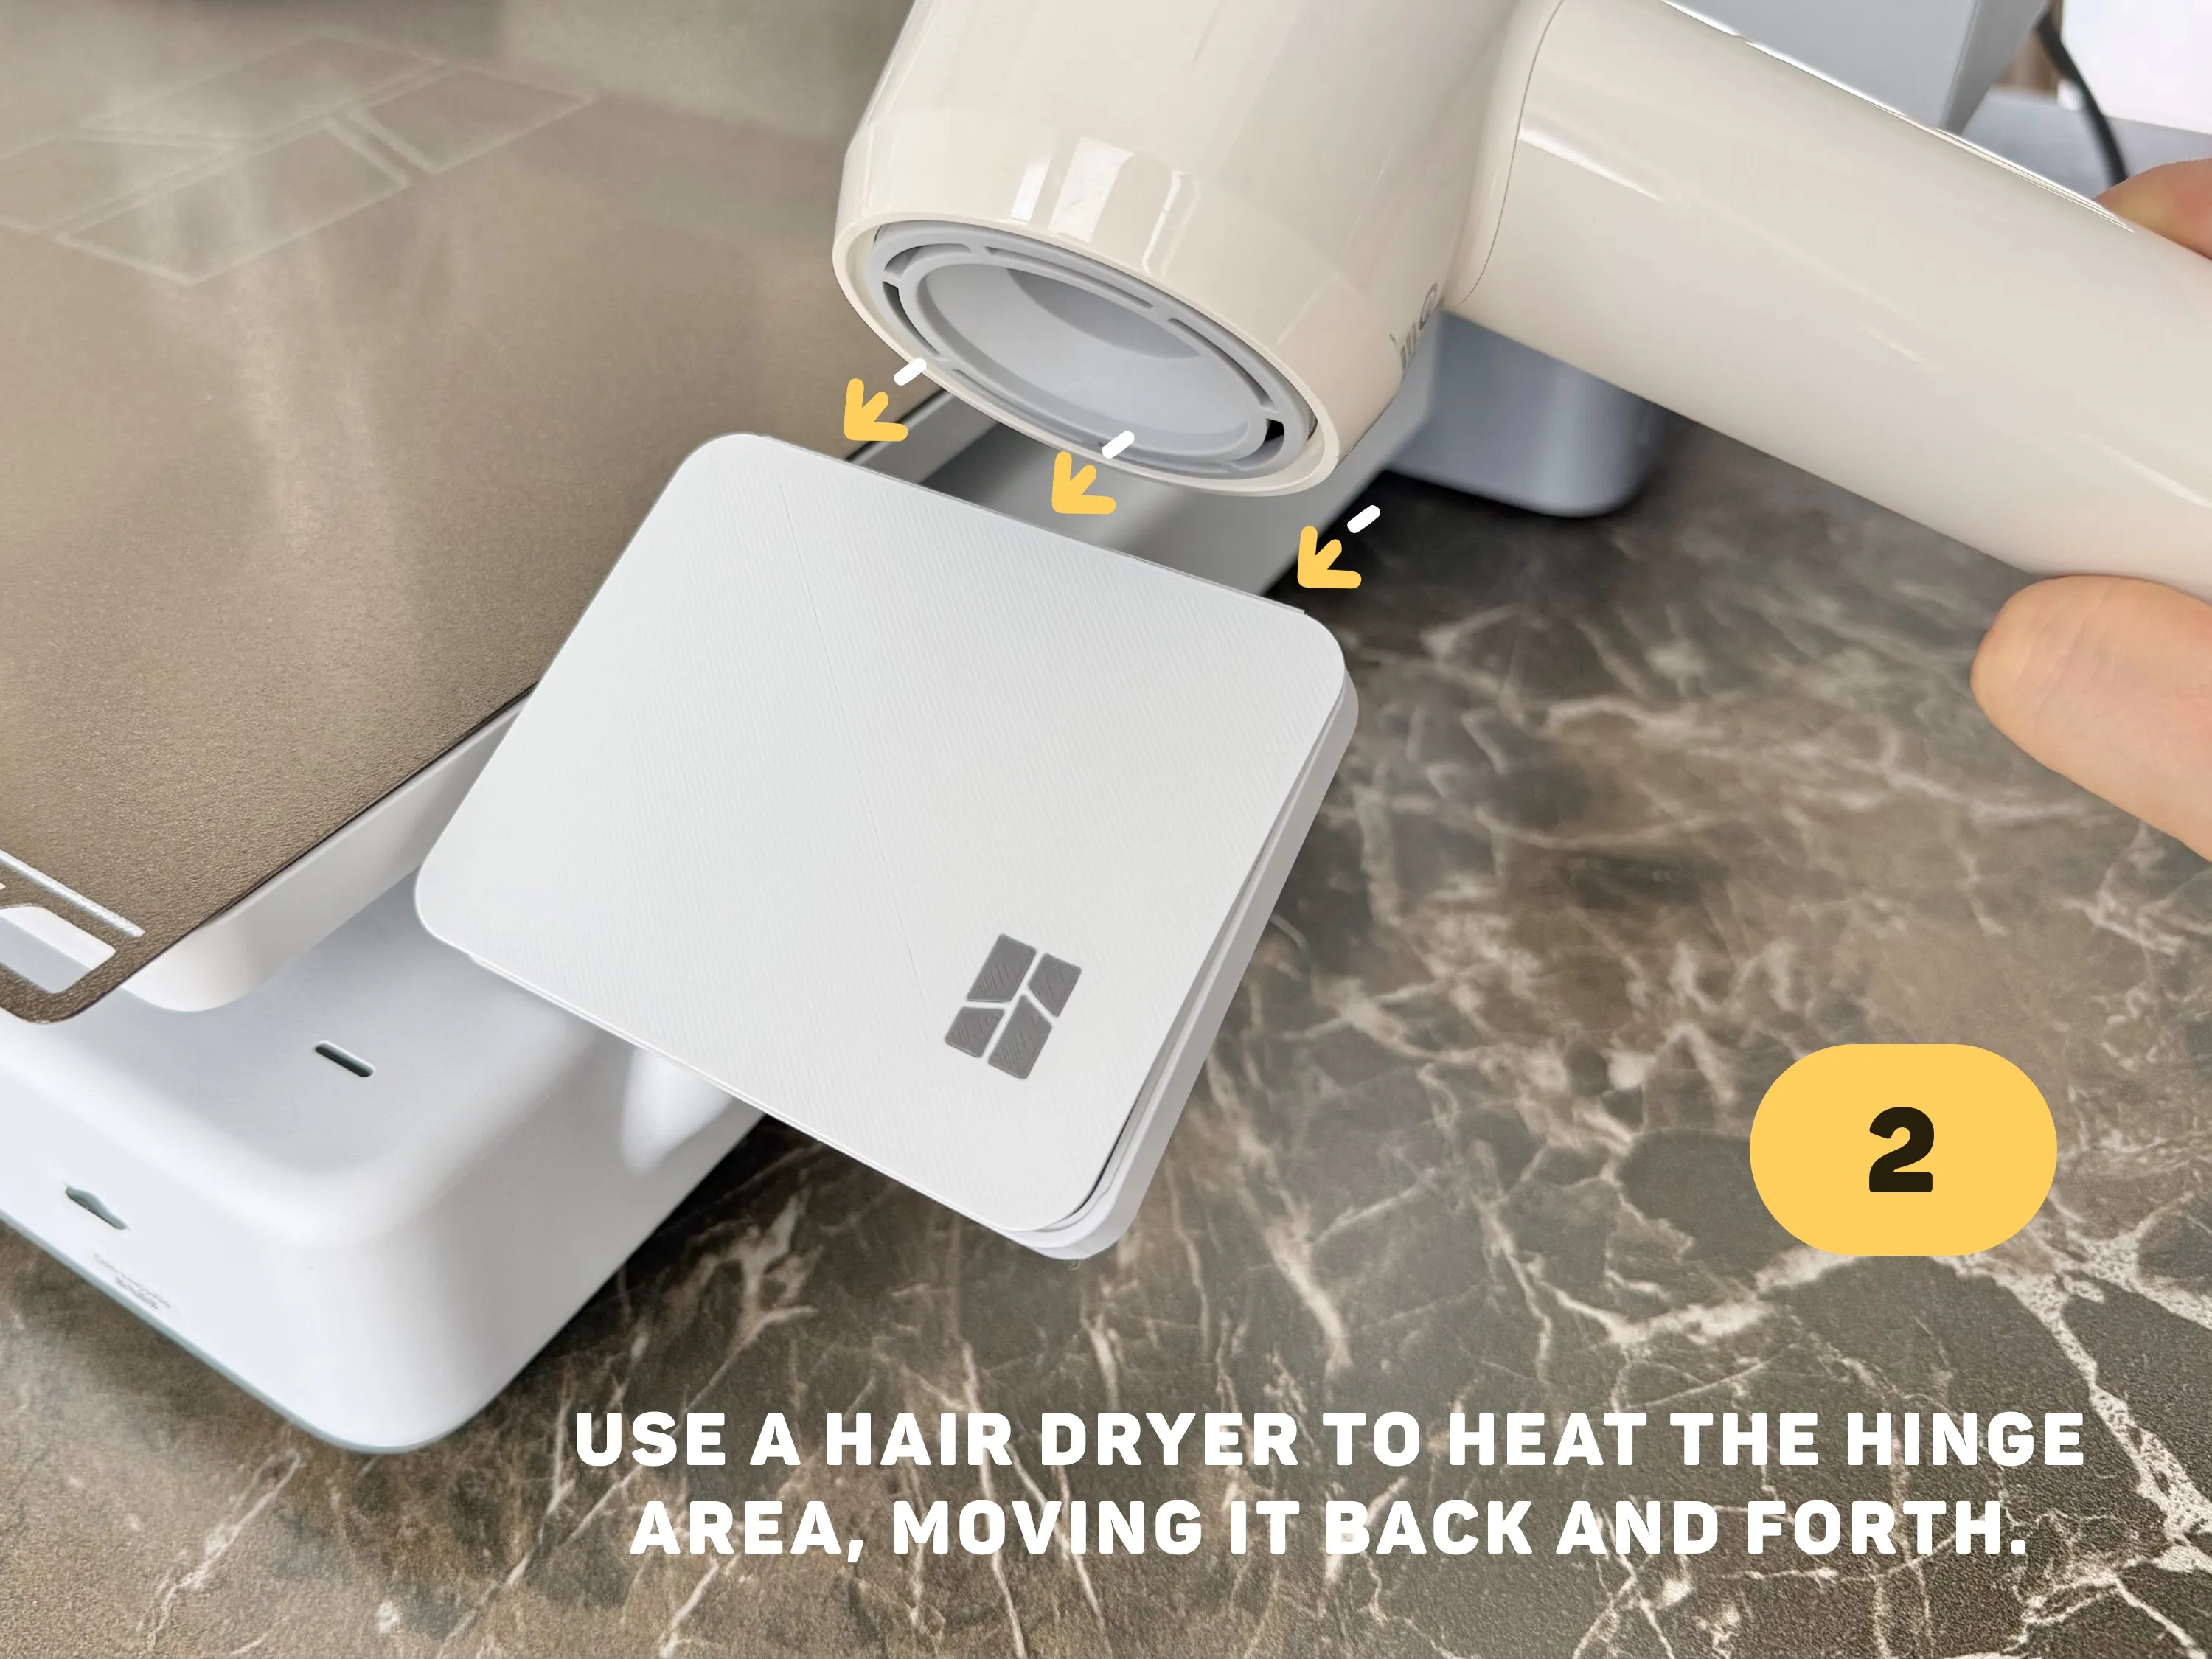
Due to some stress issues at the hinge after bending the model, which prevents it from closing completely, we can easily solve this problem using a hairdryer. Please follow these steps:
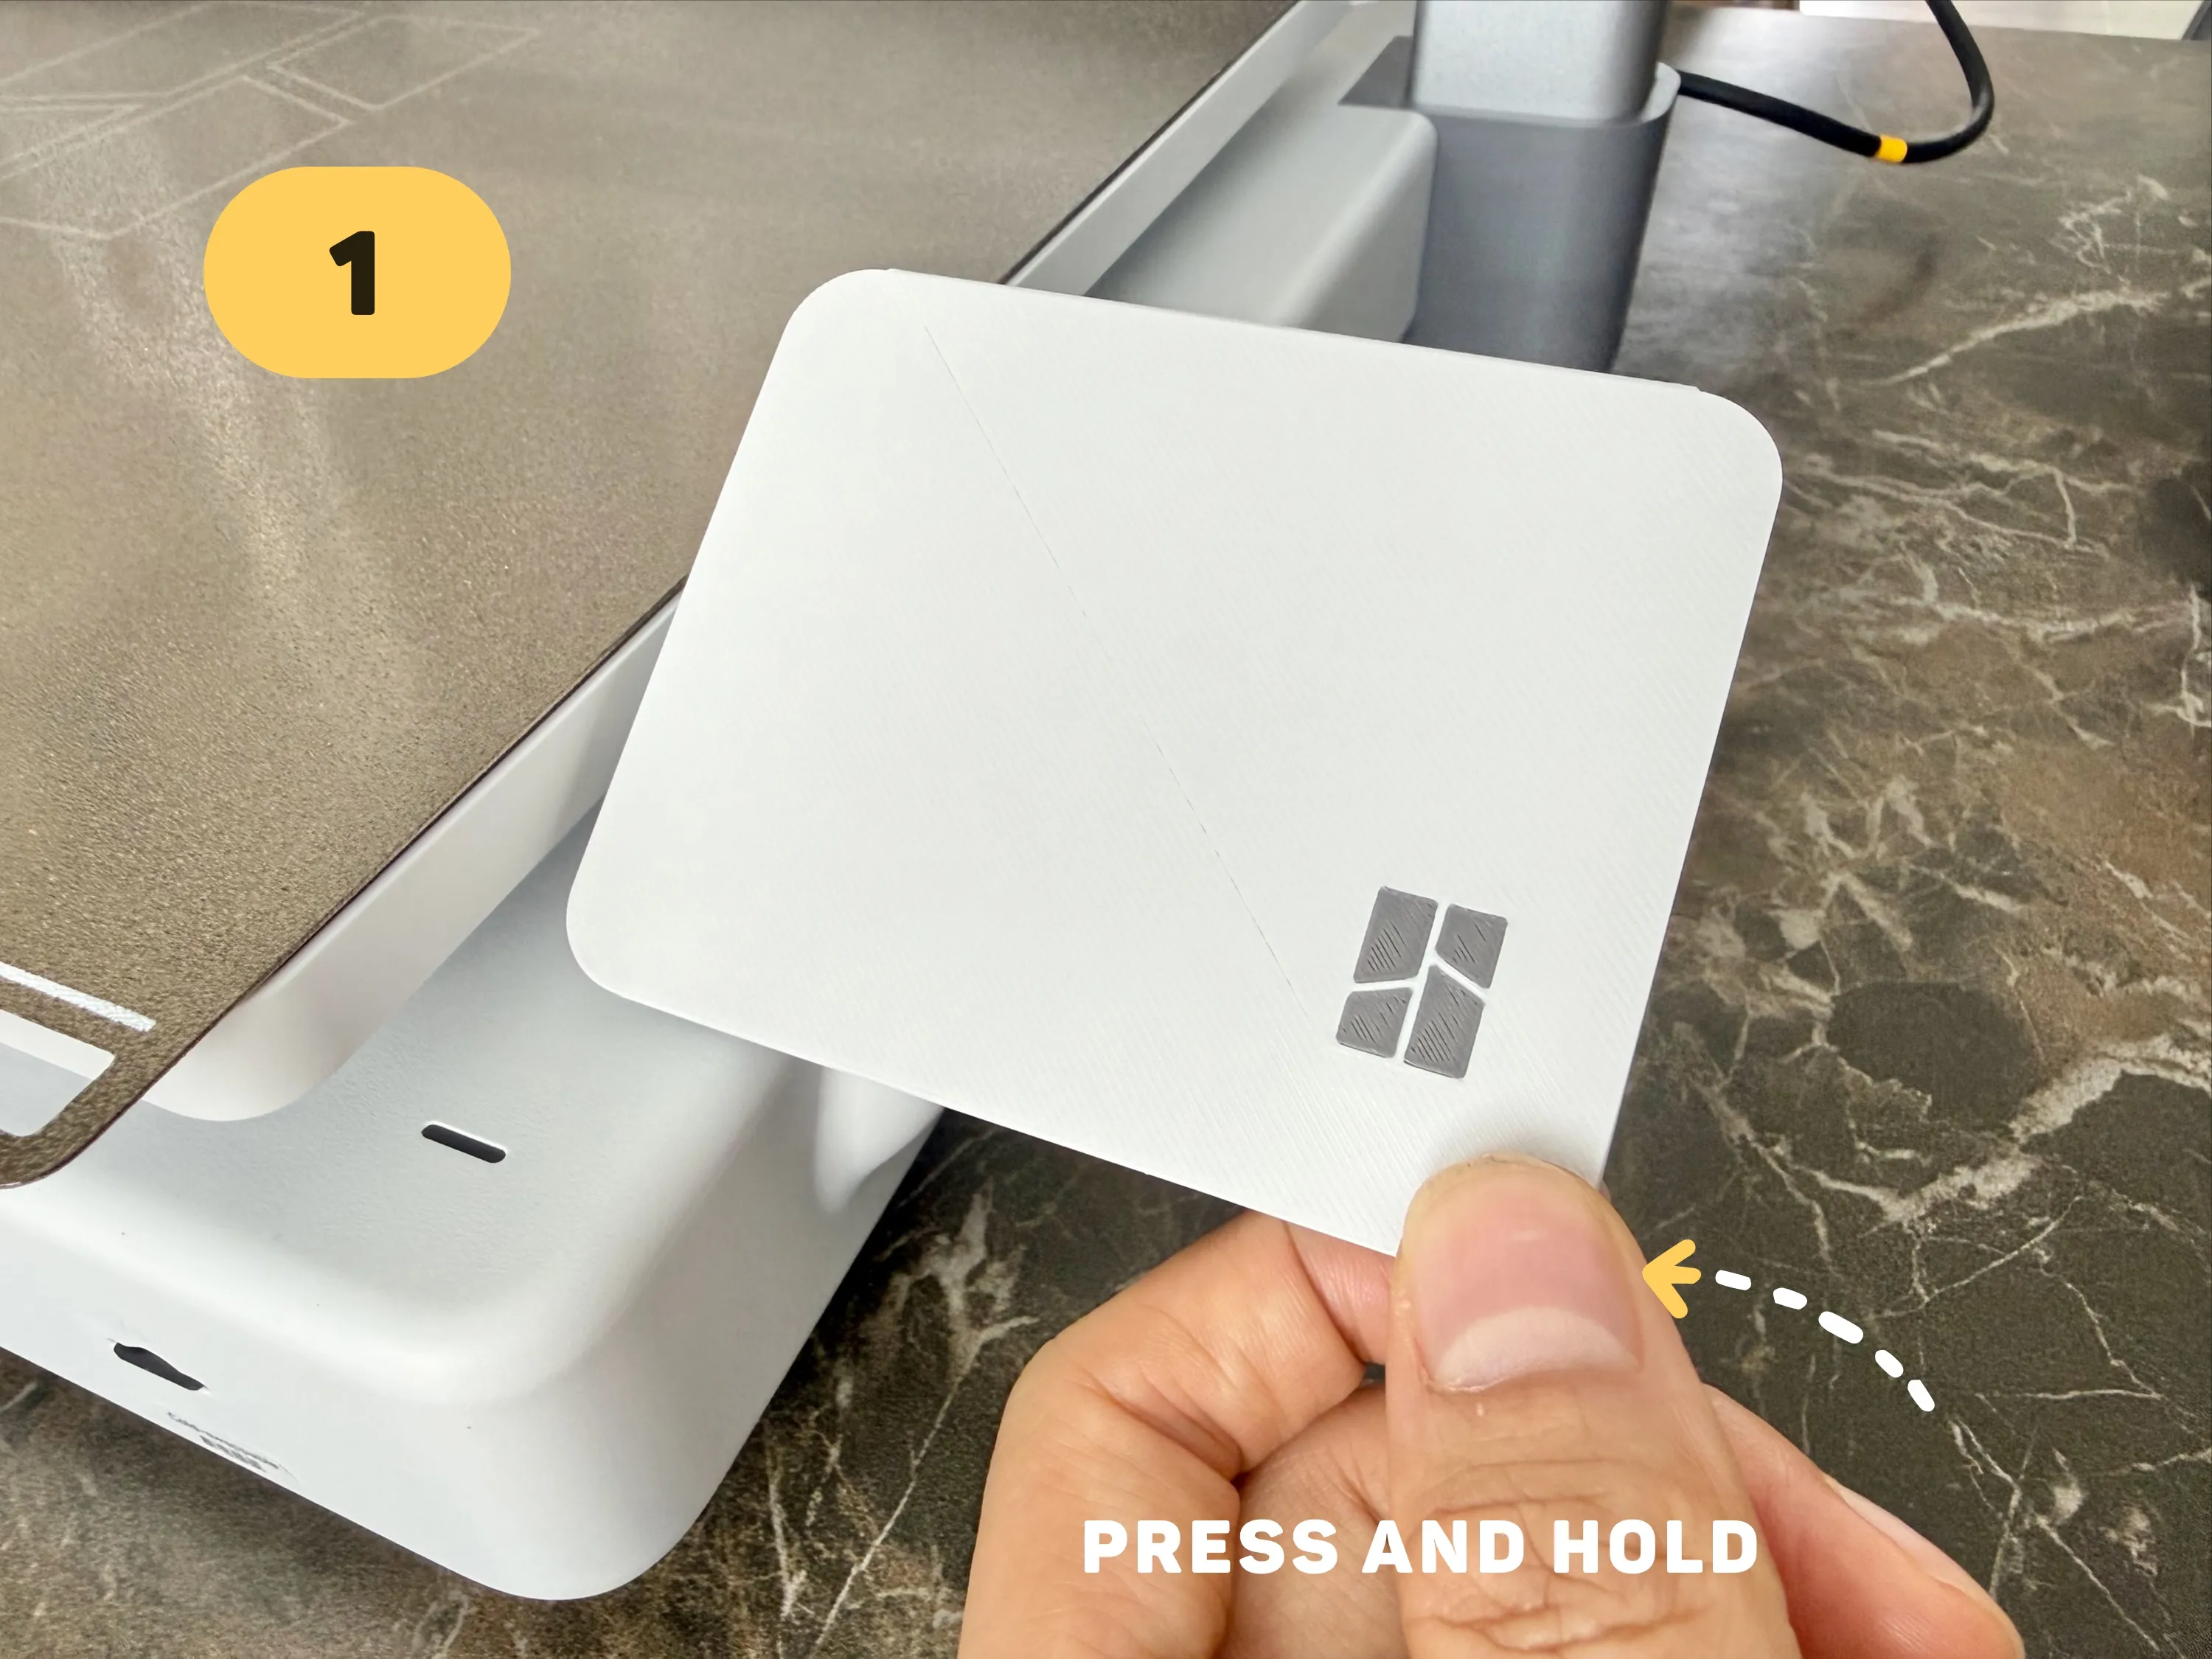
1. After installing the protective cover, press down on the top cover with your fingers to ensure it is fully attached to the bottom cover.
2. Use the hot air setting of a hairdryer to blow on the hinge area for about 10 seconds. Then you will have a perfectly fitting protective cover.
- - - New models - - - | |
 |  |
Boost Me (for free)
𝗬𝗼𝘂𝗿 𝗳𝗿𝗲𝗲 𝗕𝗼𝗼𝘀𝘁 = My design supply pack 📦 Click "𝗙𝗼𝗹𝗹𝗼𝘄" to get more useful models! 👀
License

You shall not share, sub-license, sell, rent, host, transfer, or distribute in any way the digital or 3D printed versions of this object, nor any other derivative work of this object in its digital or physical format (including - but not limited to - remixes of this object, and hosting on other digital platforms). The objects may not be used without permission in any way whatsoever in which you charge money, or collect fees.


Comment & Rating (59)