
TPU auxiliary feed tool TPU assist traction tool

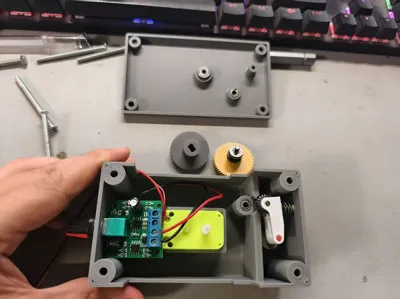
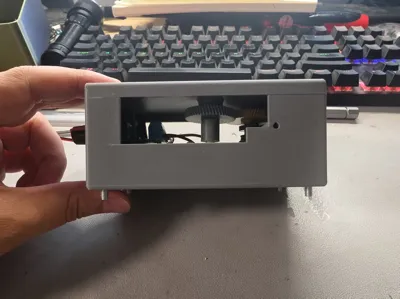
Print Profile(1)
Description
The cost is just over 20. PLA printing lacks durability, so it's only for trying out TPU. For long-term use, please consider a more advanced solution
Usage Method: Rice Bucket → Auxiliary Tool → Extruder
Explanation: Since TPU material is highly susceptible to moisture, continuous long-term printing usually requires it to be kept in a rice bucket or dry box during actual printing; additionally, TPU is a flexible filament, which has a large contact area with the feed path and much higher frictional resistance than rigid materials. In traditional setups, the extruder must actively feed the filament and overcome long-distance resistance, resulting in a heavy load. During continuous dragging, the filament is constantly stretched, easily leading to tensile deformation and diameter reduction, ultimately causing insufficient grip from the extruder, slippage, or even idling, severely affecting printing stability. Therefore, a set of TPU auxiliary feeding tools has been designed to share the feeding resistance, reduce the extruder's load, and inhibit filament tensile deformation, thereby improving overall printing reliability. My current print stop method involves remote monitoring; once finished, I cut the power with a smart switch. I later made an automatic start-stop function, but the microswitch I have isn't suitable, so I'm waiting for the correct one to arrive
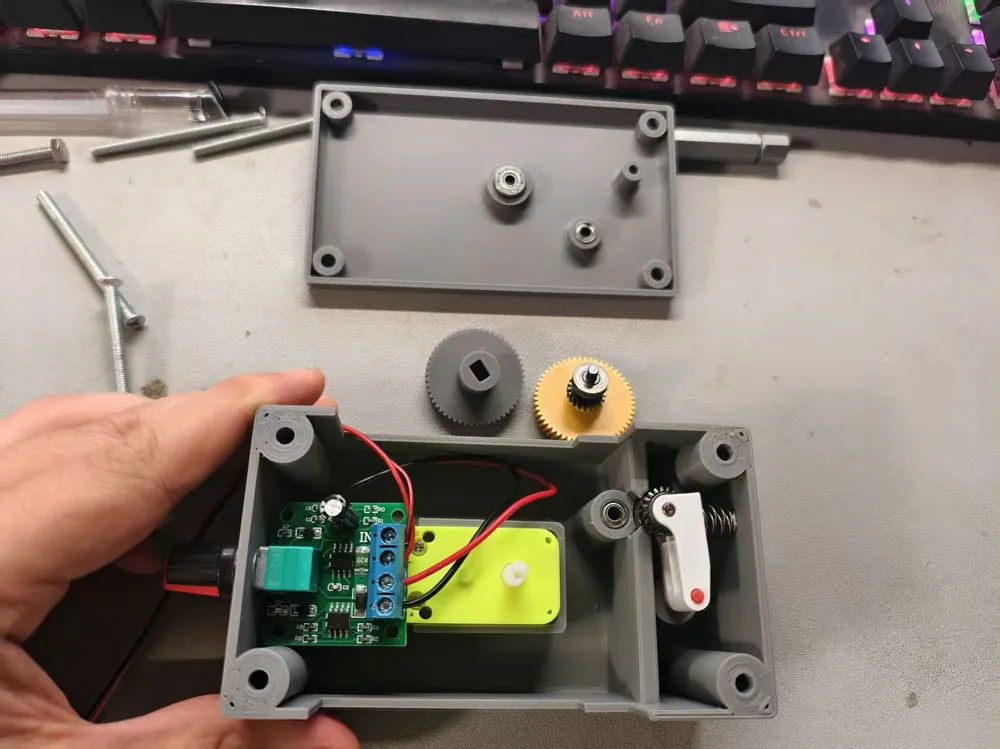
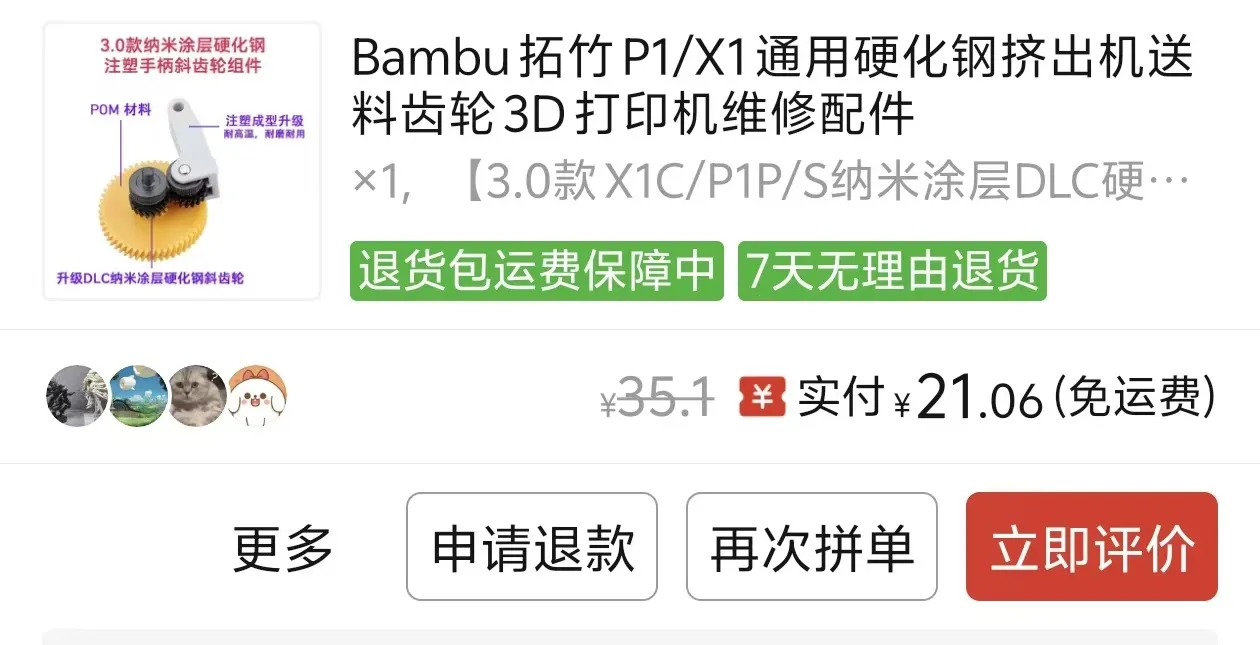
Material List: 1. P1 Extruder (third-party purchase with a 40% discount coupon from PDD)
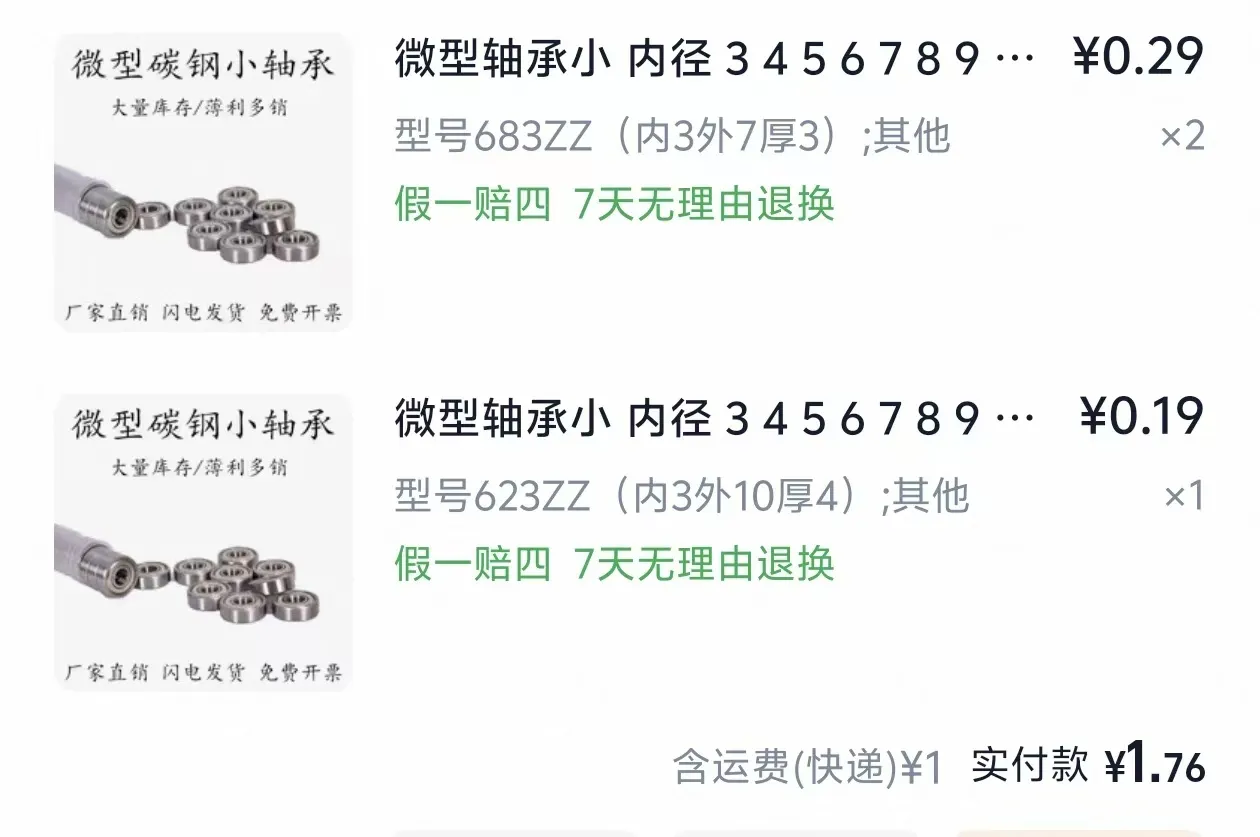
2. 683zz bearings (2 pcs), 623zz bearing (1 pc) (I have configured printed parts, but not tested)
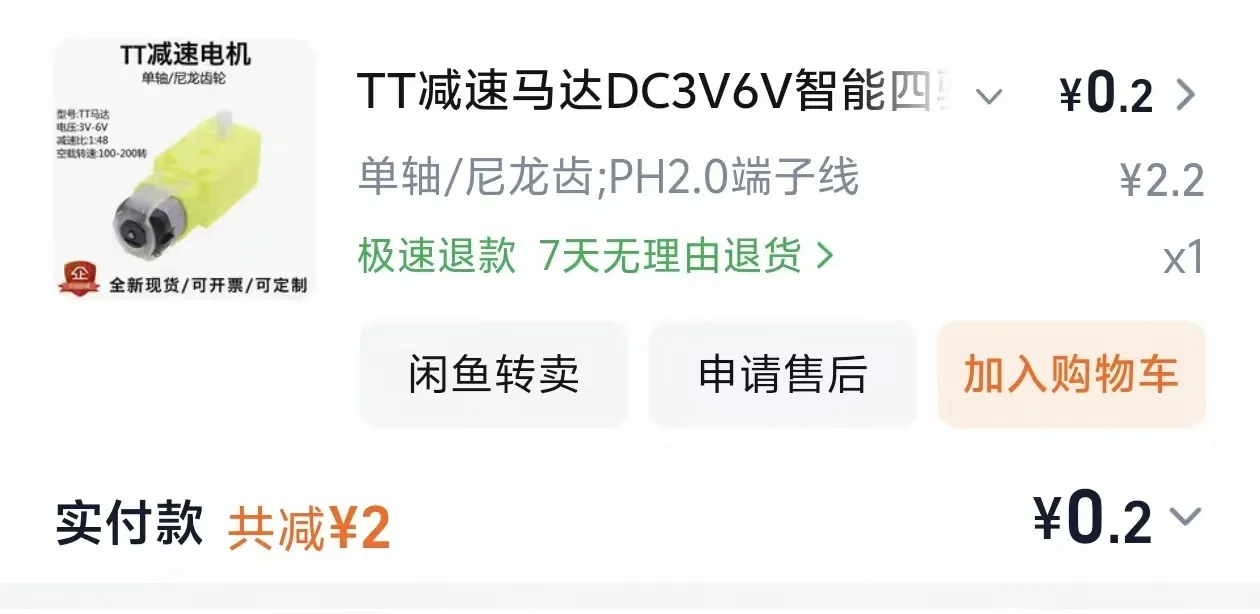
3. Geared motor (same as Bambu Lab Marble Run toy, no need to buy if you have one)
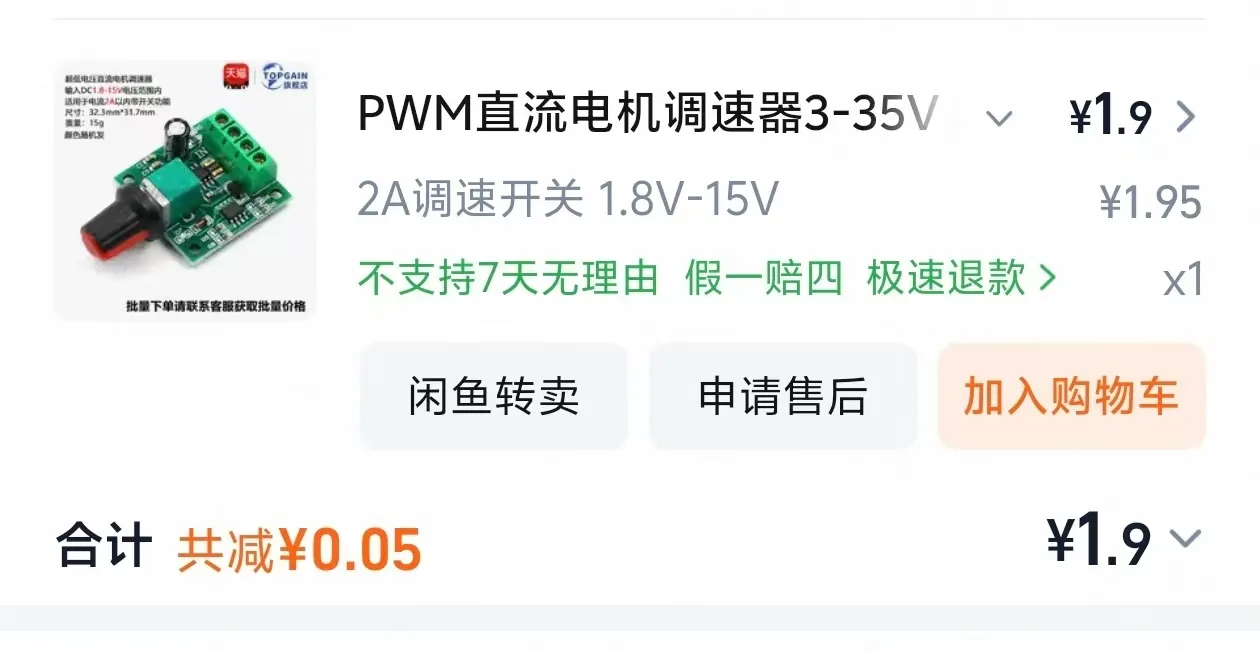
4. Speed controller (lower starting voltage is better for slow speed. For example, 1.8V)
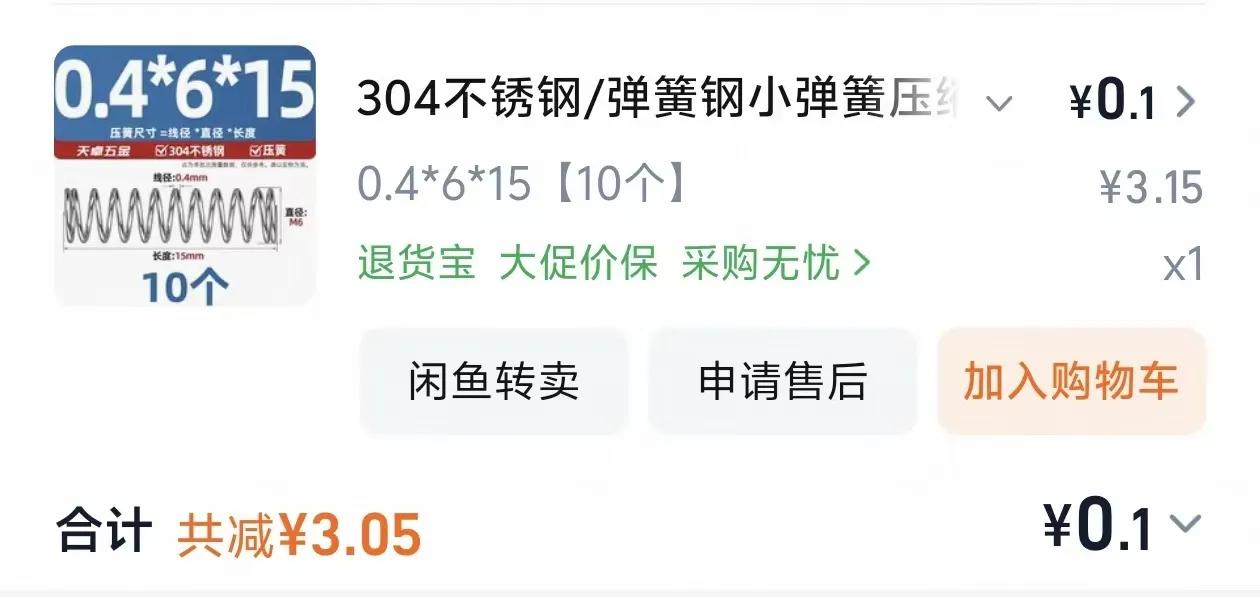
5. Spring with 6mm diameter and 10-15mm length (for the white component position of the extruder, a larger diameter is also fine)
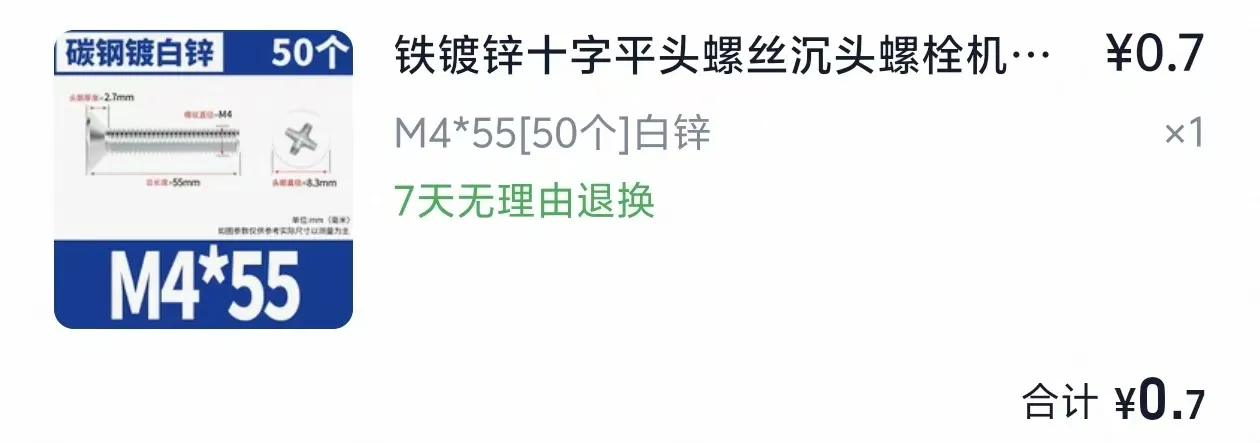
6. M4 screws longer than 50mm + nuts (M4 screws can be obtained for free with a few coupons)
7. Power supply (I just cut a USB cable, so it's not on the list)
For all the above materials, just buy the cheapest ones
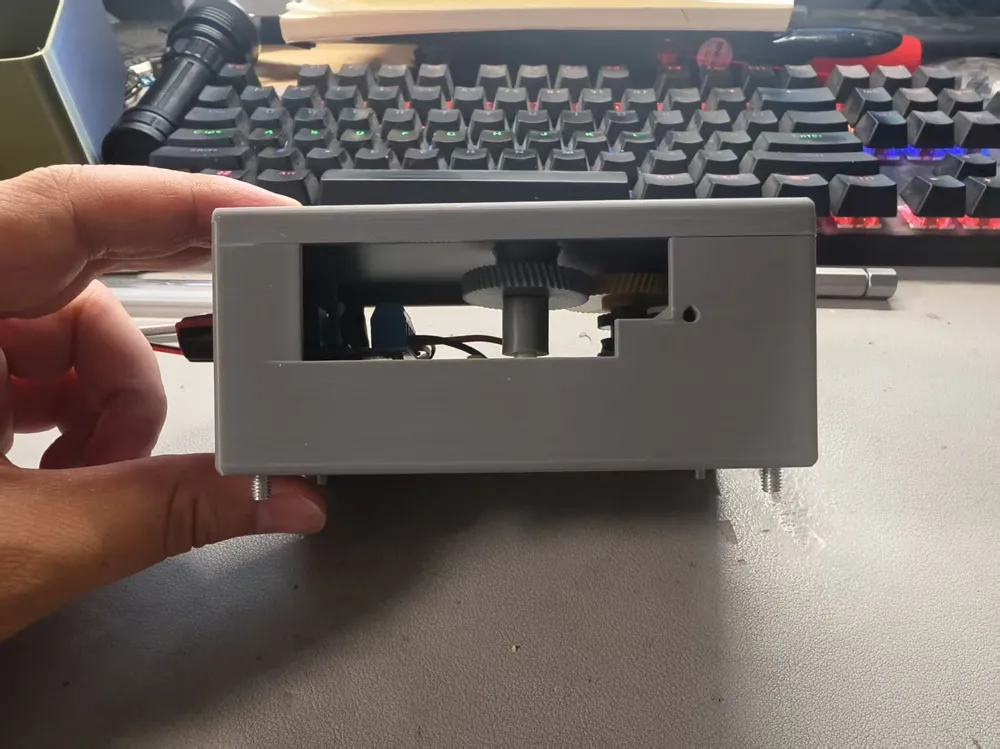
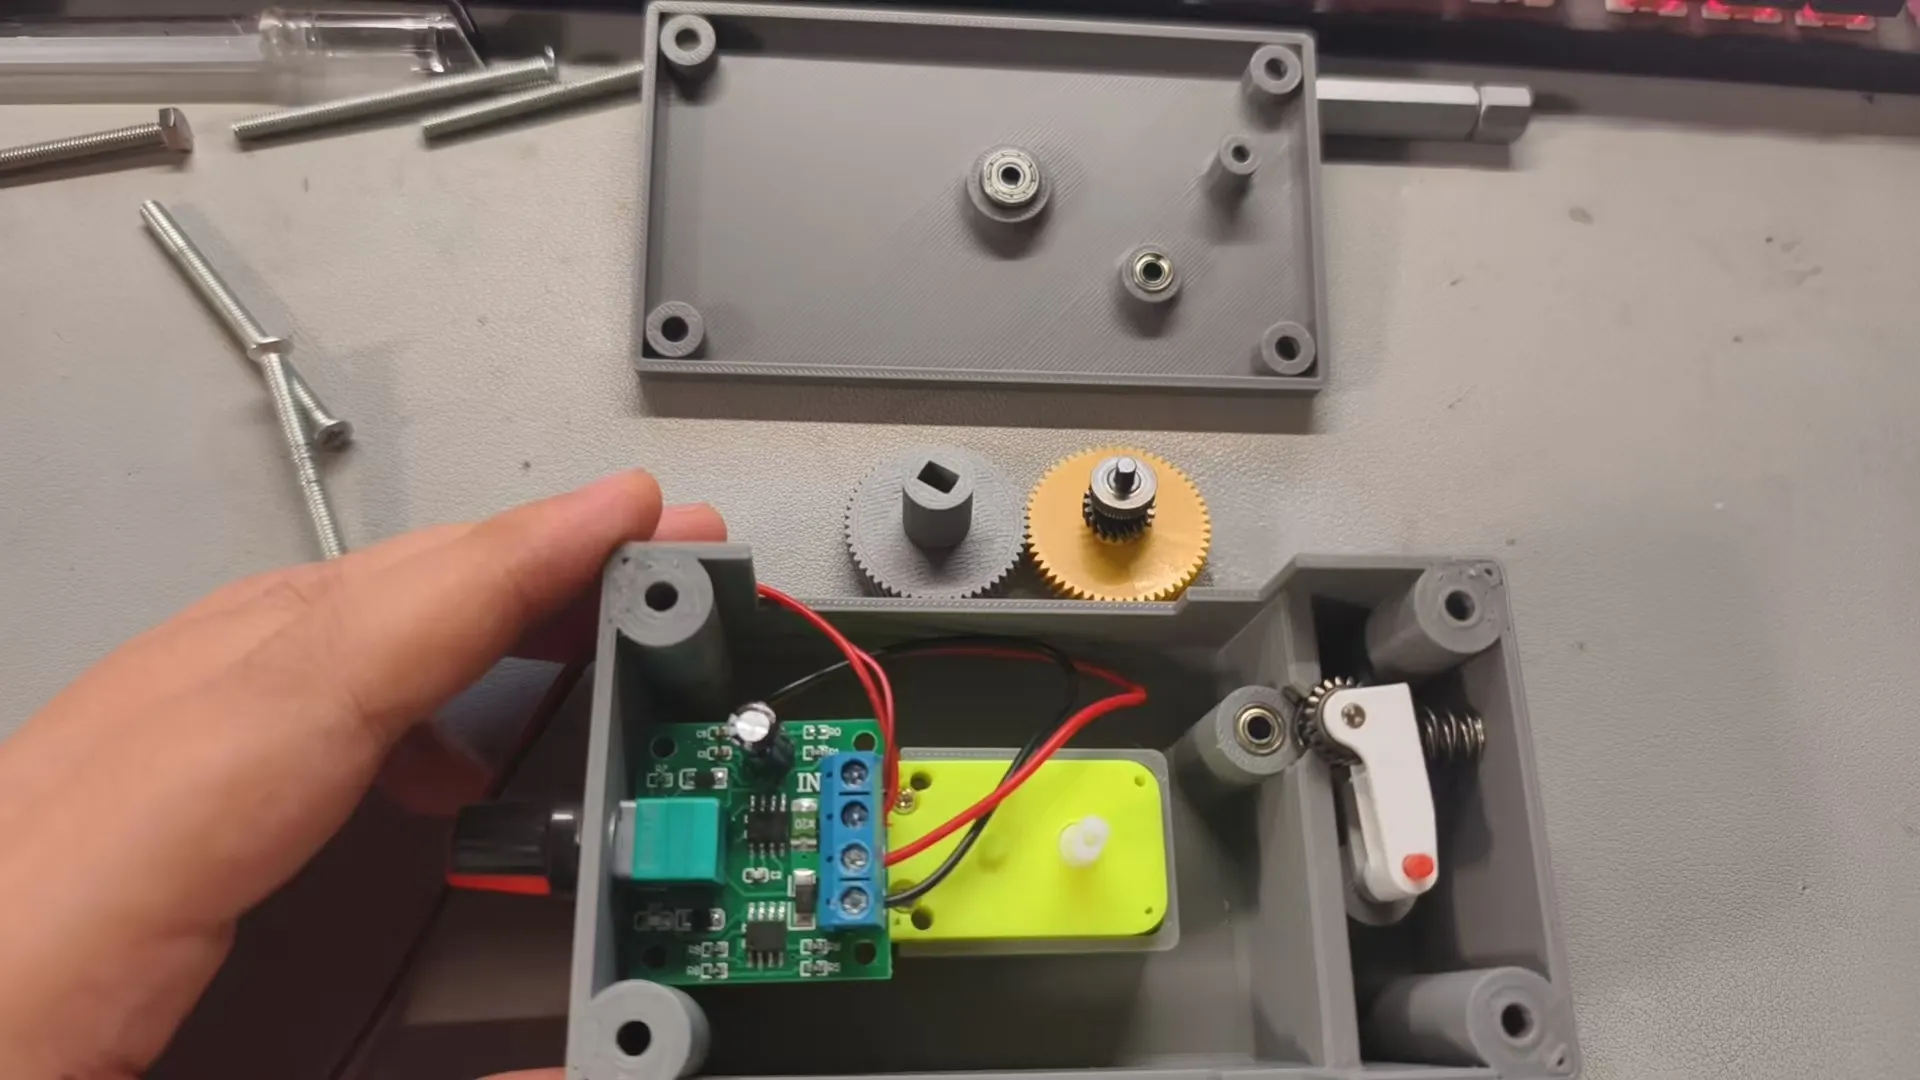
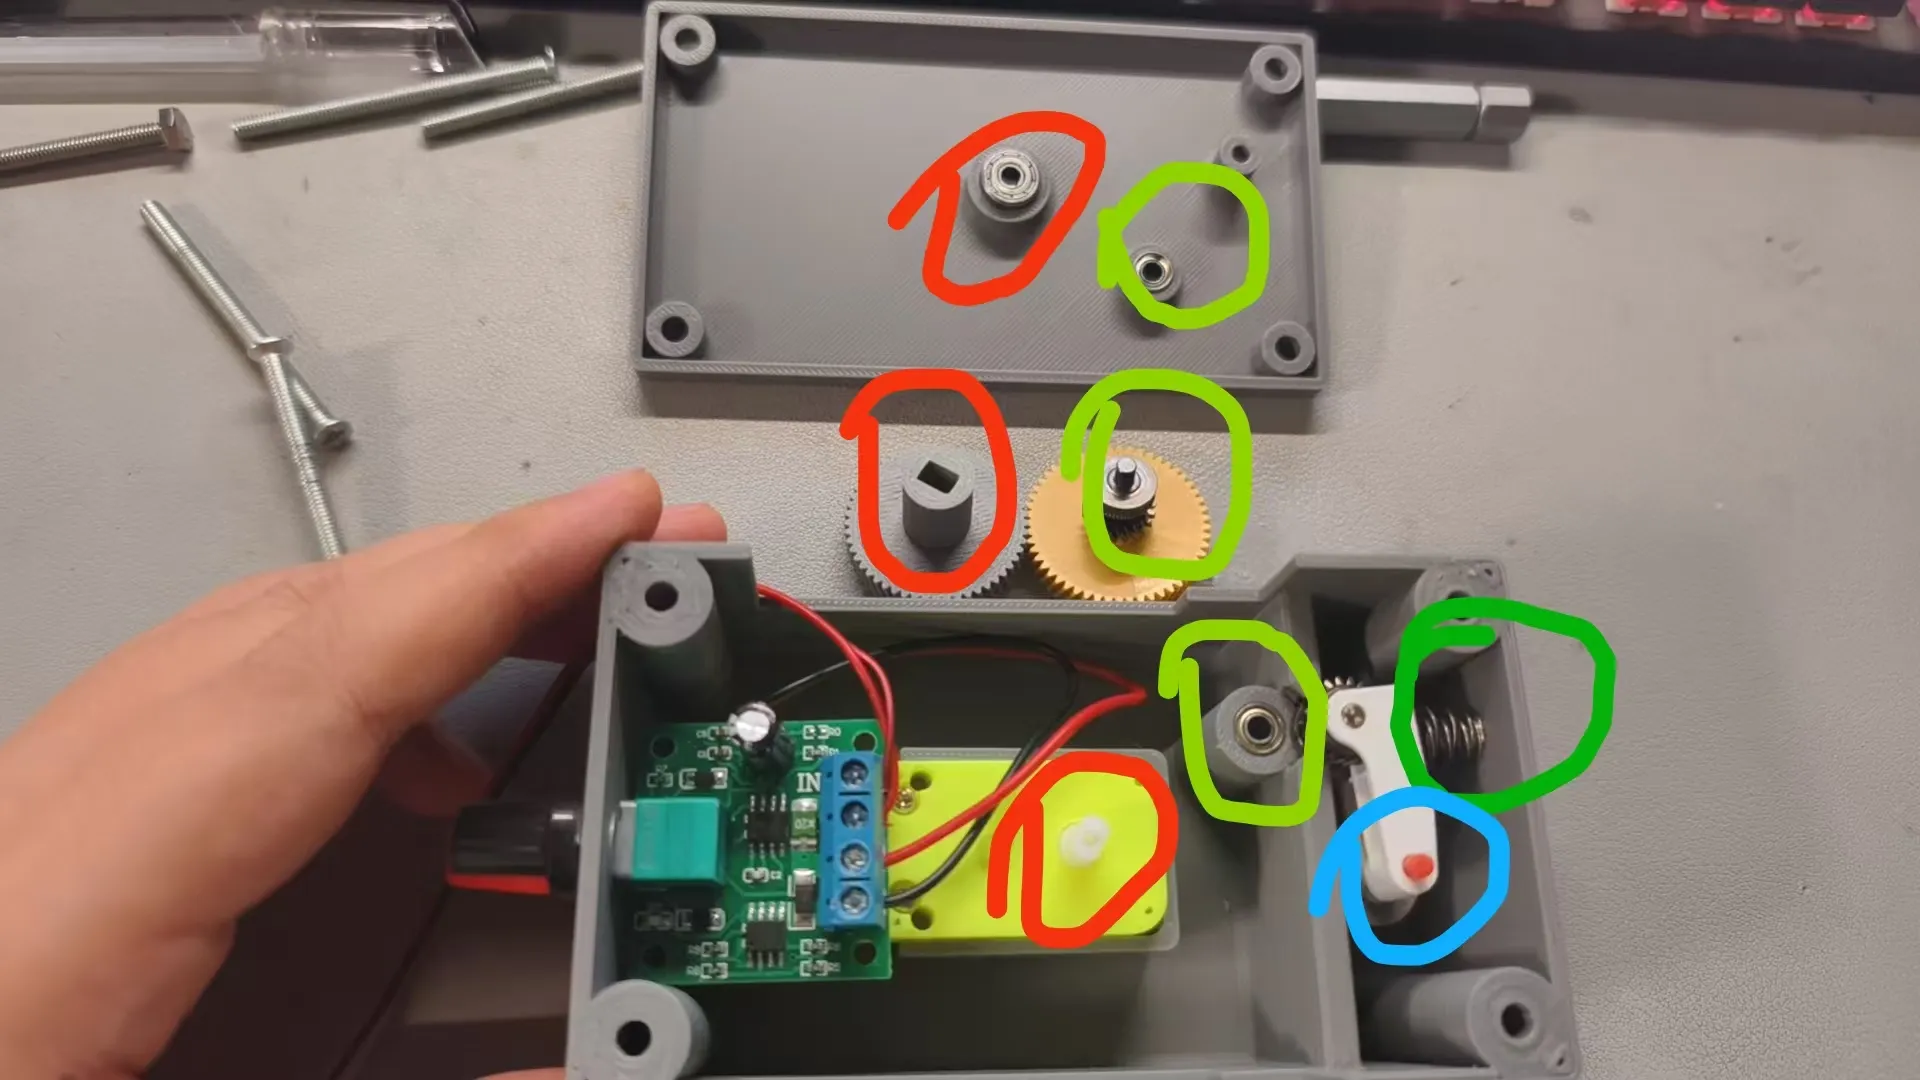
Assembly Method: The parts circled in the same color in Figure 2 are on the same shaft. For the rest, just refer to the images. Holes have been pre-drilled on the side, making assembly very convenient
License

You shall not share, sub-license, sell, rent, host, transfer, or distribute in any way the digital or 3D printed versions of this object, nor any other derivative work of this object in its digital or physical format (including - but not limited to - remixes of this object, and hosting on other digital platforms). The objects may not be used without permission in any way whatsoever in which you charge money, or collect fees.


Comment & Rating (0)