Customizable Magnetic Family Key Hanger


Print Profile(1)

Bill of Materials

Description
Boost Me (for free)
If you enjoyed this customizable design, please consider a Boost! Your support helps me keep engineering and sharing new projects. Thank you!
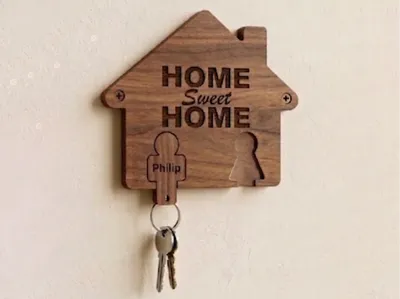
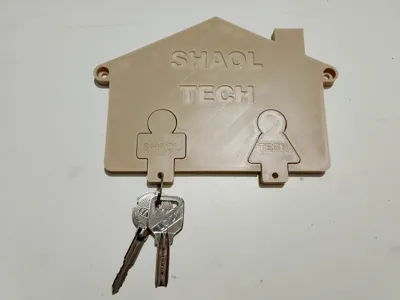
Customizable Magnetic Family Key Hanger
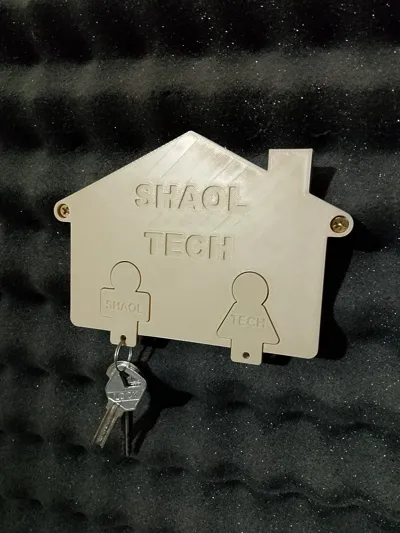
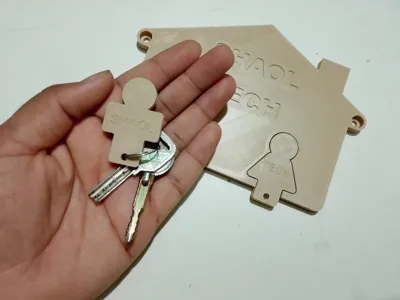
Welcome to the SHAOL TECH Magnetic Key Holder system. This is a fully engineered, tactile organization system designed for a premium "slip-fit" feel. Instead of fragile hooks, this design uses encapsulated neodymium magnets so your keyrings glide smoothly into their cutouts and snap firmly into place.
⚙️ How to Customize There are two ways to make this your own:
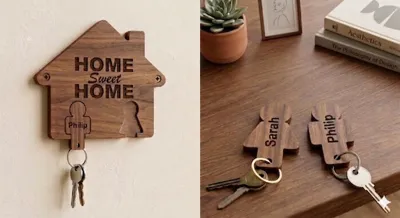
- The Parametric Engine (.scad): Click "Customize" on MakerWorld to open the Parametric Model Maker. Here, you can change the names on the keyrings and alter the main sign text to make it perfectly yours! And other sizes as you want.
The Blank STLs: If you prefer to manually slice, download the standard 2-keyring .stl file. They feature completely blank nameplates so you can use your slicer’s text tool to stamp your own names.
🧲 Required Hardware To enable the magnetic snap, you will need:
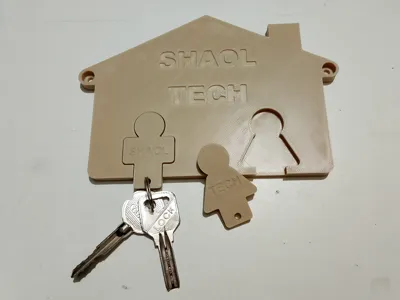
- 8x2mm Neodymium (Rare-Earth) Magnets. You need 2 magnets for every 1 keyring you print (one goes inside the wall hanger, and one inside the keyring itself).
- 2x Screw
🖨️ Slicer & Print Settings If you are using our provided .3mf print profile, everything is already set up! If you are customizing the file or slicing it yourself, you must use these settings for a successful print:
- Layer Height: 0.20mm Standard.
- Wall Generator: Arachne (Dynamically adjusts line width to perfectly fill in the small gaps inside your text, making the lettering much crisper while saving print time).
- Wall Loops: 3 (Adds solid rings of plastic around the perimeter, making the keyring hole indestructible).
- Infill: 10% Gyroid (Saves material since you have extra walls, and provides smooth, strong support in all directions without the nozzle scraping issues of Grid infill).
- Ironing: Turn ON Default Ironing (Top Surfaces) for a premium, glass-smooth finish on the flat faces.
Supports: OFF (The design prints perfectly flat to the bed, so supports are not needed).
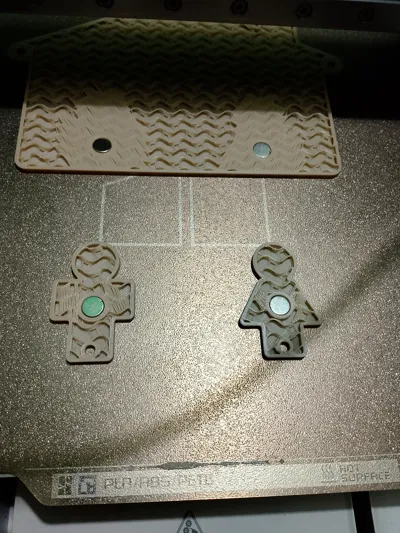
⏸️ The Hidden Magnet Printing Guide (CRITICAL) You must pause your printer to insert the magnets before the printer seals the cavities shut.
- Set the Pause: In your slicer preview, drag the layer slider down and find the exact layer where the 2.2mm deep magnet pockets are about to be covered by the next layer of plastic. Right-click and add a pause at this specific layer.
- The Sharpie Trick: Before printing, let your magnets snap together naturally. Take a permanent marker and draw a dot on the "Top" face of all the magnets.
- Insert the Magnets: When the printer pauses, drop the magnets into the open pockets with the marker dot facing UP on every single piece. This guarantees your keyrings will attract to the house, not repel it!
- Resume Print: The nozzle will print the next layer, sealing the magnets inside forever.
Comment & Rating (0)