Rack-mount bracket for the MikroTik RB2011


Print Profile(1)
Description
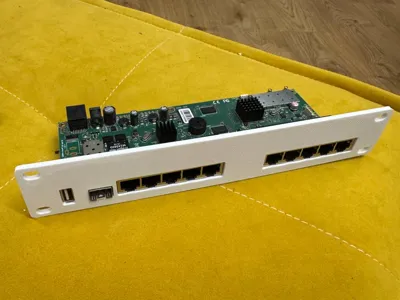
Rack-mount bracket for the **MikroTik RB2011UiAS-2HnD-IN** board (fits other
RB2011 variants sharing the same PCB) in a **10-inch rack, 1U**. The stock
case is removed; the bare board screws onto standoffs of an open tray.
### Features
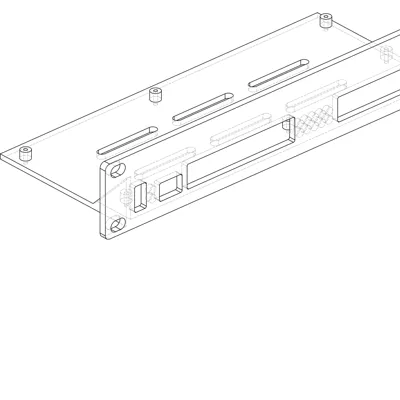
- 254 mm (10") 1U front panel, slotted M6 holes for cage nuts (±1.5 mm
rack tolerance)
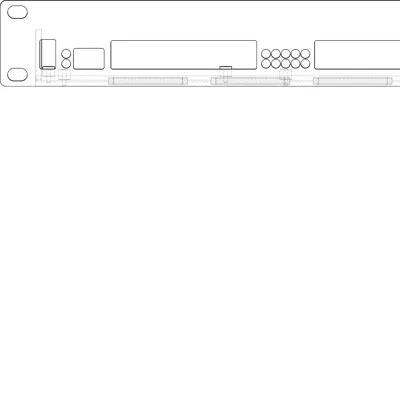
- Precise cutouts: 2× ganged 5-port RJ45, SFP, vertical USB-A
- LED windows are **not through-holes** — 1 mm of plastic acts as a light
diffuser (print in a light color!)
- 6 standoffs matching the PCB mounting holes, 2 mm pilot holes for ~M2.2
self-tapping screws
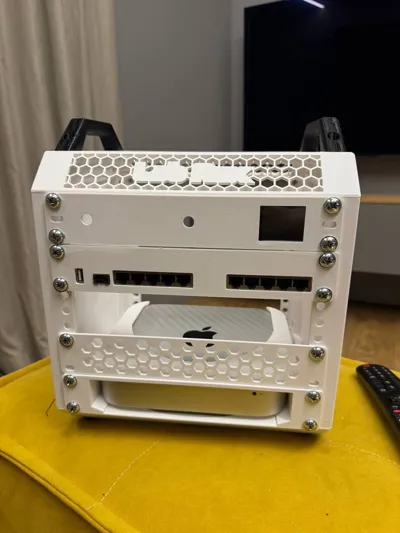
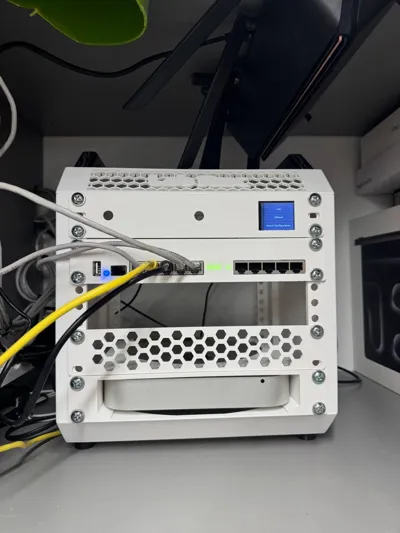
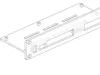
- Open tray: natural convection, easy access, fast print
- Wi-Fi antennas and the LCD are not used (wired-only setup)
- DC power plugs in from the open rear side
### Printing
- PETG recommended, light/natural color for the LED windows
- 3–4 perimeters; infill barely matters (thin-walled part)
- Part is 254×99×44 mm — requires a 256 mm bed (X axis)
### Assembly
1. Remove the board from the stock case (the LCD stays in the old case)
2. Screw the board onto the standoffs with ~M2.2×6 self-tappers (6 pcs)
3. Mount into the rack with M6 screws and cage nuts
Comment & Rating (0)