Moku Display Stand - Parametric Desk Shelf/Riser


Print Profile(3)
Description
Boost Me (for free)
If you like this model, please consider giving me a boost. It's free! I would really appreciate it :)
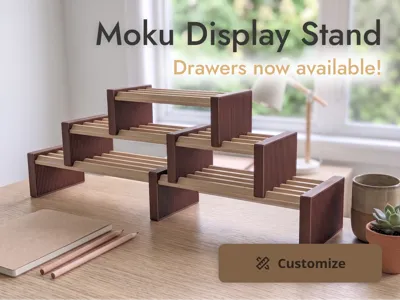
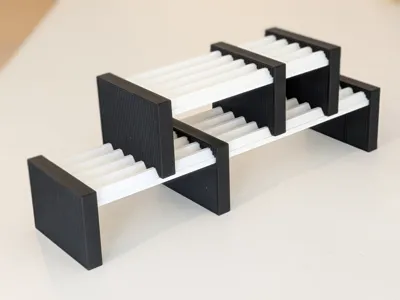
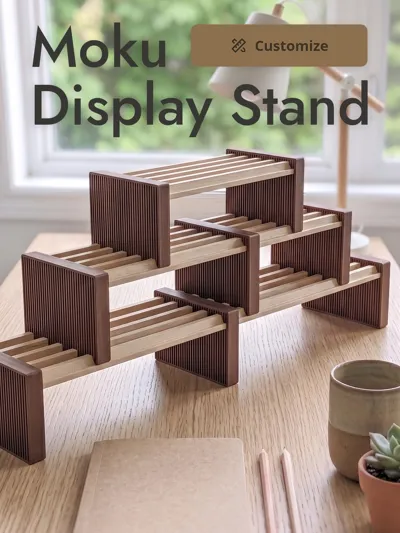
Moku Display Stand - Parametric Desktop Shelf/Riser
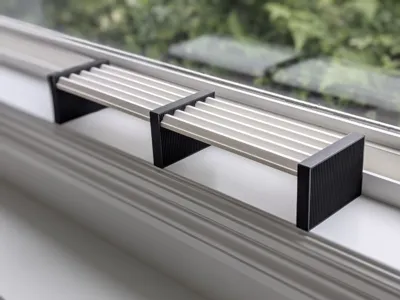
I made this as a simple way to turn the Moku Modular Desk System Base Rail into a raised desktop shelf. Instead of having the base rail sit flat on your desk, the brackets lift it up and turn it into a small display stand or riser.
This adds a second level to your desk setup, gives the base rail more presence, and opens up some useful space underneath. It works especially well when you want your Moku setup to sit as a small display shelf instead of directly on the desk.
The design is fully parametric, so you can adjust both the bracket height and the number of base rail rows it supports by clicking the Customize button. The overall style is inspired by Japandi design, with a simple, warm, and minimal look that fits naturally with the Moku ecosystem.
Update: Moku Drawers are now available!
Moku Drawers are now available as a companion model for this stand: Moku Drawers

They include a hanging version designed specifically for the Moku Display Stand, so you can add drawer storage underneath the raised base rail without taking up extra desk space. The drawer model also includes stackable and flat-top versions for building out a larger Moku desk setup.
Changelog
June 30, 2026
- Added a stackable version of the stand for multi-tier setups without needing a vertical offset (i.e. you can stack brackets on top of each other instead of on a Moku base rail)
June 12, 2026
- Fixed a MakerWorld Customizer issue where changing both the bracket height and rail row count would generate the rail cutout in the wrong position. The Fusion 360 model worked correctly, and the cutout should now generate properly in Customizer too.
Recommended setup
For the default setup, I recommend using:
- 5 base rail rows
- 240 mm base rail width (Module length of 6 in the Moku base rail customizer)
- Bracket height: 80 mm
The included print profile is set up for this recommended configuration.
Stacking Bracket Versions
There are two additional bracket versions for building taller, multi-tier Moku setups.
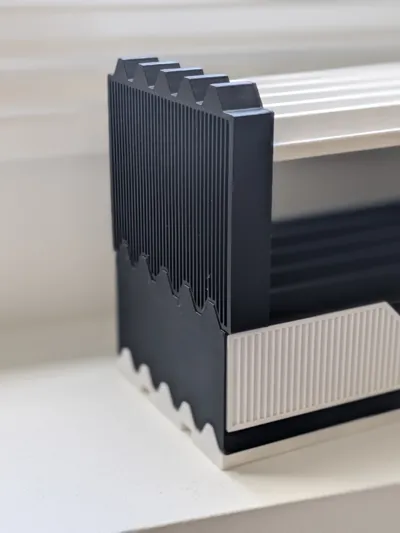
Stackable Version
Moku Stand Brackets - Stackable Version is the newer version I recommend for most multi-tier builds.
It has a bottom rail cutout along with a Moku rail profile on top. This lets the next bracket sit directly on the rail profile built into the bracket below, instead of needing the bracket to sit on a separate base rail.
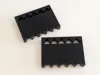
Bottom Rail Version
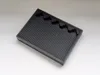
Moku Stand Brackets - Bottom Rail Version has the same bottom rail cutout, but keeps the top flat.
This version is still useful for placing a stand on an existing Moku base rail on your desk. It also works well as the top bracket in a stacked setup, since it finishes the stack without leaving another rail profile exposed above it.
For a multi-tier setup, I now recommend using the Stackable Version for the lower levels, then using the Bottom Rail Version for the top level.
Included print profile
The standard print profile includes 2 plates:
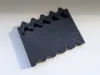
- Plate 1: 2 End Brackets
- Plate 2: 1 Mid Bracket, optional
You need to print at least two End Brackets to assemble the stand. The Mid Bracket is optional and is only needed if you want to connect two base rails together for a longer shelf.
Separate print profile are also included for the alternate bracket versions.
Assembly
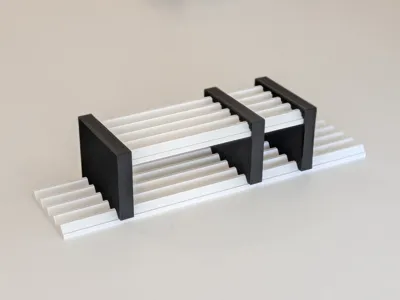
For a basic stand, print two End Brackets and slide one onto each end of your Moku base rail.
To make a longer setup, print two base rails with joints, clip them together, then slide the Mid Bracket over the joint where the two rails meet. This adds support at the connection point and is required for the longer setup to work properly.
For the stackable versions, slide the brackets onto your upper base rail, then place the bracket cutouts over the lower bracket or a lower base rail.
Customizing
Use the Customize button if you want to change the stand height or support a different number of base rail rows.
The number of rows determines the depth of the stand and should match the number of rows used in your Moku base rail.
For customized models, print the bracket standing upright (with supports enabled) for the best look. In Bambu Studio, I recommend enabling Support critical regions only.
For a faster, support-free print, you can also print the brackets flat on the bed with the cutouts facing up. I personally prefer printing them standing upright for the nicer finish, but either orientation will work.
This remix is based on

License
You may create derivative works based on this object, provided that all such derivative works are published exclusively on the MakerWorld platform and include proper attribution to the original creator. You may not share, upload, host, distribute, or publish this object—or any derivative work of this object—on any other digital platform, marketplace, or distribution channel. Commercial use of this object and any derivative works is strictly prohibited. This includes, but is not limited to, selling, renting, sublicensing, or using the object in any context in which you receive monetary compensation or other financial benefits.
Comment & Rating (19)