
Naval Mine Chlorine Pool Floater, 3-inch Tablet
Print Profile(4)
Description
Thanks for checking this out. If you like the design, please give it a THUMPS UP.
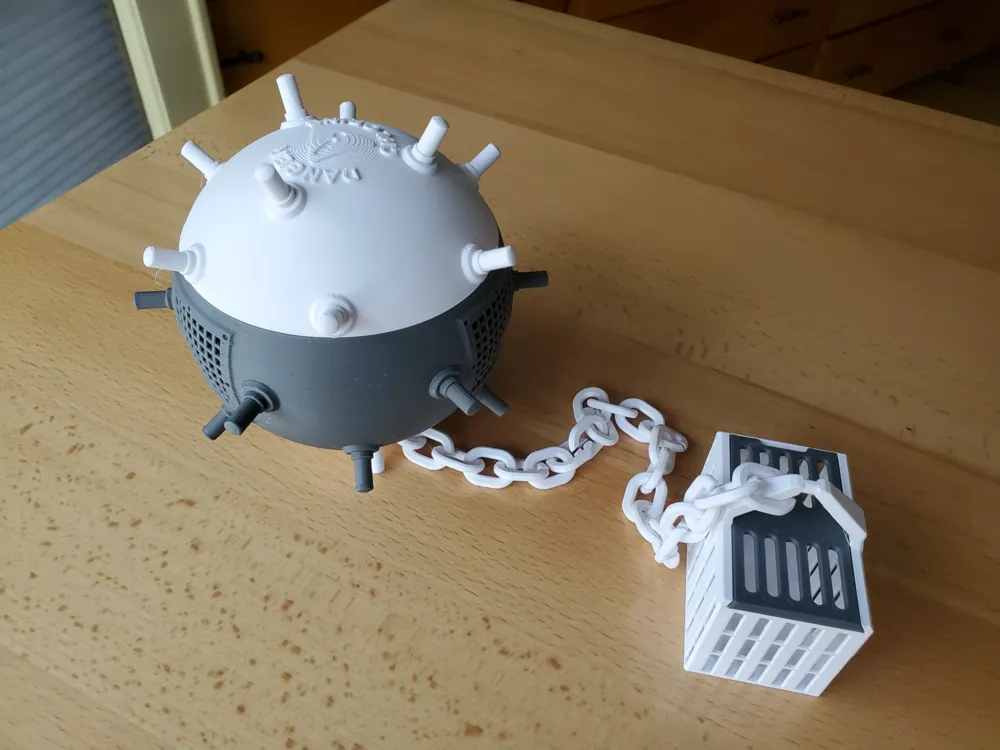
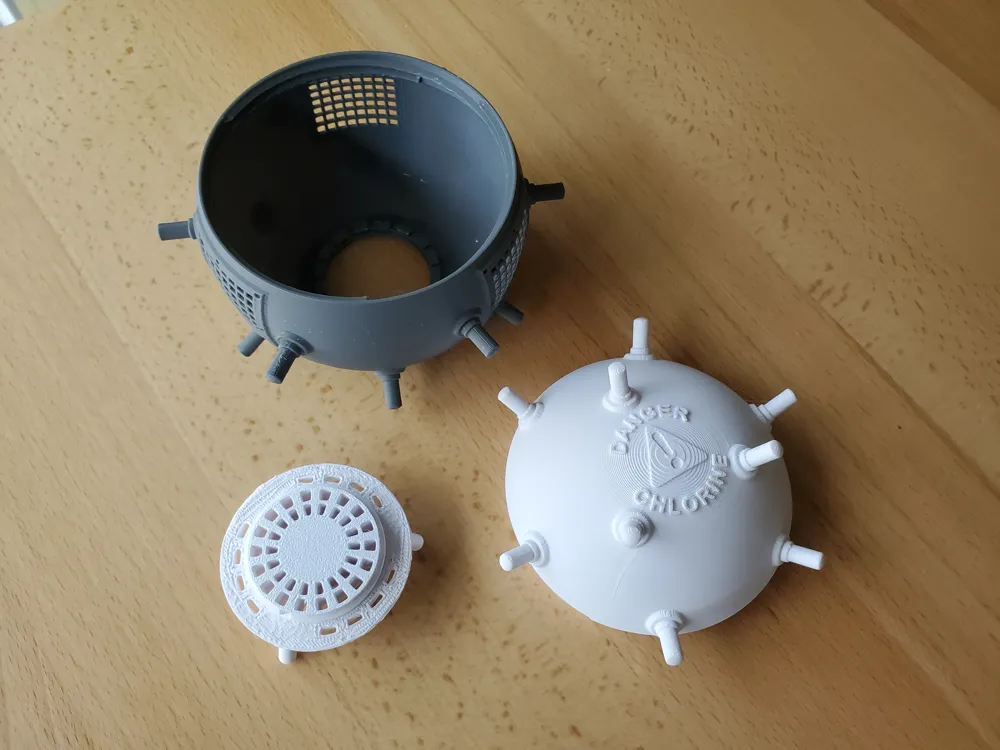
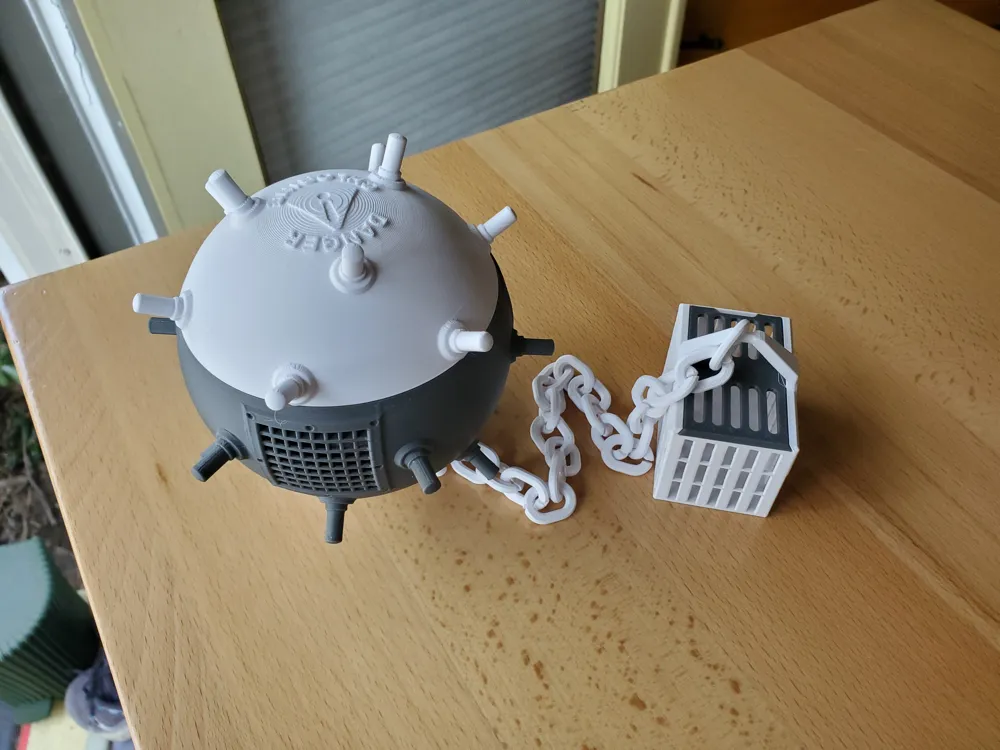
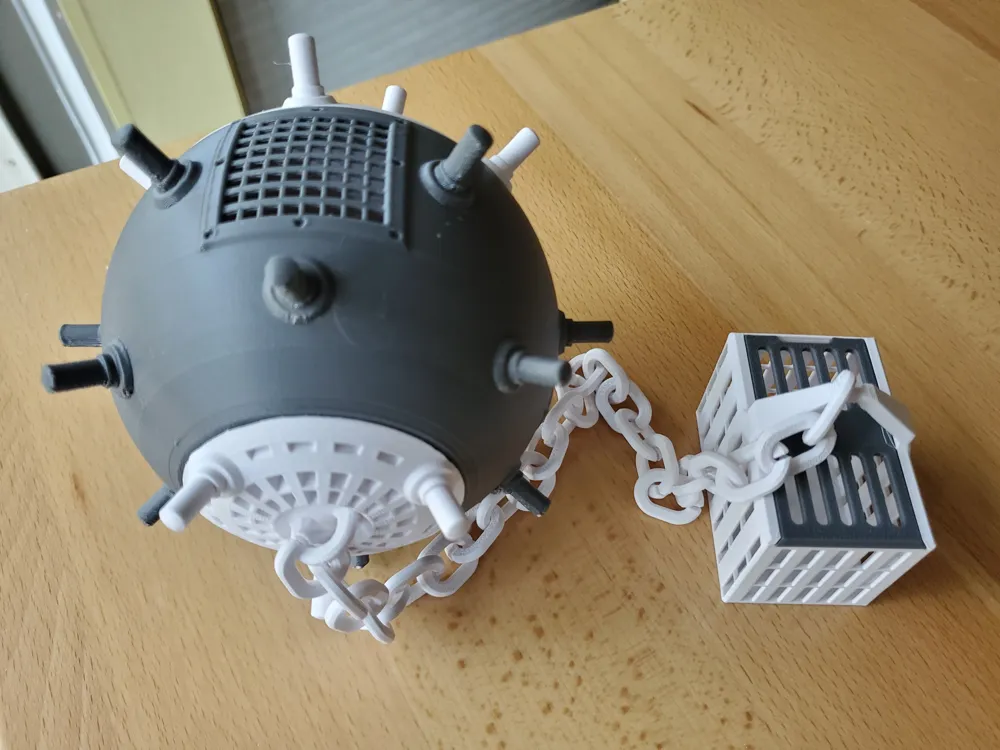
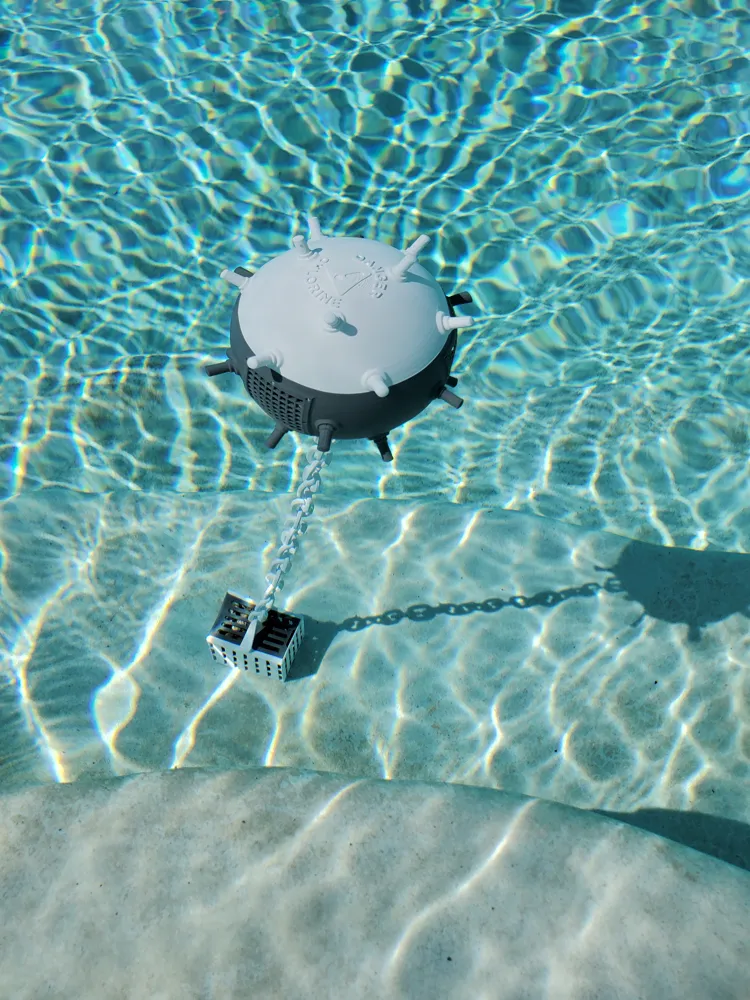
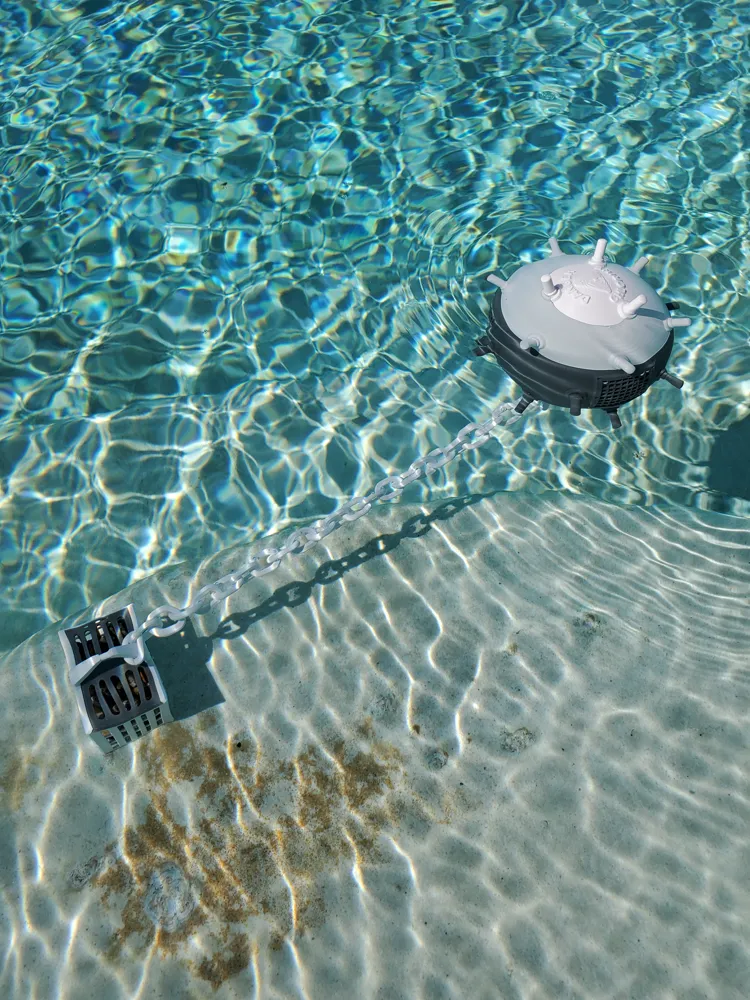
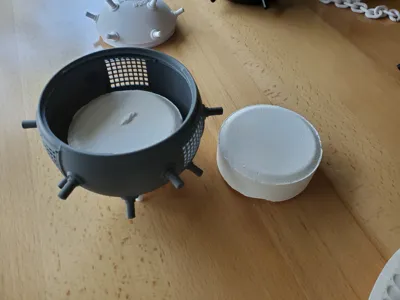
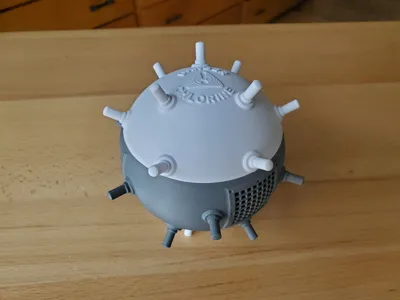
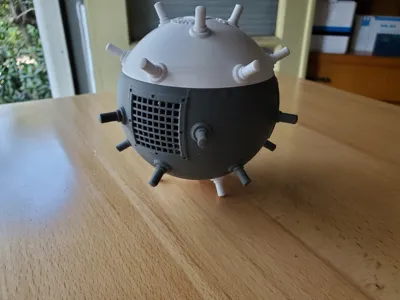
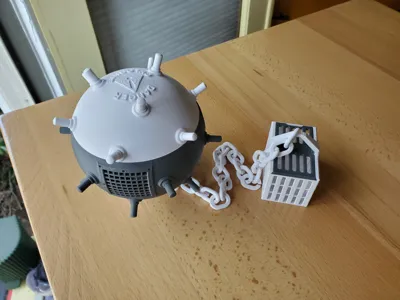
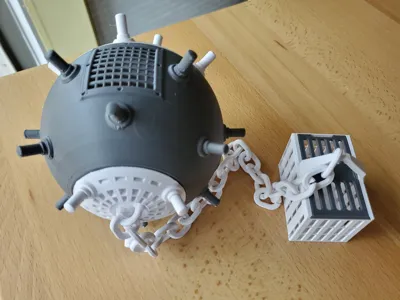
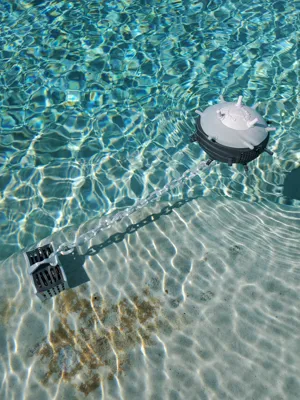
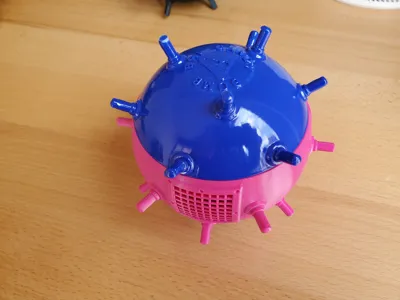
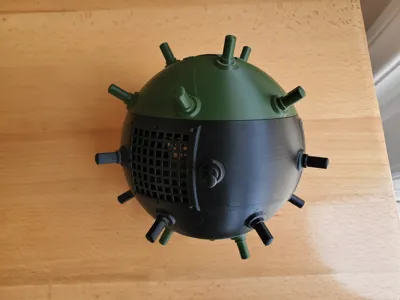
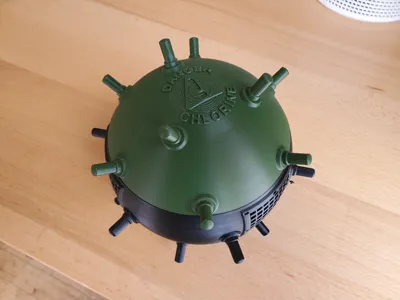
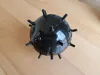
A naval mine has some unique characteristics that make it well suited for a Chlorine Pool Floater.
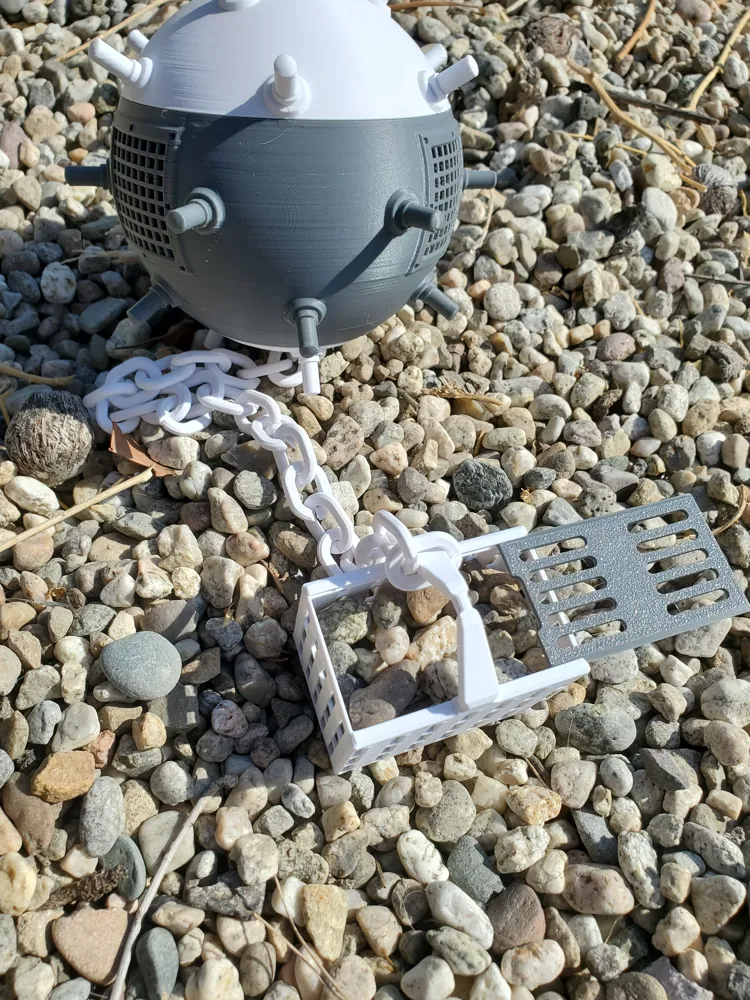
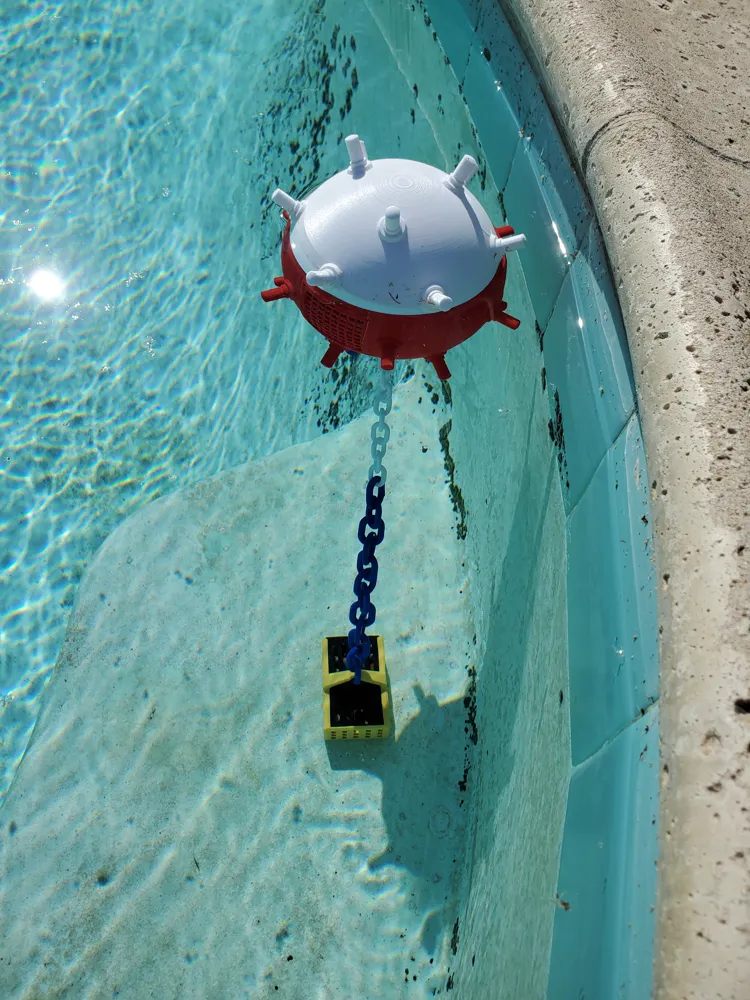
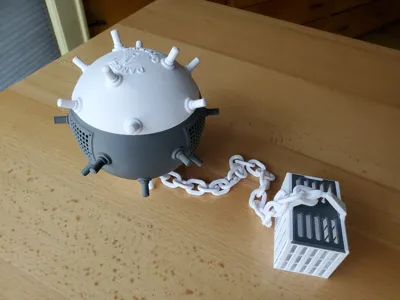
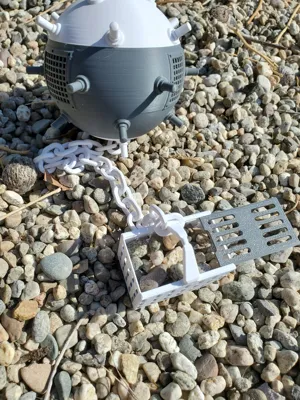
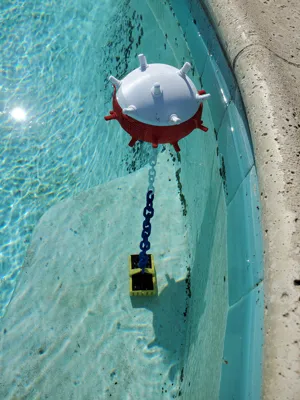
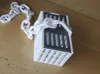
- It has a tether to prevent it from lingering around the skimmer all day.
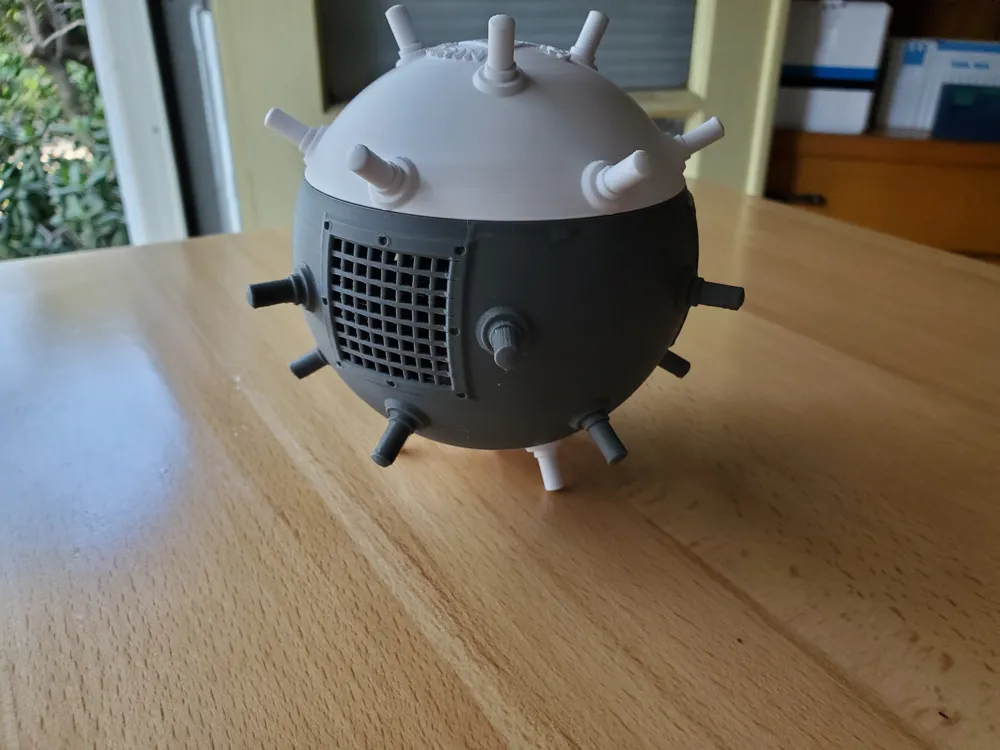
- Spikes all around to prevent it from sticking to the walls and staining them.
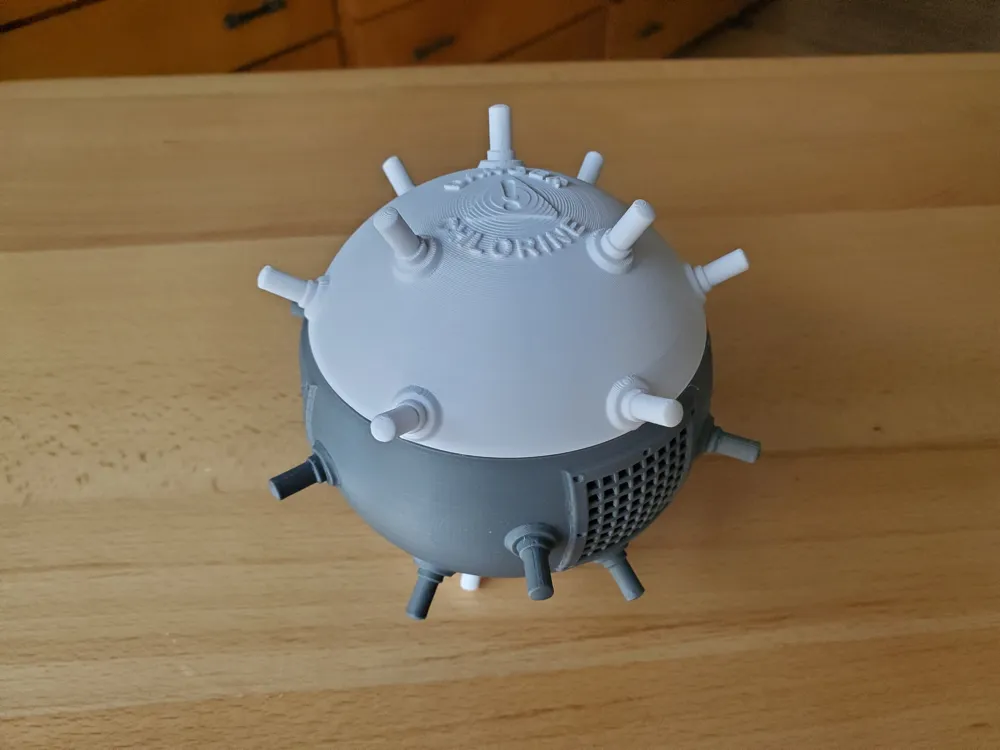
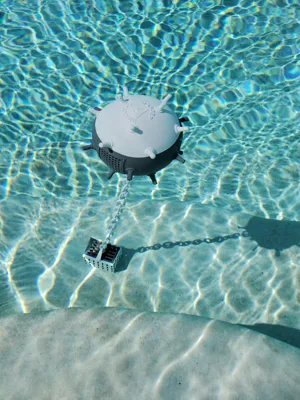
- Top end floats slightly above the water, while most of the rest is submerged to allow for chlorine to dispense.
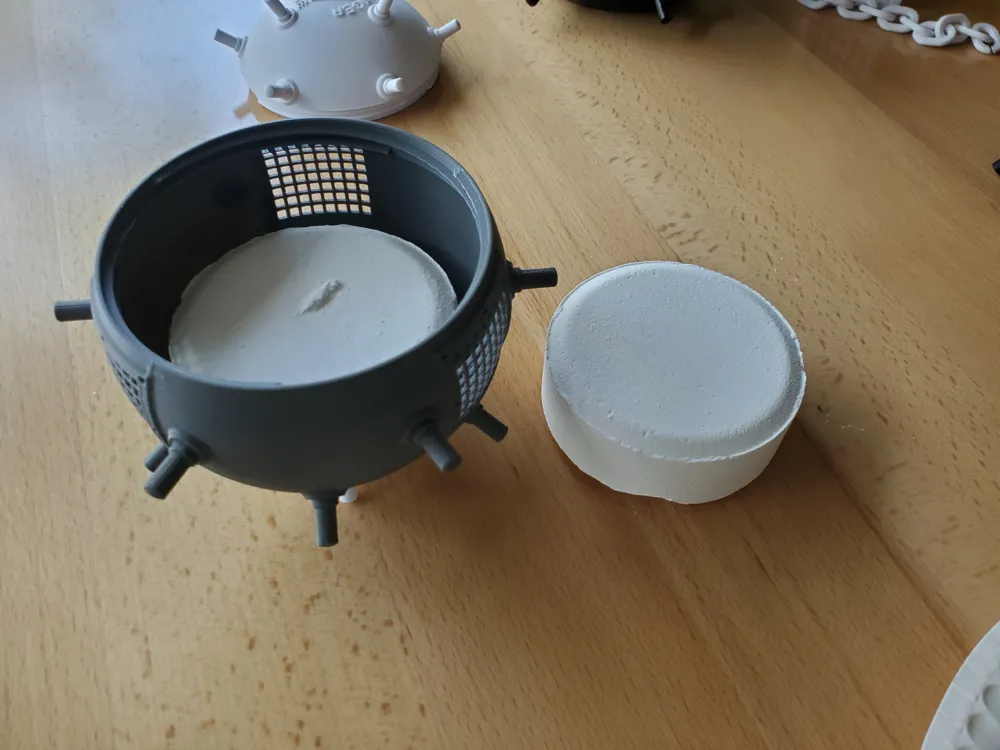
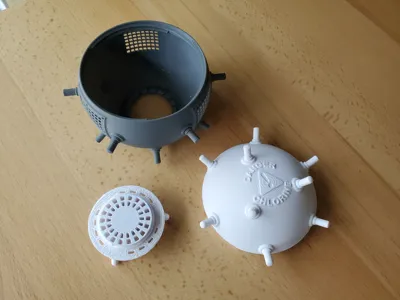
- Fits 3-inch Chlorine Tablets.
- Fill with treats and give it to someone with a Pool or Spa.
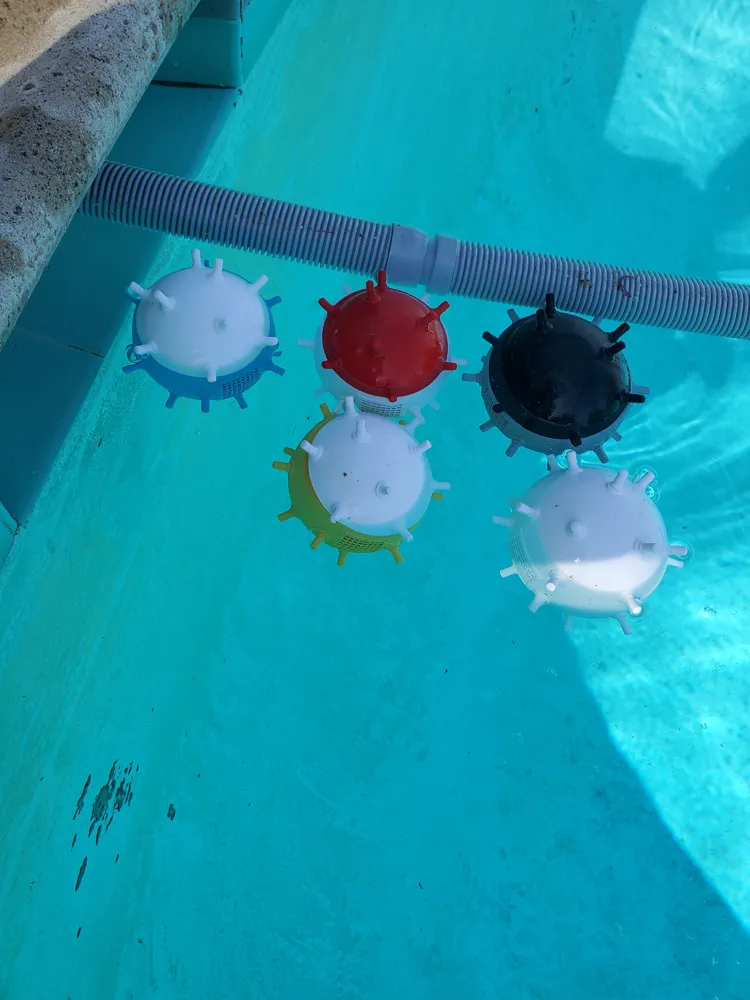
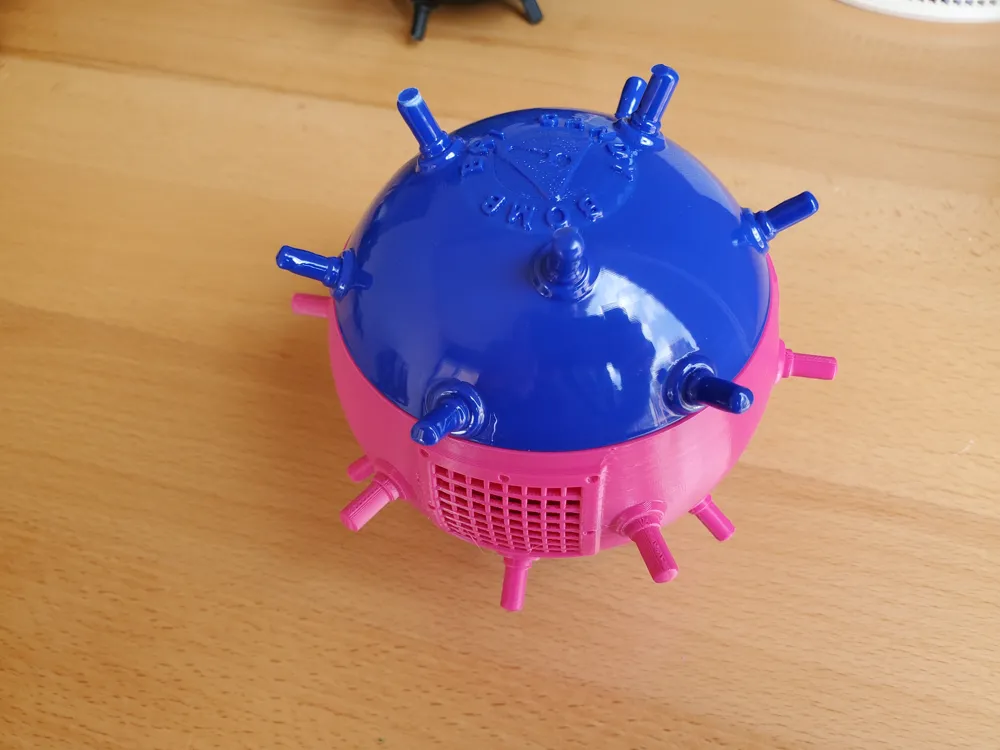
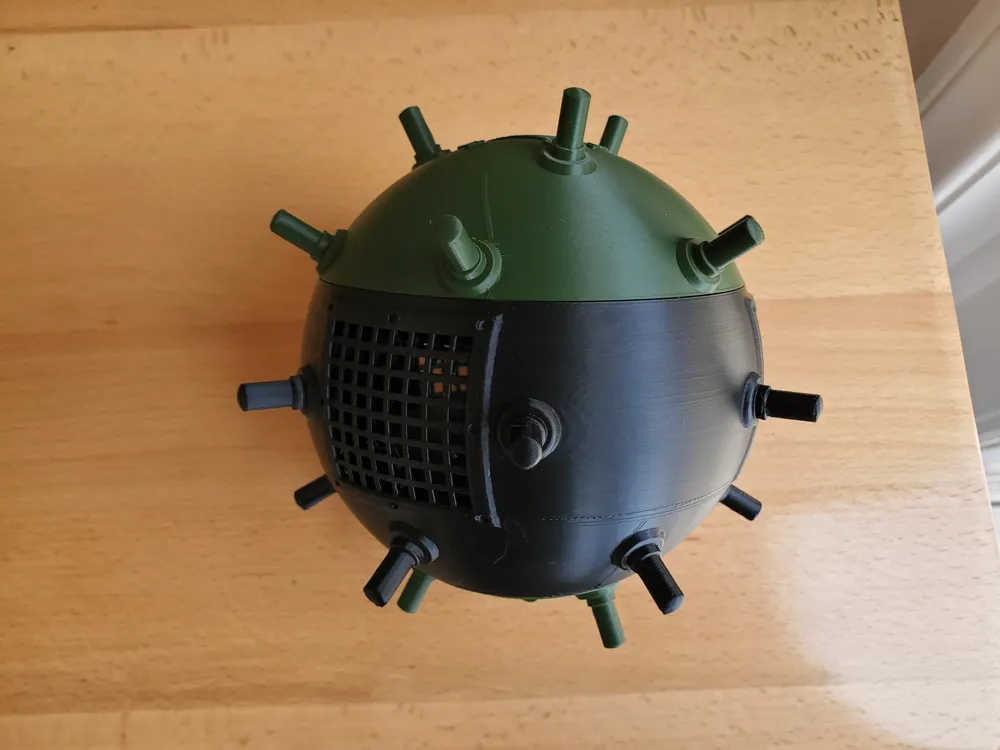
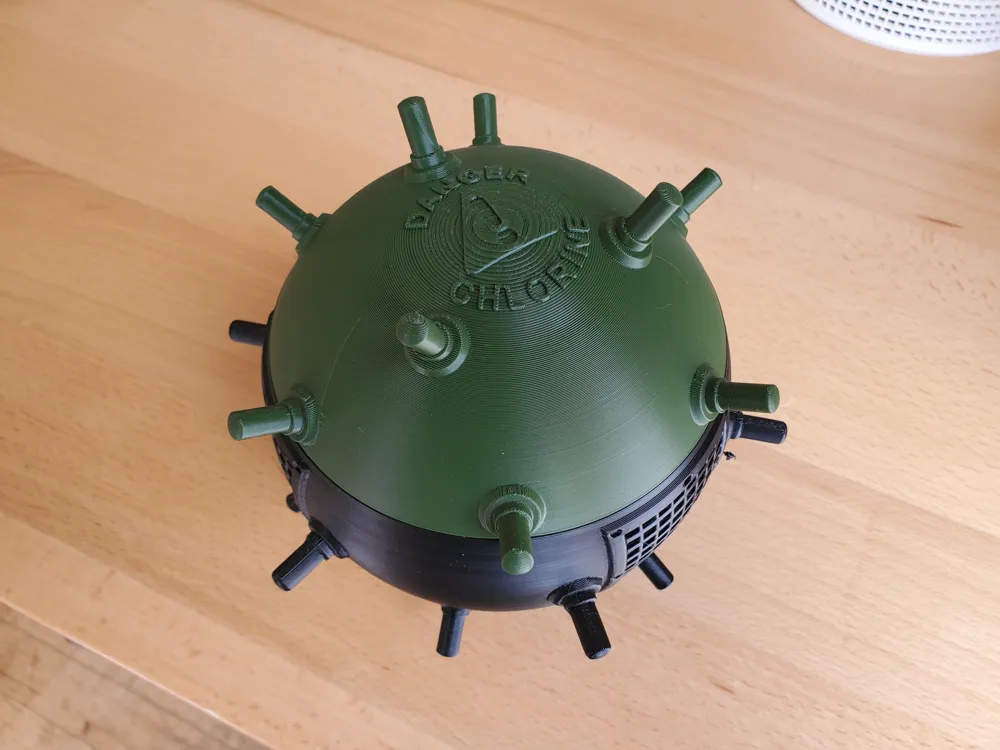
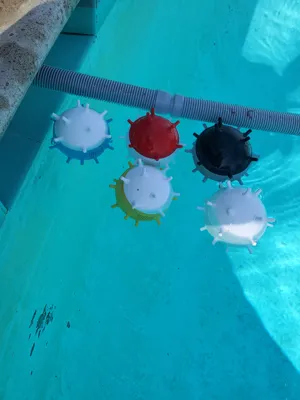
It took about five prototype before I got one to float over-night. Since then, I have printed 4 out of ABS, and 2 out of PETg, and they all have been floating in the pool for over a week. See pics.
Filaments: ABS or PETg (floats best with ABS since it has very low density.)
Print Settings: (already set in the uploaded profiles.)
Top Floater: (this makes the whole thing float, so it needs to be sealed with lots of layer.)
- Start with the Bambu slicer .16mm High Quality global setting.
- Under Quality - set all line widths to .48mm. Leave the initial layer width at .50mm
- Under Quality - set “only one wall on 1st layer.”
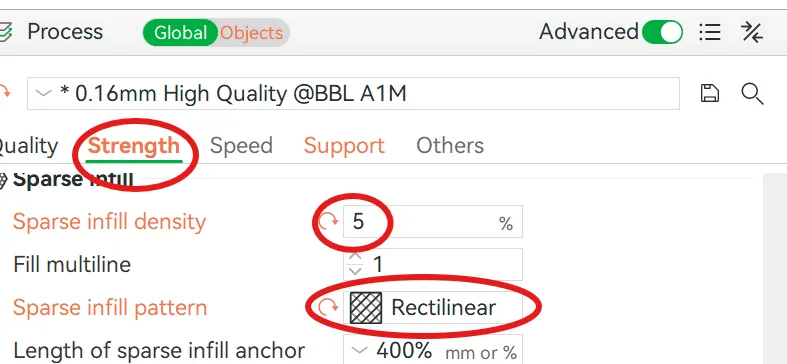
- Under Strength - 5 wall Loops, 7 top layers, 8 bottom layers, 2.5% infill pattern. (careful, it is easy to mess this one up.)
- Under Strength - Bottom surface pattern Archimedean chords
- Under Strength - Internal Solid Infill pattern Concentric.
- Speed - Nothing over 60mm/s, except the top surface can be 100mm/s (slower seals better.)
All the other Parts:
- Start with the Bambu slicer .16mm High Quality global setting.
Change to these global options:
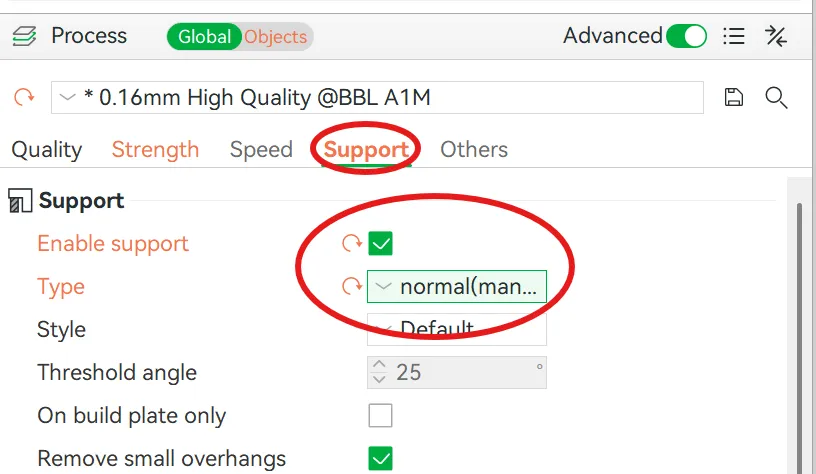
Paint in support for the large middle part: Only need to add support to the spikes. Set fill angle to 35 and paint them in.
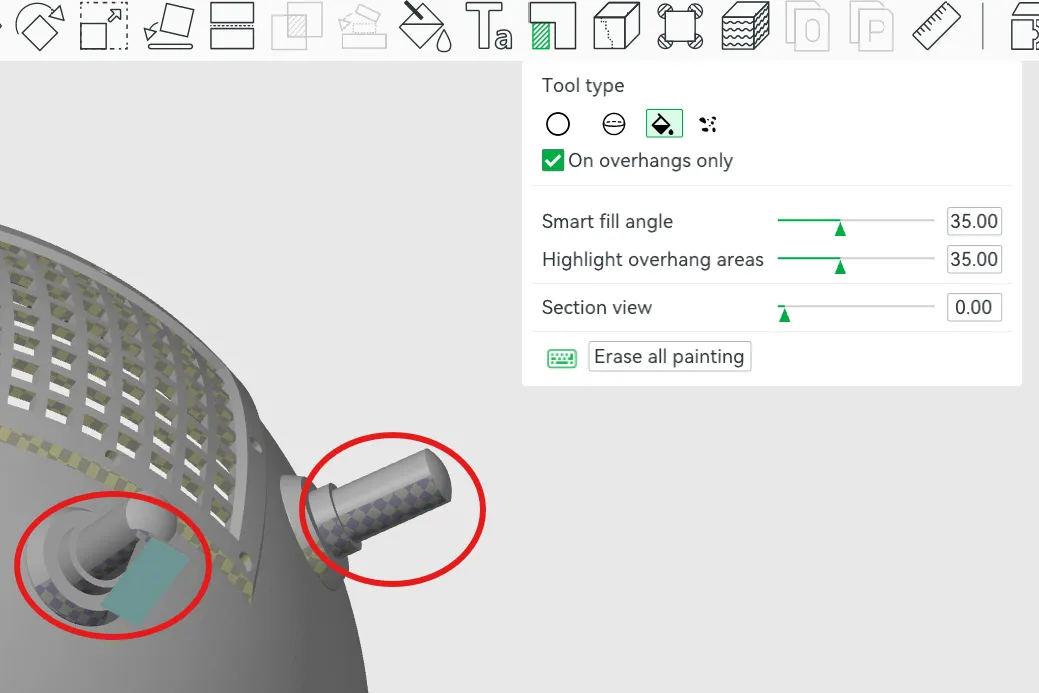
Paint in support for the small bottom part: Only need to add support to the underhanging area shown below.
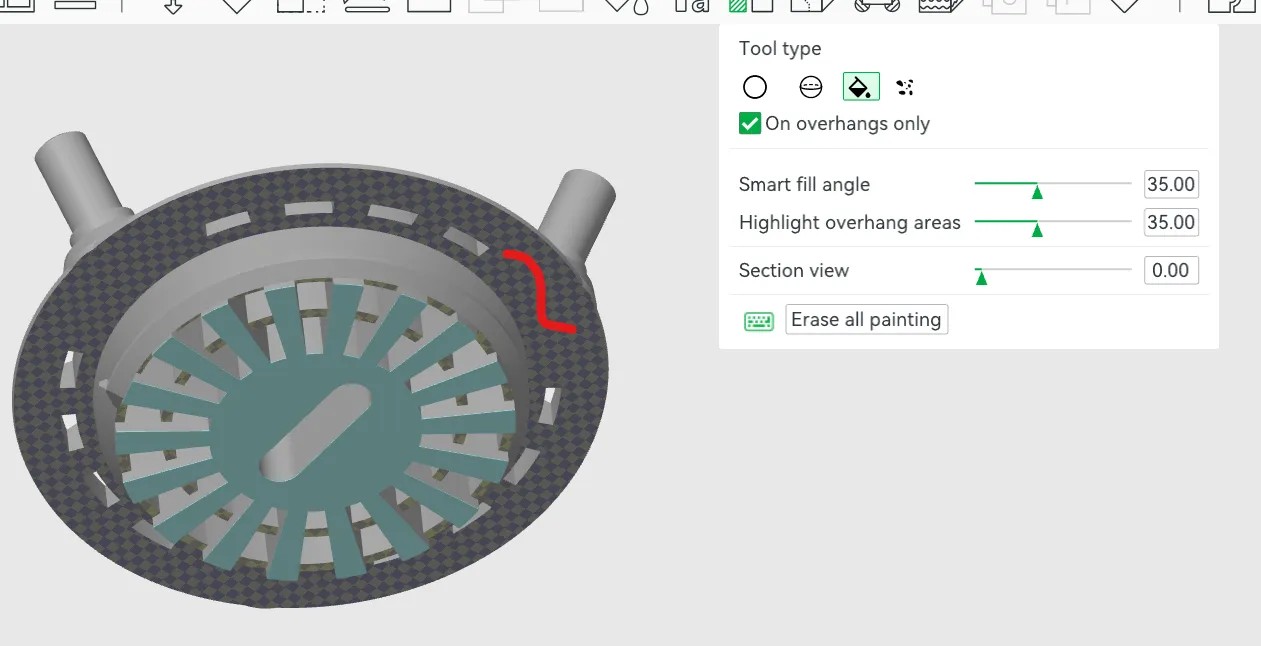
5. No support necessary for the Top, Crate, or Chain links.
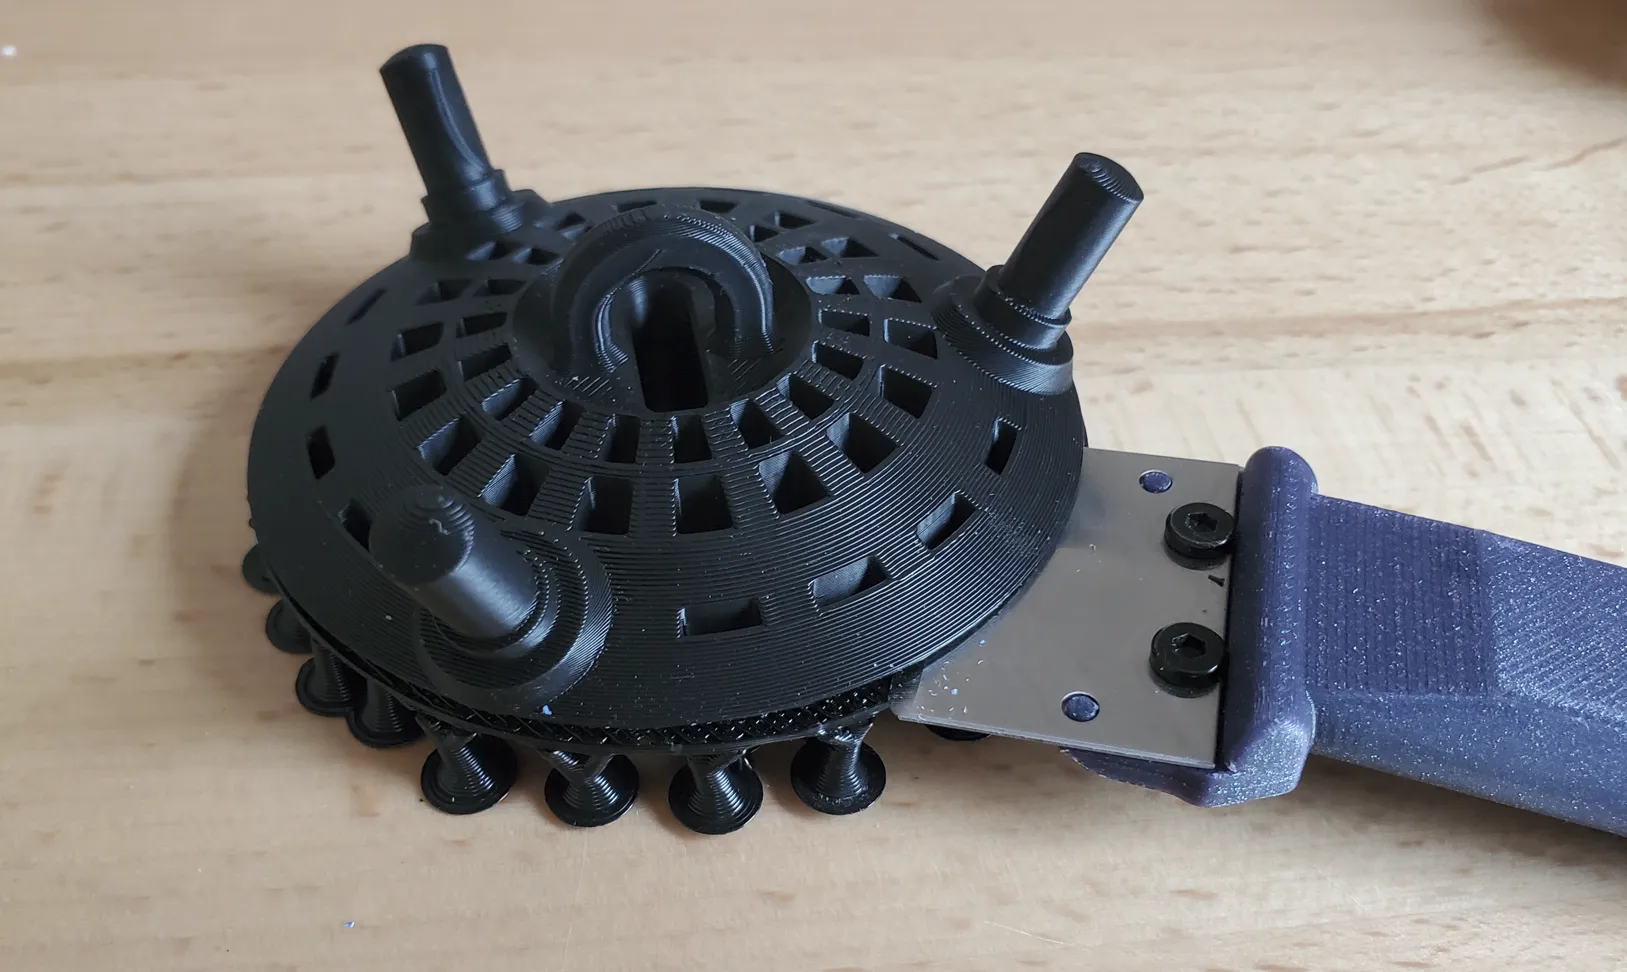
No fun removing support material, so here is the best way I found so far:
Carefully push a scraper/blade between the upper ledge and support material. Work it all around and it should come off in one piece. Then scape any left overs off.
Boost Me (for free)
If you like the design, send a Boost or give a THUMBS UP! Thank you!
Membership
If you are interested in selling this item, here is a link to the commercial licensing. Thank you!
License

You shall not share, sub-license, sell, rent, host, transfer, or distribute in any way the digital or 3D printed versions of this object, nor any other derivative work of this object in its digital or physical format (including - but not limited to - remixes of this object, and hosting on other digital platforms). The objects may not be used without permission in any way whatsoever in which you charge money, or collect fees.


Comment & Rating (47)