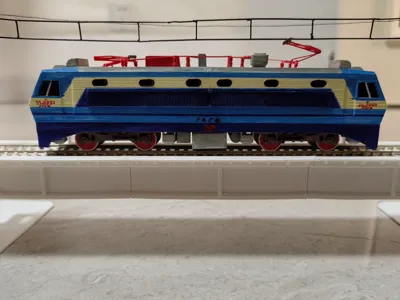
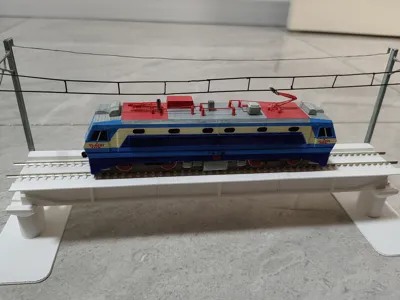
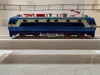
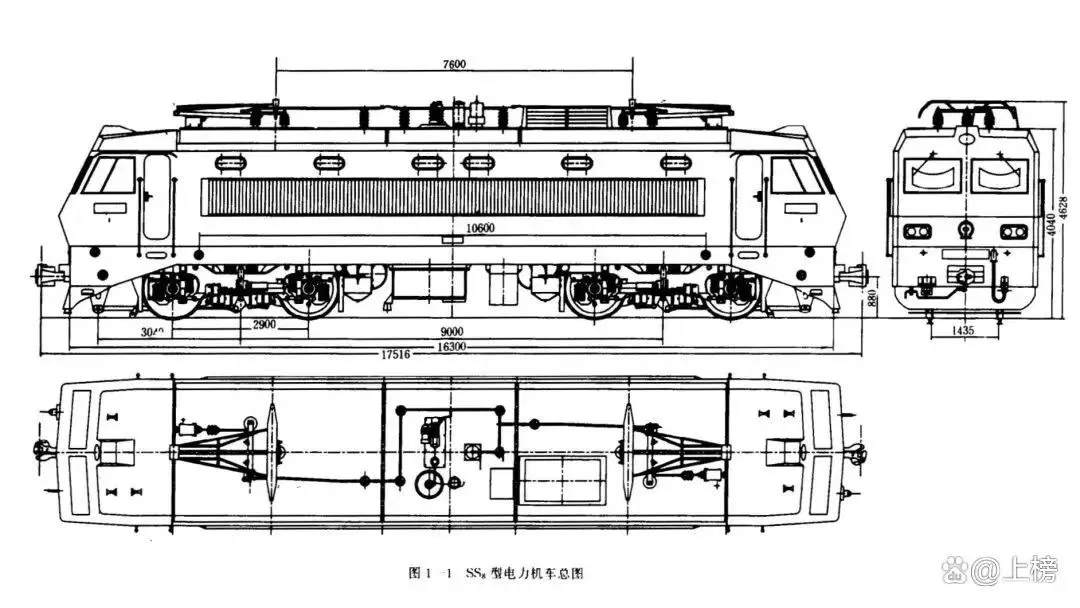
Shaoshan 8 Electric Locomotive 100:1 Model


Print Profile(1)
Description
Only the locomotive is included; models of bridges and catenary suspensions are not included for now
WARNING: Extremely difficult to assemble, print with caution, and requires hand-painting. Please review the assembly steps below before printing, and print according to your handicraft ability. It is best to enable dual material support when printing to ensure the quality of the support surface
Commercial use of this model is not permitted
Any unauthorized commercial use may be subject to legal action; please respect the work of others
Assembly Steps:
Tools preparation:
Needle-nose pliers, flush cutters, thermostatic soldering iron (recommended) or model-making glue, pointed tweezers, a small amount of straight-line filament waste
Carefully remove the printed parts after printing is complete, and use needle-nose pliers and flush cutters to help remove supports
When using a soldering iron, adjust the temperature to the printing temperature of the filament
The following assembly process must be carried out after painting is complete
Gently but firmly snap the wheelsets into place from underneath the bogies

Use a soldering iron to melt holes of appropriate size in the corresponding raised positions on the bogies underneath the body (If you don't have a soldering iron, you can use a carving knife), then insert and secure the bogies

Glue or solder the undercarriage equipment to the body with a soldering iron (Don't forget the 4 sandboxes at the obstacle deflector)

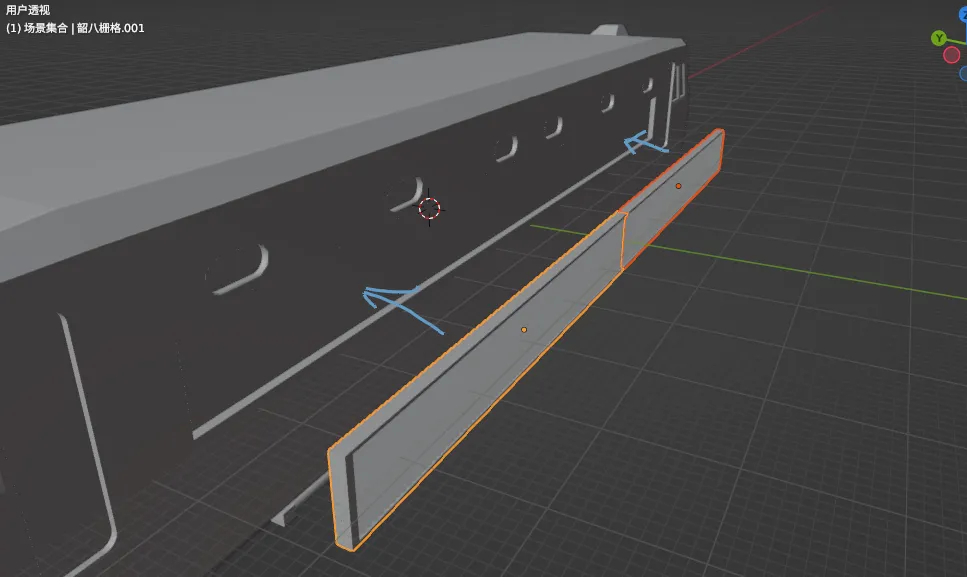
Glue or solder the grids (4 in total) on both sides of the body

Glue or solder the cab's outdoor air conditioning units (present on both ends)

Glue or solder the couplers (present on both ends)

Tip
Entering Phase Two shortly
Take an insulator and glue or solder it to this equipment on the roof


Tip
Now entering Phase Two
Take the pantograph base, roof wiring, and some linear filament waste

Glue or solder these along with the previously mentioned roof equipment to the roof

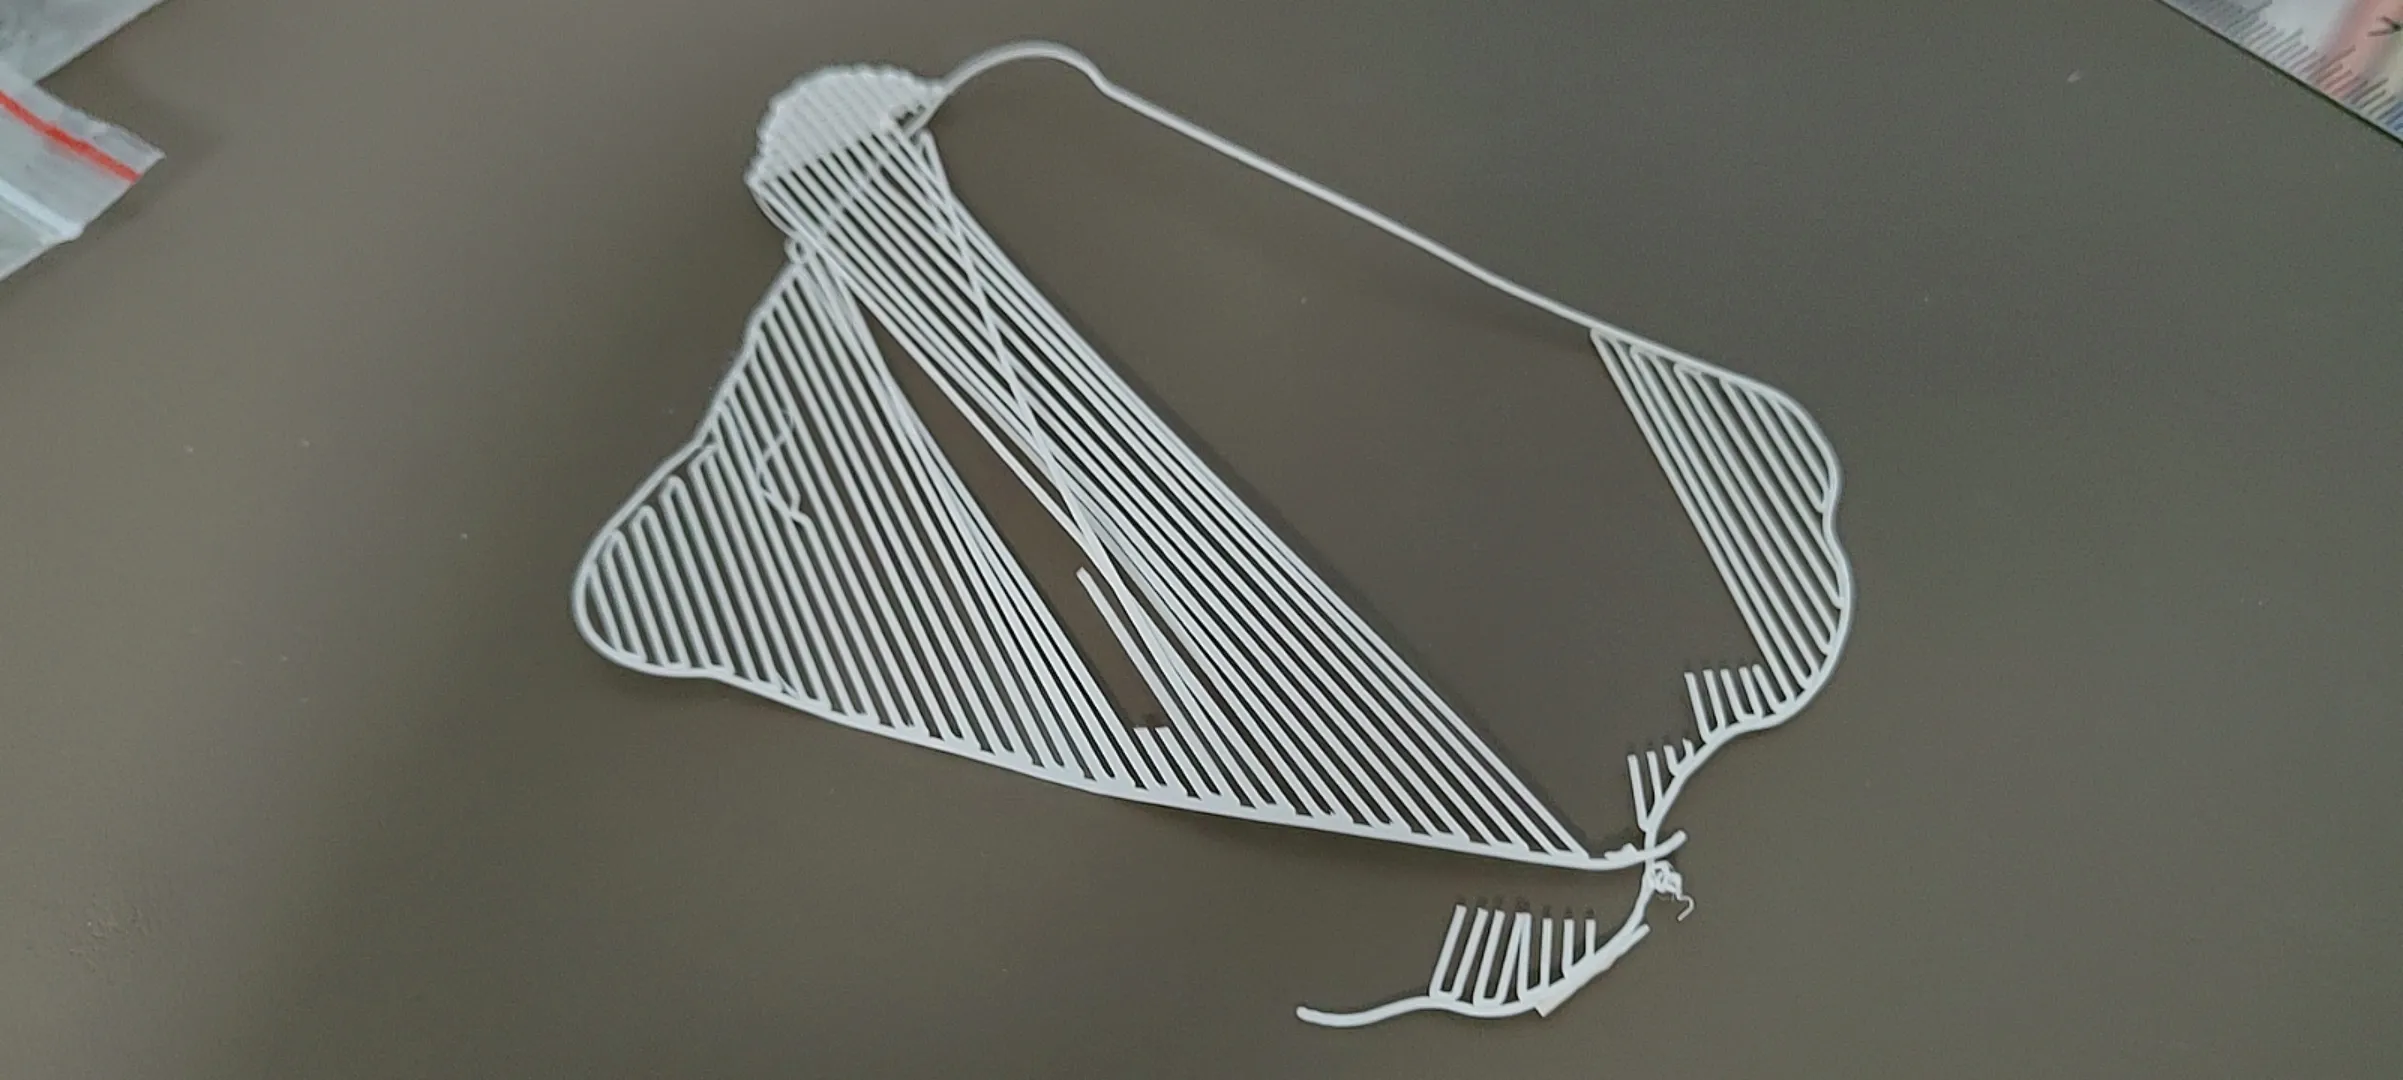
You can refer to this image
At this point, there might be some gaps and excessively long cables. You must use flush cutters to trim the excess and press down the ends to secure them. The same applies to the other end


WARNING
Entering Phase Three
Using the linear filament waste from before and a soldering iron or glue, assemble the pantograph by referring to these images (Because of FDM printing precision limitations, the pantograph cannot be printed, so this part greatly tests your handicraft ability)


(Just in case you think it's impossible)

After the pantograph is complete, take a piece of filament waste to connect these two points


Completed
Regarding the production of windows and headlights:
Windows: Take a piece of black cardstock, apply a layer of clear tape, cut it into the appropriate shape, and glue it to the corresponding window position

Headlights: Cut aluminum foil to the appropriate size and insert it into the reserved holes for the headlights. Then, add a drop of glue and wait for it to cure
License
You shall not share, sub-license, sell, rent, host, transfer, or distribute in any way the digital or 3D printed versions of this object, nor any other derivative work of this object in its digital or physical format (including, but not limited to, publishing derivative works outside the Makerworld platform or hosting on other digital platforms). The objects may not be used without permission in any way whatsoever in which you charge money or collect fees. Subject to the above restrictions, derivative works may be published only within the Makerworld platform, and all such derivative works must be licensed under the same SDFL‑C license, without modification or additional terms. You may download the digital versions of this object, 3D print it, and display images, videos, or usage demonstrations of 3D printed versions of the object on personal social media platforms or Makerworld official channels, provided that no digital versions of the object are shared or distributed.
Comment & Rating (0)