Mold | Concrete Base & Wax Candle Casting


Print Profile(1)
Description
Modular Rock Candle Mold System
This project started from a request on my Pumpkin Mold design.
The rock base is only the beginning.
Let me know what you'd like to see next: different rock styles, crystals, organic shapes, ruins, geometric forms, or something completely unexpected.
Your idea might become the next mold in the series!
The current version combines a rock-inspired base, cast in concrete, plaster, resin, or similar materials, with a matching wax candle.
The same support structure is used to create the silicone molds for both parts, keeping the process simple and reducing the number of components required.
An extension piece is included as an example for creating taller candles. If you need a different height, you can generate custom extensions using my parametric mold system.

Workflow
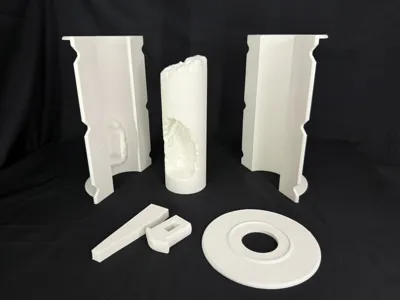
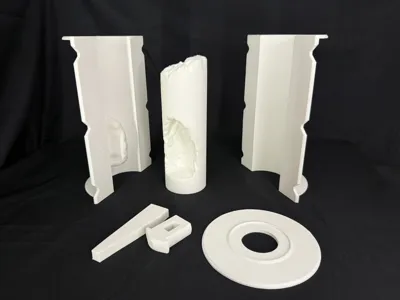
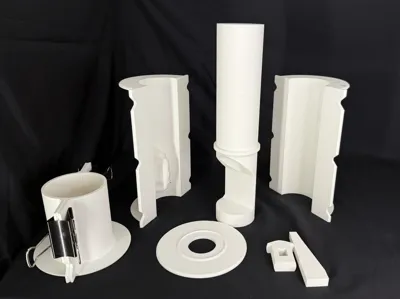
Step 1 – Print the Base Mold Components
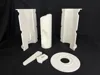
Print:
- Mold Wall A
- Mold Wall B
- Candle Master
- Mold Base
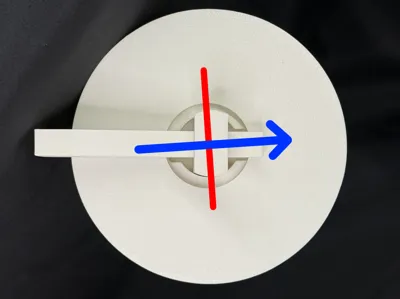
- Base Lock
- Assembly Support Block
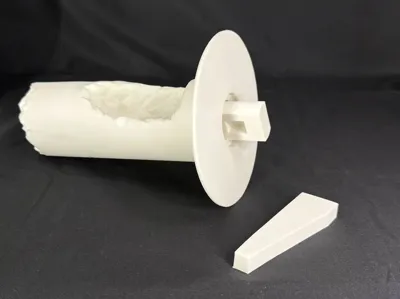
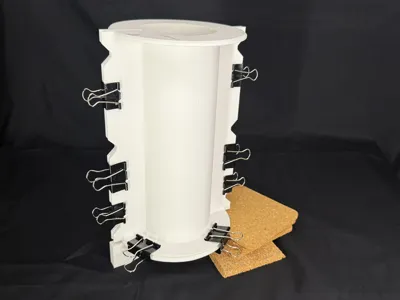
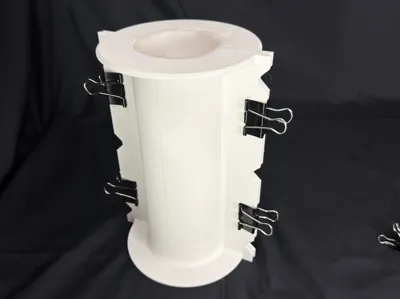
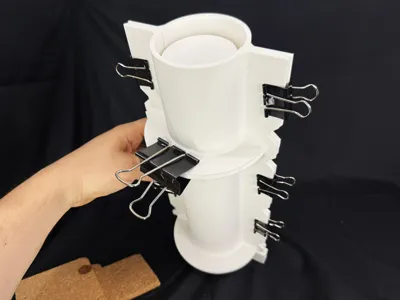
Assemble the parts

Step 2 – Create the Base Silicone Mold
Pour approximately 400 ml of silicone into the assembled mold.
Allow the silicone to fully cure according to the manufacturer's recommendations before demolding.

Step 3 – Cast the Decorative Base
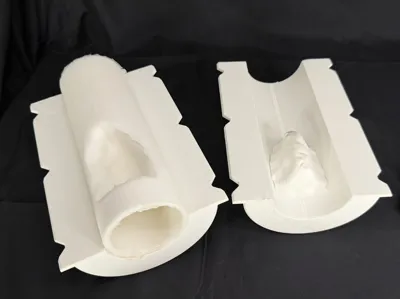
Remove the printed master from the silicone mold.
If necessary, make a controlled cut in the silicone to simplify demolding.
A firmer silicone is recommended, as it will better retain its shape during casting.
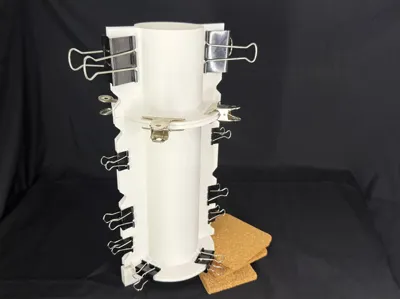
Once the silicone mold is complete, place it back into the printed support structure. The support helps keep the mold aligned and prevents deformation while pouring the casting material.
Suitable materials include:
- Concrete
- Plaster
- Jesmonite
- Similar casting compounds

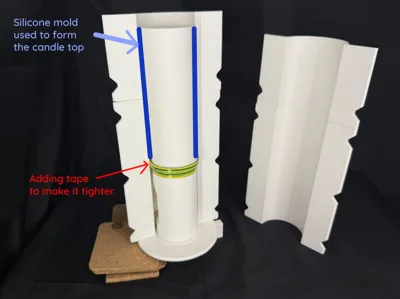
Step 4 – Create the Candle Silicone Mold
For the candle mold, replace the original master with the candle master components.
The candle master is made from two parts:
- Candle Wax Mold Master Base
- Candle Wax Mold Master Top
These two parts should be joined together before creating the silicone mold.
If you want a taller candle, simply scale or replace the top section with a custom extension.
I recommend sealing the joint with tape before pouring silicone. This helps prevent silicone from leaking into the connection and reduces material waste.
Pour silicone around the sides of the master as shown in the images, while keeping the opening at the top clear.
(Additional photos of this process will be added in a future update.)

Step 5 – Cast the Candle
Place the finished silicone candle mold back into the printed support structure.
Install the base component and ensure the silicone tube remains properly positioned.
Pour melted wax through the top opening and allow it to cool completely before demolding.
(Additional photos of this process will be added in a future update.)
Happy casting! 🪨
License
You shall not share, sub-license, sell, rent, host, transfer, or distribute in any way the digital or 3D printed versions of this object, nor any other derivative work of this object in its digital or physical format (including - but not limited to - remixes of this object, and hosting on other digital platforms). The objects may not be used without permission in any way whatsoever in which you charge money, or collect fees.
Comment & Rating (0)