
Parametric Text & Name Tag Generator with NFC
Print Profile(1)
Description
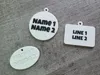
🏷️ Parametric Text & Name Tag Generator (Multi-Color & NFC-Ready)
With this fully parametric OpenSCAD script, you can create custom name tags, keychains, room signs, or dog tags in no time. The special feature: It supports 2-line text, a huge selection of Google Fonts, and is optimized from the ground up for multi-color printing (AMS / MMU) as well as the invisible embedding of NFC chips!
🚀 Highlights at a Glance
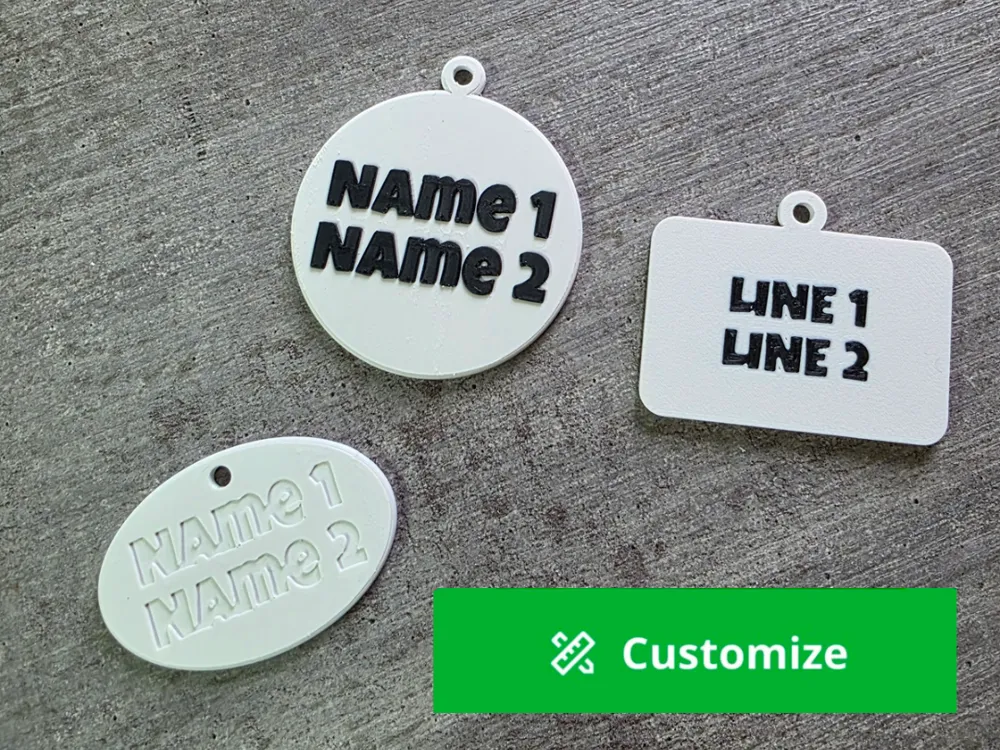
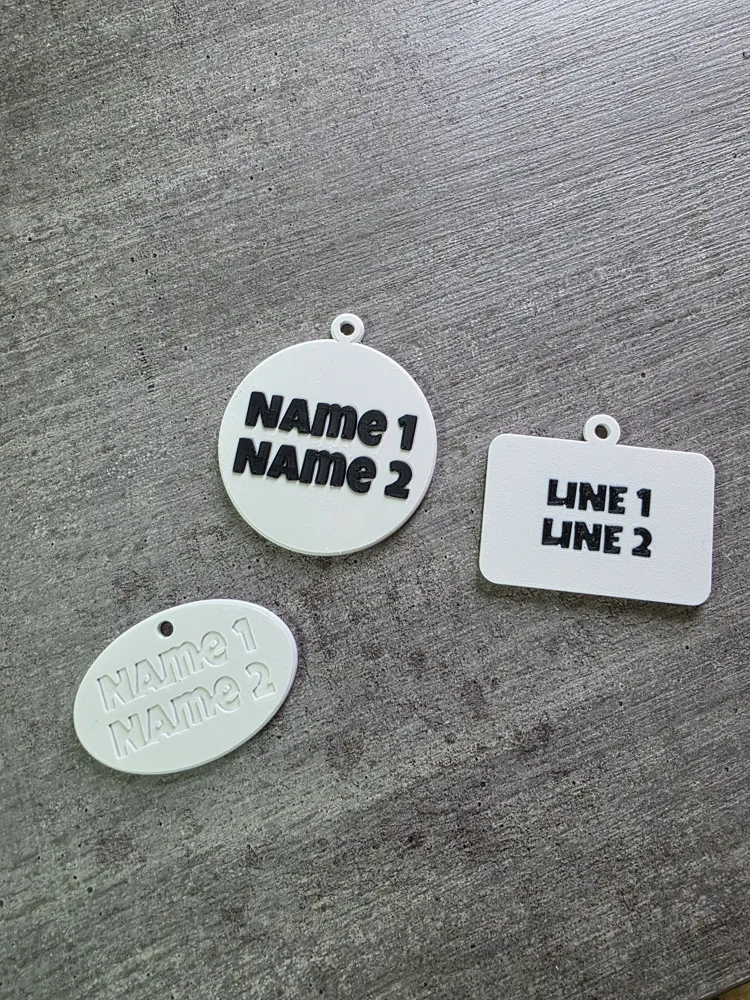
Custom Shapes: Choose flexibly between round, oval, rectangular (with adjustable corner radius), or hexagonal basic shapes. Dimensions such as width, length, and thickness can be continuously adjusted.
- 2-Line Text Layout: Forget single-line limitations. Enter up to two lines of text and individually adjust the font size and line spacing.
3 Different Text Styles: 1. Top_Raised: Classically raised, prominent text. 2. Top_Recessed: Elegantly engraved/recessed text. 3. Bottom_Flush_Inlay: Absolutely smooth, flush text on the bottom – perfect for textured printing plates!
Font Selection & MakerWorld Fonts: Choose directly in the Customizer from the most popular Google fonts (such as Roboto, Montserrat, Luckiest Guy, Orbitron and many more) or type any other Google font into the custom_font_name field in the Customizer.
Natively Multi-Color Ready: The code precisely separates the components (base and text) by color. When imported into Bambu Studio or OrcaSlicer, the model is immediately recognized as a multi-color object.
🎨 Pro Tip: The Bottom_Flush_Inlay Style (Flush Bottom)
If you set the text style to Bottom_Flush_Inlay, the text will be printed mirrored in the very first layer of the tag.
- The Effect: If you print this tag on a textured PEI plate (Textured Plate), you will get a fascinating, completely smooth surface after cooling, where text and base seamlessly merge and adopt the cool texture of the build plate.
Important: Make sure to leave the mirror_text parameter set to Yes so that the text is absolutely right-side up and readable when viewed from below!
📡 The Smart Upgrade: Embedding NFC Functionality (NTAG215)
Do you want to turn your name tag into a truly smart gadget? This guide is perfectly designed to seamlessly and invisibly enclose an ultra-thin NFC sticker (Type: NTAG215) within the tag! Since NTAG215 stickers are extremely inexpensive (often just a few cents each), this is a brilliant way to massively increase the utility of your print.
🛠️ Step-by-Step Guide for a Print Pause in Bambu Studio:
By embedding, the NFC chip is permanently protected and completely waterproof sealed.
Configure Model: In the Customizer, use an overall thickness of at least 3.0 mm to 4.0 mm.
- Slice: Import the exported file into Bambu Studio and slice the model with a standard layer height of 0.2 mm.
- Find the Pause Layer:
- After slicing, switch to the Preview tab.
- Scroll down layer by layer with the vertical slider on the right side.
- Go exactly to Layer 4. (At this point, the first 3 layers – exactly 0.6 mm of material – have been printed and provide the perfect foundation).
- Add Pause:
- Right-click on the small plus symbol (+) or directly on layer number 4 on the slider.
- Select "Add Pause" from the menu. The layer will now be marked in blue.
- Start Print: Send the print job to your printer.
🔄 Process During Printing:
Once the printer has finished the 3rd layer, the heated bed automatically moves down and the printer pauses.
- Insert Chip: Peel off the film from the NFC sticker and stick it exactly in the center onto the already printed area. Tip: Press it down firmly so it lies absolutely flat and does not block the nozzle during further printing!
- Resume: Click "Resume" on the printer display or in Bambu Studio/Bambu Handy. Layer 4 will now be printed directly over the sticker.
💡 Brilliant Application Examples for Your NFC Tags
After printing, you can easily write to the chip with a free smartphone app (e.g., NFC Tools for iOS & Android). Here are a few ideas:
- 📶 Guest Wi-Fi "Tap to Connect": Create a neat tag with "Wi-Fi" written on it. Program your Wi-Fi access data onto the chip. Guests just need to briefly place their smartphone on the tag and are immediately connected – no more typing passwords!
- 🎮 Amiibo Clones for Nintendo Switch: The NTAG215 is exactly the chip that the Nintendo Switch uses. Give the tag a cool gaming design and store the code of your favorite Amiibo inside. A perfect gift for gamers!
- 🐕 Smart Pet Tag: Print a small tag for the collar. Program the NFC chip with a link to your contact details or your phone number. If the pet runs away, the finder can simply scan the tag with their phone.
- 👔 Digital Business Card (Keychain): Store a link to your website, LinkedIn profile, or digital business card (vCard) on the chip. Just touch the other person's smartphone once – information exchanged!
- 🏠 Smart Home Automation: Place a tag next to the front door or nightstand. A quick scan triggers actions via Apple Shortcuts or Home Assistant, such as "All lights off", "Start vacuum cleaner", or the "Good Night Mode".
⚠️ IMPORTANT FILAMENT NOTE: Make sure you do NOT use metallic or carbon fiber-containing filament (like PLA-CF or PETG-CF) for the layers above the NFC chip. The contained particles can block the smartphone's radio signal. Standard PLA, PETG, or ABS work absolutely perfectly!
🛠️ V 3: Experimental Graphics & Logo Upload
This version is intended for advanced users who want to add their own logo, icon, or symbol to their tag in addition to the 2-line text.
IMPORTANT NOTE: As OpenSCAD's online Customizer encounters platform-specific limitations, this version is considered „experimental“. Please read the following rules carefully to avoid preview errors or unsightly „red blocks“!
🔹 What This Version Offers?
- Logo Integration: Upload your own graphic to print it as an inlay (flush) or raised (applied) on the tag.
- Full Control: Continuously adjust the size (logo_size), position (logo_pos_x / y), and height (logo_thickness) of your graphic.
⚠️ The 3 Most Important Rules & „Dangers“:
- Is the MakerWorld logo displayed instead of your graphic? The MakerWorld server has a very simple SVG parser. If your .svg file contains complex groups, invisible layers, CSS styles, or text elements, loading will fail. The system then automatically falls back to the default placeholder (the MakerWorld logo).
- The Solution: Open your SVG in the free program Inkscape. Select everything, click Path -> Object to Path, and repeatedly press Ctrl + Shift + G (Ungroup). Save the file again as „Optimized SVG“ and upload it.
- Is your graphic displayed as a massive red box/bar? This happens if you upload a normal image file (.png or .jpg). OpenSCAD cannot automatically convert pixel images into outlined lines; instead, it loads the entire square image (including the white/transparent background) as a thick 3D block.
- The Solution: Do not use PNGs for tags. Convert your image to a true vector graphic (.svg) on free websites like vectorizer.ai before uploading.
- Help, my logo is displayed mirrored in the preview! This is not a bug, but intentional! This tag is optimized for so-called Face-Down Printing. This means it is printed face down directly onto the printing plate to achieve a perfectly smooth or textured surface finish (depending on the print bed). For the logo to be readable correctly after detaching from the plate, it must be generated mirrored in the Customizer.
Please only use this version if you know how to create a clean, pure SVG path file. For all standard name tags, I recommend the absolutely safe text versions (V1 & 2)!
Boost Me (for free)
Satisfied?
If so, I would appreciate a boost...
License

You may create derivative works based on this object, provided that all such derivative works are published exclusively on the MakerWorld platform and include proper attribution to the original creator. You may not share, upload, host, distribute, or publish this object—or any derivative work of this object—on any other digital platform, marketplace, or distribution channel. Commercial use of this object and any derivative works is strictly prohibited. This includes, but is not limited to, selling, renting, sublicensing, or using the object in any context in which you receive monetary compensation or other financial benefits.


Comment & Rating (0)