Mini Spinning Prize Wheel Customize 6, 8, 10 Slots


Print Profile(7)


Description
Mini Spinning Prize Wheel
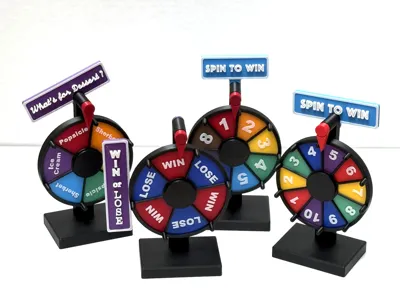
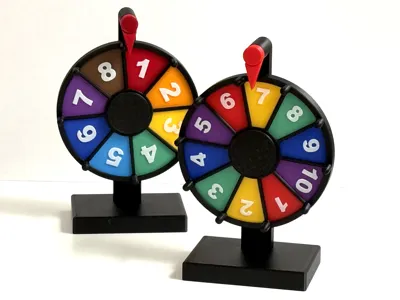
Three versions to choose from. 6, 8 or 10 Prize Slots!
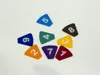
Fun customizable prize wheel. Everything is 3D printed. No bearings to buy. This prize wheel is designed with a print in place roller bearing. Triangle Flags are customizable and swappable. Flags can be remove by pushing them out from back of the wheel.
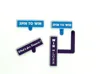
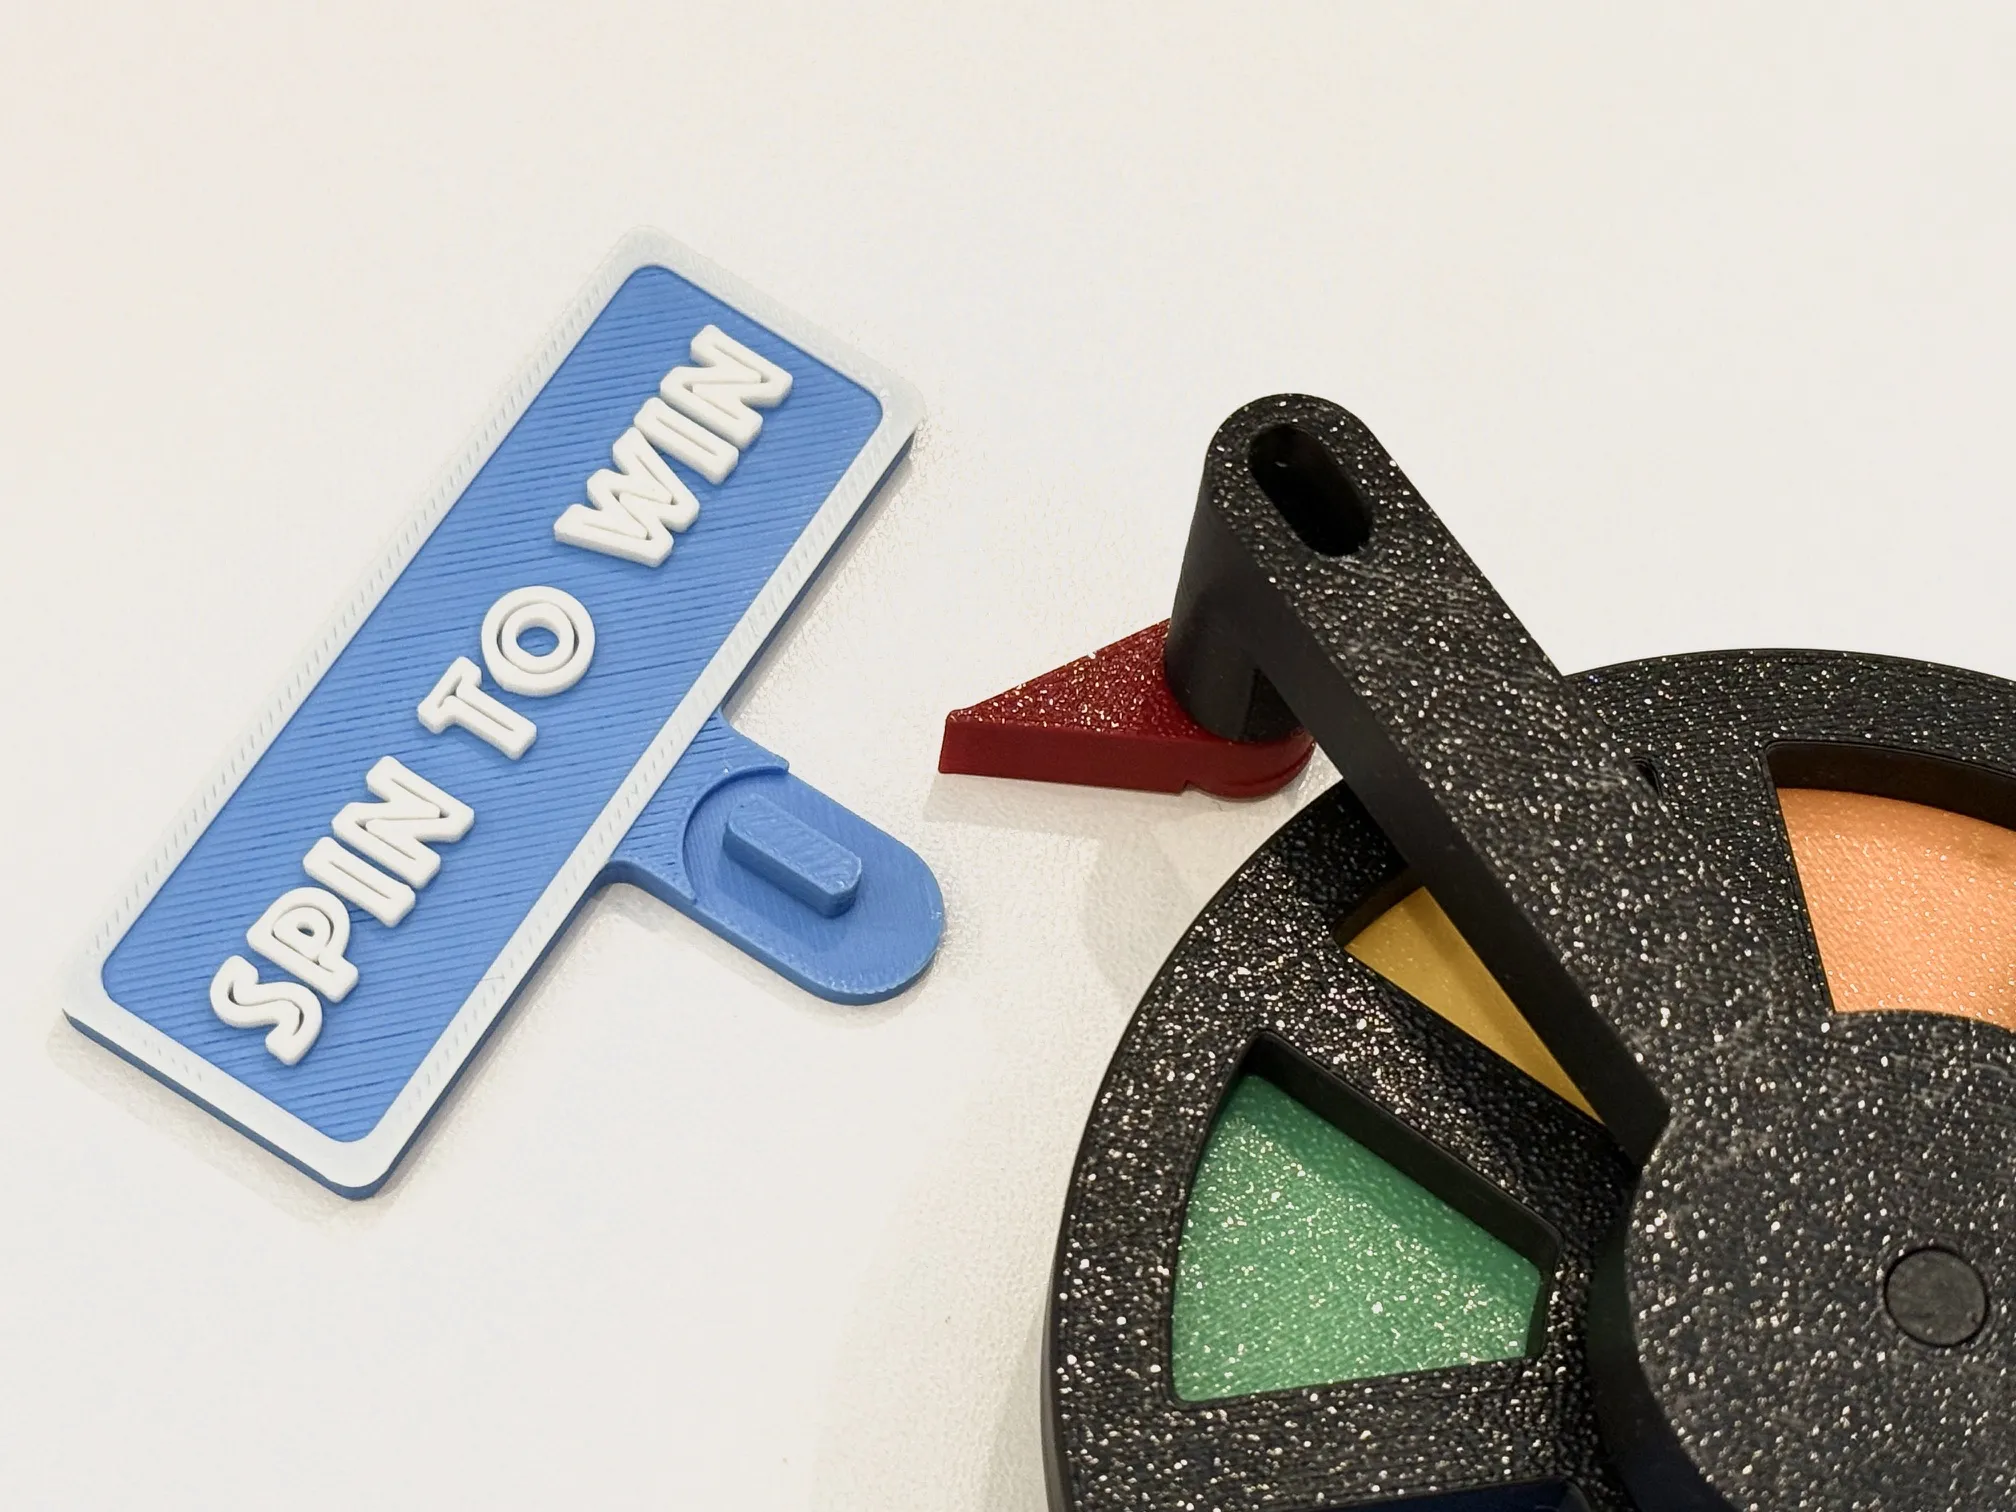
Updated Stand to include Optional Sign!
Mini Size
Prize wheel stands 15cm tall without sign
Wheel is 10cm diameter
Print Instructions:
- Choose version to print : 6, 8, or 10 Prize Slots
- Prints in PLA or your favorite filament
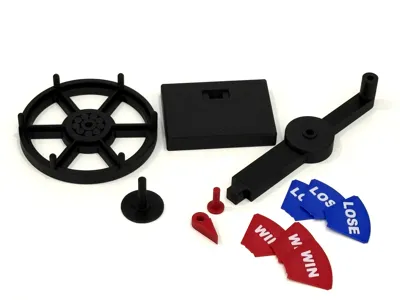
- First 4 Plates are the parts for the Prize Wheel
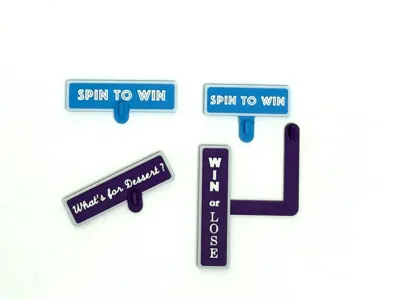
- Optional Customizable Sign
- Choose and Customize the Prize Flags you want to print out. Change Text and Color in your slicing software.
- Flags can be customized in the Bambu Studio Software
Goto Process - Objects
Select the text_shape and select “Edit Text”

Assembly Instructions:
- Print out all pieces

2. Check the roller bearings. Make sure all bearings are loose and moving. Depending on the tolerances of your printer, your bearings may be stuck to each other. You will need to break them free by jiggling them around until every roller can move independently.

Wheel should spin freely when all the roller bearings completely separated from each other.

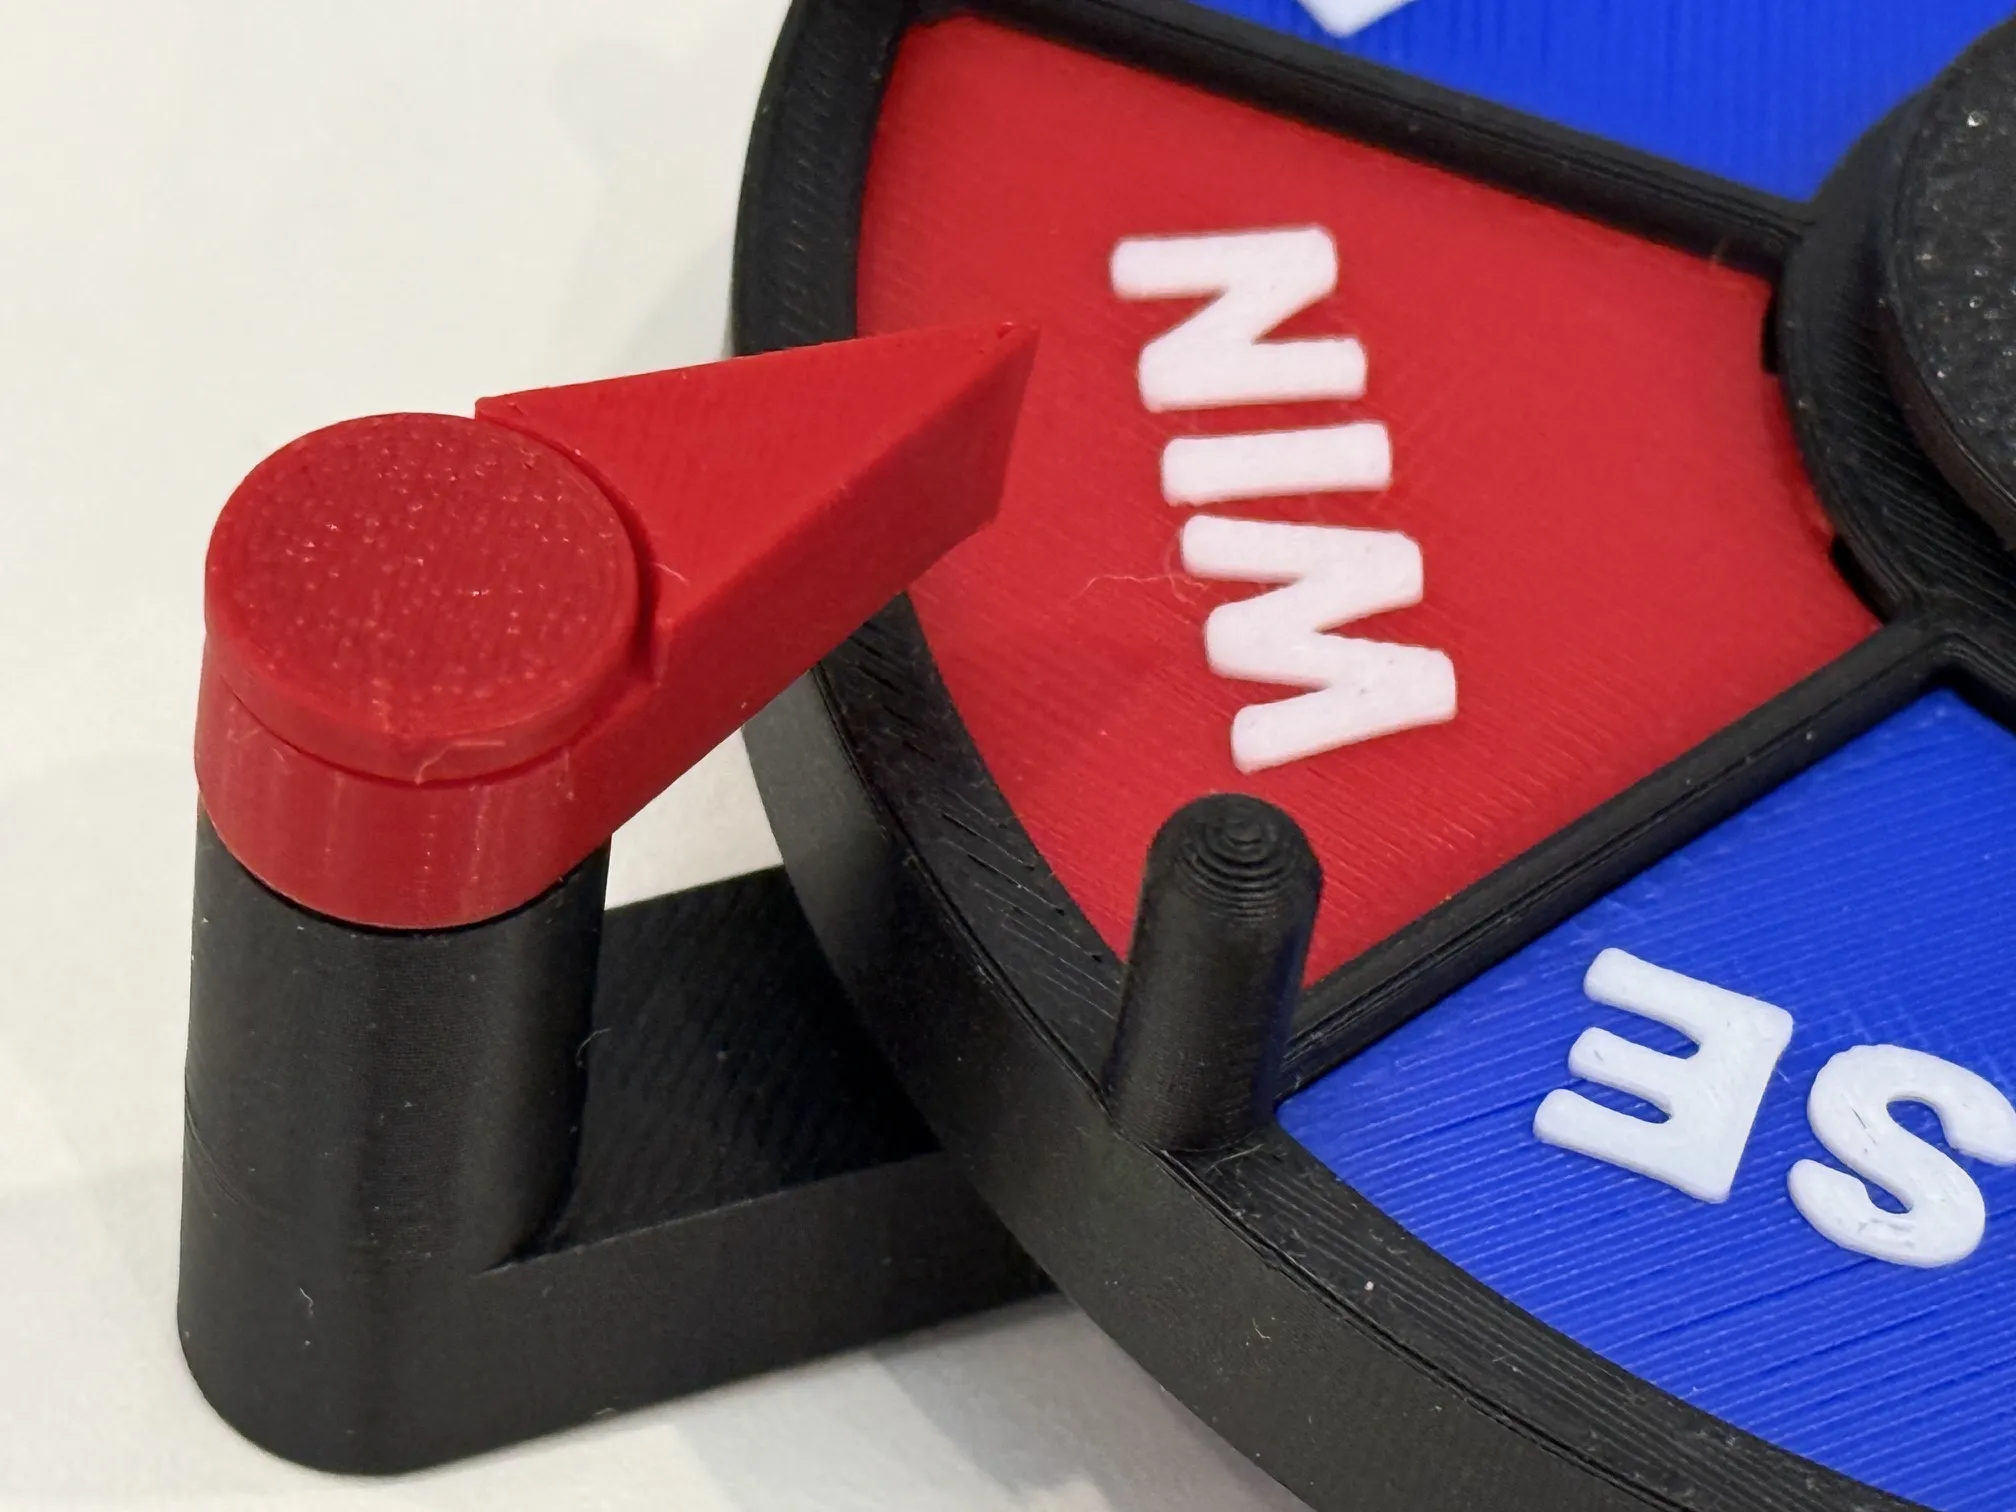
3. Insert Prize Flags into the wheel. Place the large end into the slot first. From the back of the wheel, push on the backside of the prize flag to give it a slight bend. Slip the small end of the flag into place. To remove the flag, simply push the prize flag out from the backside of the wheel.

Picture showing slight bend to slip front of the triangle in its slot. Remember to slot large side of triangle in first.

4. Assemble base. Insert wheel arm into the lower base. Make sure holes on the arm are facing the front of the base.

5. Insert center pin into the bearing on the wheel. Push it in until it's full seated. Support the center race of the bearing from the back with your fingers as you push the center pin through it. Excessive force on the center bearing may break it.

6. Connect Wheel to the stand. Push wheel with pin firmly into the center hole on the stand. Pin will be almost flush on the backside of the stand.

7. Connect Red Arrow to upper hole as shown

7. Optional Sign - Connect Sign to the holes on the back of the stand.

All Parts of held in place with friction. Glue can be used if the pieces are loose.
License
You shall not share, sub-license, sell, rent, host, transfer, or distribute in any way the digital or 3D printed versions of this object, nor any other derivative work of this object in its digital or physical format (including - but not limited to - remixes of this object, and hosting on other digital platforms). The objects may not be used without permission in any way whatsoever in which you charge money, or collect fees.
Comment & Rating (25)